Introduction
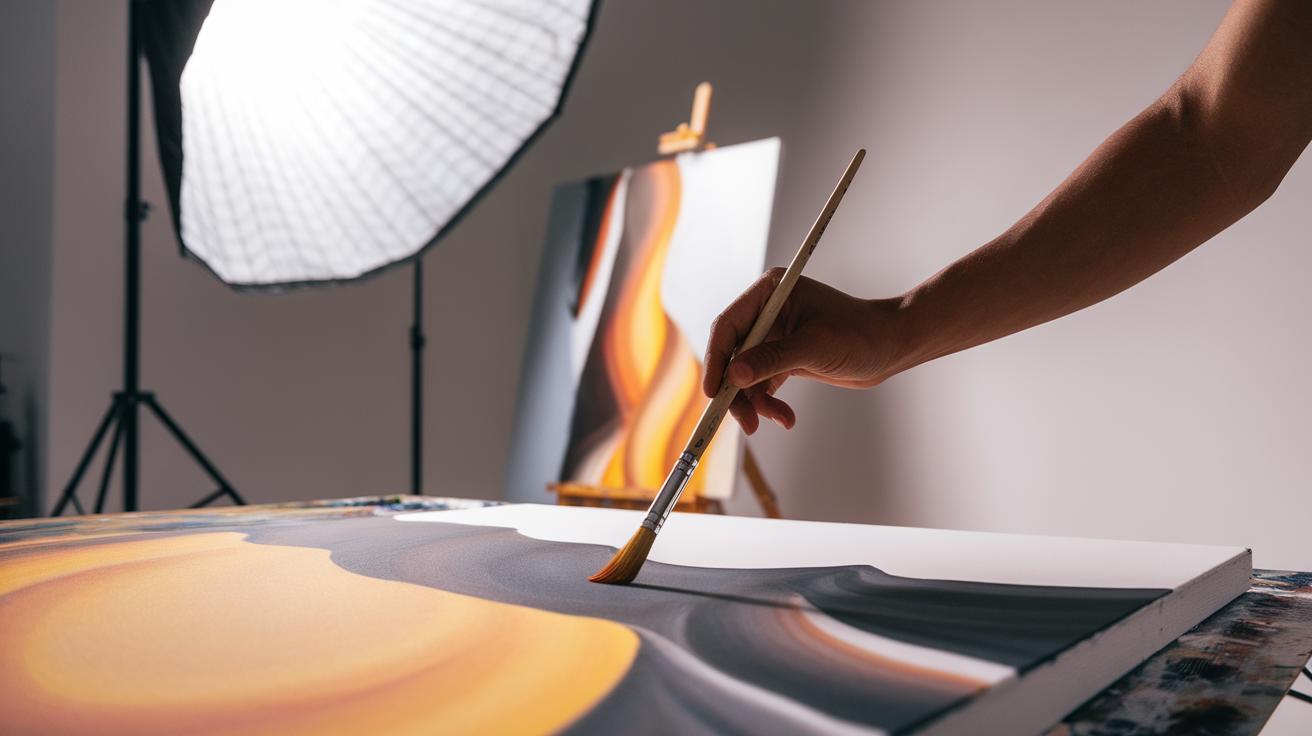
Shadow painting offers a unique way to bring depth and interest to your artwork. It focuses on how light and darkness shape the objects you paint. Understanding shadows helps your paintings look more real and strong. Many artists use shadow painting to guide the viewer’s eye and add drama. It requires learning how to control light and dark areas on your canvas. This tutorial will guide you through easy and practical methods you can apply to your own paintings.
By mastering dynamic shadow painting techniques, you will improve the three-dimensional feel of your art. These techniques have been used by great painters throughout history to show volume and space. This tutorial breaks down these techniques into simple steps. It will help you practice shading, creating contrast, and using shadows effectively. Are you ready to add new tools to your painting skills? This guide is made for you to try right away.
Understanding the Basics of Shadows in Painting

What Are Shadows
Shadows appear when an object blocks light, stopping it from reaching a surface behind or below it. This creates a darker area called a shadow. Shadows differ from highlights, which are the brightest parts on an object where light hits directly. Midtones sit between the two, showing the object’s color in normal light.
Understanding how shadows form helps you paint objects that look solid and real. When you observe how light changes around objects, you’ll see shadows shift in response. This natural change in light and shadow gives your painting depth and texture.
Why Shadows Matter in Painting
Shadows turn flat shapes into forms you can almost touch. They provide depth by showing which parts of an object protrude or recede. Shadowed areas guide your eyes, helping you focus on important parts of the painting.

Think about a bowl sitting on a table. Without shadows, it looks like a simple circle. Shadows under the bowl, and soft shading on its curved surface, make it look round. Shadows also suggest the space between objects, making your scene feel more real and alive.
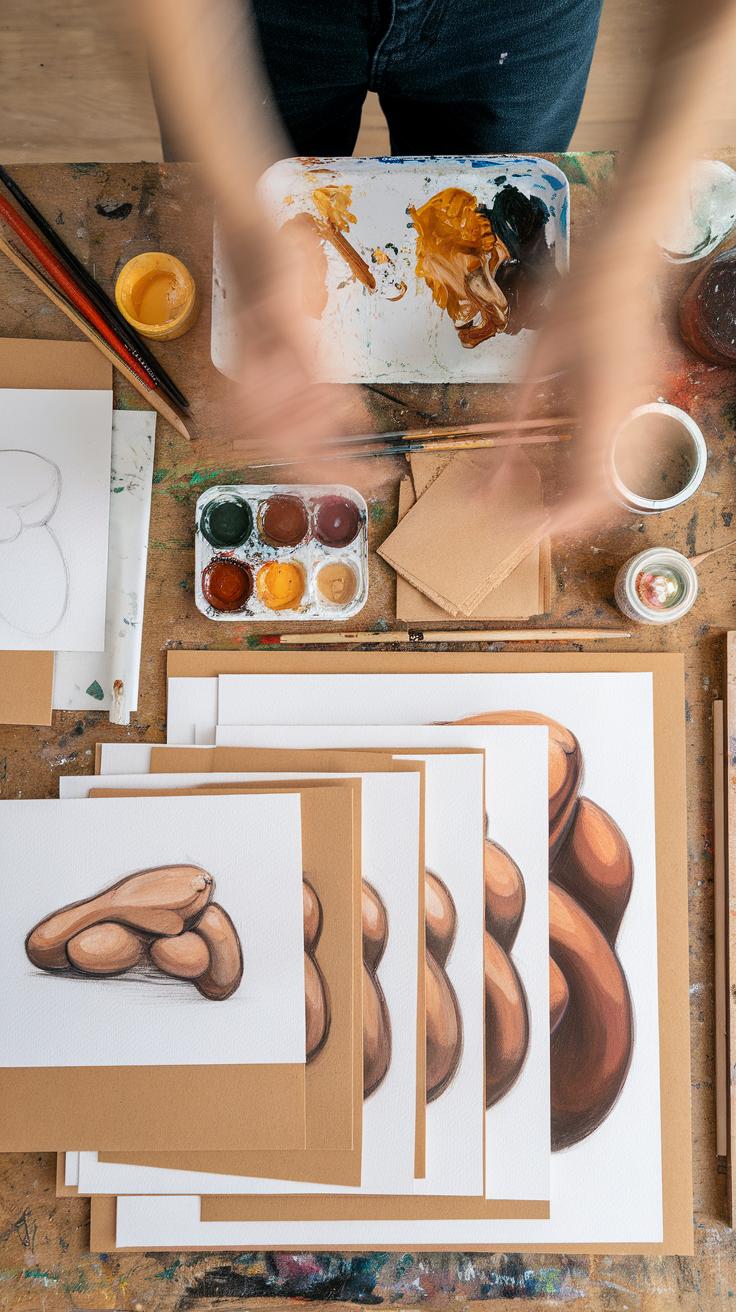
Tools and Materials for Shadow Painting
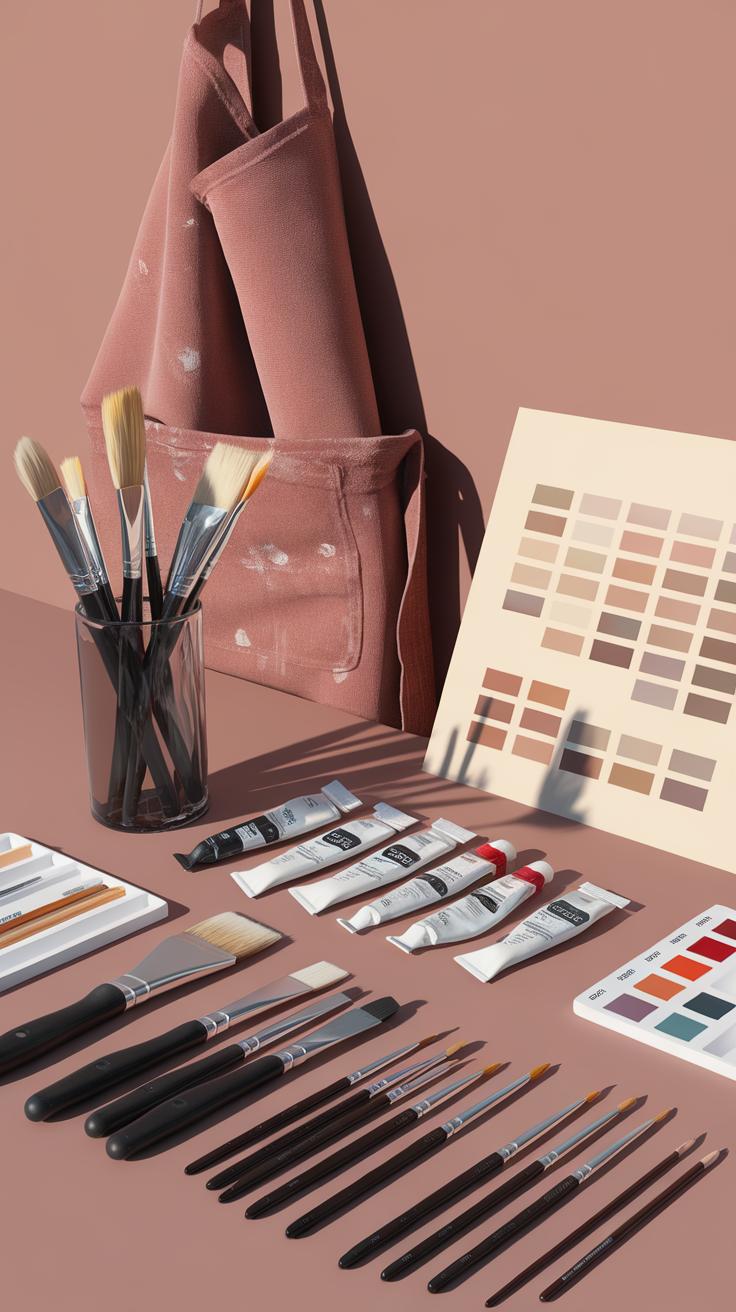
Choosing the right materials makes your shadow painting stronger and more believable. Brushes come in many shapes and sizes, but soft, angled brushes help you blend shadows smoothly and keep edges natural.
Acrylic and oil paints each work well but behave differently. Acrylic dries fast, letting you build layers quickly. Oil paint stays wet longer, so you can blend shadows and highlights more easily. Knowing how these paints react saves time while painting shadows.
Surfaces like canvas, wood, or smooth paper change how paint spreads and looks. Canvas holds paint well, creating texture for shadows. Smooth paper makes blending easier but absorbs less paint. You should test your materials to see what feels right for your style.

Color choice is crucial to creating convincing shadows. Shadows usually contain more color than black alone. Using different dark shades adds depth and interest to your work. Knowing what brushes and paints match your colors helps your shadows look natural.
Choosing Brushes and Paints
Soft, angled brushes suit shadow painting because they create soft edges and smooth transitions. A flat brush might leave harsh lines that don’t work well for shadows. You might try a fan brush for feathering shadow areas or round brushes for small details.
Paint type changes how shadows appear. Acrylic paint dries fast, so you work quickly, layering colors to build shadow depth. Oil paint stays wet, allowing longer mixing and softer blends in your shadows. Experiment with both types to find what helps your style.
Keep in mind how brushes hold paint. Some hold more liquid, which affects your brushstrokes. Using the right brush with the paint type helps you control shadow softness and edges better. Is your brush stiff or soft? How much paint does it hold? These questions guide your choices.
Selecting Colors for Shadows
Using pure black for shadows can make your painting look flat or harsh. Instead, choose colors like dark blues, purples, or browns to create richer, more realistic shadows. These colors reflect natural light better and add mood to your painting.

Mix your shadow colors by adding small amounts of these hues to your base color, adjusting based on the light source. Think about warm or cool light—shadows take on warmer or cooler tones depending on the environment.
Try using a very dark blue for shadows in sky-lit scenes or deep purples for shaded objects. Browns fit well for shadows on earth tones. Does the shadow feel cold or warm? Your color choice should answer that question to boost realism.
Observing Real Shadows to Improve Your Paintings

Studying shadows around you sharpens your ability to paint them accurately. Real shadows reveal how light interacts with objects, which helps make your work look believable. Pay attention to the size, shape, and edges of shadows in different settings. Notice how shadows stretch longer or shorter depending on the sun’s position or a lamp’s angle.
Soft shadows blend gently into the surface, while hard shadows have clear, sharp edges. These differences depend on the light source’s distance and type. When you look closely, you’ll see subtle color changes within shadows too. This observation helps you choose better colors and values for painting.

Try sketching shadows you see every day. Draw a cup’s shadow in morning light and again at noon. Note how the shadow changes in shape and darkness. Ask yourself: What makes this shadow soft or sharp? How does the light’s position affect the shadow’s length? Practice like this builds your skill in capturing dynamic light effects.
How Light Source Affects Shadows
The angle of light changes a shadow’s length and direction. Low light angles produce long shadows, while overhead light creates shorter, compact shadows. Distance plays a role too—closer light casts darker, more defined shadows. Distant light spreads shadows softly and evenly.
Light type matters. Point sources, like bulbs, create hard-edged shadows with crisp contours. Diffused light, such as cloudy daylight, produces soft shadows with blurry edges. Soft shadows often reveal more surface texture.
Notice how shadows become lighter or darker depending on how close the light is. This helps you decide how much contrast to paint. Can you compare shadows on a sunny day versus inside a room with overhead fluorescent lights? Understanding these changes guides your shadow painting decisions.
Practice Sketching Real Shadows
Pick simple objects like cups, shoes, or keys. Place them near a window or lamp at different times of the day. Draw the objects and their shadows quickly to capture changing forms.

Try these exercises:
- Sketch the same object under direct light and under soft, diffused light.
- Draw shadows from multiple light sources to see overlapping and varying shadow shapes.
- Use only pencil or charcoal to focus on value and shape, not color.
After a few sessions, compare your sketches. Notice how shadows shift in size, shape, and softness depending on the light. Ask yourself what surprised you about the shadows you captured. Regular practice like this trains your eye and hand to work together in painting convincing shadows.
Shading Techniques for Creating Depth

Shadows give your painting a sense of depth and form. Choosing the right shading method helps you show the texture and volume of objects clearly. Smooth shading creates gentle, soft shadows that slowly change from dark to light. Use it when you want a more realistic effect with subtle transitions. Crosshatching uses layers of intersecting lines to build up shadow areas. This technique adds texture and energy, perfect for rough or fabric surfaces. Stippling applies dots to form shadows. It creates a unique, grainy texture and works well for delicate or detailed areas.
Think about the feeling you want your shadow to give. Does the surface feel soft or rough? Is the object round or flat? Picking the right shading style based on these questions can make your shadow painting stronger and more believable.
Smooth Shading Basics
Smooth shading blends your paint gently to show a gradual change from light to shadow. Use soft brushes or sponge tools to blend the colors evenly. Start with a base color, then add darker shades softly along the edges where the shadow appears. Work quickly before the paint dries to merge tones smoothly.

Try using a soft round brush or a blending stump for pencil work. Layer your paint thinly and build up the tone slowly, avoiding harsh lines. This technique works best when shadows softly curve around objects like a ball or face. Practicing smooth shading will help you create more natural-looking shadows in your artwork.
Textured Shading Methods
Crosshatching uses crossed lines to create shadow texture. Change the line density to control how dark or light the shadow appears. Tighter, thicker crosshatching means a darker, heavier shadow. Use this method when you want to show rough or patterned surfaces.
Stippling places many tiny dots to build up shadow areas. The closer the dots, the deeper the shadow. Use stippling for fine detail or areas that need a gentle, grainy effect. Both crosshatching and stippling add visual interest and contrast in your painting. Experiment with combining these techniques to make your shadows stand out.
Using Contrast and Value to Enhance Shadow Effects
Contrast between light and dark areas defines the strength of your shadow painting. When your shadows have a clear difference in value from the lit parts, they stand out more and give your painting depth. If the values are too close, shadows can look dull or flat.
Using a value scale from light to dark helps you control this difference. You can position shadows anywhere on this scale to create subtle or bold effects. Try mixing paint tones that reflect different points on the scale to see their impact on shadow clarity.

Balancing contrast means avoiding extremes. Too much contrast might make shadows harsh and unnatural. Too little contrast risks flattening your piece. Ask yourself: does the shadow bring life and form to my subject, or does it blend in without depth? Adjust your values until the shadows support the form without overwhelming it.
Understanding Value Scales
Value in art refers to how light or dark a color appears. It is separate from color itself, focusing only on brightness. To paint shadows well, you need to see and use this range of brightness clearly.
Create value scales by mixing paint from white to black in equal steps. This scale shows gradual changes in lightness and darkness. Practicing with this scale trains your eye to spot value differences in shadows and highlights.
When painting shadows, pick values from your scale to create smooth or sharp transitions. This helps your shadows feel more natural and well-placed. Value scales guide your choices, so you don’t rely on guesswork or default dark shades.
Balancing Contrast in Paintings
High contrast in shadows creates drama and focuses attention. This works well in bold or intense scenes. Low contrast creates softer shadows and a calmer mood. Both approaches have artistic uses.

To adjust contrast, vary your dark and light paint mixes carefully. You can add more midtones to soften the shifts or increase blacks and whites for sharp edges. Test different contrasts to see how they change your painting’s feeling.
Think about the mood you want. Do your shadows need to jump out or quietly support the shapes? Using contrast with purpose makes your shadow work more dynamic and engaging without losing balance.
Capturing Dynamic Shadows With Light Direction

Changing the direction of light shifts the shape and mood of shadows instantly. You can use this to give life and movement to your painting. When light comes from a low angle, shadows stretch long and create a quiet, tense feeling. A high light source makes shadows short and sharp, giving a clear, vibrant look. Think about where you want the viewer’s eye to go.
Painting shadows requires understanding your light setup. Single light sources create straightforward shadows with clear edges or soft fades depending on how close the light is to the object. Multiple lights make shadow shapes overlap and mix, adding complexity. You can practice by moving a lamp around a still object and observing how shadows change on your canvas or paper. How does shifting the light make your scene feel different?
Use dynamic shadows to add drama. Focus strong shadows on one side to suggest time of day or create mystery. Let shadows lead the eye across your painting. Try painting a single object under different light angles to see how shadow shapes can tell different stories. The right direction of light can turn a flat image into a powerful scene, guiding your decisions on where to place shadows and highlights.
Single Light Source Shadows
When painting with one light source, shadows form on the opposite side of the light. The closer the light, the sharper the shadow edges become. If the light is far away, shadows soften and fade gradually. This happens because light spreads out more over distance.
Focus on the angle of the light. A light placed low makes long shadows. A light above the object creates short shadows directly beneath. To paint soft shadows, use a gentle blend of the shadow tone into the surrounding area. For sharp shadows, use crisp lines and contrast. Look carefully at the way your real-world subject’s shadow changes as you move a flashlight closer or farther.
Practice varying shadow shapes by changing the light angle. Try painting the same object with a light from the left, right, or top. Notice how the shadow form and mood shift with each different position. This approach helps you control how strong or subtle your shadows appear, influencing your painting’s overall feel.
Multiple Light Sources and Complex Shadows
Painting shadows from several light sources means you will see overlapping shadows in different directions. Each light casts its own shadow with its own edge sharpness, colors, and intensities. These shadows can mix to create interesting shapes and layers in your painting.
You must observe how multiple lights change both shadow color and shape. Some shadows get lighter or colored by the second or third light’s glow. For example, a warm lamp and a cool window light can cause shadows to show warm and cool tones at the same time. This adds realism and complexity.
Try to paint shadows where they cross each other. Notice how some areas get darker where shadows overlap, while others soften in the light’s spill. This contrast adds depth. Experiment in your own work by setting up different lamps to create multiple shadows and then transferring what you see onto your canvas. How does this complexity affect your painting’s mood?
Incorporating Color in Shadow Painting
Shadows are often seen as simple areas of black or gray, but they actually contain color. When you look closely, shadows reflect subtle hues from their surroundings and the light source. Mixing colors in shadows adds depth and realism to your painting.
Use cool colors like blues and purples when shadows are cast in daylight to achieve natural effects. Warm colors like reddish browns or soft oranges can suggest sunset or indoor lighting. Balancing warm and cool colors in shadows creates contrast and energy in your composition.
Try mixing small amounts of complementary colors instead of pure black to make shadows more lively. Observe how light interacts with surface colors and try to mimic that in your shadow mixing. Have you noticed how a bright green leaf casts a slightly bluish or purple shadow? Adding color to your shadows helps you capture those subtle changes and makes your paintings more dynamic.
Natural Shadow Colors
Natural shadows are not just dark shapes but carry hints of blues, purples, browns, and greens. Blue shadows often appear outdoors under bright sunlight, especially in open skies. Try mixing ultramarine or cobalt blue with a touch of burnt sienna to create realistic shadow tones for skin or fabric.
Purple works well in shaded areas with cool or reflective light, like in shadowed folds or under leaves. Browns and warm greens can add richness to shadows on earthy surfaces or plants. You can mix burnt umber with a small amount of green for subtle natural greens in darker areas.
Practice observing shadows in different environments and recreate their colors on your palette. You will build a stronger understanding of how these natural hues affect mood and depth in your art.
Creative Use of Colors in Shadows
Using unusual colors in shadows can change the mood and artistic feel of your painting. Colors like red, teal, or even magenta in shadows challenge the viewer’s expectations and add interest. They can suggest artificial lighting or emotional tension.
For example, a red shadow can evoke heat or drama, while blue or teal shadows can feel cool or mysterious. Using unexpected colors invites you to experiment and find your unique style. Think about the mood you want to create before choosing your shadow colors.
Have you tried painting shadows with colors that contrast strongly with your light areas? This approach can make your shadows pop and add energy to your work. Don’t be afraid to push beyond naturalism to express feelings through color in shadows.
Step by Step Shadow Painting Tutorial
Setting Up and Sketching
Prepare your workspace with good lighting and all necessary materials at hand. Use a primed canvas or panel that suits your paint type. Arrange brushes, palettes, and mixing tools so you work smoothly without interruptions. Start by selecting the main shapes in your subject with a light pencil or thinned paint. Focus on blocking out large areas that cast shadows instead of tiny details.
Next, mark shadow areas simply but clearly. Use rough shapes or hatch lines to indicate where the darkest values will go. This helps you plan where light hits and where shadows lie. Keep your sketch loose and avoid overworking it; the main goal is to create a foundation for shadow work.
Ask yourself, which parts of your subject block light? How do those shadows fall on surfaces nearby? Confirm these ideas before you start painting to build confidence in your structure.
Painting Shadows and Details
Begin by painting the darkest shadow areas first. These provide depth and anchor the composition. Use a larger brush to block in shadows with solid, even strokes. Choose heavier pigments for opacity and shape accuracy. Let these areas dry before moving on.
Layer lighter shadow tones on top, blending edges softly to create smooth transitions. Work wet-on-wet or allow drying between layers depending on your paint type. Pay close attention to the edges—shadows should not always have hard lines. Soft edges help show curved forms and how light moves across objects.
Add fine details last, such as reflected light or texture in shadowed regions. Small brush strokes can mimic surface irregularities or subtle color shifts here. Practice controlling your brush pressure to maintain sharpness without harsh contrast.
Try focusing on one shadow at a time, then step back often. Does the flow between lights and darks feel natural? This slow approach builds dimension and makes the painting more believable over time.
Tips for Practicing and Improving Shadow Painting Skills

Practice shapes your skill with shadows. Start by setting aside time daily to observe shadows around you. Look at how light touches objects and creates dark areas. Try quick sketches to capture changing shadows during different times of day. These short sessions help you notice subtle shifts in tone and form. Use simple tools like pencil or charcoal to keep the focus on light and dark, not color. Changing materials between sketchbooks, paint types, or brushes encourages you to see shadows differently and find new ways to express them.
Watching how experienced artists handle light and shadow can push your work forward. Study paintings by masters such as Rembrandt or Caravaggio. Notice how they create depth with shadow shapes and highlights. Question the choices they make: Why is one shadow soft and another crisp? Try copying sections of their works to understand their techniques better. Then, apply those lessons to your projects, mixing their approaches with your ideas. How could their methods improve your way of painting shadows?
Daily Shadow Observation Exercises
Spending a few minutes each day focusing on shadows sharpens your eye quickly. Select objects around your home or outside that cast clear shadows. Sketch them rapidly, paying attention to edges and darkness. You don’t need to finish perfect drawings. The goal is to train your brain to recognize how light behaves. Which shadows shift during morning light? How do shadows soften on cloudy days? Consistent exercise builds your confidence and makes capturing shadows second nature when you paint.
Learning from Master Artists
Studying shadow usage in art helps you unlock new techniques. Look closely at how historic painters made their shadows and lights interact. Notice the contrasts and textures they achieve. Reflect on what kind of light they used — natural or artificial? How does the shadow’s position tell you about the source? Trying to replicate their lighting setups helps you understand shadow’s role in storytelling and mood. Ask yourself what you can borrow and what you want to adjust to fit your style.
Conclusions
Shadow painting is a powerful skill that enhances your artwork by adding depth and realism. Through practical exercises focusing on light and shadow, you can make your work more dynamic. You now understand basic principles and how to apply them, such as shading methods and controlling contrast. Keep practicing these techniques to see clear improvement in your paintings.
Your journey in shadow painting does not stop here. Experiment with different light sources and shadow shapes to grow your creative style. Observe real life shadows to better understand their forms. Your paintings will gain life and interest as your skills develop. Use shadows not just to mimic reality but to express your artistic vision clearly. Challenge yourself to bring your paintings to the next level by mastering dynamic shadow painting.


