Introduction
Watercolor painting offers a unique way to express creativity through the blend of water-based pigments. Whether you are new to painting or looking for a fresh hobby, watercolor provides an accessible medium that can be both relaxing and rewarding. This type of art uses pigments suspended in water, applied most often on specialized paper designed to hold water and color without warping. Mastering watercolor can seem challenging at first, but with the right guidance and project ideas, you can build your skills step by step. You will learn how to control the colors and water to create stunning effects, understand the tools involved, and develop your style.
This guide covers essential techniques and project ideas that beginners can try at home. You will find practical advice on materials selection, painting methods, and creative project plans that help you apply what you learn. Our approach emphasizes hands-on experience, encouraging you to experiment and enjoy the process. Along the way, you will explore concepts like color mixing, brush control, and layering, which are key to producing your own watercolor artwork. Are you ready to start your watercolor journey and see what you can create with simple tools and some imagination?
Understanding Watercolor Basics

Watercolor painting uses pigments that mix with water to create color. Unlike oil or acrylic paints, watercolor paints stay transparent when applied to paper. This quality lets light pass through the paint, reflecting off the paper below and creating a glow in your artwork. The way watercolor spreads and blends depends on how much water you add to your brush and paper. Wet areas cause colors to flow and mix easily, while dry areas produce sharper edges.
You may wonder what shapes the unique feel of watercolor. It’s the balance between water and pigment. The paint’s fluidity allows you to layer colors quickly or lift paint to create highlights. These properties make watercolor flexible but also require some practice to control.

Learning how watercolor behaves helps you plan your technique. When you know how water affects pigment, you can decide whether to keep colors soft or vivid. How will you use this transparency to express your ideas? Watercolor invites you to experiment with light, texture, and color in ways that other paints do not.
What is Watercolor Painting
Watercolor paint consists of pigments mixed with a water-soluble binder, usually gum arabic. This binder holds the pigment particles together while allowing them to dissolve in water. Watercolors differ from acrylics or oils because they do not cover the canvas with thick layers. Instead, they soak into the paper and remain translucent.
Watercolor painting has a long history. It dates back to ancient Egypt but became popular in Europe during the Renaissance for its speed and portability. Artists use this medium for quick studies or completed artworks. The ability to capture light and subtle color changes sets watercolor apart from other paints.
What draws you to watercolor? It might be its simplicity or the challenge to control water. Think about how this medium’s qualities can match your style. Watercolor asks you to work with unpredictability and embrace spontaneous effects.
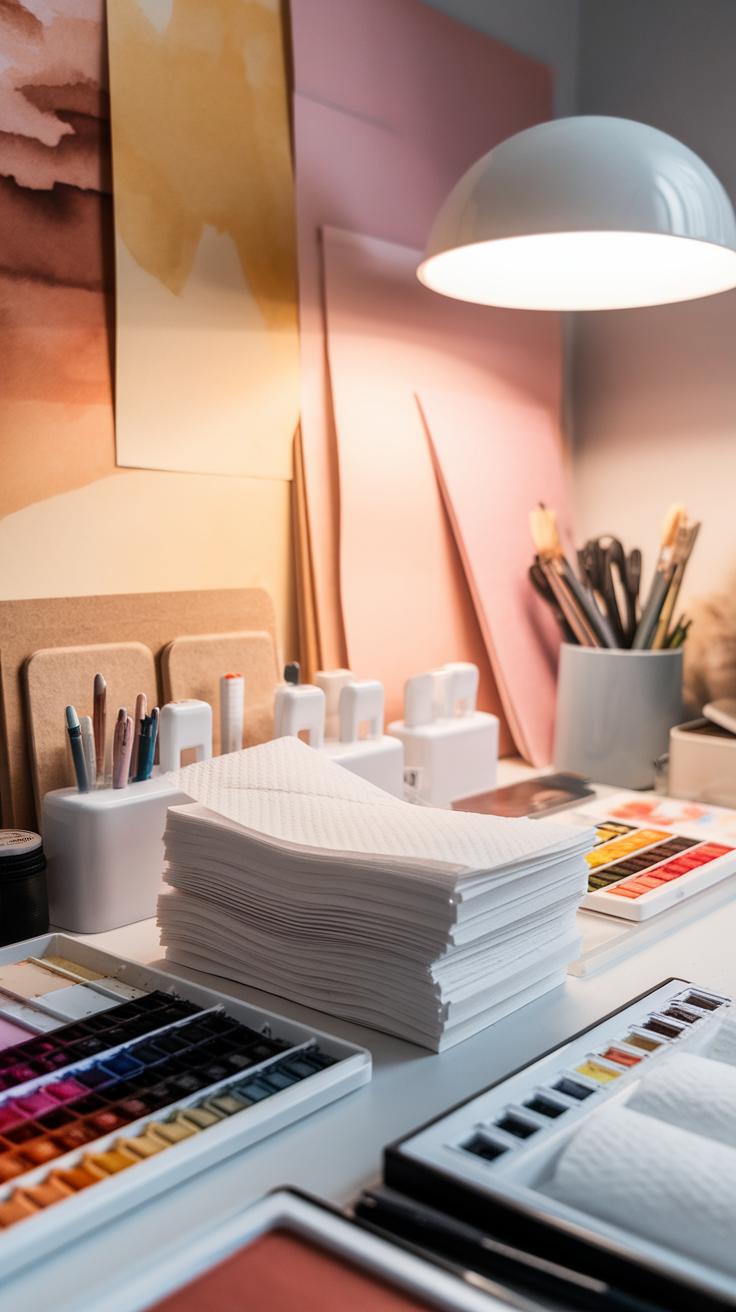
Essential Materials for Beginners
Your first step in watercolor painting is choosing the right tools. Start with watercolor paper that is thick and textured, such as 140 lb (300 gsm) cold-press paper. This paper absorbs water well and prevents warping. Avoid regular drawing paper, as it can buckle under moisture.
Pick brushes made of synthetic fibers or natural hair that hold water. A round brush size 6 or 8 works well for most beginner projects. You’ll also need a small flat brush for washes or sharp edges. Try a basic set of watercolor paints with primary colors—red, blue, and yellow—along with black and white if you want to mix a wider range of shades.

Other helpful tools include a palette for mixing colors and a container for clean water. Can you guess how each choice affects your painting? Using the right materials helps you focus on technique instead of managing problems like bleeding or faded colors. Starting simple keeps your focus on practice and learning.
Preparing Your Workspace and Materials
Organizing a Functional Painting Space
Good lighting helps you see true colors and details clearly.
Natural light from a window is best, but a bright desk lamp angled to avoid glare also works well.
Keep your workspace clean and free of clutter. It helps you focus and keeps your supplies accessible.

Choose a comfortable chair and desk height to avoid strain. Sitting upright with your feet flat gives better control as you paint.
A flat, sturdy surface prevents your paper from warping and keeps your tools steady.
Have your water containers, towels, brushes, and paints all within reach to avoid interruptions.
Ask yourself: How can you arrange your space so each tool feels ready when you need it?
Material Preparation Tips
Start by taping your watercolor paper to a board or table. This keeps it flat and prevents curling when wet.

Before mixing paints, wet your brush and test colors on scrap paper to avoid surprise shades.
Mix small amounts of paint on your palette to control color intensity. You can always add more water or pigment.
Rinse your brushes often to avoid muddy colors, and gently reshape the bristles after cleaning.
Consider soaking or stretching your paper beforehand for larger projects to reduce warping.
What small prep steps will smooth your painting process from start to finish?
Basic Watercolor Techniques

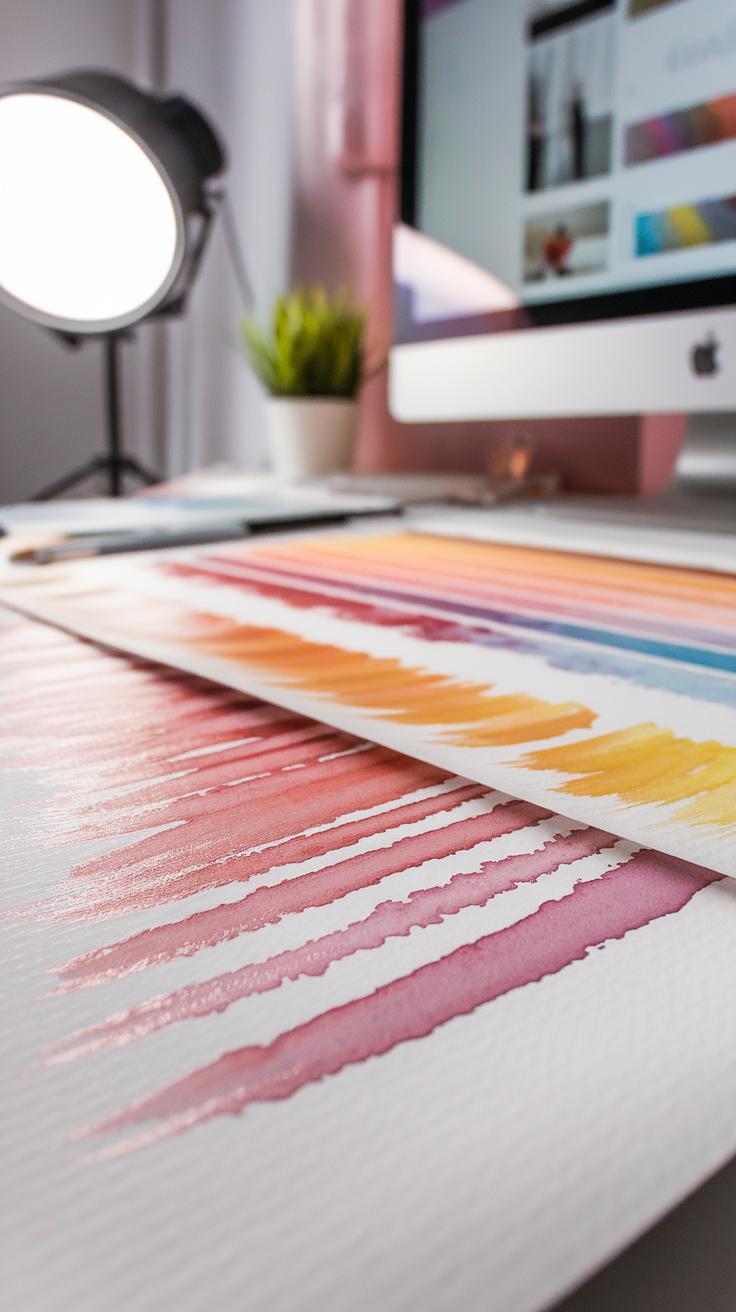
Mastering a few key watercolor techniques helps you control your paint and create more interesting artwork. Wet on wet and wet on dry are two important methods that change how colors appear and blend on your paper. Wet on wet means applying paint onto wet paper. This causes colors to spread and merge softly, making smooth, natural transitions. You can try dropping a bright color onto a wet background and watch it flow in unpredictable ways.
Wet on dry means painting wet paint on dry paper. This method keeps edges clear and shapes sharp. It lets you add details and layers with precision. Imagine painting a leaf’s outline wet on dry, then gently adding lighter color inside using wet on wet for softness.
Applying Paint: Wet on Wet and Wet on Dry
The difference between wet on wet and wet on dry affects your painting’s look and feel. Wet on wet creates blurred edges and natural gradients because the paint spreads freely. The longer the paper stays wet, the more the colors mix. Wet on dry holds paint in place and separates colors distinctly. You can layer shapes or build texture by waiting for paint to dry before adding more.
Try painting a simple sky using wet on wet to blend blues and pinks. Then paint birds over the sky using wet on dry to make them stand out. Which effect do you prefer for creating mood in your art?
Creating Effects with Layers and Washes

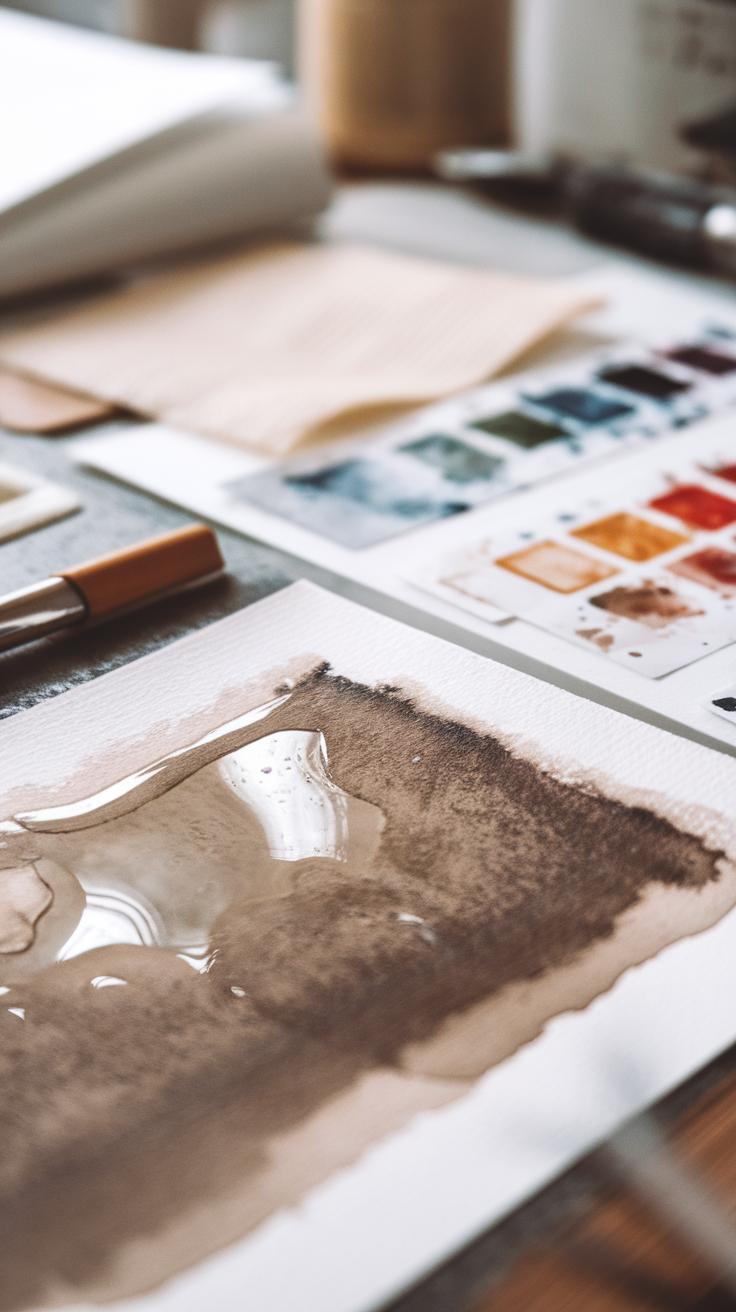
Layering is a key skill that builds depth and richness in your watercolor paintings. Start with a light wash—thin, transparent paint covering a large area. Allow it to dry fully before adding another wash on top. Each new layer changes the color slightly, creating variations and texture.
You can build shadows by layering darker colors or create highlights by leaving areas untouched. Thin washes keep colors vibrant and translucent while letting your paper’s white show through. Experiment with layering the same color multiple times to increase intensity. How does layering change your painting’s mood and dimension?
Color Mixing and Understanding Pigments
Color Theory for Watercolors
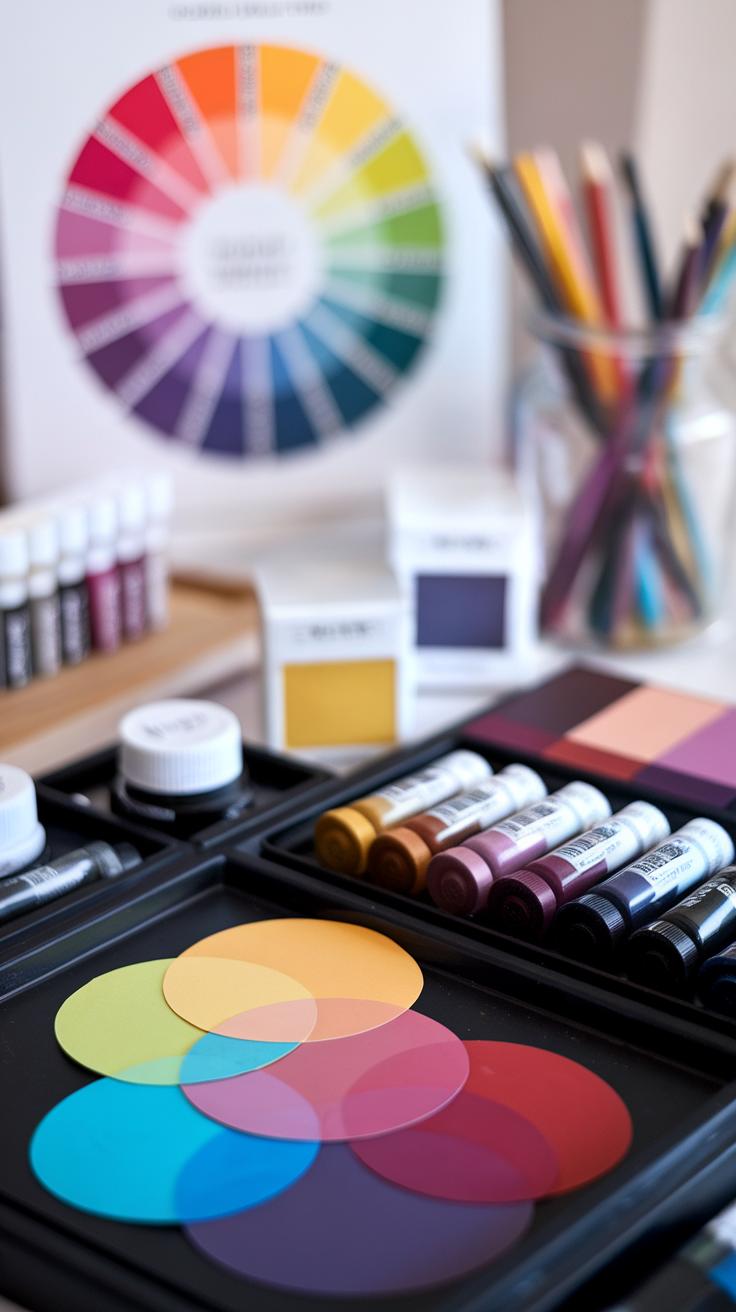
Understanding how colors mix is key to making your watercolor paintings vibrant and balanced. The color wheel shows how primary colors—red, blue, and yellow—combine to create secondary colors like green, orange, and purple. Mixing any two primary colors lets you explore many shades. For example, mixing red and blue gives purple, but changing the ratio can create a range of purples, from warm to cool.
Watercolors are transparent, so layering colors also changes the effect. You can mix colors on your palette or directly on paper using wet-on-wet or wet-on-dry techniques to see different results. Look for how pigment concentration changes the color’s brightness and depth. Experiment with mixing small amounts first to avoid muddy colors.
Choosing Pigments and Colors
Not all watercolor paints behave the same. Paints with high pigment concentration offer richer colors and better coverage. They hold up well through multiple layers without losing their brightness. Student-grade paints usually have less pigment, so colors might appear lighter or duller after drying.

Opacity matters too. Some pigments are transparent, allowing underlying layers to show through, while others are more opaque. Transparent pigments give watercolor its signature glow but can be tricky if you want solid color. Try different brands to see how pigment quality affects your work.
Have you noticed how the same color looks different in various paints? Choosing the right paint helps you control your work’s intensity and texture. Think about your project and choose pigments that match your style and your goals.
Starting Your First Watercolor Project

Choose a simple subject like a single flower or a basic landscape for your first watercolor project. Such themes help you focus on practicing essential skills without feeling overwhelmed.
Begin by sketching the main shapes lightly with a pencil on your watercolor paper. Keep your lines soft so they don’t show through the paint later. For a landscape, draw a horizon line, place basic shapes for trees or hills, and sketch clouds or the sun. For a flower, outline the petals and stem carefully.

Next, plan how you want to layer colors. Think about which areas will be light and which will be darker. Start with lighter washes and build up your painting by adding more layers to create depth.
As you work, pause to look at your painting from a distance. Are the colors balanced? Is the composition clear? Adjust your approach if needed, then finish by adding small details like veins on leaves or shadows to make the image stand out.
Sketching and Planning Your Painting
Keep your pencil sketch simple and light. Use a hard pencil, like an HB or 2H, so lines stay thin and won’t disturb the paint.
Begin with basic shapes to map out your subject’s structure. For example, paint a round shape for a flower center and gentle curves for petals.
Think about where light hits and where shadows fall. Mark those spots lightly. This will guide your color choices and layering later.
As you sketch, ask yourself if the composition feels balanced. Would shifting an object improve your painting? Planning ahead saves time during painting.
Applying Basic Techniques to Your Work
Use thin, light washes to lay down your first colors. These washes form the painting’s base and let you correct mistakes easily.
Apply layering by letting each layer dry before adding the next. Doing this creates depth and richer colors.
Mix colors thoughtfully. For example, blend blue and yellow to create subtle greens for leaves rather than using straight green paint.
Try wet-on-dry to add sharper details after your first washes. Paint veins on flower petals or tree branches carefully to enhance your image.
Check your work regularly. If a color appears too strong, add a little clean water to soften it. This control will improve your final painting.
Exploring More DIY Watercolor Projects

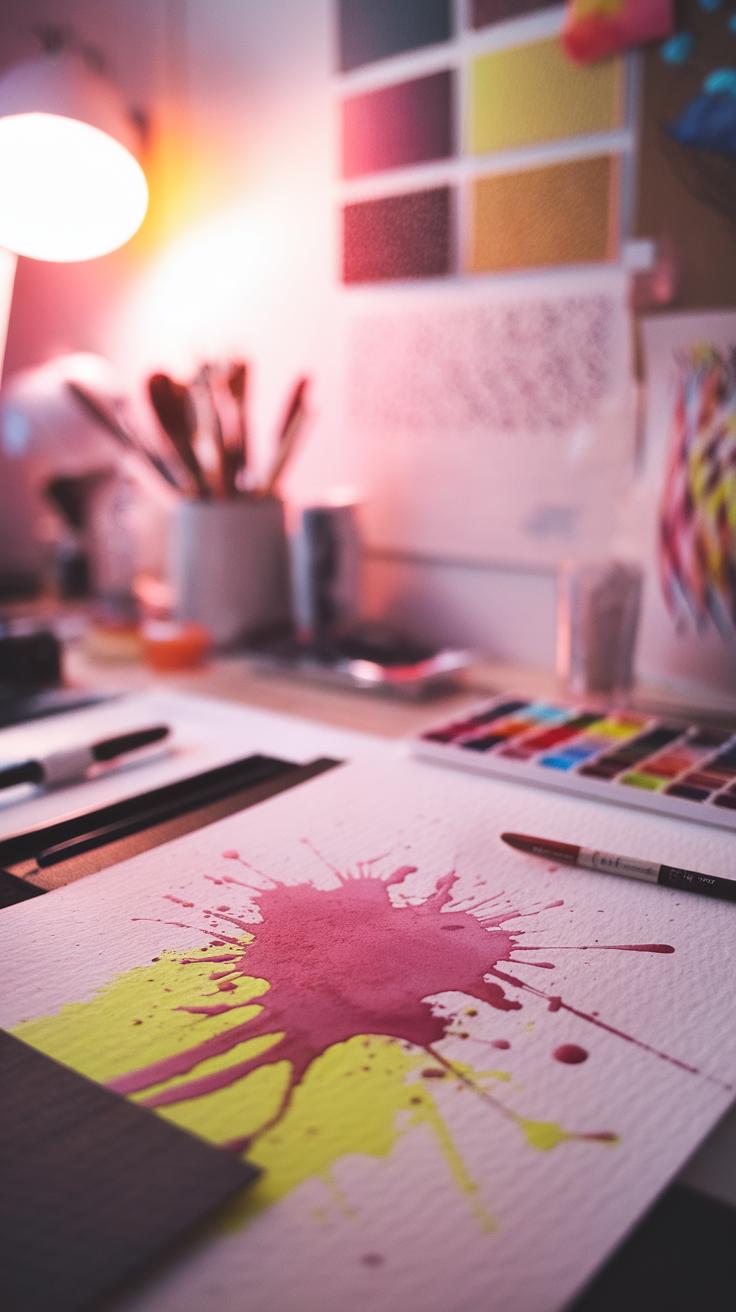
Try making abstract watercolor designs to focus on shapes and colors without worrying about details. Use bold strokes, splatters, or soft gradients to see how water and pigment interact. This helps you understand flow and texture.
Practice color blending by mixing two or three colors directly on wet paper. Watch how new shades form and how blending changes depending on how much water you add. This exercise builds confidence with your brush and palette.
Look around your home for simple objects to paint. A coffee mug, a bunch of keys, or a fruit bowl can be great subjects. Painting everyday items sharpens your observation and teaches you to capture light and shadow.
Creative Simple Projects to Build Skills
Try painting repeated geometric shapes like circles, triangles, or squares in different sizes and colors. This helps you control brush pressure and color placement.
Work on layering multiple colors. Start with a light wash, then add darker details on top once the paper dries. This technique builds depth and complexity in your work.
Make small pattern studies using dots, lines, and squiggles. Experiment with combining colors and shapes. These exercises encourage you to play freely with your materials.
Using Everyday Items as Art Subjects
Common objects around you offer endless painting opportunities. Pick something simple, like a pair of glasses or a single leaf. Focus on their shape, texture, and how light hits them.
Try setting up a small still life with items from your kitchen or desk. Observe carefully. How do shadows fall? What colors appear in the highlights? This practice sharpens your eye for detail.
Ask yourself what makes the object interesting to paint. Is it the patterns, the colors, or the way parts fit together? Let curiosity guide your painting choices and you’ll create meaningful studies with everyday subjects.
Troubleshooting Common Beginner Mistakes
Watching your watercolor paper buckle or tear can be frustrating. This usually happens when you use too much water at once. Try applying paint in thin layers, letting each dry before adding more. If your paper feels soggy, blot excess water with a clean tissue instead of rubbing. This keeps the surface ready for your next stroke.
You may notice colors turning dull and muddy when combining paints. Avoid mixing many colors directly on your palette or paper. Test color mixes on scrap paper first to see how they behave. Clean your brush well between colors to keep hues fresh and vibrant.
Uneven washes often result from rushing or changing water amounts mid-stroke. Practice steady hand movement and consistent brush loading. If patches dry too quickly, work in smaller sections or mist your paper lightly to slow drying. Have you noticed any patterns in your painting errors? Pinpointing them helps you improve faster.
Managing Water and Paint Control
You control the outcome of your painting mostly through water volume. Too much water saturates paper fibers, causing warps or blooms where paint spreads unevenly. On the other hand, too little water creates harsh, jagged edges and patchy color.
Test your brush on scrap paper to sense the balance before painting. A well-loaded brush should feel slick but not dripping. When applying washes, move smoothly and keep a wet edge to avoid hard lines.
Ask yourself: Is the paper shiny and dripping or matte and dry? Adjust water levels accordingly. Using heavier watercolor paper can also handle water better and reduce damage from over-wetting.
Achieving Clean and Vibrant Colors
Bright colors come from carefully layering pure pigments without muddy mixing. Rinse your brush fully before picking a new color. This avoids unwanted blending on paper.
Keep your palette organized by cleaning old mixtures before starting. Paint straight from the pan or use minimal water to maintain pigment strength.
Try glazing: apply a thin layer of one color, let it dry, then add another on top. This lets colors shine through each other without mixing into dullness.
Think about how you can separate colors in your painting to keep each shade clear. Are you allowing paints to dry properly between layers? Patience helps your colors stay fresh and vivid.
Caring For Your Watercolor Tools
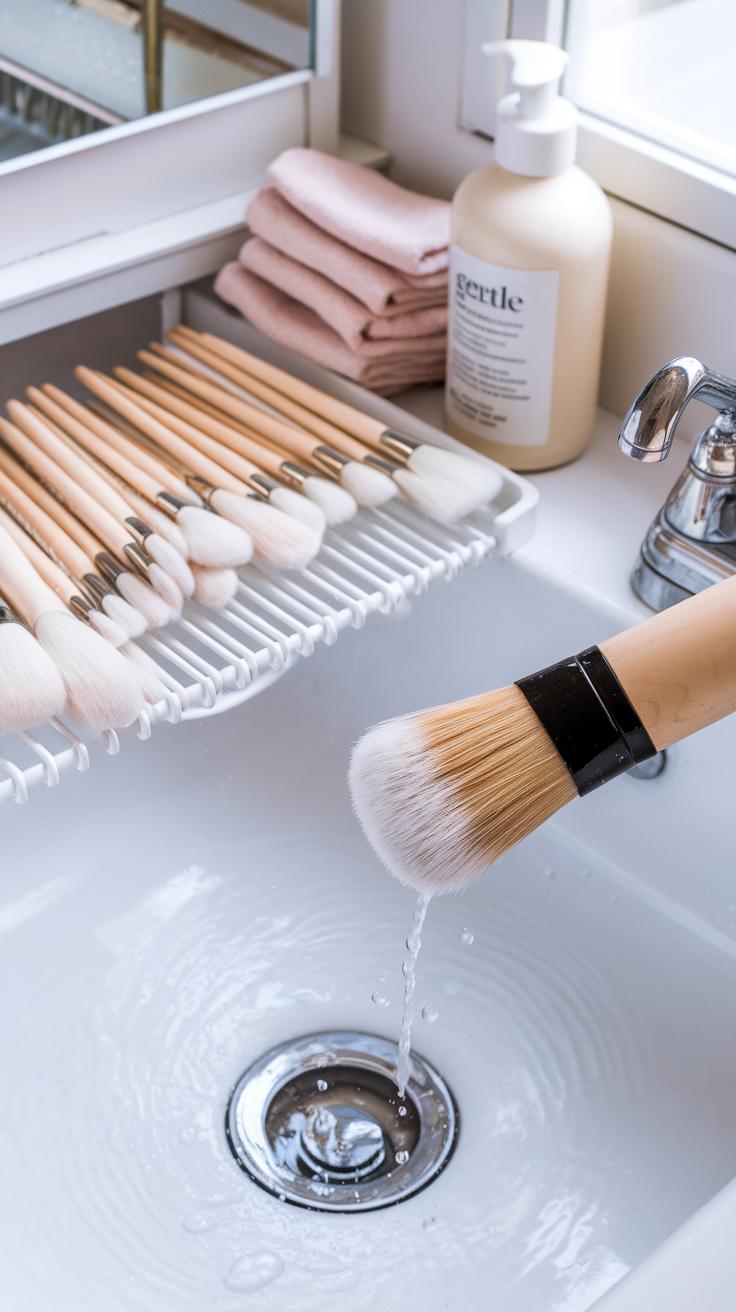
Taking care of your watercolor tools helps you get better results and saves money over time. Cleaning your brushes right after painting prevents paint from drying in the bristles, which can make them stiff and hard to use. Rinse brushes in clean, lukewarm water until the water runs clear. Avoid using hot water because it damages the hair. Use gentle soap to clean stubborn paint, but don’t scrub too hard. Once clean, reshape the bristles with your fingers and let brushes dry flat or hanging with the bristles down to keep their shape.
Brush Cleaning and Maintenance
Never leave paint in your brushes overnight. Dried paint weakens the bristles and shortens brush life. Spend a few minutes cleaning brushes after each session. If you have different brush types, clean them according to their material. Synthetic brushes handle soap better, while natural hair brushes need more gentle care. Check your brushes regularly—loose hairs or misshapen tips show it’s time to clean or replace them. How often do you take a moment to care for your brushes?
Proper Storage of Paints and Paper
Keep your watercolor paints in a cool, dry place away from direct sunlight. Sunlight fades colors and dries paint pans too fast. Use airtight containers or paint palettes with lids to prevent dust and moisture. Storing tubes or pans upright helps prevent leaking or drying out. Your watercolor paper needs a flat, dry space too. Store paper sheets between boards or inside folders to protect them from bending and moisture. Avoid areas with high humidity, which can cause your paper to warp. Have you checked where your supplies live? Proper storage keeps your materials ready for your next project.
Adding Personal Style and Experimentation
Finding Your Watercolor Style
Your watercolor style reflects what you enjoy and how you express yourself through painting. Try different approaches like loose washes, detailed layering, or abstract shapes. Work on small studies using varied subjects such as flowers, landscapes, or simple objects. Notice which techniques feel natural to you and which spark your interest more. Do you prefer soft, flowing colors or sharp, bright details? Experiment with different brush sizes and strokes. Keep a journal or folder of your attempts to see patterns in what appeals to you. How do you want your paintings to make others feel? Your style will develop with regular practice and conscious choice. Give yourself time to recognize what truly excites you in watercolor art. This identification helps make your work unique and rewarding.
Experimenting with New Techniques and Effects
Using new tools can open up fresh possibilities. Try sprinkling salt on wet paint to create interesting textures as it dries. Test masking fluid to protect areas and keep them white or clean while you paint surrounding layers. You can use household items like plastic wrap, sponges, or even old credit cards to add unexpected shapes and effects. Combine techniques such as wet-on-wet with dry brush strokes to see how they contrast. What happens if you layer watercolor with ink or pencil? Experimenting helps you find combinations that catch your eye and expand your skills. Note which effects inspire you to keep practicing, and which you want to use in future projects. Turning mistakes into discoveries is part of the process, so allow room for trial and error.
Planning Your Watercolor Painting Journey
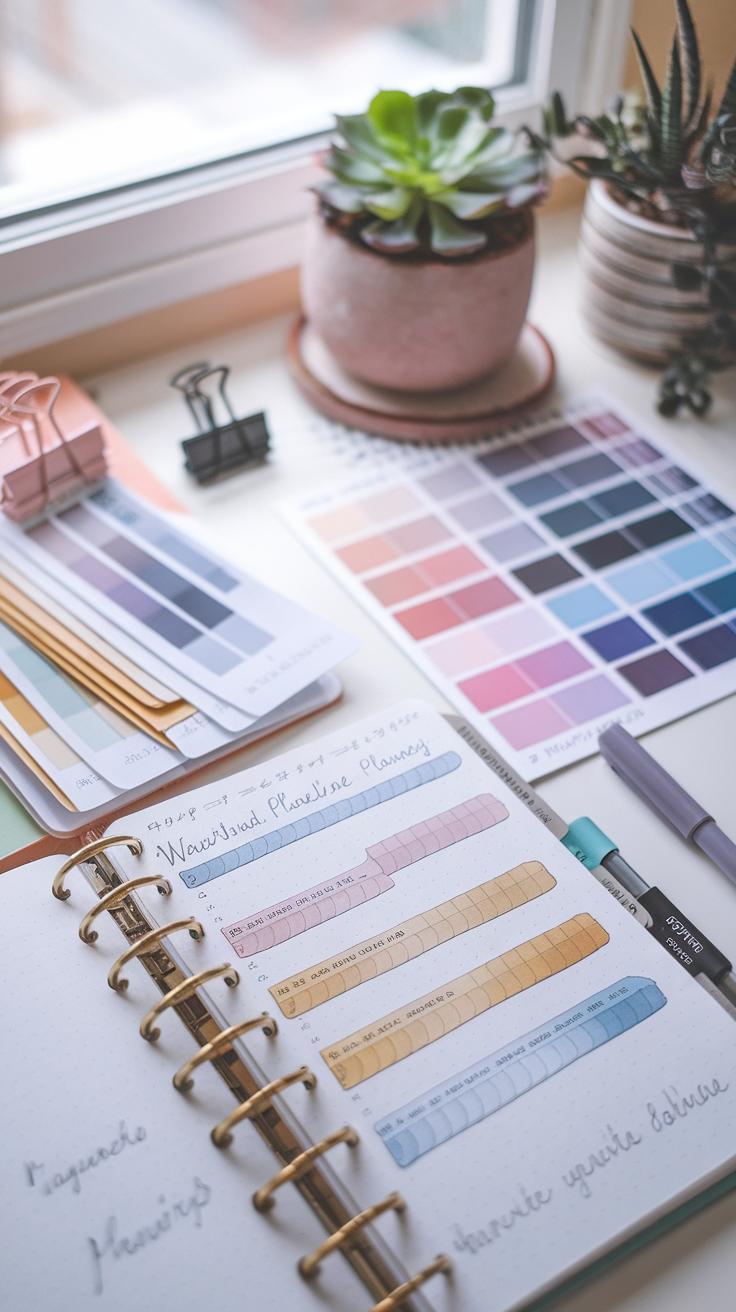
Setting clear goals helps you track progress and stay motivated. Start by deciding what skills you want to improve, like controlling washes or mastering layering. Break larger goals into smaller, manageable tasks such as practicing blending for ten minutes daily. Use your sketchbook to record ideas, experiments, and progress. Writing down what you learn and challenges you face creates a useful reference for your growth.
Keeping a sketchbook also sharpens your observation and planning skills. Try drawing simple shapes or scenes before painting. This habit builds confidence and helps you understand how colors and forms work together.
Ask yourself: What do I want to create in six months? How will I measure my improvement? Clear goals help transform your practice into steady progress.
Setting Goals for Skill Improvement
Focus on realistic and specific goals. Instead of saying “get better at watercolor,” say “learn to blend colors smoothly” or “paint three simple flowers by the end of the month.” Set deadlines to create a sense of urgency. Track your efforts to see where you improve and where to focus next.
Use challenges or prompts to push your limits step by step. For example, dedicate one week to mastering wet-on-wet technique before moving to details and textures. Small wins encourage consistency and build new skills.
Ask yourself, which technique feels hardest right now? Which paint effects would add depth to my work? Setting goals answers these questions and guides your practice time.
Connecting with Fellow Artists and Resources
Joining watercolor communities can boost your learning and keep you motivated. Look for local art clubs, online forums, or social media groups where artists share tips and support each other. Positive feedback and shared experiences help you see new perspectives and techniques.
Attending workshops or online classes gives you structured lessons and expert guidance. It also introduces you to artists at a similar skill level, making your journey less lonely. Many platforms offer free or low-cost tutorials tailored for beginners.
Engage by asking questions or sharing your work. What did others notice about your colors or brush strokes? How do they handle similar challenges? These dialogues deepen understanding and inspire new ideas.
Conclusions
You have discovered the basics of watercolor painting and explored projects designed to enhance your skills. Each project builds on fundamental techniques, offering you the chance to practice control over water, color, and brushwork. By taking a structured approach, you develop confidence and competence in this medium. The tools and methods presented here are practical and easy to follow, helping you avoid common mistakes and make the most of your materials. Remember, mastery comes from consistent practice, so keep experimenting and refining your technique with each painting.
Watercolor painting opens doors to self-expression and creativity that anyone can enjoy. You have learned about important concepts and how to implement them in your own projects. This foundation prepares you to explore more advanced techniques or create personalized artworks. Think about how you can use what you have learned to capture your surroundings, emotions, or ideas on paper. Your journey in watercolor painting is just beginning, and each step adds to your skills and enjoyment. What will you paint next using your new watercolor knowledge?