Introduction
Watercolor painting is a popular and enjoyable art form that you can use to create delicate and colorful flowers. Learning to paint flowers with watercolors helps you practice blending colors and mastering brush techniques. This tutorial series offers clear and simple steps to get you started and improve your skills. You don’t need prior experience to follow along. The materials are affordable and accessible, making this an ideal project for anyone who loves art and nature.
Flowers have many shapes and colors, which means you can create endless variations in your paintings. Understanding how to create petals, leaves, and stems with watercolor will make your artwork look more realistic and vibrant. This series breaks down the process into manageable lessons. You will learn techniques such as layering washes, controlling water flow, and mixing colors. Are you ready to bring your floral art to life with watercolor painting? Let’s begin this creative journey.
Gathering Materials for Watercolor Flowers

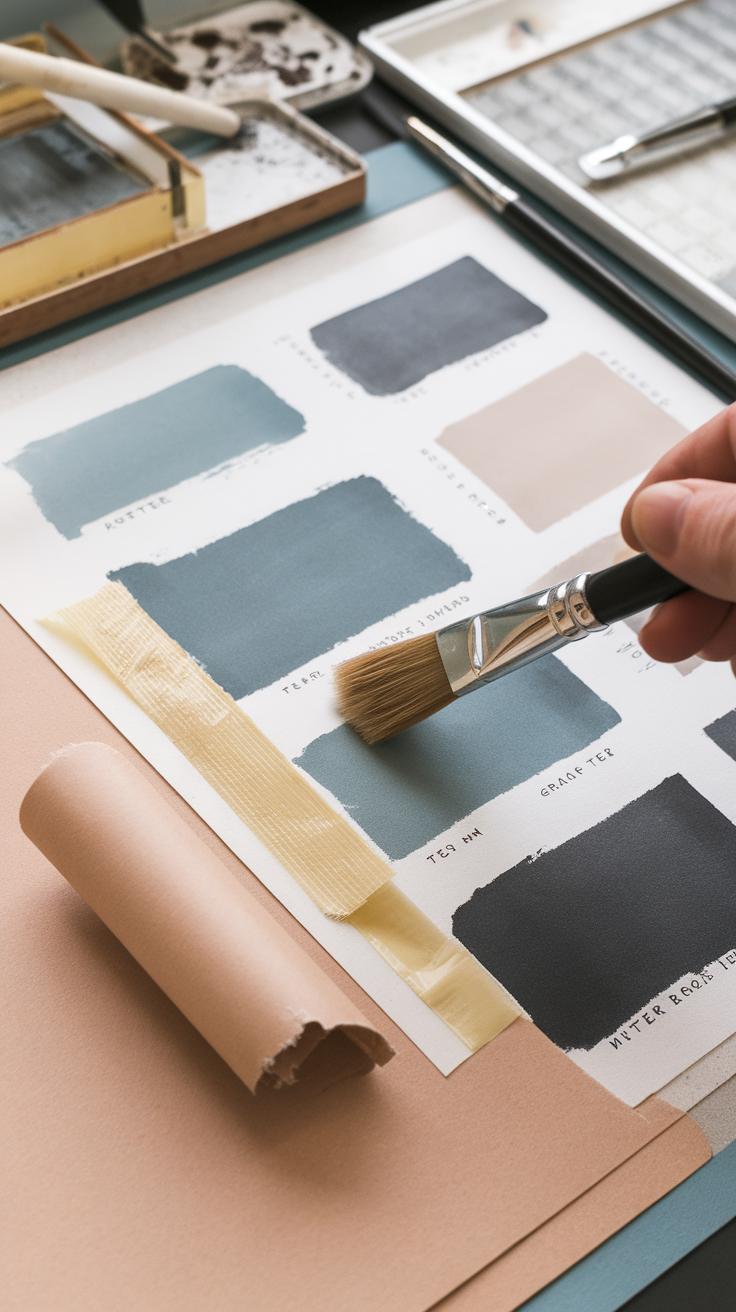
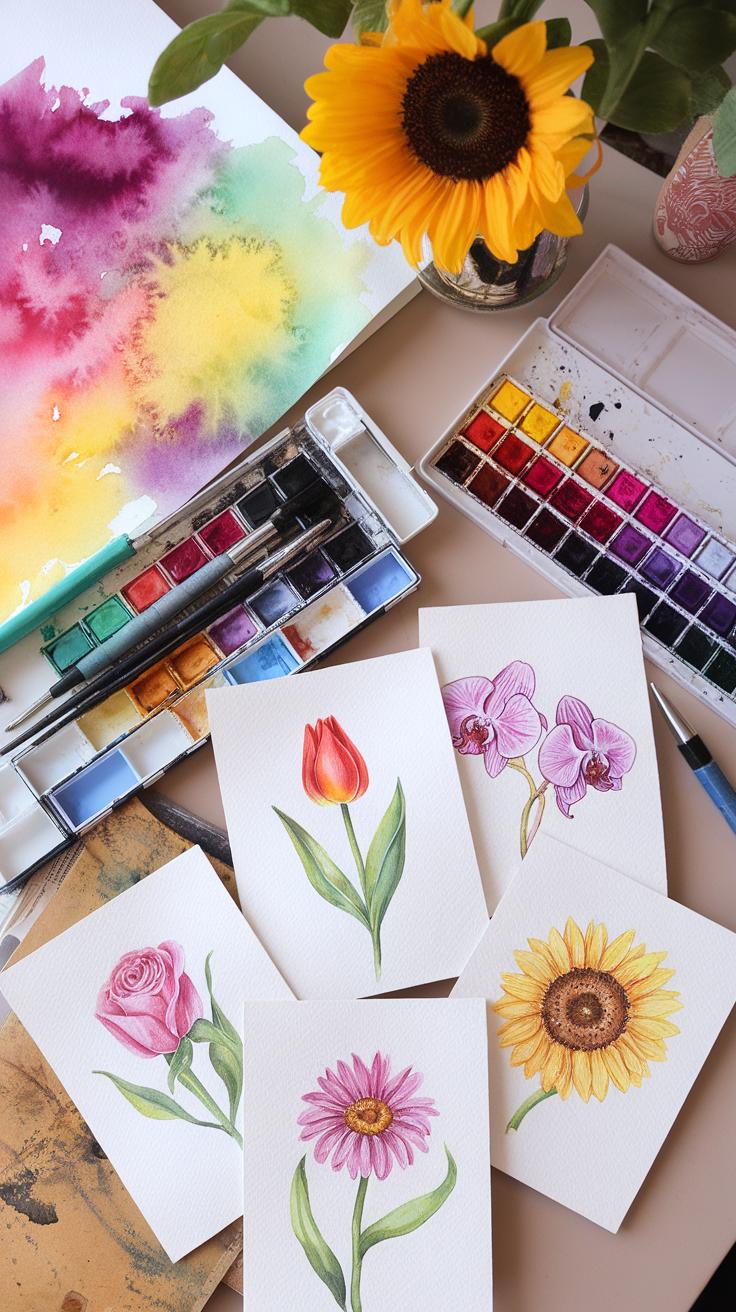
You need specific materials to start painting watercolor flowers effectively. Picking the right paper will affect how your paint spreads and holds detail. Quality brushes help you create petals, leaves, and fine lines with ease. Choose paints with strong pigments to make your colors vibrant and lasting. A palette is necessary to mix your colors smoothly and control their intensity. Also, have clean water containers ready to rinse brushes and adjust the paint’s flow. Pencils come handy for sketching delicate flower shapes before adding paint. Gathering these tools carefully sets a solid foundation for your flower paintings and ensures you enjoy the process from the start.
Choosing the Right Watercolor Paper
Watercolor paper comes in three main textures: cold-pressed, hot-pressed, and rough. Cold-pressed paper has a slightly textured surface that holds paint well and allows you to blend colors nicely, making it ideal for soft flower petals. Hot-pressed paper is smooth and works best for fine details, such as the veins in petals or sharp leaves. Rough paper has a bumpy texture that creates a grainy look, which some artists use for expressive or bold floral effects. Think about how much detail you want in your flower. Will you focus on smooth gradients, or do you want a textured, dynamic finish?
Selecting Brushes and Paints
Round brushes with pointed tips give you control over broad strokes and delicate lines in flower shapes. Smaller detail brushes help you paint tiny petals, stamen, or leaf veins accurately. Invest in brushes made with synthetic or natural hair, as they hold water well and maintain their shape. Choosing high-quality paints affects the brightness and blending of your colors. Pigments that are more concentrated provide richer color and better layering without muddying. When choosing paints, test how they mix and spread on your paper to find what suits your style and flower types best.
Basic Techniques for Watercolor Painting

Watercolor painting involves different methods that affect how your flower petals and leaves appear. The three main techniques to start practicing are wet-on-wet, wet-on-dry, and dry brush. These will help you control the softness, sharpness, and texture of your floral paintings.
The wet-on-wet method lets colors flow smoothly into each other. This technique works well for soft edges in petals or gentle gradients. You paint on paper already damp with clean water. The paint spreads widely and blends naturally. This way, you can create a subtle look for things like rose petals or gentle shading on flower centers.
Wet-on-dry involves painting wet paint onto dry paper. You get cleaner, sharper edges this way. It helps define the shape of petals and leaves clearly, as well as add details like veins or edges. This technique is useful when you want crisp flower parts that stand out.
The dry brush method uses less water on the brush for rougher, scratchy textures. This works great for fine details like stems or small veins on petals. It can add depth and interest to your flower paintings, making them feel more vibrant. Try combining these techniques to see how you can shape and detail different flower elements.
Wet-on-Wet and Its Effects
The wet-on-wet technique creates soft, flowing colors that blend smoothly. You apply clean water to the area first, then drop paint on top while the paper is still wet. The color spreads and merges into gentle gradients without hard lines.
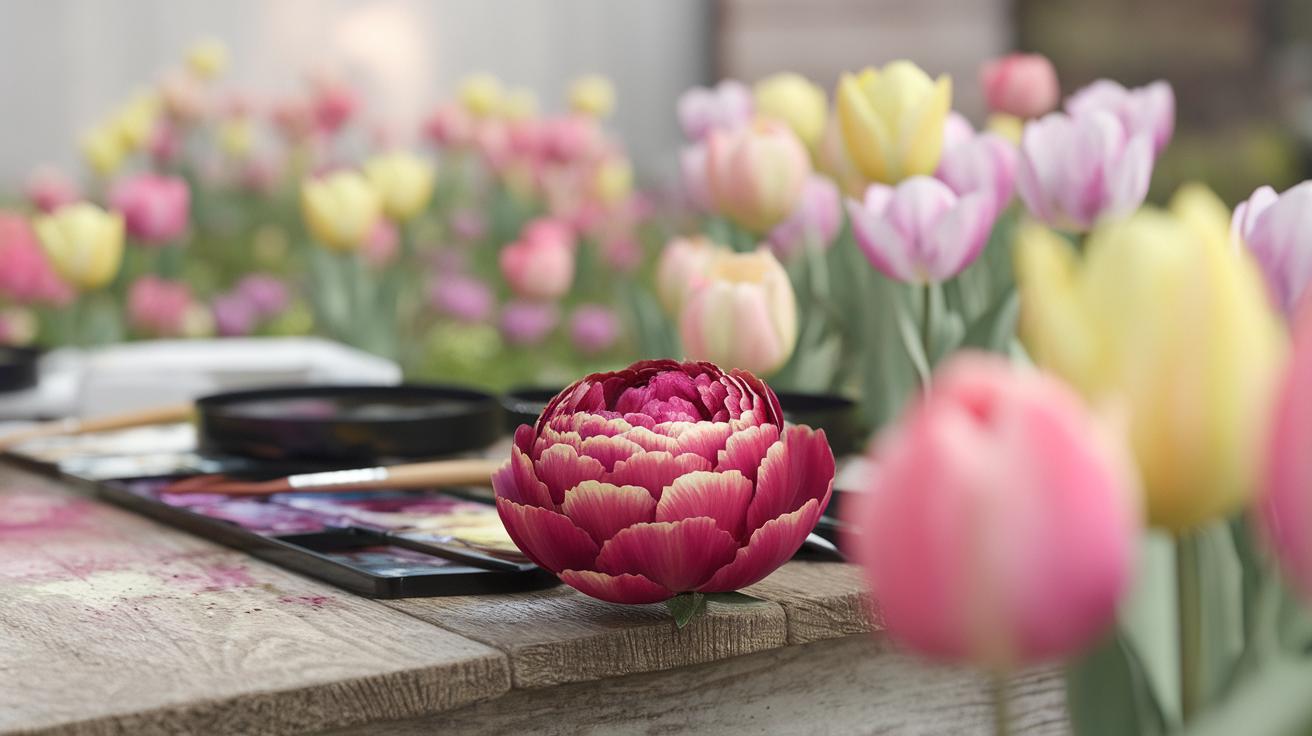
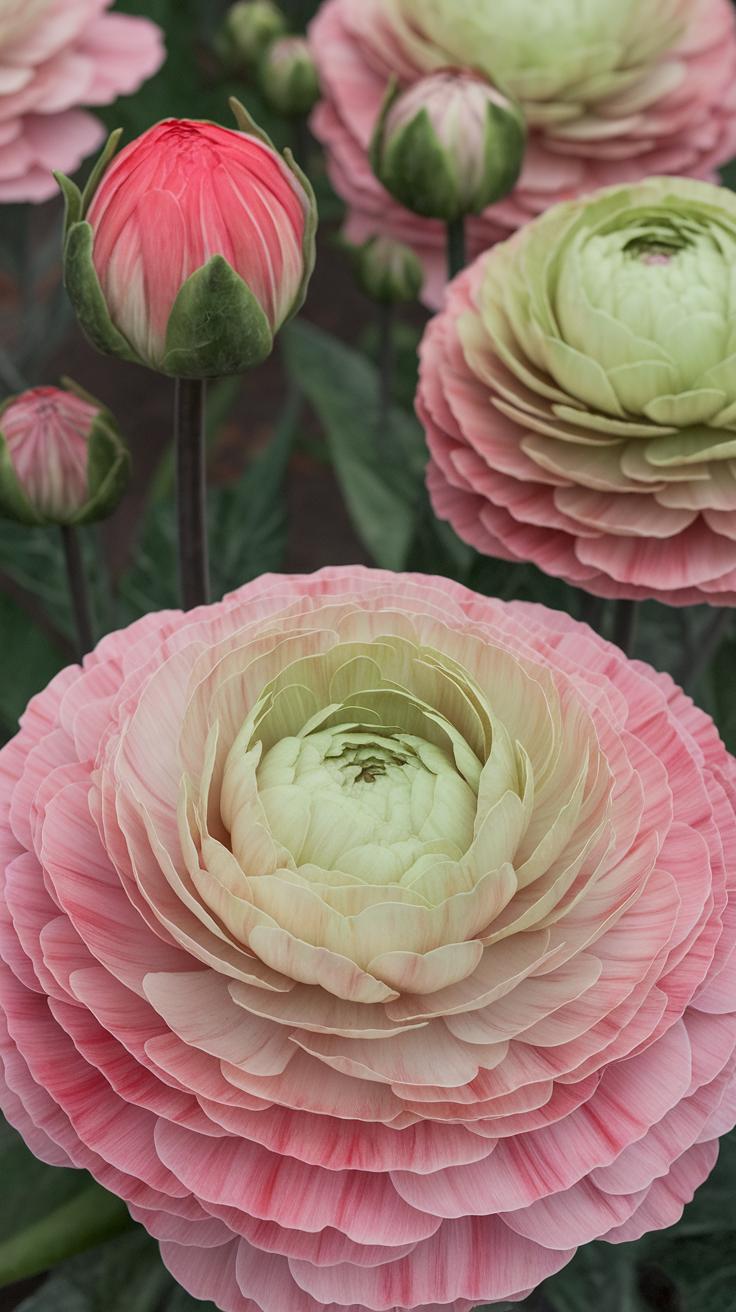
This softness is perfect for flower petals that need a delicate look. Imagine painting a tulip or a peony where petals slightly overlap and fade from one color to another. Wet-on-wet will help you capture that subtle transition.

Start by wetting your paper area with a brush. Then quickly add your paint and watch the colors move and flow. You can tilt your paper to guide the paint or lift color with a dry brush if needed. Practice controlling the water amount and timing to avoid too much bleeding.
Ask yourself how soft you want the petals to appear. Does the flower need smooth color changes or clear edges? Wet-on-wet will give you softness, but it might blur fine details. Use it for backgrounds or gentle shadows on petals to add a natural touch to your painting.
Using Wet-on-Dry for Defined Shapes
Painting wet paint on dry paper gives strong, clean lines and shapes. This technique helps you outline flower petals, leaves, and stems distinctly. It also lets you paint lines and veins without spreading or blurring.
When you need to show detail, like the edge of a daisy petal or the veins on a leaf, wet-on-dry is your go-to technique. It keeps your strokes sharp and your lines precise. You can layer colors this way too, creating depth as each layer dries before adding the next.
Use a smaller brush with good control to draw petal shapes and veins. Paint slowly and deliberately on dry paper so the paint stays where you place it. You can also add texture by varying brush pressure during strokes.

Think about where you want your flower details to stand out. Do you want the petals’ edges crisp against the background? Wet-on-dry lets you build clear flower forms without losing structure. It complements the soft wet-on-wet technique and completes your watercolor flower painting.
Understanding Flower Structure and Colors
Flowers have distinct parts that make each one unique and recognizable. Getting familiar with these parts helps you paint them accurately. Petals usually form the most colorful part of the flower and attract attention. Stems support the flower and connect it to the plant. Leaves grow from the stem and add balance to your composition.
When you choose colors, think about whether you want your painting to look realistic or more creative. Realistic colors match what you see in nature, like soft pink roses or bright yellow sunflowers. Creative colors let you experiment with unexpected shades, like blue petals or purple leaves, adding your personal style.
Being clear about the flower’s structure and your color choice helps you create paintings that feel both accurate and lively. Consider how these choices affect your painting’s mood and message. What colors do you naturally want to use? How does the structure influence the shapes you paint?
Identifying Flower Parts to Paint

Focus on petals, the parts where colors usually stand out the most. Notice their shapes—some are round, others pointed or ruffled. Petals often overlap, which means you can paint some lighter or darker to add depth.
Stems and leaves give your flower connection to the environment. Stems tend to be long and thin, but they can bend or curve. Leaves might be smooth or serrated, large or small. Including these details makes your painting feel complete.
Look closely before you start painting. Ask yourself: Which parts stand out the most? How do petals join the stem? What kind of leaf shape does the flower have? This way, your painting will reflect how flowers really grow while leaving space for your style.
Mixing Colors for Vibrant Flowers
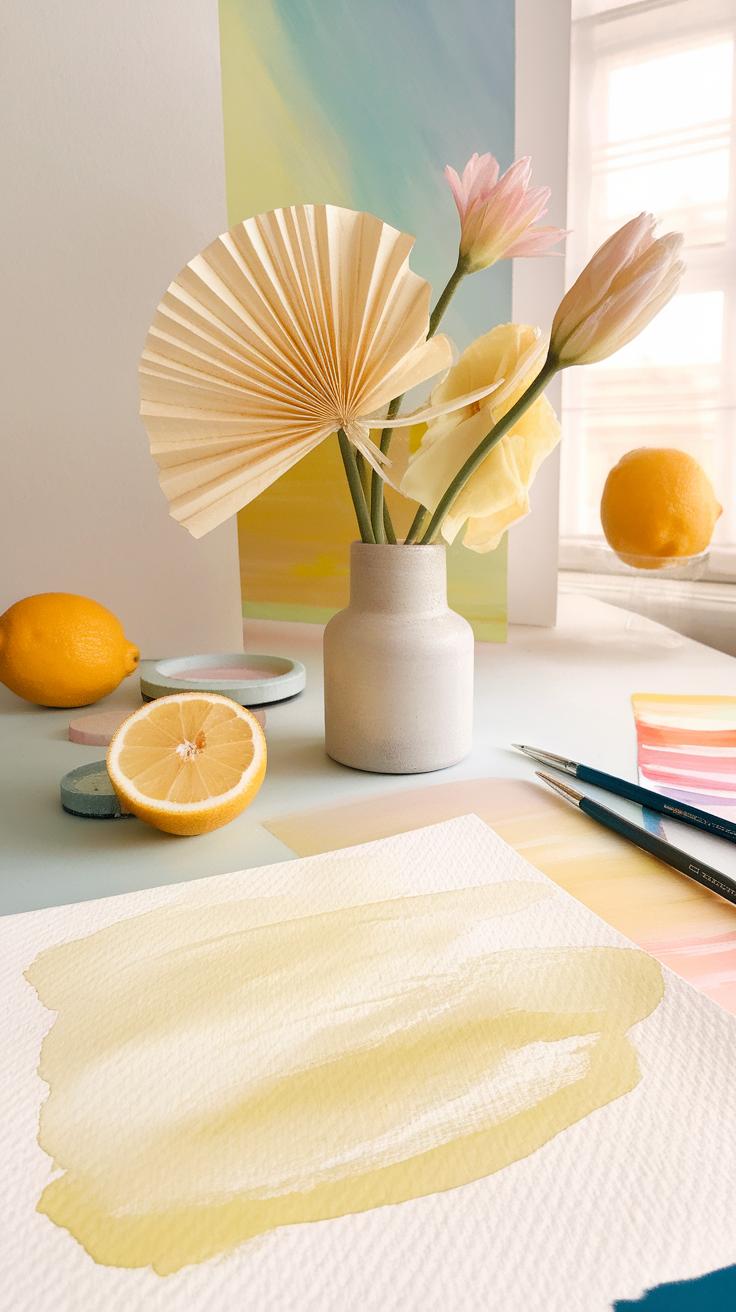
Start with the three primary colors: red, blue, and yellow. These build the foundation for many flower hues. Mix red and yellow to make orange, blue and yellow to make green, and red and blue to make purple. These secondary colors help you paint petals and leaves with variety.
Adjust color strength by adding more water to lighten shades or painting multiple layers to deepen tones. For softer flowers, use diluted colors. For bolder petals, mix stronger pigments or layer colors once dry.

Think about the flower species you want to paint. For example, sunflowers need warm yellows and browns, while violets require deep purples and blues. Mixing colors yourself gives you control and invites creativity. What new color can you create from the primaries today?
Sketching Flowers Before Painting
You want your watercolor flowers to look balanced and natural. Start by lightly sketching on your watercolor paper before adding any paint. This lets you plan the composition and the shapes of your flowers without committing to any details too soon. Use a soft, light pencil to gently outline the overall design of your bouquet or single bloom.
Think about how your flowers will fill the page. Are they clustered or spaced apart? Sketching first helps avoid overcrowding or empty spots. Place your leaves and stems with simple lines to guide where the paint will flow.
Sketching also allows you to experiment. Move petals around, change the size of blooms, or adjust stem angles until the layout feels right. You can erase and redraw easily before the paint touches the paper. How do you want your flower shapes to interact on the page? Planning with a light sketch sets a strong foundation for painting.
Drawing Basic Flower Shapes

Begin your sketch using simple shapes like circles, ovals, and straight or curved lines. Circles work well for round flower heads, and ovals help shape petals. Draw lines to show stems and leaf veins. These basic shapes form the skeleton of your flowers.
Breaking down a flower into simple shapes makes it easier to capture the overall structure. For example, a rose starts with a small circle in the center and overlapping ovals around it for petals. Tulips often resemble elongated ovals with short stems.
Keep the shapes loose at first. Avoid getting caught up in details like leaf edges or petal folds. Focus on the placement and size to map out your composition. Can you see each flower as a combination of simple lines and shapes? This approach helps you stay organized and confident before painting.
Keeping Sketches Light and Easy to Cover
Use a hard pencil, like an H or 2H, to keep your sketch lines faint. Dark or heavy marks might show through the watercolor, affecting the final look. Draw very lightly, applying minimal pressure on the paper surface.
Some artists prefer mechanical pencils because they produce consistent, fine lines that are easy to erase. You want your lines just visible enough as a guide but subtle enough to disappear once you add layers of paint.

Practice lifting some pencil marks with a soft eraser to soften any areas that feel too dark. Can you see your sketch without shadows peeking through colors? Staying light keeps your painting clean and lets the watercolors shine without distraction.
Painting Flower Petals StepbyStep
Painting flower petals requires careful attention to how light and shadow shape their form. Start by observing where the light hits the petals and where the shadows fall. This understanding helps you build depth and a convincing three-dimensional look.
Each petal curves and folds differently, so painting them in layers works best. Begin with broad washes to establish the basic color, then add layers to bring out texture and shape. Think about how petals overlap and how colors shift from light to dark.
Focus on the transitions between light and shadow by gradually building stronger tones. Pay close attention to the edges of petals; some might be sharp, while others blend softly into the background or neighboring petals. Your goal is to replicate this visual complexity with simple brushstrokes.

How do you decide where to add more pigment? Watch your reference closely and apply paint in thin layers. This technique allows you to control the intensity and maintain the translucent quality unique to watercolors. Practicing this layering process will help you paint petals that look alive and natural.
Applying the First Wash for Petal Base
Begin your petals by applying a light wash of color. This base layer sets the tone for the entire petal and should be transparent. Dilute your paint with water to keep it soft and thin. The amount of paint you use now influences how realistic your final piece looks.
Apply the wash gently, following the shape from your sketch. Avoid concentrating color in one spot; the goal is an even color base. Waiting for this layer to dry fully before adding more prevents colors from mixing unintentionally on the paper.
Starting with a pale wash lets you build depth gradually. Think about what color the petal’s light side would have and mix your paint accordingly. Light pinks, yellows, or purples work well depending on the flower you choose. This base also helps you spot areas needing more definition later.
Ask yourself: have I created enough space for layering, or did I make the wash too dark? Remember, this layer is just the beginning.
Adding Layers for Texture and Shape
Once the base wash dries, add layers to simulate the petal’s texture and form. Darken the areas where shadows naturally fall, such as near the edges or places where petals overlap. Use a smaller brush to place these details carefully.
Layering builds up subtle shifts in color and highlights the petal’s curves. Each additional layer deepens the shadows and enhances the sense of volume. Vary your brush pressure and paint consistency to avoid flatness.
Try lifting color with a damp brush to create highlights or veins running through the petal. These small touches add realism that catches the eye. Make sure to balance between detailed areas and softer ones to maintain variety.
How do you know when to stop layering? Watch your work closely. When the petals show a clear light source and believable texture, you are done. Less can be more in watercolor, so stop before the paint becomes heavy or muddy.
Creating Leaves and Stems Realistically
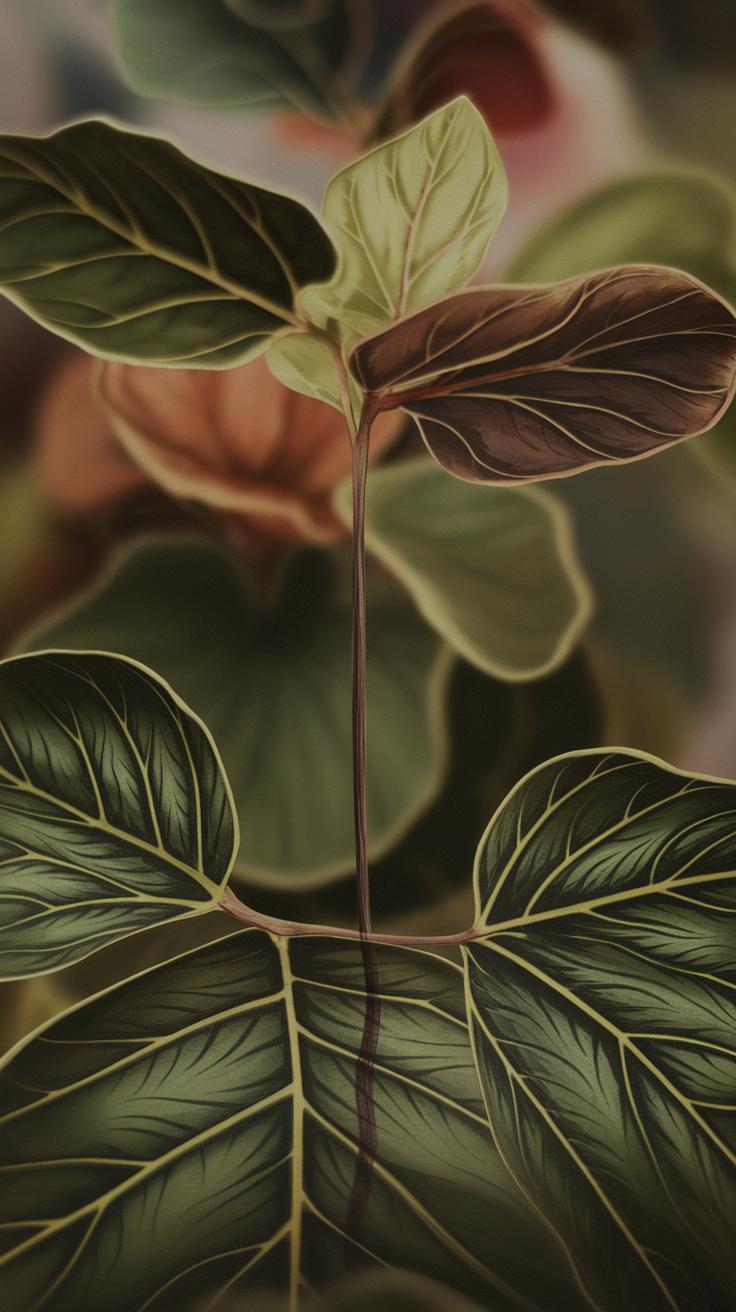
Painting leaves and stems requires attention to shape and color to bring your flowers to life. Leaves rarely have a single green tone. They show a mix of yellow, blue, and various greens depending on light and shadow. Holding your brush loosely helps create the natural curves and pointed tips that leaves often have. Try sketching leaf shapes first to guide your brushwork and maintain control.
Think about how light hits a leaf and where shadows fall. Adding small variations in color gives each leaf its unique look. Watercolor blends naturally to create soft transitions, so work while the paint is wet to get smooth gradients. You can also lift paint gently with a clean, damp brush to mimic light spots or veins on the leaf surface.
When painting stems, consider their thickness and how they support the flowers. Mixing a green with touches of brown or blue creates a realistic stem color. Paint stems with a thin brush and use a darker shade on one side to suggest shadow. This shading gives dimension and connects the flowers visually to their base. Think about how stems twist and curve—follow their natural lines and add small breaks or lighter spots for a lifelike effect.
Using Varied Greens to Paint Leaves
Mixing greens from yellow and blue helps you avoid flat-looking leaves. Adjust the amount of yellow to brighten a leaf or use more blue for cooler, shaded parts. Test your green mixtures on scrap paper to find natural tones before painting your leaves.
Try combining a warm green like sap green with a cooler one like phthalo green. Adding a small pinch of yellow ochre or lemon yellow adds warmth for sunlit leaves. For shadowed areas, mix greens with a touch of ultramarine blue or even a bit of purple to deepen color without making it dull. Experiment with layering these colors in thin washes to build depth.
Ask yourself if your leaf looks the same all over or if it changes color at the edges or near veins. Vary your greens accordingly to capture these subtle differences. This method will make your leaves appear more natural and lively.
Painting Stem Details and Shadows
Start by painting the basic shape of the stem with a mid-tone green mix. Add shadow by applying a darker version of the same green on one side, creating the illusion of roundness and light direction. Using a thin brush helps you paint fine edges and subtle curves along the stem.
To add texture, try lifting some paint gently with a damp brush to suggest light hitting the stem’s surface or small imperfections. You can also paint thin lines or spots with a darker green or brown to mimic stem veins or roughness.
Build shadows gradually, layering transparent washes instead of using thick paint. This keeps the stem looking delicate and natural. Consider how the stem connects to the flower base; adding a shadow where they meet strengthens that link visually and supports the flower’s form.
How detailed you make the stem depends on your style, but even simple shading improves realism. Are you watching the light source consistently? Shadows and highlights on stems help your whole painting feel three-dimensional and complete.
Adding Final Details and Highlights
Bringing your watercolor flowers to life requires attention to small details.
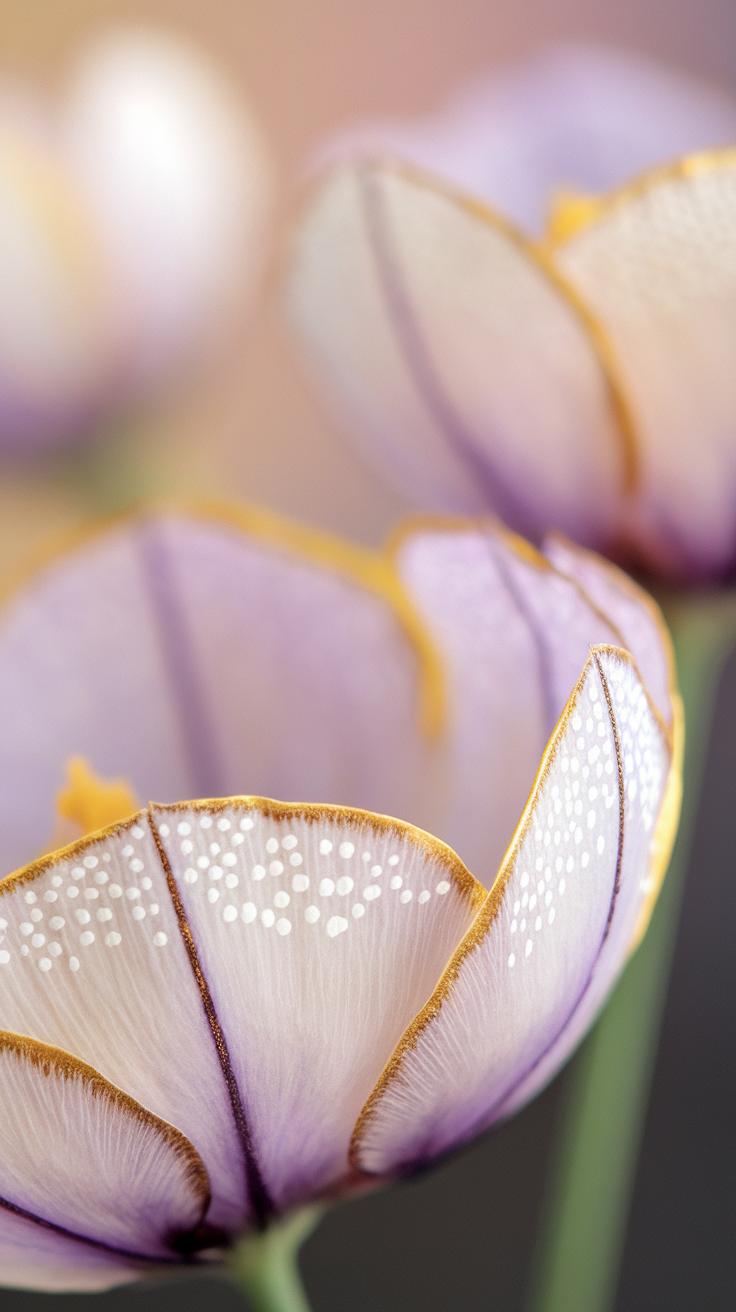
Painting veins on petals and leaves gives depth and texture. Use fine brushes with a steady hand to add thin lines that follow the natural flow of the petals. Veins don’t need to be perfect or uniform—irregular shapes appear more natural. You can also add tiny dots or short strokes of a darker shade to represent pollen in the flower’s center.
Highlights are crucial to suggest where light hits your flower. You can lift pigment by gently applying a clean, damp brush to areas where you want lighter spots. Alternatively, apply white paint sparingly to emphasize the brightest points. This contrast helps the flower pop against the background.
What small details stand out to you when looking at real flowers? Try to capture those in your painting to make it feel authentic.
Using Fine Brushes for Flower Details
Choosing the right brush affects how precise your details will appear. Spotting a good fine brush means it holds a sharp point and delivers controlled strokes.
You can paint veins by pulling thin, delicate lines from the base of petals toward the edges. Use slightly darker watercolor tones than your petal base, but avoid harsh colors. Small dots for pollen can be made with light taps of the brush tip, scattered near the flower center.
Keep your wrist relaxed and move slowly. Using too much paint or pressure can cause bleeding and weaken the detail.
Creating Highlights with Water or White Paint
Use a clean, damp brush to gently lift color where you want highlights. This method works best on still-wet or dry areas with soft edges.
Applying white paint adds brightness but use it carefully. Too much white can look out of place. Thin layers create subtle shine, such as tiny reflections on petals or dew drops.
Try both methods and see which fits your style. How does adding light change your flower’s feel? Experiment to find your balance between detail and softness.
Common Mistakes and How to Fix Them
Painting watercolor flowers can be tricky, and some errors pop up often. Overworking your paper by adding too many brushstrokes can ruin the freshness of your colors and cause the paper to weaken. If you notice your petals looking dull or washed out, it might be because the paint has become muddy. Uneven washes, where some areas soak paint and others repel it, also distract from smooth transitions.
Have you ever felt frustrated when colors lose their brightness? This usually happens when different pigments mix too much. Fixing these issues means learning to layer paint carefully and stopping when the paper looks lively. If you catch overpainted spots early, you can try lifting the paint or softening edges before they dry. Your brush control and patience play a big role in fixing these common mistakes. How will you handle your next misstep?
Avoiding Muddy Colors by Proper Layering
Mixing many colors directly on your paper risks creating dull, muddy tones. When you blend too many pigments at once, the paint loses its clarity and vibrancy. Instead, you should let each color dry before applying another layer on top. This technique, called glazing, keeps colors clear and adds depth.
Start with transparent washes and add darker shades gradually. Limit your palette to a few colors that mix well together. If you notice your flower’s colors turning flat, ask yourself if you applied wet paint over wet areas too much. Experiment with layering thin washes rather than mixing everything in one go. How can you adjust your color mixing to keep your flowers bright?
Correcting Overpainted Areas Safely
When paint covers your work too heavily, you do not have to start over. One way to correct overpainted areas is by gently lifting the paint. Use a clean, damp brush or a soft tissue to soak up excess pigment while it is still wet or slightly damp. Be careful not to rub harshly, which can damage the paper.
Another option is to use a scraping tool, like the edge of a palette knife or a credit card, to softly scrape away thick paint. This works best on dry or semi-dry spots. After lifting or scraping, you might need to let the paper dry fully before repainting that section. Could these simple fixes help you save your painting instead of discarding it?
Practicing with Different Flower Types
Trying various flower species helps you understand different shapes, colors, and textures in watercolor painting. Each flower has unique features that challenge your observation and brush control. Experimenting with diverse flowers keeps your practice interesting and improves your skills over time.
Starting with simple flowers makes the learning curve less steep. As you gain confidence, you can try more detailed flowers with complex petal arrangements or color patterns. Ask yourself which flowers you find inspiring. What textures or colors do you want to master?
Painting different flowers also trains your eye to spot subtle variations in light and shadow. This awareness is crucial to creating depth and realism in your artwork. Keep a sketchbook nearby to record quick studies of flowers you encounter daily.
Trying new types regularly broadens your skill set and prevents your work from becoming repetitive. Your ability to capture a wide range of flowers will grow stronger with varied practice.
Painting Simple Flowers Like Daisies and Tulips
Starting with easy flowers like daisies and tulips helps you build basic brush techniques. These flowers have clear shapes and straightforward color areas to practice blending and layering. Painting simple flowers can boost your confidence early on.
Daisies have distinct petals arranged in patterns that are easy to observe and replicate. Tulips offer smooth curves and subtle color gradients to work on soft washes. These features help you understand how water and pigment behave on paper.
Simplicity allows you to focus on controlling water flow and pigment mixing without getting overwhelmed. How well can you capture their structure in just a few brushstrokes? Can you recreate the gentle transitions between shades?
By mastering these flowers first, you lay a strong foundation before moving on to more challenging subjects.
Trying Complex Flowers For Challenge
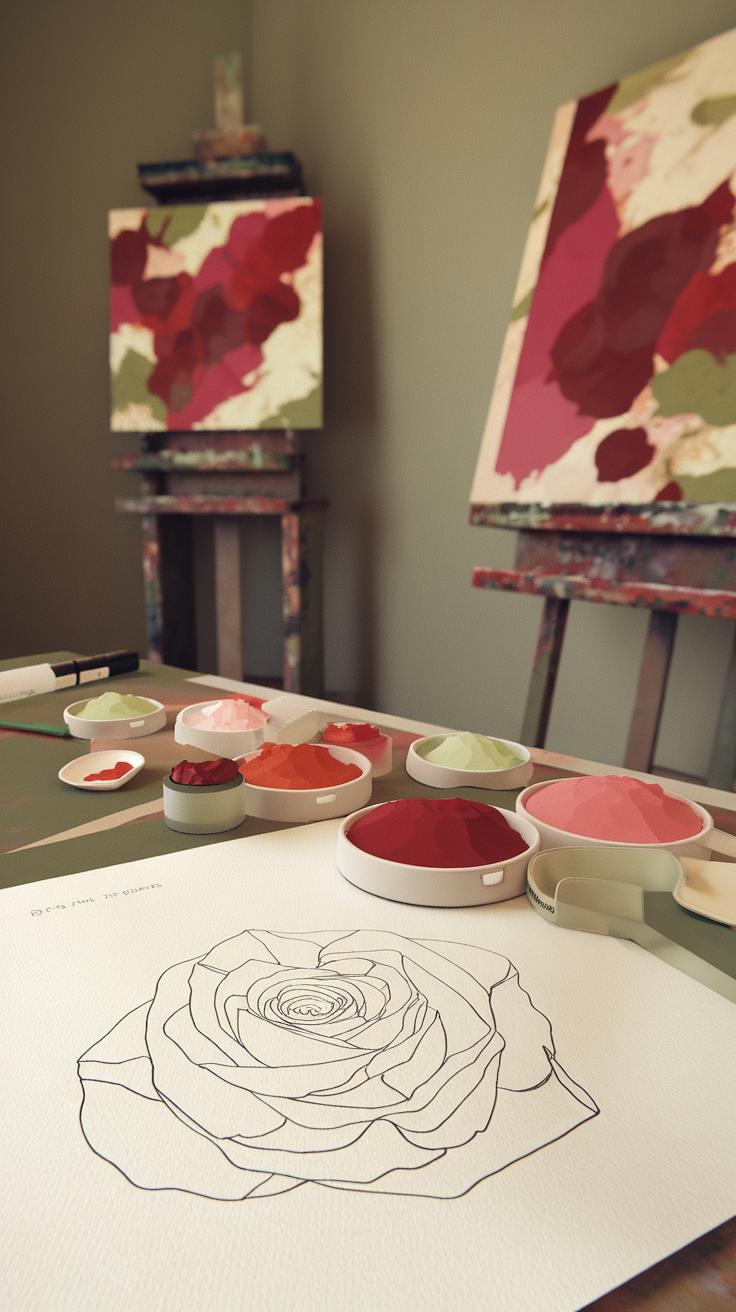
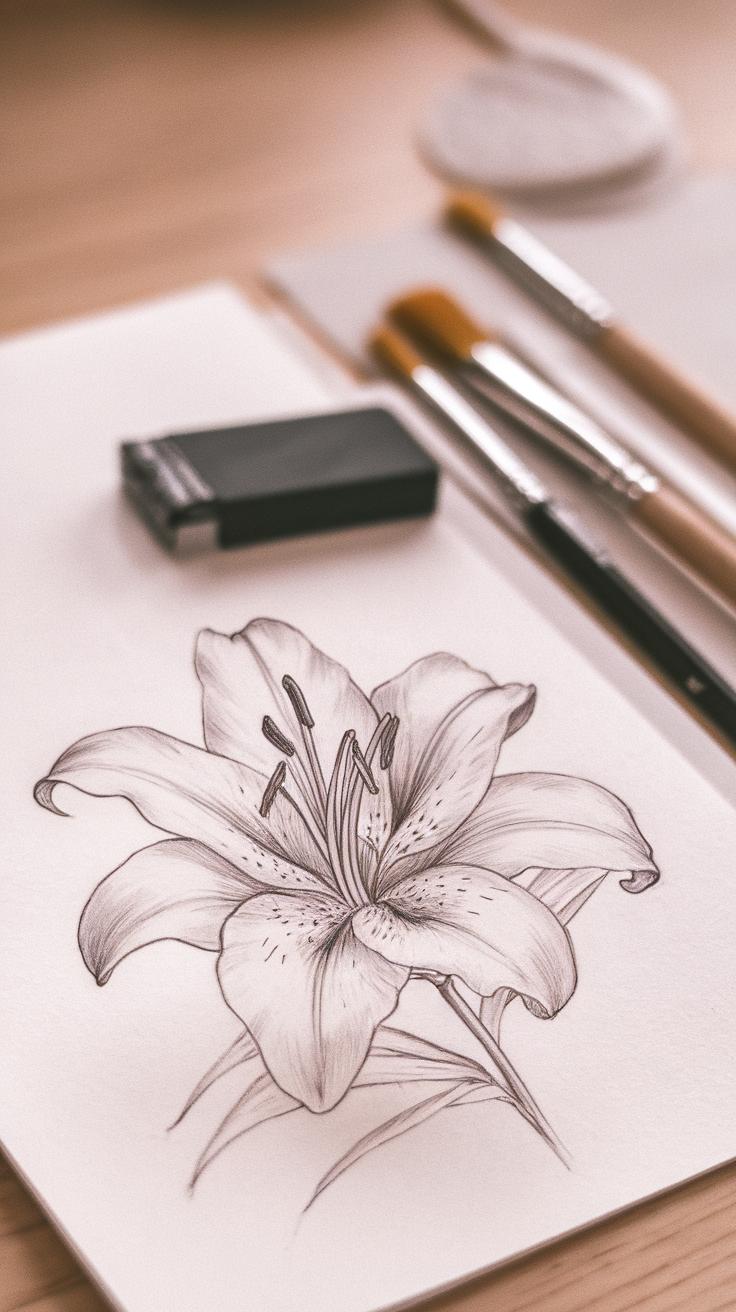
Once you feel comfortable with basic flowers, it’s time to challenge yourself with complex flowers such as roses, orchids, or lilies. These require more control and attention to detail. Their layered petals and rich textures push your skills to the next level.
Roses have intricate petal shapes that overlap, demanding patience and careful brushwork. Orchids show striking color contrasts and unusual forms that test your ability to replicate fine details. Lilies offer long, delicate petals and subtle color shifts.
Practicing these complex flowers improves your brush precision and color handling. You learn to build depth through layering without overworking the paper. What techniques help you capture the softness of petals? How do you balance detail without losing fluidity?
Facing these challenges builds technical skill and artistic confidence. Tackling difficult flowers prepares you for any floral subject in your watercolor journey.
Conclusions
By practicing these watercolor flower techniques, you gain the ability to create beautiful paintings that capture the essence of nature’s blooms. Each lesson builds your skills step-by-step, helping you to control the paint and express your artistic vision. You will notice improvement as you learn to balance color intensity and use different brush strokes. Painting flowers with watercolor is both a relaxing and rewarding process that anyone can enjoy. Keep experimenting with new flower types and color combinations to make your art unique.
The tutorial series serves as a solid foundation for your watercolor journey. With time and patience, you will develop confidence in your painting abilities. Use your raised skills to explore other subjects or even start crafting your own floral art projects. Don’t hesitate to revisit lessons or try advanced techniques. The key to success is consistent practice and enjoying the process. How will you apply what you’ve learned to your next watercolor painting? Keep painting and let your creativity blossom.