Introduction
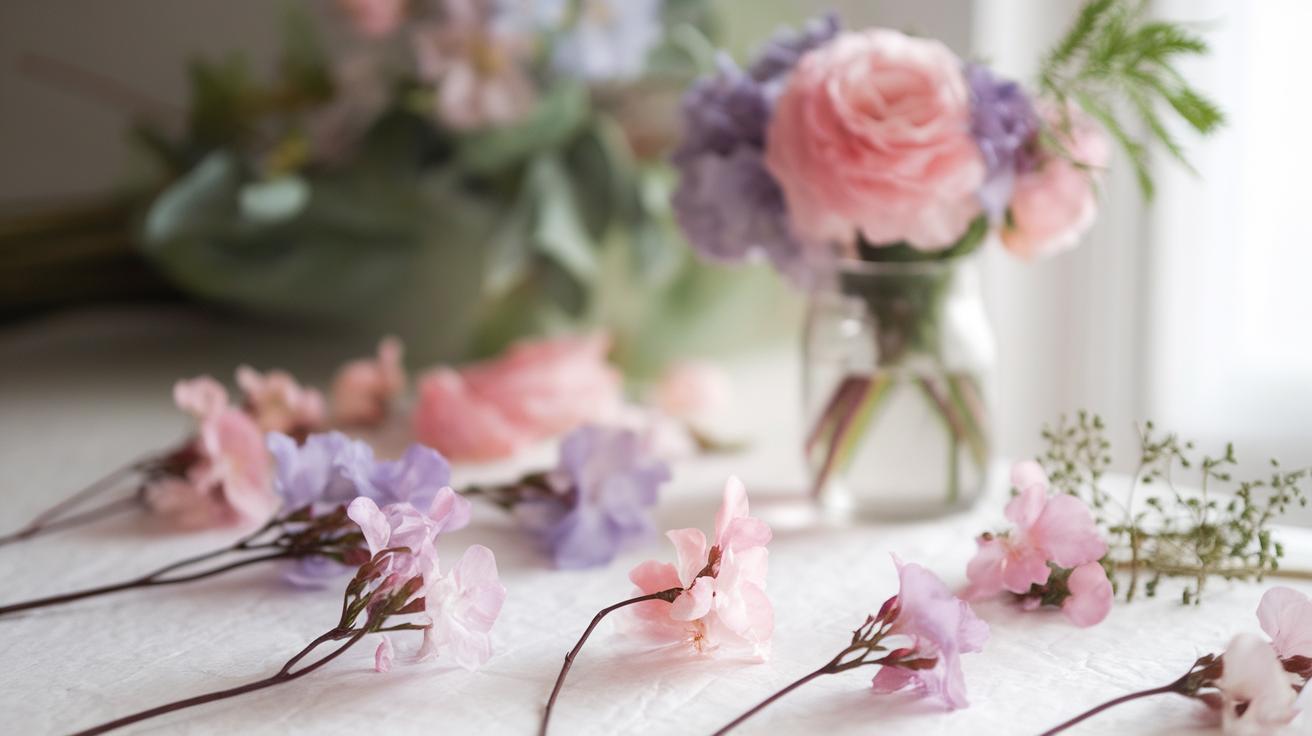
Watercolor flower art offers a creative way to express the beauty of nature through painting. This medium allows artists to capture the delicate shapes and colors of flowers in a simple and fresh style. You will learn how to combine pigment and water to create layers that bring your flowers to life on paper. Understanding the basic principles of watercolor flower art opens doors to endless artistic possibilities. This article breaks down practical techniques that anyone can follow, regardless of skill level.
Focusing on delicate watercolor flower art techniques helps you control the flow and transparency essential for soft floral designs. The process involves careful mixing of colors, mindful brushwork, and knowing how to manage drying times. Each step supports the creation of detailed petals, leaves, and stems that reflect true botanical forms. This guide teaches you the fundamentals and guides you beyond into advanced methods to enhance your flower paintings. Your journey into watercolor flower art starts here and continues with tips that improve your skill with each stroke.
Materials Needed for Watercolor Flower Art
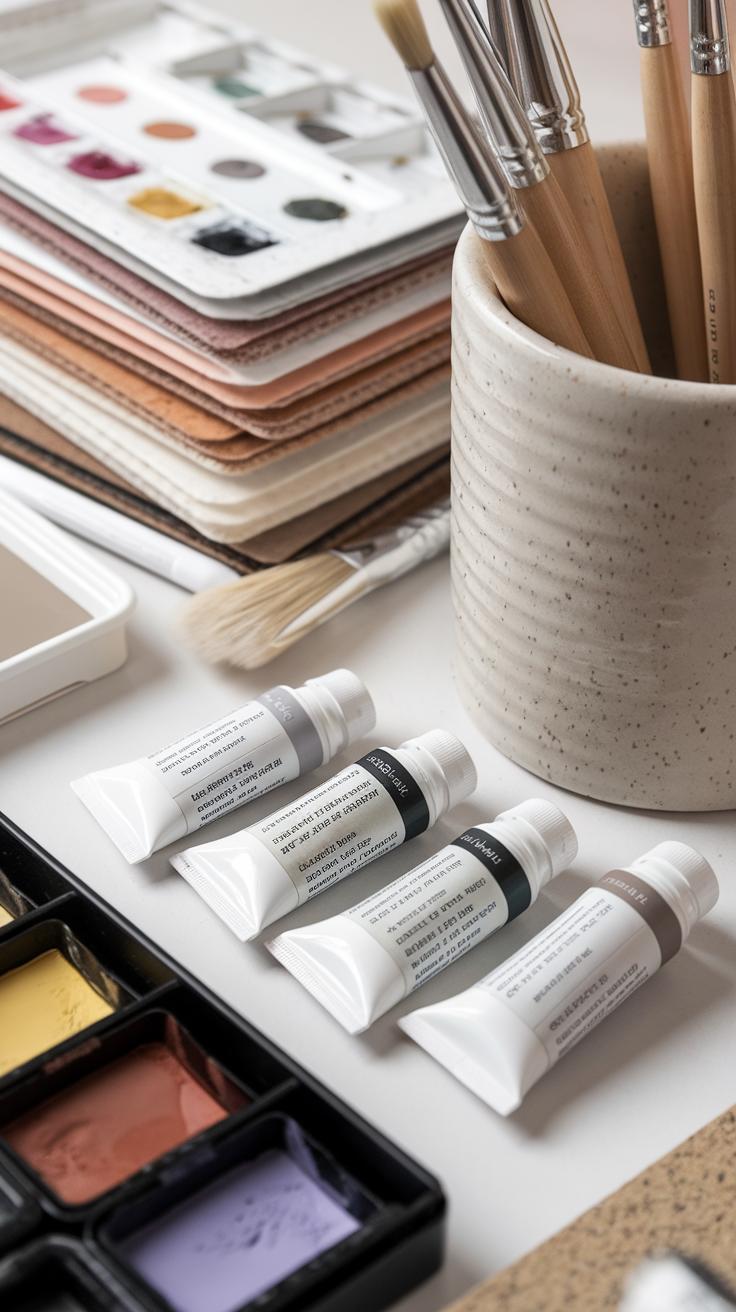
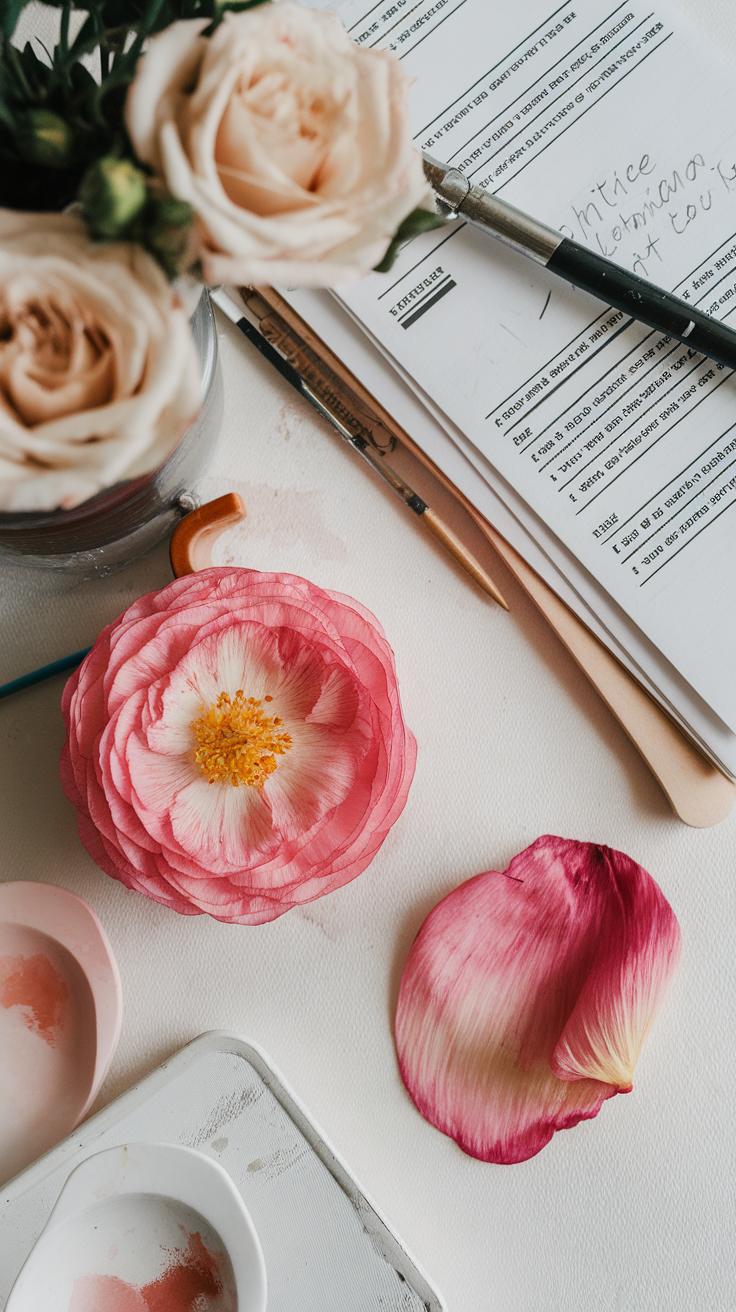
You need specific materials to create clear and delicate watercolor flower paintings. Choose high-quality watercolor paints that offer rich pigment and smooth blending. The paint’s concentration affects how vibrant and transparent your flower will look on paper. Select brushes designed for fine details, like small round or liner brushes. These help you paint thin petals and fine veins with control.
The paper you pick matters a lot. A heavier paper, around 140 lb (300 gsm), holds water well and keeps your colors bright. The texture of the paper influences paint flow and how colors mix. Cold-pressed paper with a slight texture is a popular choice for flower art because it balances control with softness.

Use masking fluid or a fine-point pencil for outlining delicate shapes before you paint. These tools preserve light areas and help you add sharp details. Think about the materials you have now—are they helping you capture the fragile beauty of flowers? Upgrading your supplies might improve your results.
Choosing Watercolor Paints
You will find two main types of watercolor paints: pan and tube. Tube paints often have higher pigment concentration, giving you stronger, brighter colors. Pan paints dry quickly and are easy to carry but might be less intense.
The quality of the pigment inside the paint affects your flower’s clarity and brightness. Look for paints labeled as artist-grade or professional to get rich, lasting colors. Transparent paints allow light to shine through, creating soft petal effects. Opaque paints provide solid color but can hide details.
How important is vibrancy to you? Experiment with single colors to test their brightness and how they layer. Knowing the strengths of your paints helps you create fresh, lively flowers that stand out.
Selecting Brushes and Paper
Brushes shape your ability to paint fine, delicate flower parts. Round brushes with good spring and fine tips let you control strokes and paint thin lines for petals. Liner brushes hold a small amount of water and work well for veins or stamens. Avoid big, flat brushes for details; save those for backgrounds.
For paper, choose something that resists buckling as you add water. Cold-pressed works well for detail and softness, while hot-pressed paper is smooth and good for tight lines. Rough paper absorbs water fast and creates texture but can be harder to control on delicate parts.

Think about how your brush and paper pair works. Does your brush glide or drag? Does the paper hold the paint or soak it up? Trying out different combinations helps you find what fits your style and the delicate nature of flowers you want to paint.
Basic Techniques to Start Watercolor Flower Painting
Your first step in painting flowers with watercolor is understanding how water interacts with paint on paper. Three main techniques shape most floral paintings: wet-on-wet, wet-on-dry, and dry brush. Wet-on-wet means applying paint onto a wet surface, which helps create gentle color blends perfect for soft petals. Wet-on-dry involves painting on dry paper, allowing sharper edges and more control for petal shapes. Dry brush uses a brush with little water to add texture and fine lines, ideal for leaves and flower centers.
Try this simple exercise: first, wet a petal-shaped area lightly with clean water. Drop in a soft color and watch it spread. Next, let that dry. Paint a second layer directly over dry paper to practice sharper shapes. Finally, use a nearly dry brush to drag paint lightly across a leaf shape to build texture. How do different brush strokes affect your flowers? Experiment with these to gain control and find your style before moving to complex floral details.
Wet-On-Wet Painting for Soft Petals
Wet-on-wet lets you paint soft petals by applying paint to a wet paper surface. When you add color to wet paper, the paint spreads naturally and blends with existing washes. This creates smooth color transitions typical in delicate petals. If you use too much water, colors may flood out of the petal shape, so controlling water on your brush and paper is key.

Start by lightly wetting the petal shape with clean water using a medium brush. While the paper is damp, drop in paint with a smaller brush. Watch how colors mix on their own. If edges bleed too much, let the paper dry a bit before adding paint again. Can you see how gentle layers can mimic a flower’s softness? Practice adjusting water amounts to keep paint where you want it while preserving petal fluidity.
Using Dry Brush for Texture
Dry brush technique adds interesting texture to leaves and flower centers. This method uses a brush with very little water, allowing the paint to skip across rough paper surfaces and create broken, textured strokes. You can replicate the grainy look of leaf veins or the rough centers of flowers by varying your brush pressure and stroke direction.
Load your brush with paint but remove excess water by dabbing on a paper towel. Lightly drag the brush over dry paper in short or flicking strokes. Try pressing gently for thin lines or firmly for bold texture. How does changing stroke direction alter the visual texture? Use this technique to contrast soft petals and bring life to your floral details with tactile interest.
Mixing Colors Effectively for Floral Art

Mixing colors for watercolor flower art requires attention to the natural hues found in petals. Start by observing real flowers or reference photos to identify subtle color shifts. Combine primary colors carefully—red and yellow create warm oranges, while blue and red produce cool purples. Avoid mixing too many pigments at once to keep colors vibrant.
Layering transparent colors plays a key role in building depth. Apply thin washes one at a time, allowing each layer to dry before adding the next. This technique lets you create subtle variations and a sense of dimension that mimics real petals. For example, start with a light pink base, then add a soft red glaze to deepen the shade without covering up the initial color.
Understanding Color Relationships

Complementary colors sit opposite each other on the color wheel, like red and green or blue and orange. Using these colors next to each other in petals sharpens the vibrancy. For example, paint a red flower with green shadows to make the petals pop. Have you noticed how some flowers catch your eye without bright colors? That’s the effect of careful color contrast.
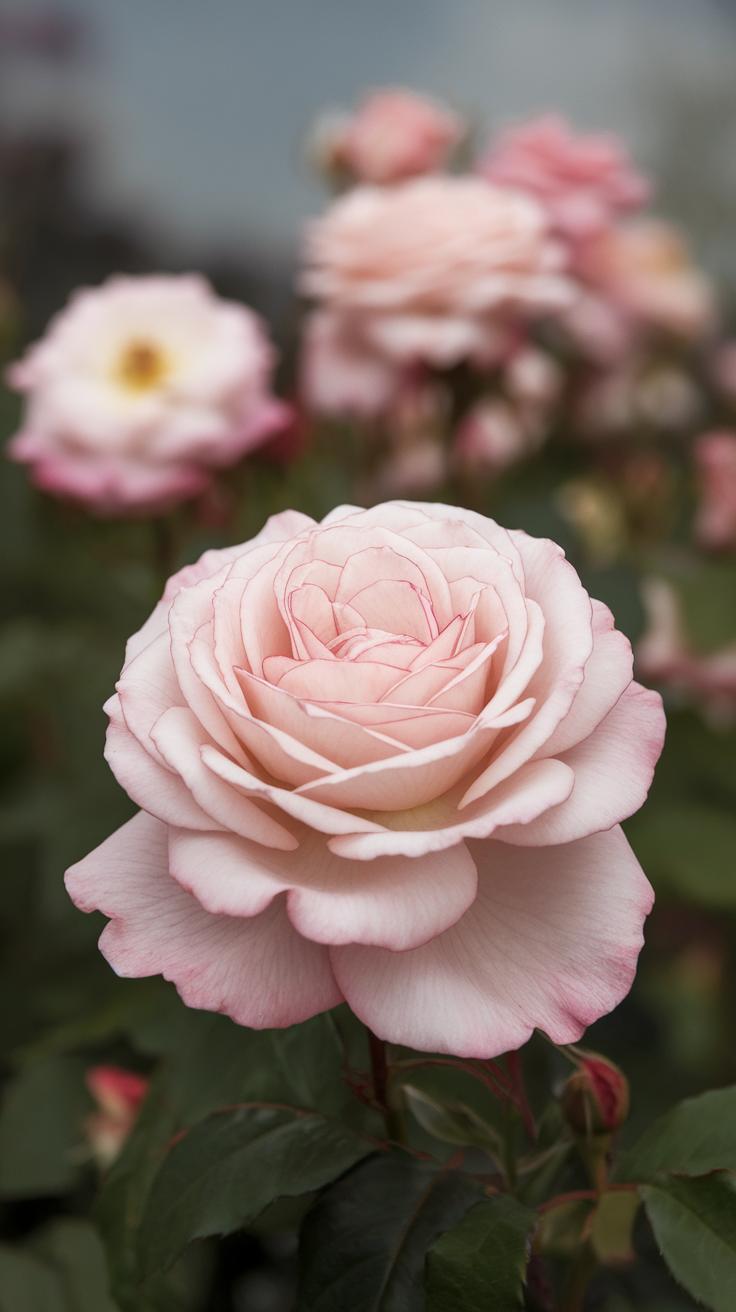
Analogous colors are neighbors on the wheel, such as yellow, yellow-orange, and orange. These schemes create harmony and softness. Use analogous colors to paint petals that blend gently from one hue to another. This approach suits flowers with smooth color transitions, like tulips or roses, giving your art a natural and pleasing flow.
Layering Techniques in Watercolor
Building depth in floral paintings requires patience with layering. Apply your first wash lightly and wait until it fully dries before painting the next. Each transparent layer adds richness and subtle shifts in tone. For example, you might paint a light yellow base on a daisy petal, then add thin layers of orange and pink to suggest shadows and highlights.
Try using clean water to soften edges and blend layers for smoother transitions. Avoid painting wet layers over wet ones, which can cause colors to mix uncontrollably. Instead, control your drying times and layering order to achieve delicate changes that bring petals to life.
Painting Flower Shapes and Structures


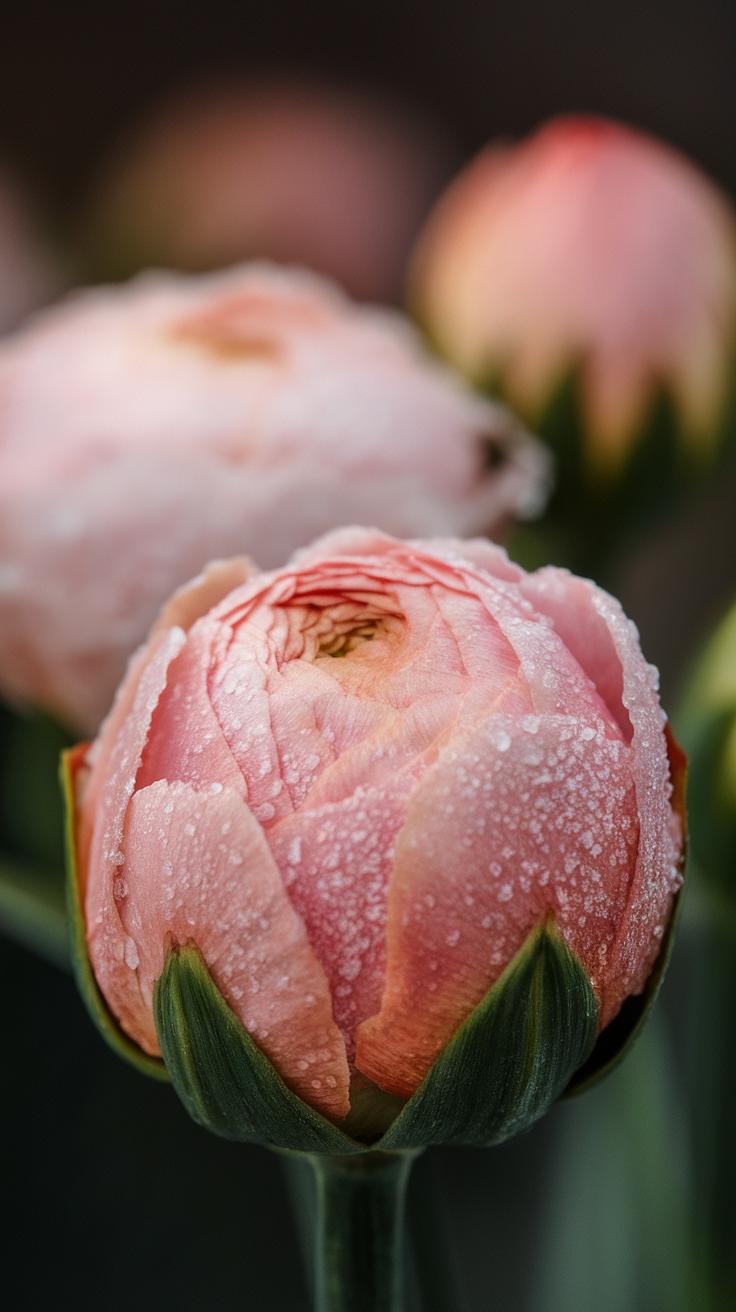
Careful observation is key when painting flowers. Notice how petals overlap and vary in shape and size. Each flower has a unique form, and understanding its basic structure helps you create a more accurate painting. Start by identifying the main parts: petals, stems, and leaves. Petals often vary from round to pointed edges, and some curve inward while others spread out wide.
Try to focus on floral anatomy like how petals attach at the base, and how they fan out to form the bloom. Look at stems for their length and thickness and how they connect to the flower or leaves. Observing these details before you begin helps you paint with confidence and precision.
Have you studied a single flower closely before painting it? What shapes and curves stand out to you? These observations form the foundation for your sketch and painting.
Observing Floral Details
Start by carefully studying the flower from different angles. Notice where petals overlap and the subtle changes in their shape. Sketch simple outlines to capture the flower’s basic form. Avoid drawing every detail at once. Instead, focus on the overall silhouette and major petal shapes.
Creating light, loose sketches helps you adjust proportions without committing too soon. You can use pencil or a light watercolor wash for this. This step guides your painting and shows you how flower shapes connect. Keep your focus on the flow of petals and how they twist or fold.

What part of the flower catches your eye first? Are the petals wide and round or narrow and sharp? Capture these qualities in your initial sketch before adding color.
Capturing Stems and Leaves
Painting stems and leaves requires control and attention to shape. Stems are usually slender and slightly curved, so use long, steady brush strokes. Avoid heavy pressure to keep them delicate and natural-looking.
Leaves come in many forms: narrow blades, broad ovals, or serrated edges. Observe the leaf’s veins and edges to suggest texture without overworking details. Using varied brush sizes can help you paint both thin stems and fuller leaves.
Try to paint leaves in the direction they grow. This adds life and movement to your work. When you control your brush well, you can create clean lines that define each part of the plant clearly.
Have you noticed how different stems and leaves move in nature? Capturing that flow brings realism and balance to your floral painting.
Working with Light and Shadow in Watercolor Flowers


You can change the way a flower looks by carefully adding light and shadow. They give petals and leaves a sense of volume and help your painting feel more real. Shadows show where the light cannot reach, while highlights show where it hits strongest.
Observe a flower closely and notice which parts are brighter and which are darker. This helps you decide where to place shadows and highlights in your painting. Adding shadows under petals or behind leaves creates depth. Highlights on the edges or tips make petals seem to curve toward you.
Try to think about the light source in your painting. Is the light coming from above, the side, or behind? This direction guides your placement of shadows and highlights. Painting these contrasts well will make your flower stand out. How can you use light and shadow to make your flowers grab attention?
Creating Shadows with Color
Mixing shadows on petals and leaves isn’t just about adding black. Using black can dull your colors and make your painting look flat. Instead, mix darker shades using colors that are already in your palette. For example, add a little blue or purple to red petals for their shadow areas.

Layer your paint gradually, starting with lighter tones, then adding darker ones to build shadow. Keep the colors vibrant by avoiding muddy mixtures. Try mixing burnt sienna and ultramarine blue for natural darks that keep warmth and depth.
Experiment with glazing thin layers of shadow color to keep vibrancy. Ask yourself: Does this shadow color deepen the petal without losing its brightness? Practicing these mixes helps you make shadows that bring petals and leaves to life.
Adding Highlights Wisely
You can create highlights by leaving parts of the paper white. This pure white space acts as natural light on petals or leaves. Plan your highlights before you paint to avoid covering them later.
Sometimes lifting paint works well. While the paint is still damp, use a clean, damp brush or a tissue to lift some color off, creating softer highlights. If the paint is dry, a damp brush can also lift pigment but requires more care.
Timing matters. Lift paint when it is just wet enough to move but not dripping. This keeps crisp edges on highlights. Remember, highlights don’t have to be bright white. Sometimes soft glows work better for delicate petals. How can you balance leaving white and lifting paint to make your flowers shine?
Advanced Techniques for Delicate Watercolor Flower Art
Watercolor artists seek methods that bring out fine details in flower paintings. Glazing, lifting, and using masking fluid are key tools for achieving clarity and precision. These techniques help build layers without overwhelming the paper or colors. Timing is essential to ensure each layer dries enough to prevent colors from mixing unintentionally. For example, glazing allows you to deepen shadows or enrich petal colors without creating muddy patches. Lifting involves removing paint with a damp brush or sponge to fix mistakes or add highlights. Masking fluid protects light areas, such as tiny petal tips or veins, during multiple paint layers. Mastering when to add each technique creates paintings with depth and crisp, delicate details. Could you plan your layering to avoid overworking the paper while keeping your flowers vibrant and fresh?
Glazing for Depth
Glazing means applying thin, transparent layers of color over a dry area. This method enriches your flower’s tones without mixing colors on the paper. Applying a glaze works well to intensify shadows or add subtle color shifts in petals. Use a clean, soft brush to spread a watery, diluted color evenly. Let each glaze dry before adding another. This prevents colors from becoming muddy and preserves sharp edges. For example, a pale pink petal can get richer with multiple pink glazes gradually layered. Adjust how thin or thick your glaze is to control transparency. Have you tried timing your layers so each glaze enhances depth but keeps the flower’s shape crisp?
Using Masking Fluid
Masking fluid blocks paint from reaching areas you want to keep white or very light. Apply it carefully before starting colorful layers to protect delicate flower details such as highlights on petals or fine veins. Use a small brush or a masking fluid pen to control application. Avoid using masking fluid on rough paper as it may damage the surface. Let the fluid dry completely before painting over it. When your layers are finished and dry, gently rub the masking fluid off with fingers or an eraser. Always wash brushes promptly to avoid damage from the masking fluid’s ingredients. How can you plan your painting to include masking fluid for sharp light areas without interrupting your workflow?
Common Challenges and How to Overcome Them
Watercolor flower painting often presents challenges that can frustrate even experienced artists. One common issue is colors bleeding into each other unintentionally. This problem can blur edges and muddy your delicate flower details.
Loss of detail happens when paint layers get too wet or when you try to add fine touches before the previous layer dries completely. Overworking the paper by painting and repainting the same areas can cause the surface to weaken and lift pigment unevenly.
How can you maintain control over your painting without losing the softness that watercolor is known for? One effective way is to manage your water and paint carefully. Apply thin washes and let each layer dry fully before adding more.
Prepare your paper by stretching it or taping it down to keep it flat during drying. Dry your painting naturally or use gentle air flow rather than heat to avoid warping or damage. These steps help maintain the integrity of your paper and keep your flower art crisp and vibrant.
Controlling Bleeding and Mixing
When painting flowers, controlling how paint flows is vital. Too much water makes colors run and blend where you don’t want them. Keep your brush moist but not dripping. You want just enough water to carry the pigment smoothly without flooding the paper.
Start with small amounts of paint mixed with water. Test on scrap paper to see how the colors behave. Work quickly, but not rushed, to apply washes on dry paper to maintain clean edges. If you want soft transitions, apply wet paint to a damp—not soaking—surface.
Have you noticed how tilting your paper can cause paint to run? Lay your work flat to avoid unwanted drips. Control your brush strokes, and don’t overload one area with paint. This discipline keeps your flower details clear and beautiful.
Preserving Paper Quality
Watercolor paper is fragile. Too much water or repeated painting over the same spot can damage its surface. This damage causes pigment to lift or form blotches, ruining the delicate look of your flowers.
Prepare your paper before you start. Stretch it by wetting and taping it down, so it stays flat and absorbs water evenly. Let layers dry completely before adding more paint on top. Taking breaks during your painting helps avoid overworking and allows the paper to recover.
If you need to fix mistakes, try gentle lifting with a damp brush or a clean sponge instead of scrubbing hard. Dry the paper between attempts to preserve its texture. How often do you check your paper’s condition while working? Regularly pausing to inspect can prevent irreversible damage and keep your flower artwork fresh.
Inspiring Ideas to Develop Your Watercolor Flower Art Style
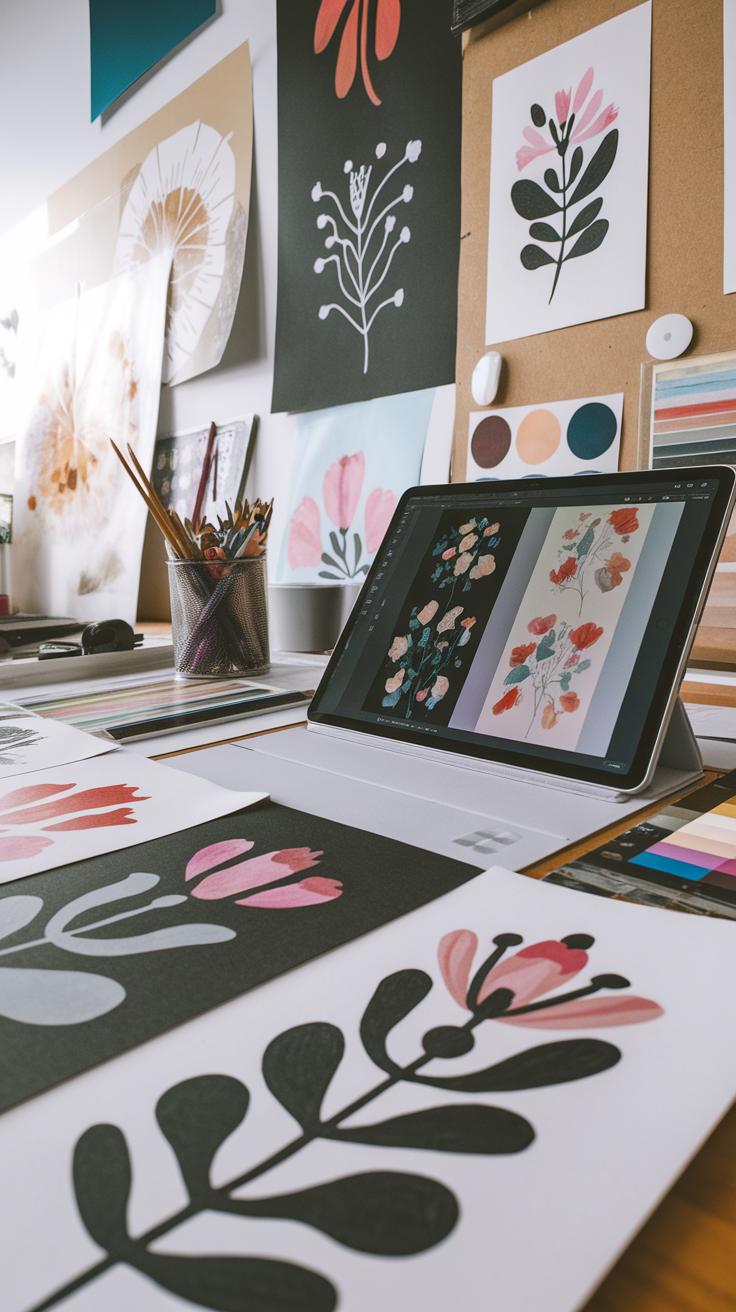
Try new approaches to composition by changing how you arrange your flowers on the page. Instead of placing a single bloom in the center, consider clustering different types of flowers closely or spreading them out with plenty of white space. Experiment with angles by painting flowers from above, side views, or even focusing on a small part like petals or leaves. You might add a soft background wash or leave the background blank to emphasize the flowers. How does shifting your perspective change the story your painting tells? These choices help you find your voice and create fresh work that reflects your vision.
Mix colors beyond the typical flower hues to form a palette that feels personal. Combine unexpected tones like blue-violet with warm oranges or muted greens with soft pinks. Think about how colors set the mood: cooler shades can suggest calm, while bright contrasting colors bring energy. Ask yourself which feelings you want your painting to express, then match your palette to those emotions. Creating color guides from swatches you enjoy helps you repeat your unique combinations in future paintings. How can your color choices deepen the message behind your flowers?
Conclusions
You have explored key techniques and concepts in watercolor flower art. Knowing how to prepare your materials, mix colors effectively, and control brushwork lets you paint petals and leaves with clarity. The focus on delicate details adds a sense of refinement to your work. Practice with patience is crucial since watercolor demands timing and steady hands. The more you apply these techniques, the better your floral paintings will become.
Consider these insights next time you pick up a brush to paint flowers. Each painting session is an opportunity to strengthen your techniques and observe natural forms closely. Reflect on the questions posed in this guide to challenge your approach and grow as an artist. Your art will evolve as you experiment and discover new effects within the watercolor medium. Delight in capturing the essence of flowers and enjoy your creative progress.