Essential Watercolor Skills for Beginners
Watercolor painting presents a unique artistic challenge and opportunity for creation. This form of painting uses pigments suspended in a water-based solution, often applied on textured paper, to produce images characterized by transparency and fluidity. Starting with watercolor means engaging with a medium that has a rich history and has been practiced worldwide for centuries, featuring in East Asian brush and scroll paintings as well as in European Renaissance artworks. Understanding this background adds depth to each brushstroke you make as a beginner.
For beginners, watercolor can feel unpredictable but rewarding once techniques and materials are understood. This guide will help you navigate the essential tools and techniques needed to bring your artistic ideas to life. We will cover everything from selecting brushes and papers to practicing foundational painting methods. By following practical steps and exercises, you will build confidence and develop skills that enable creative expression through watercolor paints.
Understanding Watercolor Painting
Watercolor painting uses pigments mixed with water to create transparent layers of color. Unlike oils or acrylics, watercolor relies on water to control the paint’s flow and intensity. You apply it on special papers that absorb water without warping. Common paper types include cold-pressed, hot-pressed, and rough, each offering different textures. Understanding your paper helps you predict how the paint will spread and dry.
Your pigments come suspended in water, allowing you to build colors from light washes to deeper tones. Watercolor is praised for its fluidity and spontaneity, which can surprise you as the colors blend and flow. Beginners often ask, how do you control such an unpredictable medium? The answer lies in mastering your materials and learning how water interacts with pigment and paper.

The history of watercolor spans cultures and centuries. Ancient Egyptians used water-based pigments on papyrus. East Asian artists developed delicate washes on silk and rice paper, focusing on capturing nature’s spirit. In Europe, watercolor became popular during the Renaissance for detailed sketches and botanical studies. Knowing this rich background helps you appreciate watercolor not just as a technique but as a centuries-old form of expression.
The Nature of Watercolor Paints
Watercolor paints consist of pigments, a binder, and water. The pigment gives the color, while the binder—usually gum arabic—holds the pigment particles together and sticks them to paper. Gum arabic also controls the paint’s flow on paper, making it easier to work with. The concentration of pigments affects how vibrant or translucent the color appears.
Water dilutes the paint, transforming bright pigments into soft, transparent washes. The more water you add, the lighter and more transparent the color becomes. This makes watercolor unique because you cannot cover mistakes easily; layering builds depth gradually. High-quality pigments resist fading and maintain brightness over time, so investing in good paints matters from the start.
When you mix colors, the transparency plays a key role. Colors blend by layering transparent washes rather than mixing in the palette. This creates luminosity and subtle shifts in color you won’t find with other paints. Understanding how water changes pigment intensity helps you control color and design your painting thoughtfully.
Historical and Cultural Context
Watercolor dates back thousands of years, with early use in cave art and Egyptian tomb paintings. Artists in East Asia refined watercolor on rice paper, using brush techniques that emphasized movement and spontaneity. Chinese ink wash paintings and Japanese suibokuga demonstrate how controlled water flow can create expressive landscapes and delicate details.
In Europe, watercolor painting grew during the Renaissance when artists used it for sketches and scientific illustrations. By the 18th century, British artists developed watercolor as a standalone medium with detailed landscapes and portraits. Watercolor societies formed, promoting it as a respected art form.

Modern artists continue to explore watercolor’s possibilities, merging traditional techniques with new styles. Consider how different cultures use the same materials but create unique effects. How might your own style reflect this global history? Understanding these traditions enriches your work and connects you with artists across time and place.
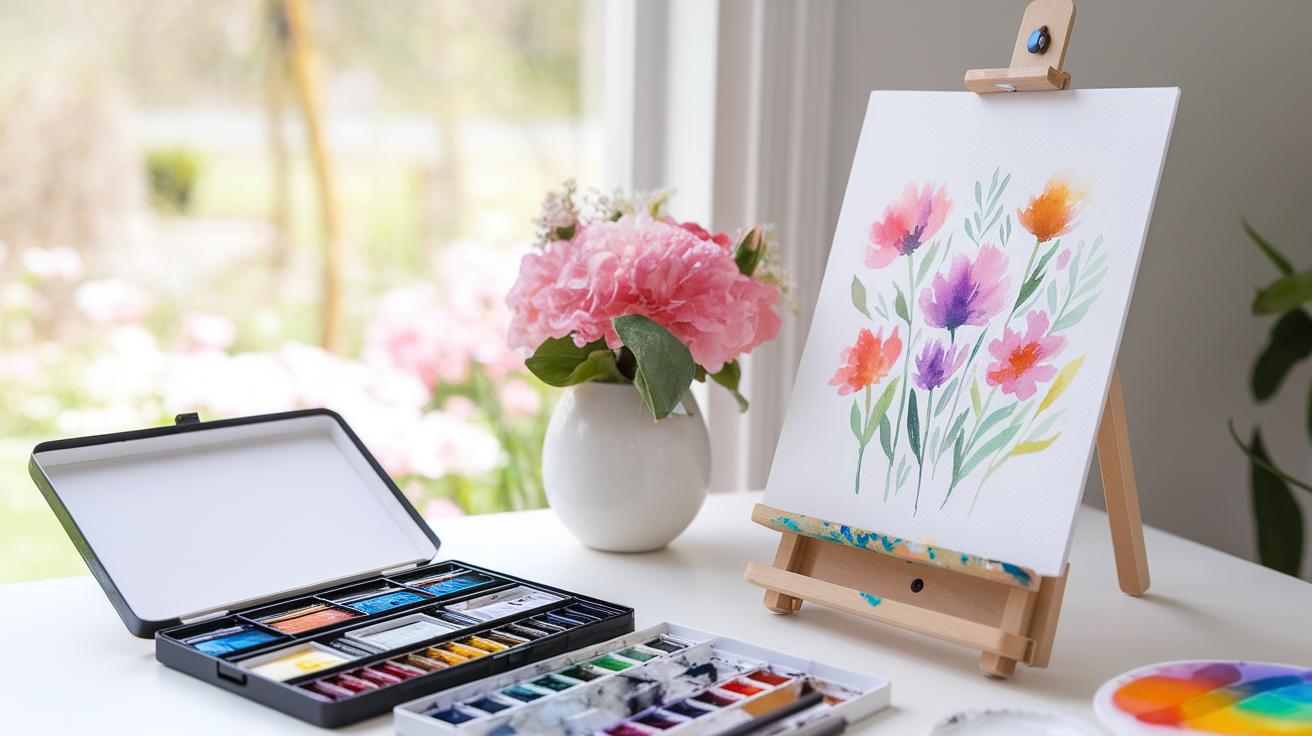
Essential Materials for Beginners
Choosing the right materials sets a strong foundation for your watercolor journey. You need brushes, paper, paints, palettes, and water containers to get started.
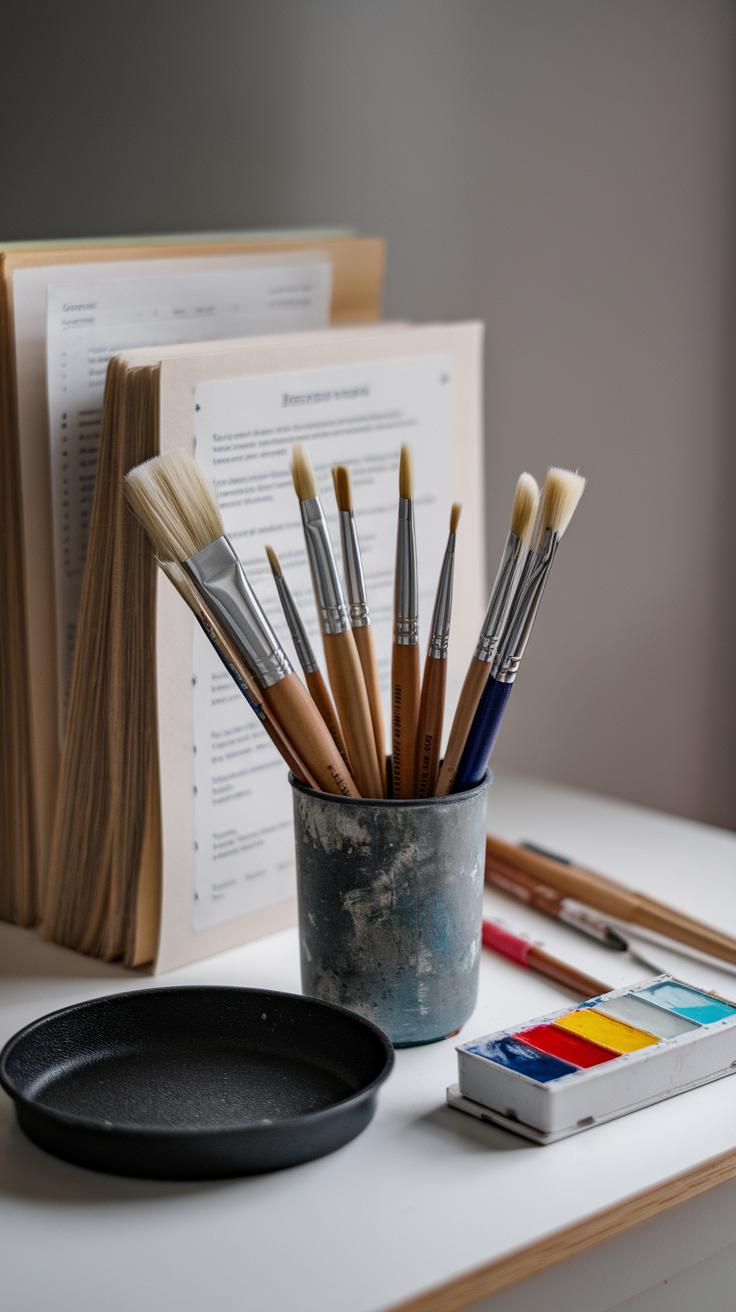
Look for watercolor brushes in round or flat shapes. Round brushes work well for details and lines, while flat brushes help with washes. Synthetic brushes are affordable and hold paint well, making them beginner-friendly. Natural hair brushes can feel softer but cost more.
Select watercolor paper that can hold water without warping. Paper usually weighs 140 lbs (300 gsm) for beginners. Heavier paper absorbs water better and keeps colors vibrant.

Watercolor paints come in sets with tubes or pans. Tubes are good for mixing larger amounts, while pans save space and dry quickly. Pick a small set with basic colors so you can learn how to mix your own shades.
Get a palette with wells for mixing paint and a sturdy cup or jar for clean water. Simple tools like masking tape keep your paper flat and sponges help lift paint mistakes.
How will you decide when to upgrade your supplies? Start with affordable basics and add quality pieces as you get more confident.
Choosing the Right Paper and Brushes
Watercolor paper types vary by texture. Cold-pressed paper has a slightly rough surface that holds paint well and works for many styles. Hot-pressed paper feels smooth and is great for fine details and controlled washes. Rough paper has a heavy texture that adds character but can be tricky for beginners.
Brush shapes affect your work. Round brushes let you paint thin lines and broad strokes. Flat brushes create straight edges and big washes. Filbert brushes blend both softly in curved strokes.

Synthetic brushes suit beginners because they resist damage and are cost-efficient. Natural hair, like sable, offers better paint flow but requires more care and budget.
Think about what kind of painting you want to try. Are you focusing on fine details or loose landscapes? Your brush and paper choice will shape your results.
Watercolors and Accessories
Watercolors come mainly in tubes and pans. Tubes offer fresh, moist paint that’s easy to mix. Pans dry quickly and are portable, which suits travel or small projects better.
Quality pigments matter because they affect color brightness and how your artwork ages. Look for sets labeled as student grade for practice and artist grade for richer colors and lasting results.
A palette with separate wells or mixing areas keeps your colors organized. Plastic palettes are lightweight and easy to clean, while ceramic ones are heavier but more durable.

Tools like masking tape help hold your paper flat to avoid buckling. Sponges absorb excess water or paint and can create textures.
Which accessories fit your painting style and workspace? Experiment with different tools to find what feels right for your creative process.
Basic Techniques to Start With

Watercolor painting offers many ways to play with color and texture. Starting with the right techniques helps you build confidence and control. Focus first on mastering wet on wet, wet on dry, gradient washes, and color blending. These methods give you tools to create different effects and shapes.
Try painting a simple circle using the wet on wet method. Wet your paper, then add paint. Watch how the color spreads and softens. For wet on dry, paint a leaf shape on dry paper and notice the sharp edges. Use a flat brush to make a gradient wash by moving from dark to light color on wet paper. Practice blending by mixing two colors near each other and letting them merge naturally.

What results surprise you the most? Which technique feels easiest? Keep practicing these basics and your skills will improve quickly. The variety of effects from just a few simple steps shows how flexible watercolor painting can be.
Applying Paint on Wet Surfaces
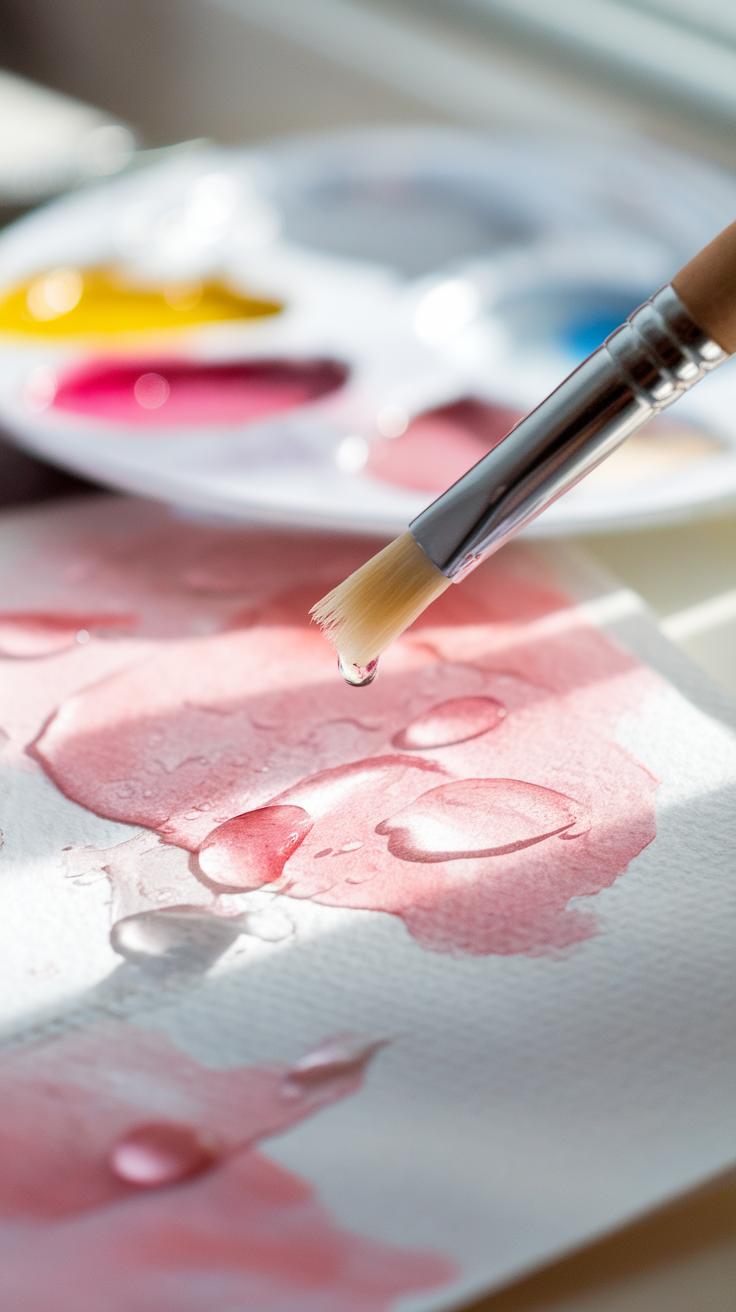
The wet on wet technique means applying pigment to wet paper. This approach causes the paint to flow and mix freely, creating soft edges and natural blends. You can produce smooth skies or gentle shadows using this method. Start by soaking your paper with clean water using a brush. Then touch your brush loaded with color onto the damp surface.
Control the flow by adjusting your brush’s moisture. More water makes the paint spread wider, while less water limits the movement. Tilt your paper to guide where the paint travels. Try combining two colors on wet paper to see how they mix and form new tones. Watch out for unwanted pooling by dabbing excess water with a paper towel.
Wet on wet encourages experimentation with unpredictable results. How will you use this softness to express your next scene? Learning this control opens up many creative paths for your painting.
Using Dry Paper for Detail
Painting on dry paper allows for more precise shapes and sharper lines. The wet on dry method is perfect when you want clarity and control. Brushstrokes show clearly without bleeding into surrounding paper. This makes it ideal for small details, outlines, or adding contrast to your work.

Use a medium or fine brush to apply paint carefully. Edges appear crisp, so objects stand out more. For example, you can paint individual leaves on a tree or patterns on a fabric. Dry paper helps you layer colors without them blending right away, giving you a chance to add depth gradually.
Try painting a flower petal using wet on dry after practicing wet on wet washes. Notice the difference in precision. Which method do you find easier for detailed work? Balancing these two techniques enhances your ability to control your art.
Color Mixing and Planning Your Palette
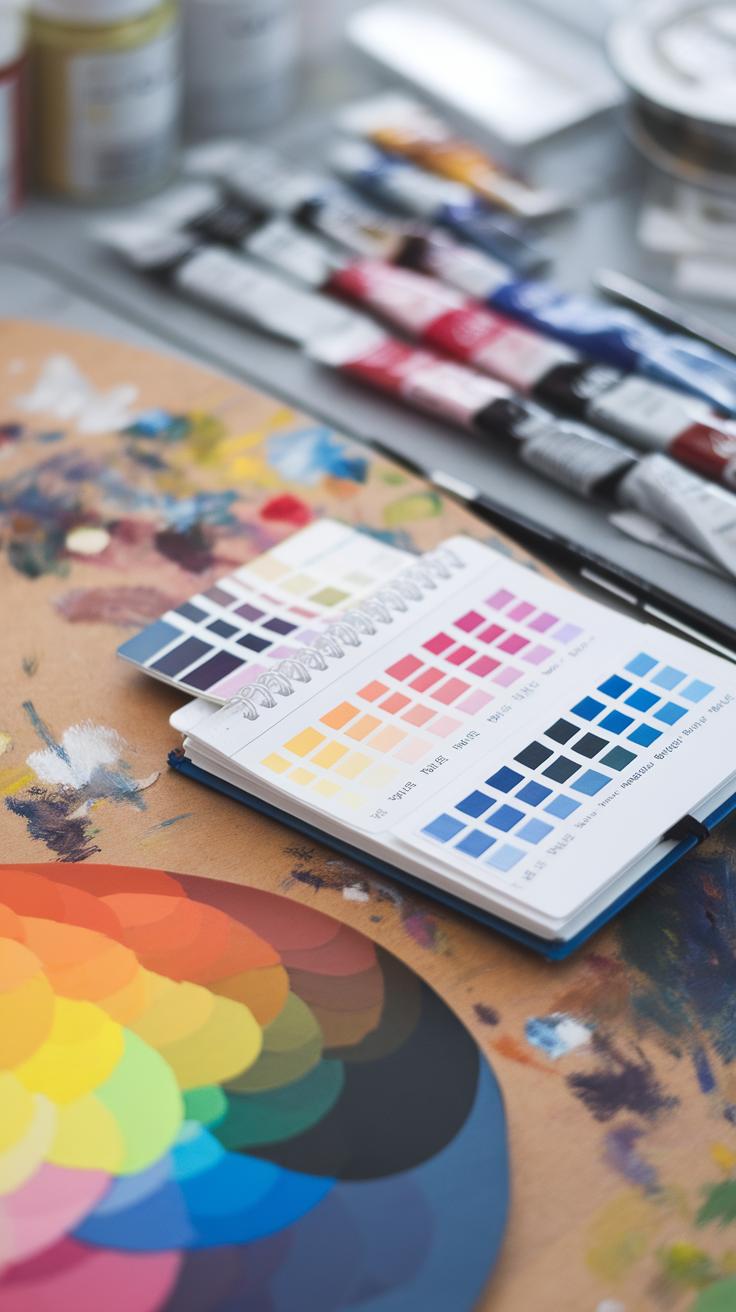
You can create many colors by mixing just a few basic paints. Watercolor relies heavily on color mixing because it lets you work with fewer tubes while still achieving a wide range of hues. Understanding the relationship between colors helps you avoid muddy results and keeps your painting fresh and vibrant.
Think about how colors change when you combine them. Mixing colors builds new shades and tones, and layering clear washes can adjust intensity. Knowing basic color theory—like how warm colors (reds, yellows) contrast with cool colors (blues, greens)—guides your choices. This also helps you see which colors harmonize and which clash.

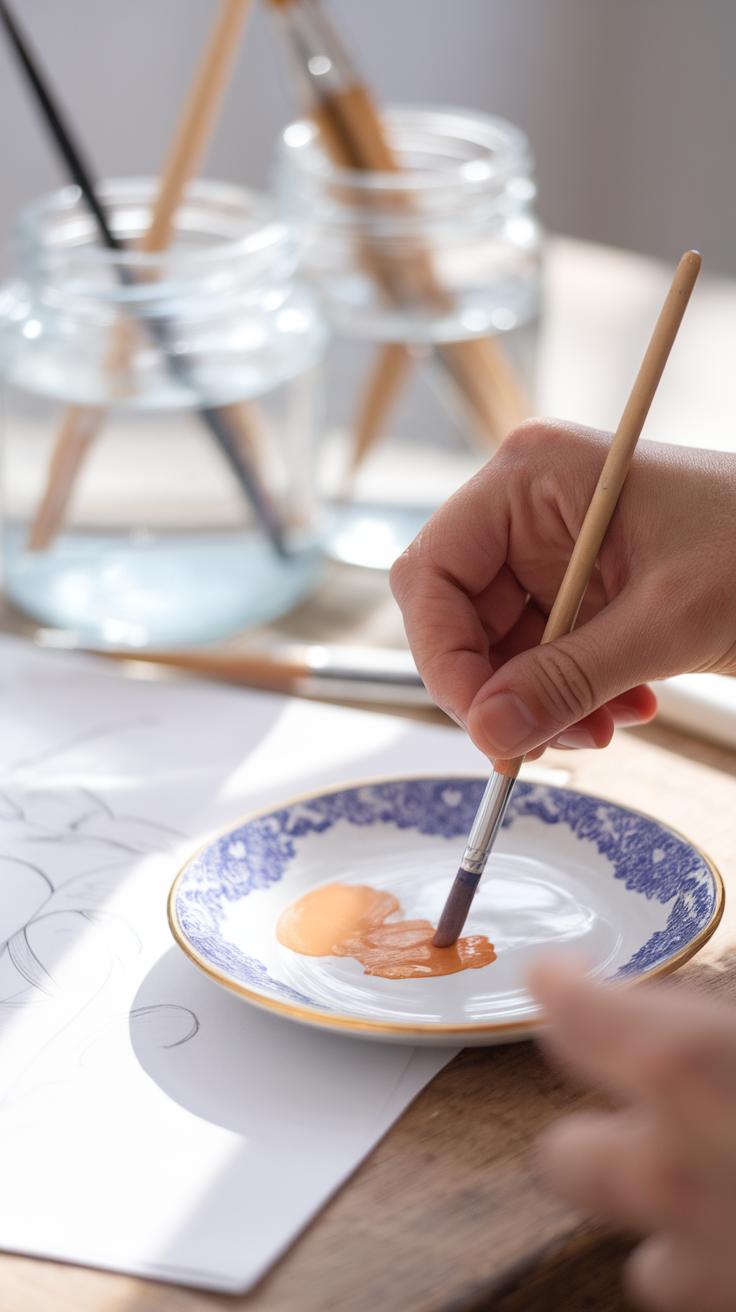
Try mixing small amounts of paint on a palette and observe the result before applying on paper. Do you notice how a tiny shift in ratio changes the color? Experiment with layering too. The clarity of watercolor lets light pass through layers, creating depth in your colors.
Creating Colors from Primary Paints
Start with the three primary colors: red, blue, and yellow. You can mix these to get most other hues. For example, mixing red and blue creates purples, blue and yellow make greens, and red and yellow produce oranges. Adjust the amount of each color to get lighter or darker versions.
Try mixing a red with just a drop of blue, then add more blue gradually. Notice the color shift from red-purple to deep violet. Use clean brushes and plenty of water for smooth blends. Testing mixtures in small swatches helps you see what you like before painting.
Layering is another way to create new colors. Dry one transparent layer before adding another. This technique adds richness without making colors dull. Ask yourself: how many colors can I build from only three primaries?
Setting Up a Cohesive Palette
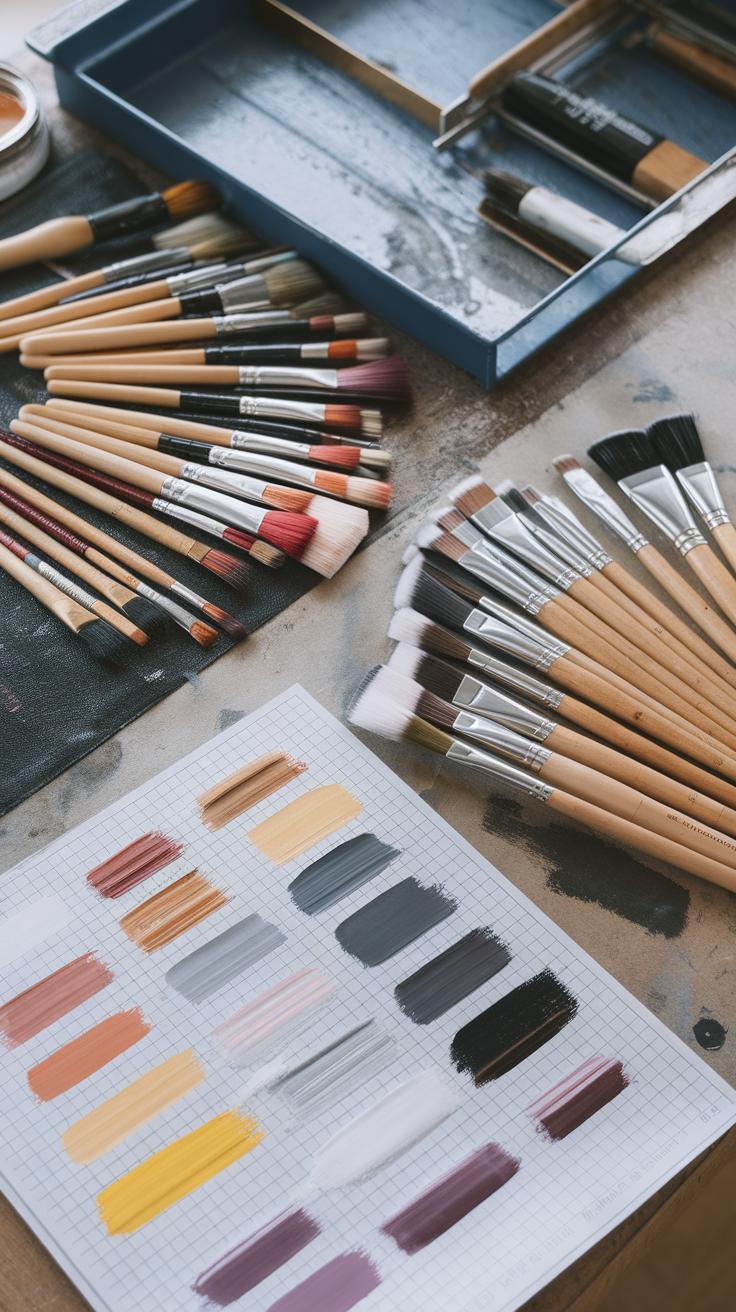
Plan your palette to keep colors clear and balanced. Using too many colors increases the risk of muddy mixes. Start with a limited set of paints that work well together. For example, a warm red, cool blue, and warm yellow can cover a broad range of colors when mixed.
Add a neutral shade like burnt sienna or Payne’s gray to create shadows without darkening colors harshly. Keep your palette organized; squeeze small amounts of paint apart to prevent mixing on the palette unless intended.
Think about your painting’s mood and subject while planning colors. Do you want bright, bold tones or soft, muted shades? Choose colors that support your vision. How does limiting your palette change your painting process? Try a simple three-color combination and notice the harmony it creates.
Controlling Water for Desired Effects
You can change your watercolor painting’s look by adjusting how much water you use. More water makes paint thinner and lighter, creating transparent layers. Less water gives you stronger, richer colors with more texture. The way you balance water affects your paint’s flow and the surface finish.
When you apply thin washes, the paint spreads smoothly and lightly, letting the paper show through. Using less water keeps the paint thicker and lets you add details or bold strokes. Controlling water also helps you lift paint to fix mistakes or create highlights by blotting a damp brush or sponge over wet or dry paint.
Try glazing by painting thin layers over each other after each dries. This adds depth without mixing colors on your palette. Soften sharp edges by adding clean water around them, making shapes blend naturally. How will you change your painting by controlling water?
Mastering Transparency and Washes
Mix paint with water to create transparent washes. The more water, the lighter and more see-through the color becomes. Practicing smooth gradients trains your hand to control water flow. Start by applying paint at the top of the paper and pulling it down with a wet brush to fade the color gradually.
Layering is another useful technique. After one wash dries, apply another on top to build color depth without making it muddy. This lets you create interesting effects like sunsets or soft shadows. You can try painting a simple sky with multiple washes, varying color intensity and sharpness.
How does changing water amount affect your control over the wash? Try to notice the difference between a watery glow and a strong stroke.
Techniques Using Water Manipulation
Lifting color means removing paint with a clean, damp brush or a sponge. This works best while the paint is still wet. Use it to create highlights or soften areas. For example, lift pigment to add light spots on leaves or water reflections.
Glazing adds layers of transparent paint over a dried area. This technique lets you build depth by controlling how intense the colors appear. Paint a light wash, wait for it to dry, then apply another color on top. Each layer modifies the one below without mixing directly.
To soften edges, add a wet brush near the paint’s edge and gently pull color outward. This blurs the line, making transitions smoother, like in skies or flowers. How will you use lifting, glazing, and soft edges to improve your paintings?
Composing Your First Watercolor Paintings
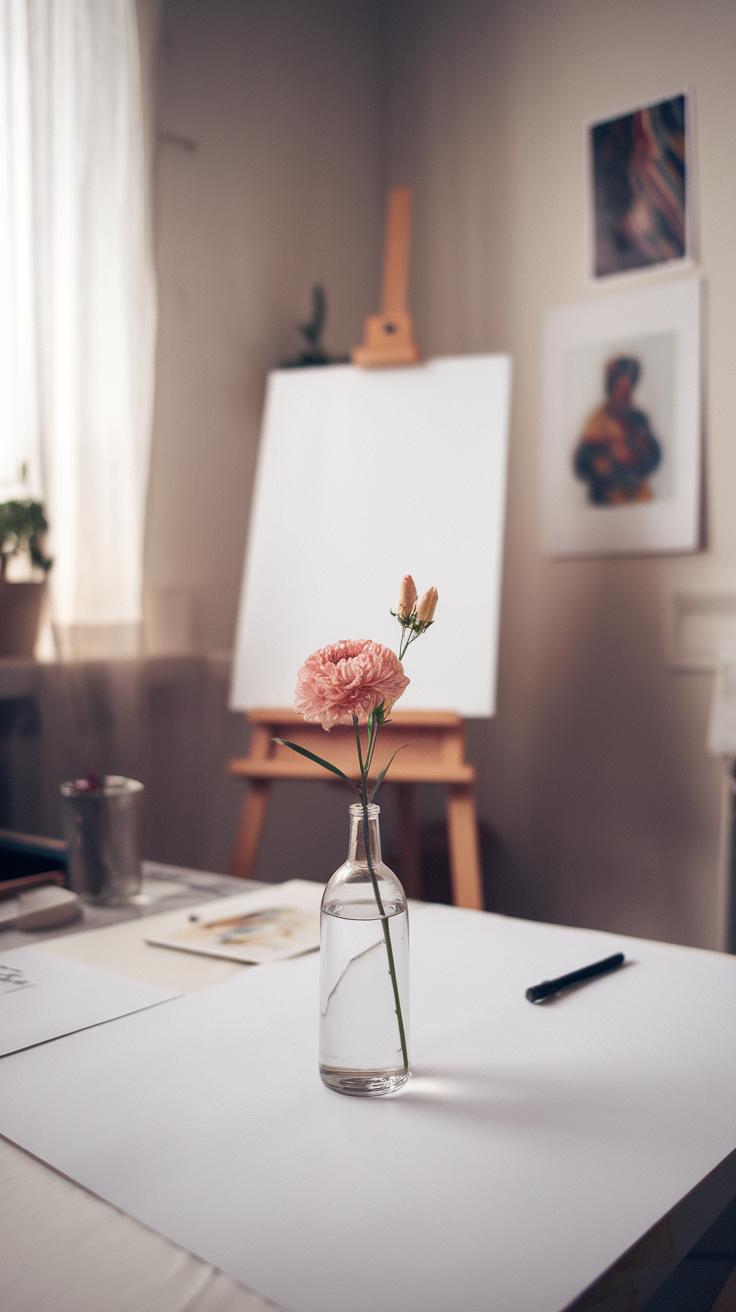
Choosing what to paint is a key step when starting with watercolor. Simple shapes help you focus on technique without feeling overwhelmed. Think about subjects that have clear, basic forms. Circles, ovals, and rectangles are easy to break down in objects like fruits, flowers, and simple landscapes.
Starting with easy subjects allows you to practice controlling your brush and water while building confidence. When you pick a simple subject, you avoid getting lost in tiny details and can focus on color, light, and shadow. What shapes catch your attention right now that you could paint?
Balance your composition by placing these shapes thoughtfully. Avoid crowding your painting; empty space matters. Look at how the shapes relate to each other on the page and choose one main area to grab the viewer’s eye. This focal point guides the viewer and creates interest in your work.
Selecting Simple Subjects
Pick everyday items that interest you and have simple forms. Flowers, apples, and hills are good examples. They allow you to practice blending colors and adding shadows without complex details.
Simple subjects reduce pressure because you can build skills step by step. Painting a clear shape like an apple helps you explore layering and controlling water flow. Try painting a bunch of shapes repeatedly, aiming to improve each time.
Working on these subjects teaches you to observe shapes and colors carefully, which improves your overall painting skills. What simple object in your room could become your next watercolor practice?
Principles of Composition
Think about how you arrange the parts of your painting. Balance means that no one side feels heavier or cluttered. The rule of thirds helps you place important elements off-center, creating a more natural look.
Divide your paper into three equal parts both ways. Place your main subject where these lines meet. This technique makes your painting more interesting to the eye.
Use empty space to lead the viewer’s focus to your main area. Ask yourself where you want your eyes to rest. How can you arrange shapes and colors to keep the viewer engaged? Try to keep your arrangement simple and clear to maintain visual harmony.
Developing Brush Skills and Stroke Types
Your brush is the main tool in watercolor painting. Improving control over it changes how your art looks. Every stroke shapes your painting’s texture and form. Practicing different stroke techniques helps you handle the brush confidently.
Try adjusting pressure, angle, and speed while painting. Notice how these changes affect the stroke’s width, opacity, and edges. This control lets you create smooth washes, sharp lines, or soft textures depending on the scene you want.
Have you tried holding your brush differently? Experimenting with grips shifts your control. For example, a light grip works well for delicate strokes. A firmer grip helps with bolder marks. As you paint, pay attention to how each stroke adds detail or mood.
Understanding strokes turns basic shapes into interesting forms. Use this knowledge to go beyond flat washes and bring personality to your subjects. How can your strokes add life to simple leaves or rocks?
Practicing Basic Brush Strokes
Start with basic strokes like dots, lines, dry brush, and washes. Each stroke builds a skill you can use in your paintings. Dots help create texture, lines define shapes, dry brush adds roughness, and washes set backgrounds.
Practice daily drills to strengthen these skills. For example, paint rows of dots at different sizes. Try parallel lines using varying pressure to control thickness. Use a dry brush on rough paper to see how texture changes. Make even washes that transition smoothly from dark to light.
Repetition builds muscle memory and confidence. Challenge yourself to paint these strokes without looking at the brush tip. This improves hand-eye coordination. Ask yourself: Which stroke feels easiest? Which needs more practice?
Using Brush Strokes to Create Texture
Different brush strokes can mimic natural textures. For instance, short, flicked strokes work well to paint leaves or grass. Stippling with the brush tip creates a soft texture, like moss or distant trees.
Layering strokes adds depth to your painting. Apply a wash first, then use small, varied strokes over it to suggest complexity. For water, try horizontal strokes with gentle variations to capture reflections and ripples.
Think about the texture you want to convey. Are you painting rough bark or calm water? Adjust your brush strokes to replicate these surfaces. Practice creating layers of texture, building richness without muddying colors.
How can you mix strokes to produce more realistic details in your painting? Experiment with combining dry brush textures and washes. Notice how layering transforms flat color into a vivid, tactile surface.
Troubleshooting Common Challenges
Uneven washes often occur when the paper dries too quickly or the paint isn’t spread evenly. If you load your brush with too much paint or too little water, patches will appear where the color pools. Try adjusting the water-to-paint ratio to keep the surface moist but not flooded.
When edges turn blotchy or rough, it usually means your paper is drying before your brush strokes finish. Working faster or wetting the paper first can help create smooth fades. If you spot a patchy area after it dries, use a clean damp brush to lift some paint gently, softening hard spots.
Paper buckling happens when it absorbs too much water unevenly. Taping your paper firmly to a flat board before painting helps keep it stretched. Choose heavier, cold-pressed watercolor paper for better durability. After painting, let the paper dry flat, then press it under heavy books if needed to flatten wrinkles.
Have you noticed colors bleeding into each other in places you didn’t want? That often means the paper is still too wet. Waiting for areas to dry before adding adjacent colors keeps your shapes clear. Simple fixes like these keep your paintings sharp and your materials in good shape.
Fixing Uneven Color and Edges
Patchy washes usually happen because of uneven water or paint on your brush. If the paint is too thick, it leaves dark spots. If it’s too watery, the color looks faint and inconsistent. Adjust your mix to keep an even balance, aiming for a smooth blend on your paper.
Uneven edges often indicate your paper dried too fast or your brush wasn’t fully loaded. To avoid this, wet your paper slightly before painting or work in smaller sections. If you see rough edges after drying, lift paint gently with a clean damp brush or a damp tissue.
Have you ever tried adding more water after the paint dries to smooth a patch? This helps reactivate dried paint and blends colors better. Remember, controlling the amount of water on your brush is key to smooth, gradual washes.
Preventing Paper Damage
Thin or low-quality paper curls or buckles when wet because it can’t absorb water evenly. Use at least 140-pound (300 gsm) cold-pressed paper for better strength and texture. Taping your paper on all sides to a rigid board helps it stay flat while you work.
After finishing your painting, let it air dry completely while still taped to prevent warping. If your paper wrinkles after drying, place it between two sheets of plain paper and press it under heavy books for several hours. This flattens stubborn curves without damaging the paint.
Have you tried stretching your paper before painting? Soaking and taping it tight before drying can stop warping from the start. Using quality materials and handling them carefully helps your work look clean and professional.
Using Watercolor in Creative Projects
Applying your watercolor skills to personal projects brings your practice to life. Making cards, small landscapes, or abstract designs helps deepen your understanding and builds your confidence. These projects offer manageable spaces to try techniques without overwhelming effort.
Creating handmade cards lets you focus on details like color mixing and brush control while working on a small surface. Small landscapes challenge you to capture simple scenes with fresh watercolors, teaching subtle washes and layering. Abstract pieces encourage you to play with shapes and color flow, opening doors for personal expression.
Try new ideas and styles without aiming for perfection. Ask yourself: How does changing brush pressure or water amount alter the mood? What if you use unexpected colors? Each project offers practice and discovery. Testing different approaches will grow your skills and inspire creativity beyond worksheets.
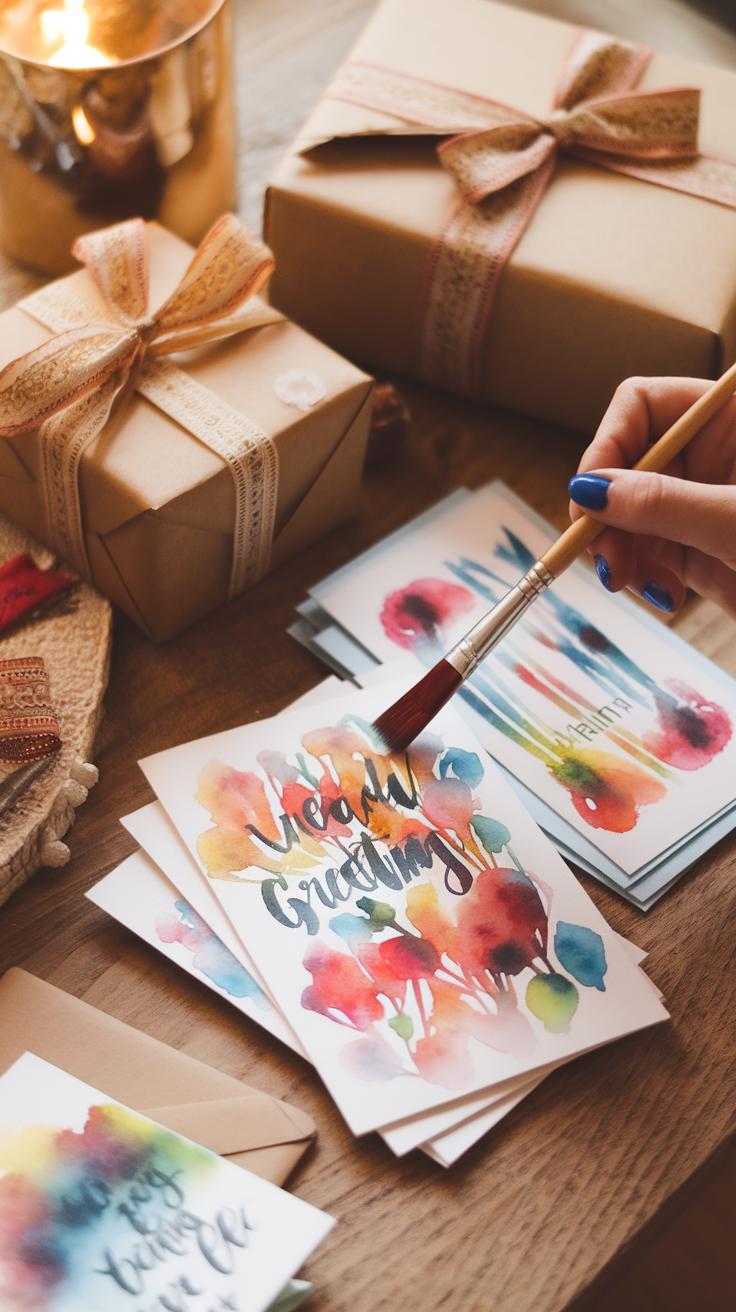
Creating Greeting Cards and Small Artworks
Watercolor cards make thoughtful gifts or personal keepsakes. Use basic shapes like leaves, flowers, or simple patterns as a starting point. These subjects work well on small spaces and highlight blending and layering skills.
Choose limited palettes for easy color harmony. For instance, blue and green create calm feelings, while reds and oranges add energy. Soft washes behind your designs add depth without overpowering the main image.
Consider using masking tape around edges to get clean borders. Try writing short messages with a waterproof pen once your paint dries. This turns your artwork into personalized cards that friends and family will appreciate.
Experiment with different paper textures and sizes. How does thick paper change your brushstrokes? How fine can your details get on small cards? These choices affect your technique and finished look.
Experimenting with Abstract Watercolors
Abstract watercolor painting removes the pressure of copying real objects. You can focus on emotions, colors, and spontaneous brushwork. Begin by selecting a mood or color theme, like calm blues or vibrant reds.
Try exercises where you work quickly, letting paint flow freely across the paper. Tilt the page, blow on wet areas, or drop salt to create textures. Notice how paint behaves and reacts.
Use shapes and lines rather than clear images. What feelings come up with soft, blended colors? How do sharp edges change the energy? These questions shape your artistic voice.
Abstract work helps you trust your instincts and loosen control. When was the last time you just painted without an exact plan? Starting here can unlock new ideas and techniques to use in other projects.
Planning Your Watercolor Learning Path
Setting clear goals helps you track progress and stay motivated as you improve your watercolor skills. Think about what you want to achieve in both the short and long term. For example, you might begin by focusing on basic brush control or color mixing. Later, aim to complete a series of paintings around a single theme like flowers or landscapes.
Consistent practice is key. Try to paint a little every day or several times a week. This steady effort builds muscle memory and confidence. Find simple subjects that interest you and gradually increase the difficulty.
Organize your learning into steps, such as mastering washes, then layering colors, followed by texture techniques. This approach prevents overwhelm and keeps your progress measurable. What specific skills do you want to master first? How will you celebrate completing a learning milestone?
Setting Realistic Painting Goals
Set painting goals that fit your time and skill level. Short-term goals can include finishing small studies or learning a new stroke. Long-term goals might involve creating a themed collection or mastering wet-on-wet techniques.
Break bigger goals into manageable tasks. For example, if you want to paint landscapes, start with simple shapes, then practice skies and foliage separately. Slowly combine these elements.
Consistency beats intensity. Painting 15 minutes daily will increase your skills more than rare long sessions. How can you fit practice into your routine so it feels natural and rewarding? Tracking your progress with before-and-after photos can help you see real improvement.
Finding Learning Resources
Look for books, online tutorials, and local workshops to guide your learning. Popular books often explain techniques step-by-step with examples. Many websites and video platforms offer free or paid watercolor classes suited for beginners.
Local art centers or community colleges may have affordable workshops where you can receive personal feedback. Joining watercolor groups on social media or community forums connects you with others sharing tips and encouragement.
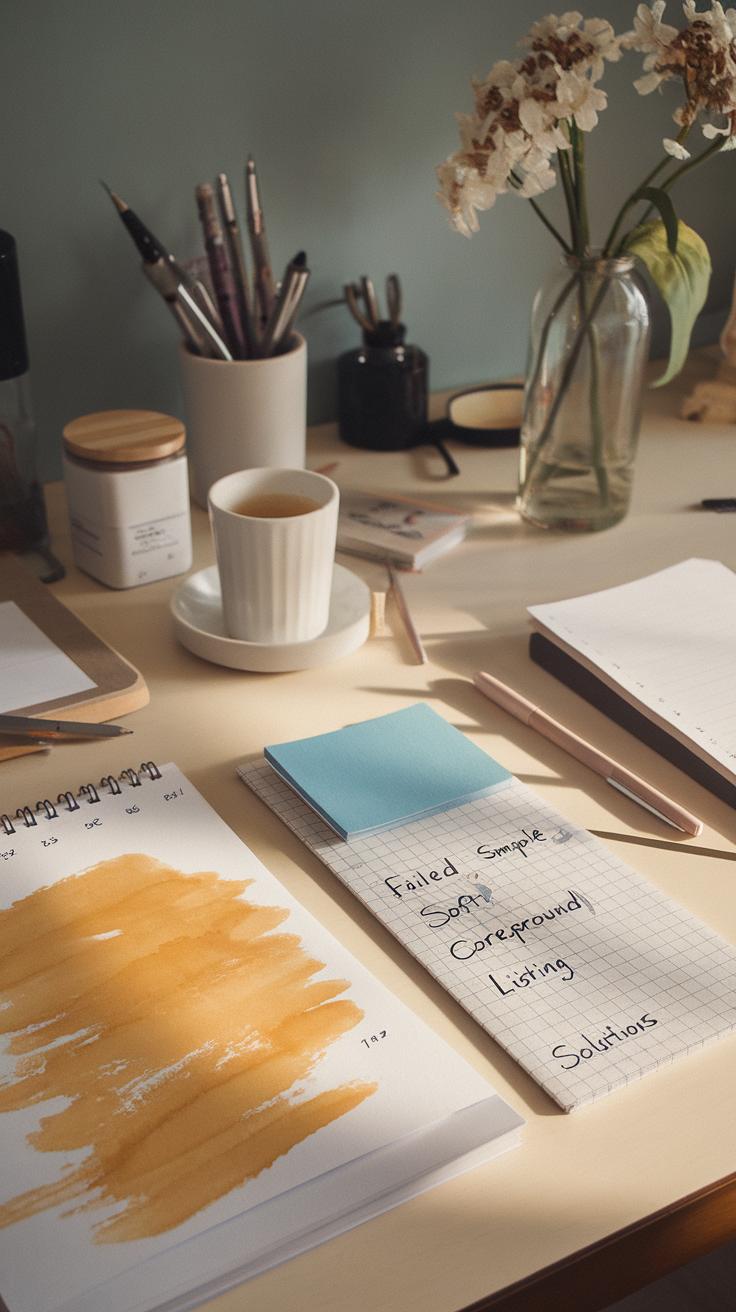
Keep a sketchbook or journal of your practice. Record your experiments, successes, and questions. Reviewing your journal over time reveals growth and areas needing work. What resources will you explore first, and how will a sketchbook help you stay organized along the way?
Conclusions
Starting watercolor painting involves practice and patience, but your effort will yield visible progress. Using quality materials like cotton-based watercolor paper and pigment-rich paints helps achieve better results. Focus on mastering basic techniques like wet on wet, wet on dry, and layering. Experiment with water control, color mixing, and brush handling to find your style. Keep a practice journal to track your improvements and challenges as you learn.
Watercolor painting opens a path to relaxing creativity and visual storytelling. As you advance, challenge yourself with new subjects and more complex compositions. The unique characteristics of watercolor require you to stay adaptable and responsive to the medium’s flow and drying times. Embrace each painting session as a learning experience. Your journey in watercolor art will bring both skill and enjoyment in expressing visual ideas distinctly.


