Introduction
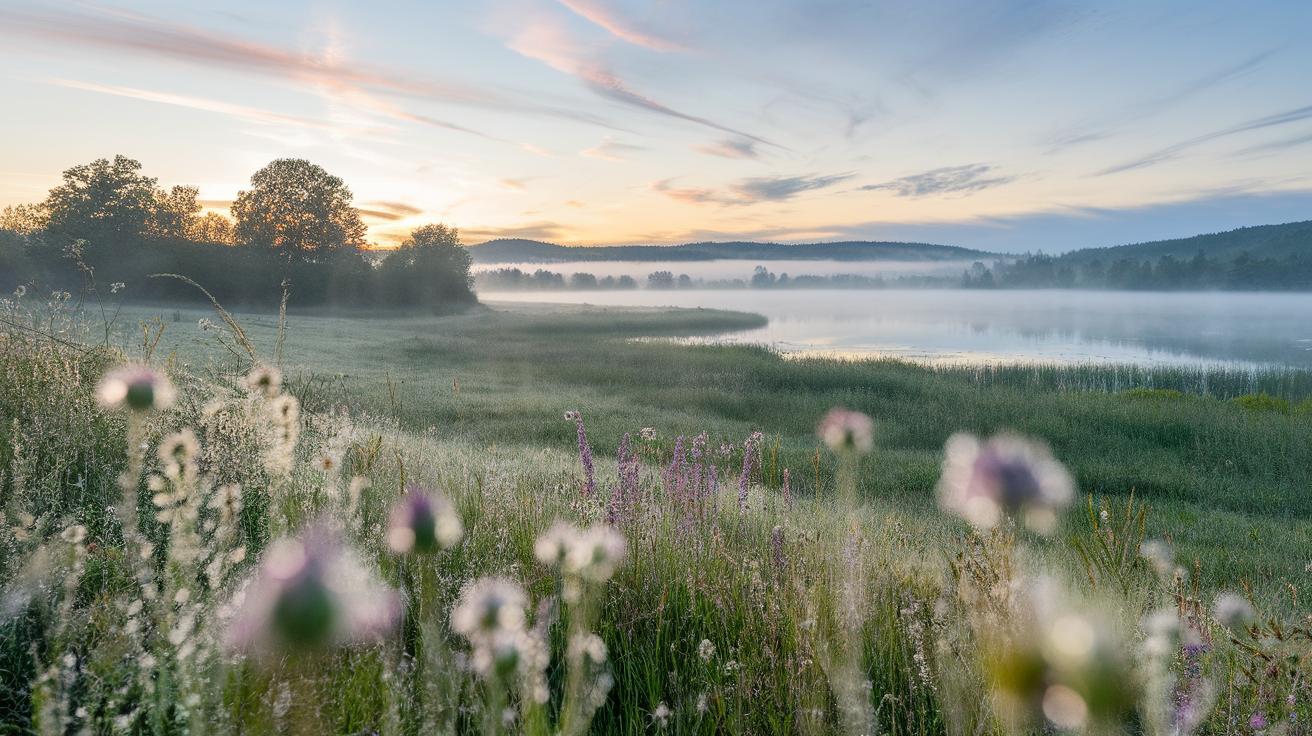
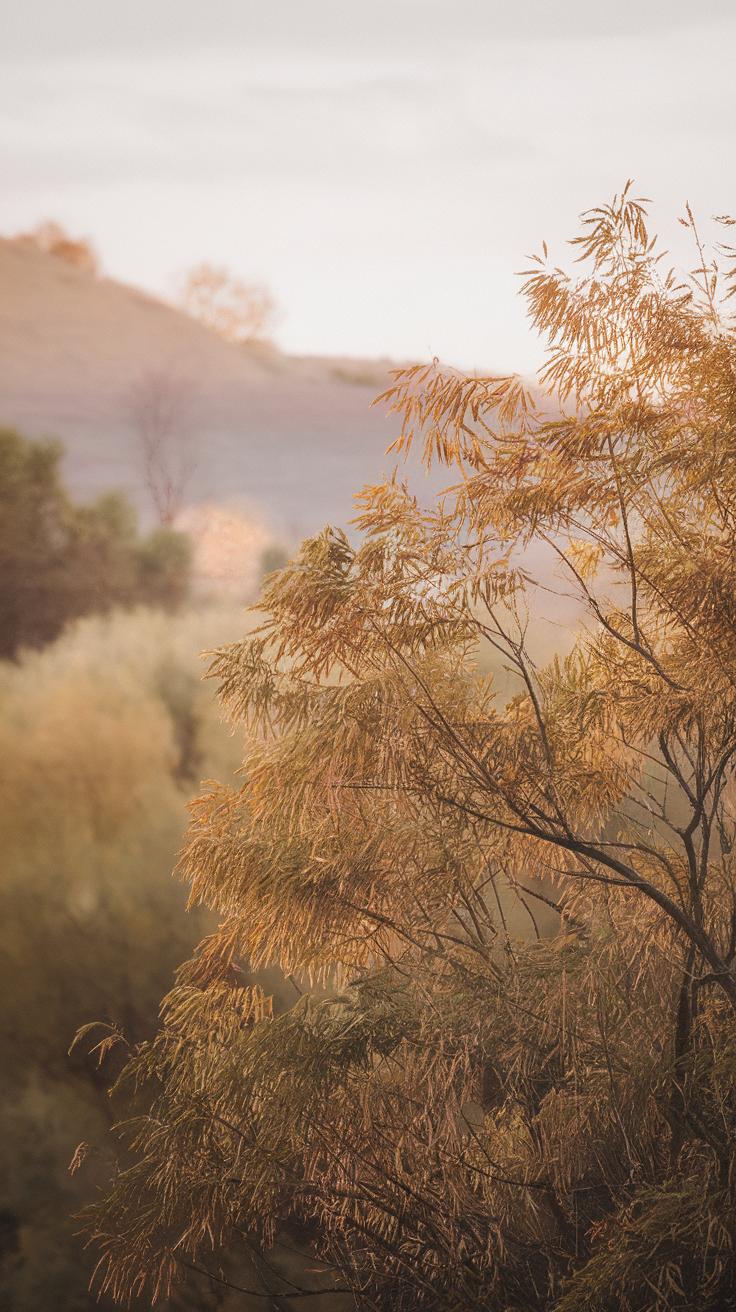
Watercolor scenery captures nature’s calm and subtle details in a way few other art forms can. This medium uses pigments suspended in water, offering transparent layers that bring soft landscapes to life. You can create peaceful images of oceans, mountains, forests, or gardens that evoke quiet and focus. Understanding the basics of watercolor technique helps you build scenes step by step, allowing your creativity to flow naturally.
Painting peaceful watercolor sceneries takes practice and a grasp of the medium’s unique qualities. This guide walks you through essential tools, materials, and key steps to develop your skills. It clarifies how to mix colors, plan compositions, and apply washes to create serenity in your artwork. Whether you are a beginner or refining your style, this article provides practical insights to help your watercolor landscapes speak calm and confidence.
Understanding Watercolor Materials
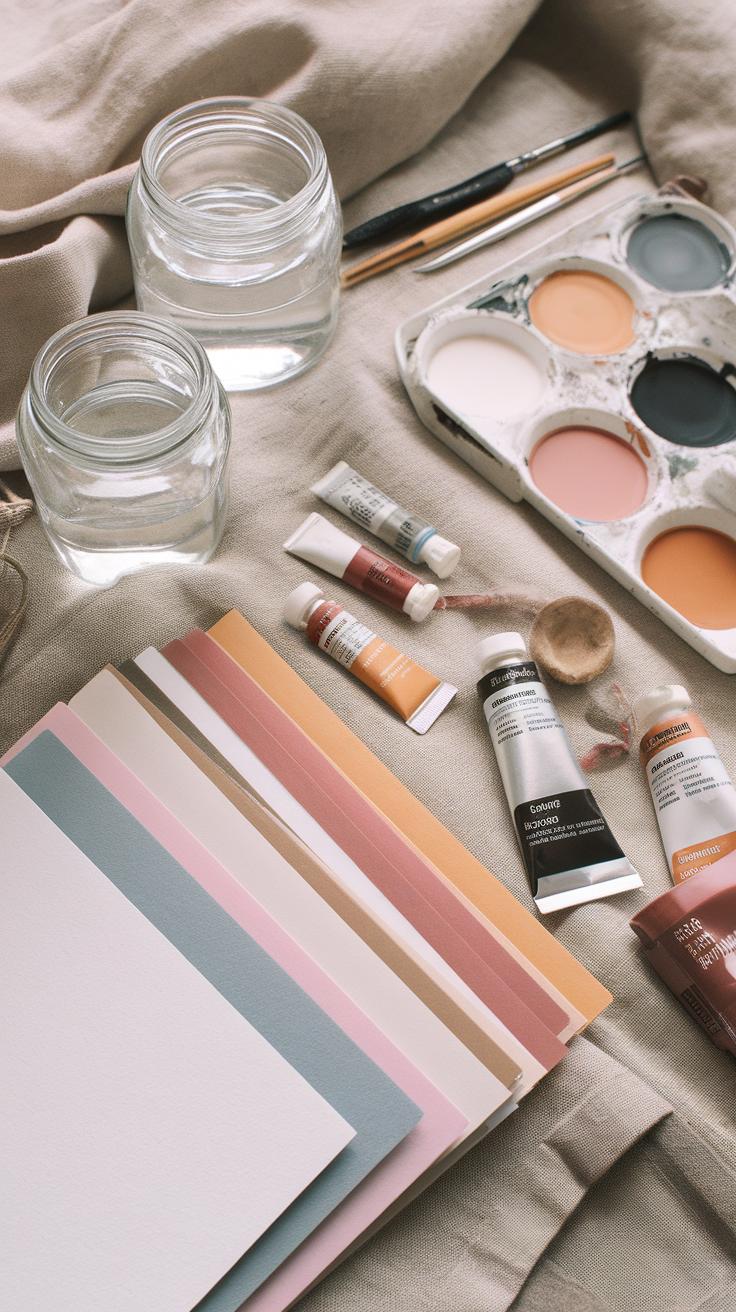
Choosing quality materials shapes your watercolor scenery paintings more than you might think. The right paper, brushes, and paints work together to create smooth washes and vibrant colors.
Watercolor paper comes in different textures and weights. These factors control how water and pigment move on the surface. Heavier papers usually handle water better, preventing warping.

Brushes influence your strokes and details. Look for brushes made with natural or synthetic hair that hold water well and maintain their shape. Different sizes serve different needs—from large washes to fine lines.
Watercolor paints vary in pigment concentration and color quality. High-quality paints keep colors bright and transparent. This matters because for peaceful landscape scenes, you want soft blends and layered effects that show depth.
Do you notice how your current materials affect your results? Could upgrading one component improve your control and color harmony? Choosing tools carefully sets the foundation for your peaceful watercolor artwork.
Choosing the Right Paper and Brushes
Watercolor papers mainly come in three textures: cold-pressed, hot-pressed, and rough. Cold-pressed is slightly textured and versatile for landscapes. Hot-pressed feels smooth and suits detailed work but can be less forgiving with water. Rough paper has heavy texture, giving a grainy, textured effect perfect for natural scenes.
Brushes come in rounds, flats, and fans, plus many sizes. Round brushes work well for most scenery details and washes. Flat brushes cover large areas quickly, like skies or water. You might find smaller brushes best for fine branches and grasses. Synthetic brushes hold their tip well at a lower cost, while natural hair brushes often hold more water.

Try testing different paper types and brushes. Notice how texture and brush shape change your painting style. Which tools feel natural in your hand and offer the control you need for calming nature scenes?
Selecting Watercolor Paints
Watercolor paints come in tubes and pans. Tubes offer fresh, strong pigment, making vivid layers easier. Pan sets are portable and convenient for travel painting outdoors, but they sometimes require more water to lift pigment.
Look for paints labeled as artist quality, which have higher pigment loads and better lightfastness. These qualities keep your colors lasting and bright. Transparent pigments allow light to pass through layers, creating a glowing effect important in peaceful landscapes.
Choose colors that fit your natural scenes, such as various greens, blues, and earth tones. Adding a few warm colors like burnt sienna or cadmium red can enrich shadows and details. How do your current paints hold up? Could swapping to higher pigment paints help your scenes shine?
Basic Watercolor Techniques

Mastering basic watercolor techniques lays the groundwork for creating beautiful scenery in your paintings. Washes are large areas covered with a single color, often used as backgrounds or skies. To make a smooth wash, apply paint evenly using a clean, wet brush, keeping the stroke steady. Gradients help transition one color to another seamlessly, which is important when painting sunsets or reflections in water.

Wet-on-wet technique involves applying paint onto a wet surface, allowing colors to blend softly. This method works great for clouds or misty backgrounds where hard edges disrupt the calm mood. Wet-on-dry means painting on dry paper to keep details sharp, useful for trees, rocks, or other elements that need more control.
Layering builds depth by adding transparent washes on top of each other. Start light and add darker tones gradually to keep your painting rich but fresh. How do you decide which technique fits each part of your scene? Experiment with each on scrap paper to understand their effects before applying them to your final piece.
Applying Washes and Gradients
When painting skies or water, start with a clean, wet paper for your base wash. Load your brush evenly with diluted paint and drag it across the paper in smooth, horizontal strokes. This creates a flat, even color that sets the mood for your scene.
For gradients, begin with more pigment at the top and gradually add water to your brush as you move downward. Your goal is a smooth fade from dark to light or one color blending into another. This technique works well for sunsets or lakes reflecting the sky.
Keep your paper wet but not flooded; too much water causes unwanted pooling. You might want to tilt your paper slightly to help pigments flow naturally. Practicing these subtle transitions ensures the sky or water appears calm and believable. How can you tell when a wash is perfect? Look for an even tone without streaks or harsh lines.
Using Wet Techniques

Wet-on-wet painting encourages natural blending. First, wet the area you want to work on, such as the sky, then drop in colors. They will spread and mix softly, creating organic shapes like gentle clouds or distant hills. This technique gives a soft, dreamy background that supports the overall peaceful feel of your scenery.
Wet-on-dry provides more precision. Once your base layer dries, you can add details like tree branches, blades of grass, or textured rocks. Because the paper is dry, your brush strokes stay crisp and controlled.
Try both techniques in one painting. Use wet-on-wet for backgrounds and wet-on-dry for foreground details. This balance keeps your painting lively while maintaining control where it matters. Have you tried layering soft and sharp elements using these methods? Notice how your scenery gains depth and calmness with practice.
Planning Your Watercolor Scenery
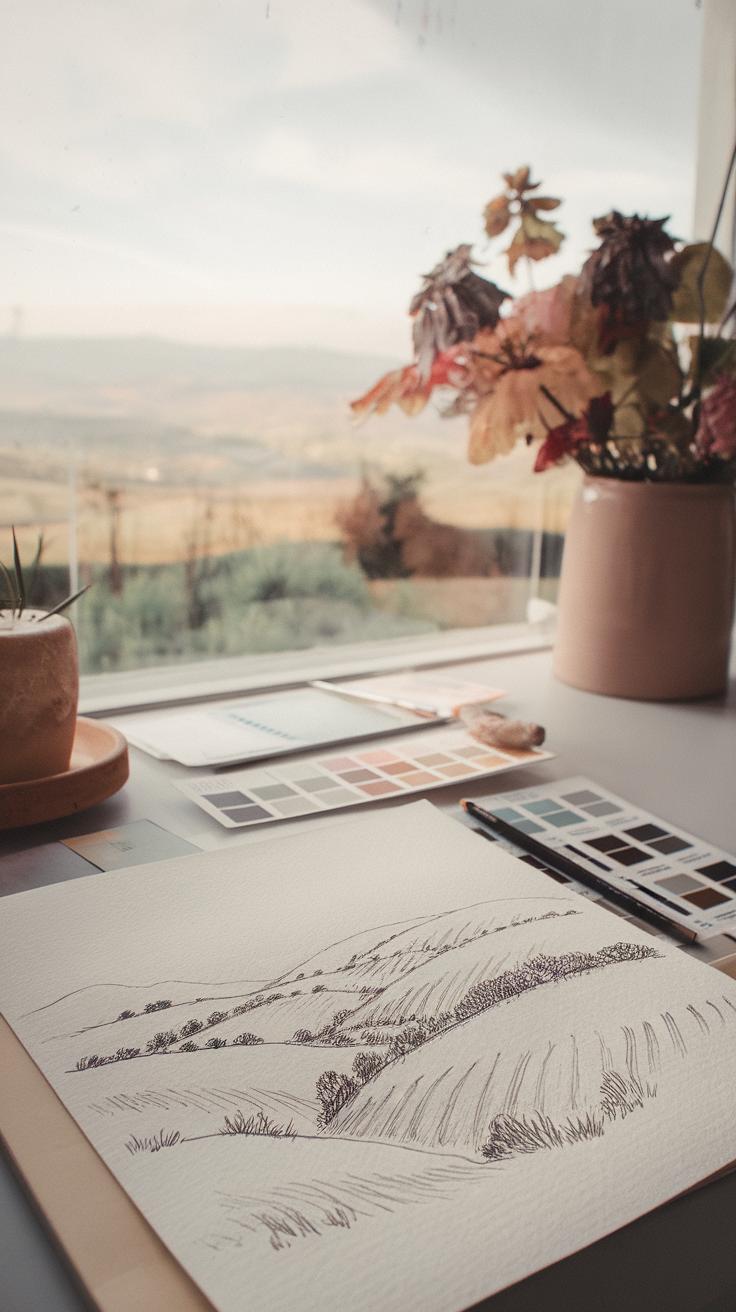
Before you start painting, take time to plan your composition. Begin with rough sketches to capture the basic shapes and layout of your scene. These don’t need to be detailed but should help you decide where each element will go.

Focus on what will catch the viewer’s eye—your focal point. It might be a tree, a pathway, or a body of water. Place it somewhere that draws attention and supports the whole composition.
Think about the flow of your scene. Does the eye move smoothly from one area to another? Check balance between empty spaces and detailed areas to ensure your painting feels steady and inviting.
Visualize how light will hit the scene. Imagine where shadows fall and how light guides the mood. This will help you organize your shapes and colors for more realism and impact.
Sketching and Composition
Create simple sketches focusing on how shapes fit together. Use basic lines and forms to build your layout. Avoid cluttering your sketch with too many details early on.
Work on balance by spacing objects evenly or grouping them to create weight on one side. Consider empty spaces as part of your design; they give room for the eye to rest.

Test different arrangements by adjusting where you place trees, rocks, or water. Ask yourself if the composition feels natural and if the eye travels comfortably across the scene.
Keeping your sketch loose allows you to make changes easily. Think of it as a map that guides your final painting.
Thinking about Light and Shadow
Observe how light changes the look of natural objects. Notice where sunlight hits and where shadows form. These contrasts give your painting depth and shape.
When painting, use tonal differences to separate planes. Darker values should appear in shadowed areas, and lighter values appear in spots with direct light.
Watch how shadows lengthen in the early morning or late afternoon. Capturing these subtleties makes your scene feel alive and believable.

Ask yourself how the light direction affects colors. Do cool shadows appear on the opposite side of the warm sunlight? Use these clues to guide your color choices and brushwork.
Capturing Natural Elements

Painting natural elements like trees, water, sky, mountains, and reflections requires careful observation and control over your watercolor techniques. When painting trees, think about their shapes, density of leaves, and how light hits them. Use varied brushstrokes—dabbing for textured foliage or long strokes for slender branches—to show different types.
Water and reflections challenge you to blend colors smoothly. Apply soft washes to mimic calm water surfaces, adjusting your brush pressure to keep edges soft and shapes clear. For reflections, reverse the colors and tone of what you see above the waterline. Create gentle ripples by breaking up straight lines with subtle, uneven marks.
The sky often sets the mood. Use gradual color transitions, from light near the horizon to deeper hues above. Paint mountains with layers of diluted paint to suggest depth. Focus on the tones that shift with distance, making mountains appear lighter and less detailed as they recede.

How can you use these tips to bring natural calmness into your paintings? Experiment with brush control and observe how nature’s elements interact by looking closely at your surroundings before painting.
Painting Trees and Foliage
Start with mixing green shades by combining blues and yellows, then add touches of red or brown for variety. Use a round brush for leaf clusters, tapping lightly to suggest texture. For needle-like leaves, try short, quick strokes with a fine brush.
Layer your paint to create depth. Paint darker greens first, then add lighter colors on top for highlights. Dry brushing works well to show rough bark or leaf veins. Vary your color mixing; mixing different greens prevents flatness.
If you want to paint autumn trees, mix orange, red, and yellow in small amounts. Don’t paint every leaf—use suggestive marks instead. Can you see how different brush strokes change your tree’s character? Try controlling your brush pressure to show leaf density.
Rendering Water and Reflections
Start with light blue or gray washes to lay down water. Keep your strokes horizontal and smooth to capture calm water surfaces. Wet-on-wet technique helps blend colors softly, which works well for shallow water and gentle waves.
Reflections mirror the scene but appear softer and less defined. Reverse the color placement; darker objects appear lighter in the reflection. Use a damp brush to blur edges of the reflection gently, avoiding sharp lines that break the illusion of water.
Small ripples or light waves can be suggested with thin, broken strokes of white or pale blue. How steady is your brush? Practice controlling the shapes by painting reflections from simple objects before tackling complex scenes.
Color Mixing and Palette Choices

Mixing Natural Colors
Start with the three primary colors: red, blue, and yellow. Mixing blue and yellow creates various greens. Try combining a cool blue like ultramarine with a warm yellow like cadmium yellow to get natural, lively greens. Adjust the ratio to make the green lighter or darker.
Mixing red and blue yields purples but use small amounts when mixing with greens to create muted browns. Combine all three primaries to get earthy browns. Adding a touch of red to green creates more natural-looking shadows on foliage and landscapes.
To create natural blues, mix your blues with tiny amounts of green or red to avoid flat colors. For example, mix a little crimson with cerulean to produce a soft sky blue with depth. Play with these combinations to achieve colors that feel organic and close to real nature.
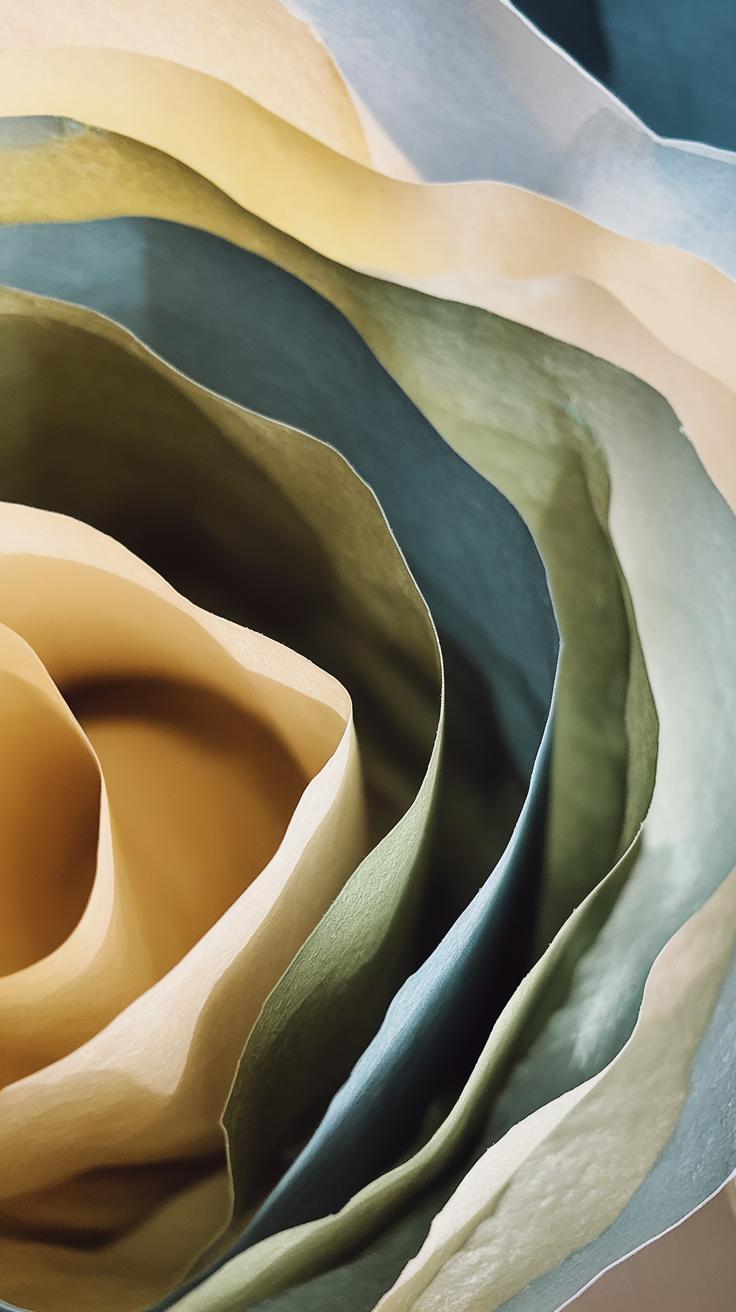
Building a Peaceful Palette
Choose colors that are soft and muted rather than bright or saturated. Mix your pigments with water to reduce their intensity. Adding a small amount of complementary color helps tone down brightness and create harmony.
Focus on gentle blues, greens, and browns with low contrast. Avoid harsh reds or sharp yellows to keep your scene calm. For example, mix a grayish green by adding a little red to your green rather than using straight green.
Think about how your colors work together. You want your palette to feel balanced and soothing. Ask yourself if a color feels too loud compared to others. Adjust it by adding a bit of its complement or more water. This approach keeps your nature scenes peaceful and natural.
Layering and Building Depth
Layering in watercolor creates depth that draws your viewer into the scene. Applying transparent washes one after another lets you build subtle changes in tone and color. Each layer adds detail without covering what lies beneath. This technique works especially well for peaceful landscapes and waterscapes where softness is key.
Start with a light wash to map out broad shapes like sky, water, or distant hills. As the paper dries, apply slightly darker or richer tones on top in areas that need more shadow or texture. Let each layer dry completely. Watch how the overlapping colors glow from within, producing a natural depth hard to achieve with opaque paint.
Have you noticed how some landscape paintings feel flat while others invite you inside? Layering transparent colors can give your scenery that inviting quality. Try experimenting with several thin layers instead of one thick one. What effects do you observe when you adjust the intensity and timing of your washes?
Executing Transparent Layers
Transparency depends on patience. Applying one wash at a time and allowing it to dry fully prevents colors from muddying. Each dry layer acts as a clear window underneath the next, keeping edges soft but visible. This creates an effect of light moving through your painting.
To practice, paint broad areas like sky or water with a light, diluted color. Wait until the paper feels dry to the touch before adding another layer. Use gentle strokes that follow natural forms in the landscape. Avoid brushing too hard, which can lift previous layers.
Ask yourself how drying time changes your painting. Do quick layers look less controlled or more vibrant? How does the paper’s absorbency alter drying speed? Mastering drying intervals helps you manage the clarity of your colors and the airiness of your peaceful scenes.
Creating Atmospheric Perspective
Atmospheric perspective creates a sense of space by making objects that are far away look lighter and less colorful. Distant hills should have softer edges and paler tones compared to items close to the viewer. This pushes the background backward and adds a calm feeling.
Start by mixing weaker color washes with more water. Use these lighter tones on distant features. Contrast these with stronger colors and sharper shapes in the foreground. Your eye naturally follows this pattern, reading lighter values as far and darker ones as near.
Try observing a real landscape or photo. Notice how distant trees fade into the sky’s color and look less detailed. How can you replicate that in your painting? Reducing saturation and increasing lightness in layers adjusts the mood and makes your scenery feel spacious and peaceful.
Incorporating Details Without Overworking
Adding small details like branches, grasses, or subtle highlights can bring your watercolor scenery to life. The challenge lies in including these elements without losing the soft, quiet mood you want to create.
You can start by choosing only a few key details to emphasize. Avoid cluttering your scene with everything you see. Instead, focus on parts that support the overall calm atmosphere. For example, a few thin branches or a light touch of grass near the water’s edge can add interest without overwhelming your painting.
Use a fine brush and less pigment to keep details delicate. Thin lines and light strokes blend gently with the wash beneath. When adding these small features, keep your hand steady and your movements slow. This attention helps maintain the quiet feel and avoids harsh edges.
Balancing Details and Simplicity
Deciding how much detail to include is key to preserving spaciousness. Ask yourself which elements are necessary to tell your scene’s story. You don’t need to paint every blade of grass or every leaf on a tree.
Work selectively by blocking in shapes first. Then add fine elements only where they can guide the eye or enhance composition. This approach creates room for the eyes to rest. Leaving open areas of sky or water can balance detailed parts and keep your painting feeling airy.
Try stepping back after each layer. Does your painting feel too busy? If yes, remove or soften some details. The goal is quiet beauty, not crowded complexity. Keeping details minimal in certain places helps the whole piece breathe.
Adding Highlights and Contrast
Using bright pigments or white highlights can draw attention in a gentle way. A small spot of bright color near a branch tip or water reflection creates focal points without shouting for attention.
Apply highlights lightly with a dry brush or use white gouache sparingly. Be careful not to overwork these touches. A gentle highlight should enhance the softness, not break it.
Contrast helps define shapes and adds depth. When you add darker tones in shadow areas, balance them with bright accents to maintain harmony. You can also lift pigment with a clean brush to create natural highlights, keeping your painting fresh and calm.
Common Challenges and Solutions
Watercolor scenery often challenges artists with issues like over-wetting, muddy colors, and uncontrolled bleeding. Each problem can affect how calm and clear your nature scene looks.
Over-wetting happens when your paper holds too much water, causing colors to spread in unwanted ways. Try using less water on your brush and allow layers to dry before adding new washes. This control helps you keep clean edges and defined shapes.
Muddy colors occur when pigments mix too much, losing their brightness. Keep your palette organized and limit mixing different colors unless necessary. Rinse your brush thoroughly between colors to avoid unwanted blends.
Uncontrolled bleeding means paint spreads where you didn’t want it to. Experiment with paper weight and absorbency. Use blotting paper to lift excess water or paint immediately if edges start to run.
Ask yourself: How can you adjust your water and color flow to keep your scenery peaceful and crisp? This awareness makes your watercolor paintings feel calm and intentional.
Avoiding Muddy Colors
Mixing colors in watercolor is tricky but rewarding. Use pure, vibrant colors and avoid overlapping too many layers of different hues. Mixing complementary colors (like red and green) can quickly dull your paint.
Clean your brush well between colors to prevent muddy results. Rinse in water, then wipe on a towel or rag until paint runs clear. This habit keeps your colors lively and true.
Try mixing on a palette, not directly on paper. Limit mixing to two or three colors. If a color looks dull, test it on scrap paper before applying to your painting.
Consider the order you lay down colors. Starting with light tones and building up keeps the scene fresh. Could changing your brush cleaning habit improve your color clarity?
Controlling Water Usage
Managing water in watercolor painting helps you create sharp edges and smooth transitions. Always balance water on your brush—too wet causes bleeding; too dry results in streaks.
Practice “dry-on-damp” for softer edges and “wet-on-dry” for sharper lines. Use a tissue or paper towel to blot excess water on your brush or paper.
Hold your paper at an angle when applying washes to guide water flow. You can also pause between layers, letting paper dry fully to avoid unwanted mixing.
Experiment with smaller brushes for detailed areas and larger brushes for washes. How might changing your water amount improve control and clarity in your scenery?
Finalizing and Presenting Your Watercolor Scenery
Completing your watercolor scenery starts with a careful look at your work. Ask yourself if the composition feels balanced. Are the colors and shapes distributed evenly? Check if your painting draws your eye comfortably across the scene without any distracting spots. Small adjustments might be needed to add contrast or soften edges for more harmony.
Consider the mood you want to convey. Does the scene reflect calm and peace? If not, subtle tweaks to color or detail can guide the viewer’s feelings. Step back often during this stage and view your work from different distances. This helps catch unbalanced areas or unfinished elements you might miss up close.
Prepare your painting for display by making sure the paper is flat and dry. Lightly clean any smudges or pencil lines. When your piece feels complete and visually unified, it’s ready for mounting or framing. How will you best showcase your work to reflect its quiet beauty? Thoughtful presentation can deepen the impact of your peaceful scenery.
Knowing When to Stop
Deciding when your painting is finished can be tricky. One sign is when adding more detail no longer improves your piece but makes it feel busy or heavy. Watch for dull or muddy colors—that often means you’ve overworked the paper and pigments.
If your brush strokes start looking forced or your colors lose their brightness, it’s time to stop. Sometimes, letting your painting breathe with simpler shapes and lighter washes creates a stronger effect than overdoing every detail.
Try setting the work aside for a day. When you return, you’ll see it with fresh eyes. If nothing stands out as missing or wrong, your painting likely reached its best version. Can you trust your instincts to call it done?
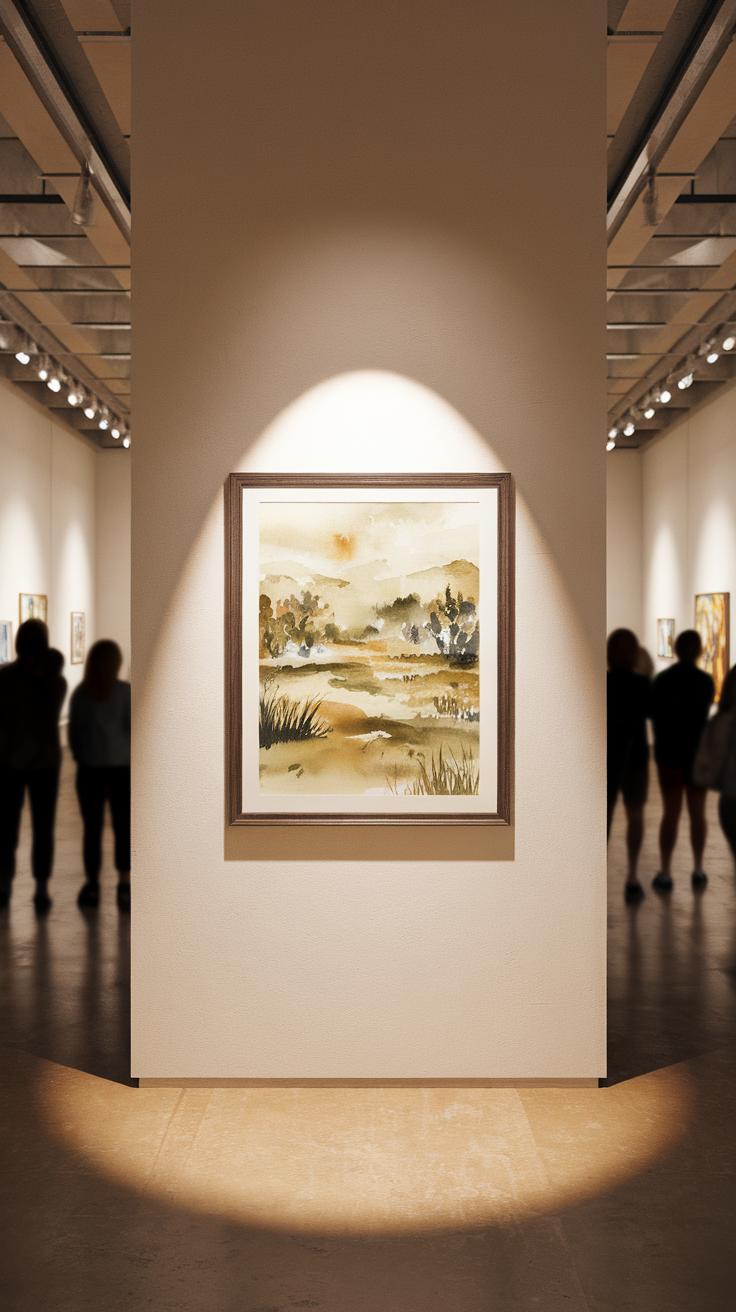
Mounting and Displaying
Mounting your watercolor correctly protects it and presents it well. Use acid-free mats and backing boards to avoid damage over time. Mats create a space between your painting and the glass, preventing smudging or sticking.
Choose a frame that matches the tone of your artwork. Simple wooden frames often enhance natural scenes without overpowering them. Make sure glass or acrylic glazing is UV-protected to keep colors from fading.
When hanging your painting, pick a spot with indirect light to maintain its delicate hues. Avoid areas with direct sunlight or high humidity. How will you create a peaceful corner in your space where your watercolor scenery can shine?
Conclusions
You now have a clear path to painting peaceful watercolor scenery with confidence. Remember to start with the right materials and take time to practice basic techniques before moving to complex compositions. Learning to control water and pigment will unlock new effects and moods in your work. Stay patient and experiment with colors and brushwork to find what best expresses peaceful moments in nature.
Keep asking yourself how each stroke adds to the sense of calm and space you want to portray. Watercolor allows delicate blending and transparency that bring scenes to life without harsh lines. By applying the methods discussed, you will grow more skilled and enjoy expressing your own peaceful landscapes. Your paintings will invite others to pause and experience the beauty and quiet you create.


