
Introduction
Watercolor painting is a popular and accessible art form loved by beginners and professionals alike. The transparency and fluidity of watercolors allow for unique effects that other media may not easily replicate. If you’re new to painting, starting with simple watercolor projects can build your confidence and skills quickly. This article focuses on easy watercolor painting methods designed especially for beginners.
You will learn about the essential tools, basic techniques, and step-by-step project ideas. By trying these simple and practical tips, you can develop your style and create beautiful artworks without feeling overwhelmed. Ready to start your watercolor journey? Let’s explore everything you need to know to begin painting easily.
Understanding Watercolor Paints and Materials
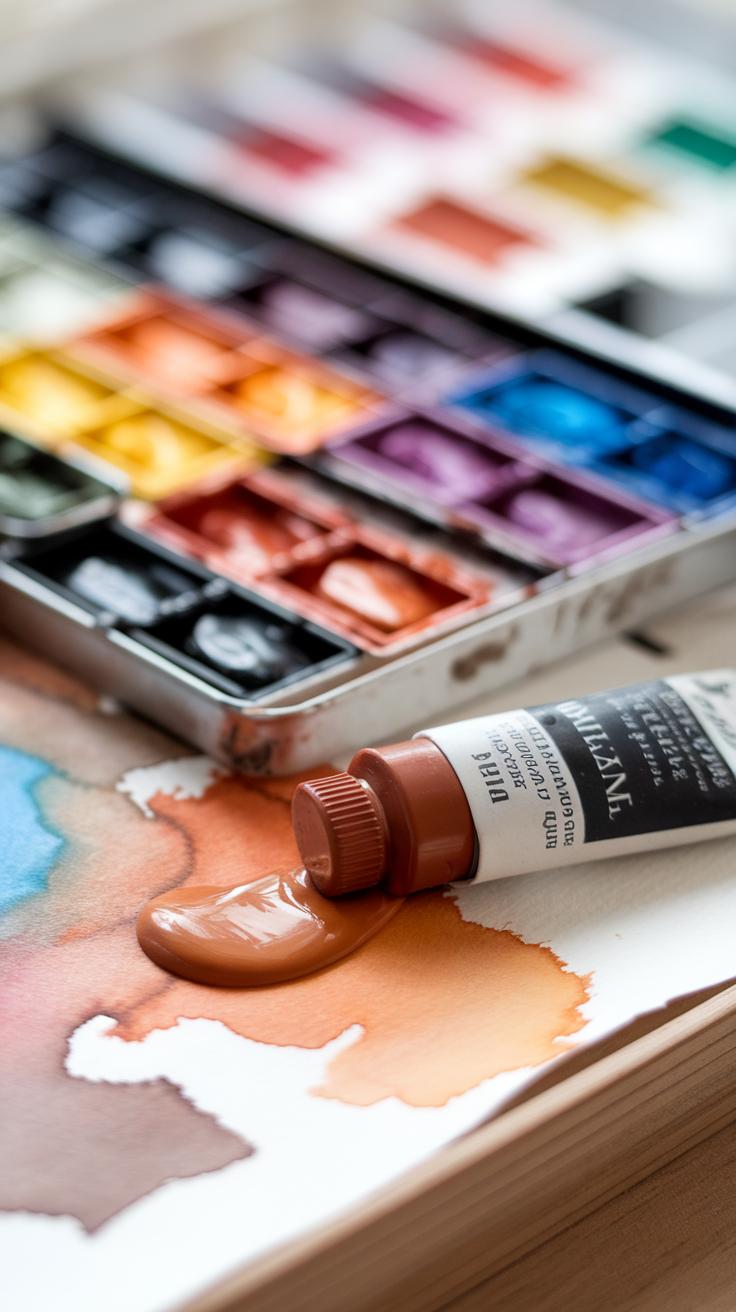
Watercolor paints come in various types that affect your painting experience. Tube paints are thick and vibrant, offering strong color, while pan sets are dry and portable, good for travel and beginners. Pigments inside these paints give color and impact how the paint behaves on paper. Some pigments are transparent, which means you can see layers underneath, while others are opaque and cover what’s below.
Quality also varies. The best paints have pure pigments and hold up well over time. Your paper plays a key role too. Watercolor paper absorbs water evenly and prevents buckling. Look for 140 lb (300 gsm) weight paper as a beginner—it balances absorbency and ease of use.

Brushes should hold water and paint evenly. Synthetic brushes work well for beginners because they last and cost less. A palette helps you mix colors smoothly, and a container for clean water is necessary for changing colors and rinsing brushes.
Choosing simple, budget-friendly items can keep you focused on learning, not on expensive supplies. What materials do you find easiest to handle so far?
Choosing the Right Watercolor Paints
Start with student-grade paints because they cost less and still give good results. These paints use some fillers that reduce pigment strength compared to professional-grade paints, but they allow you to practice without a big investment.
Pigments differ in how they mix and last. Try to include basic colors like red, blue, yellow, green, and brown to create many shades. Avoid picking too many colors at first to keep your palette manageable.
Your color choices affect how your paintings look and blend. Learning how different colors change when mixed can improve your work. Selecting vibrant, simple colors helps you see how watercolors flow and layer.

Have you noticed how certain colors react better when mixed? Experiment to find your favorites and build your palette from there.
Essential Tools for Beginners
Begin with three main brushes: a round brush for details, a flat brush for washes, and a smaller round brush for fine lines. Choose synthetic brushes that hold shape and water well without breaking easily.
Pick a pad of cold-pressed watercolor paper. It offers texture and controls how paint spreads. Avoid smooth papers initially because they can make controlling the paint harder.
Your palette should have several mixing wells. Plastic palettes are affordable and easy to clean. You’ll also need two water containers—one for clean water and one for rinsing dirty brushes.
Keep paper towels or a cloth handy to dab excess water or fix mistakes. These few tools cover the basics you need to start without feeling overwhelmed.

Which tools have you found most useful when trying watercolor painting?
Basic Watercolor Techniques You Should Try
Watercolor painting offers several techniques that you can use to create different effects. Start with the wet-on-wet method by moistening your paper with clean water before applying paint. This causes colors to spread softly, blending into one another. Try dropping two or more colors onto the wet surface and watch how they mix naturally.
Next, practice wet-on-dry by applying wet paint onto dry paper. This gives you defined edges and more control over shapes and details. It’s perfect when you want clear lines or precise forms.
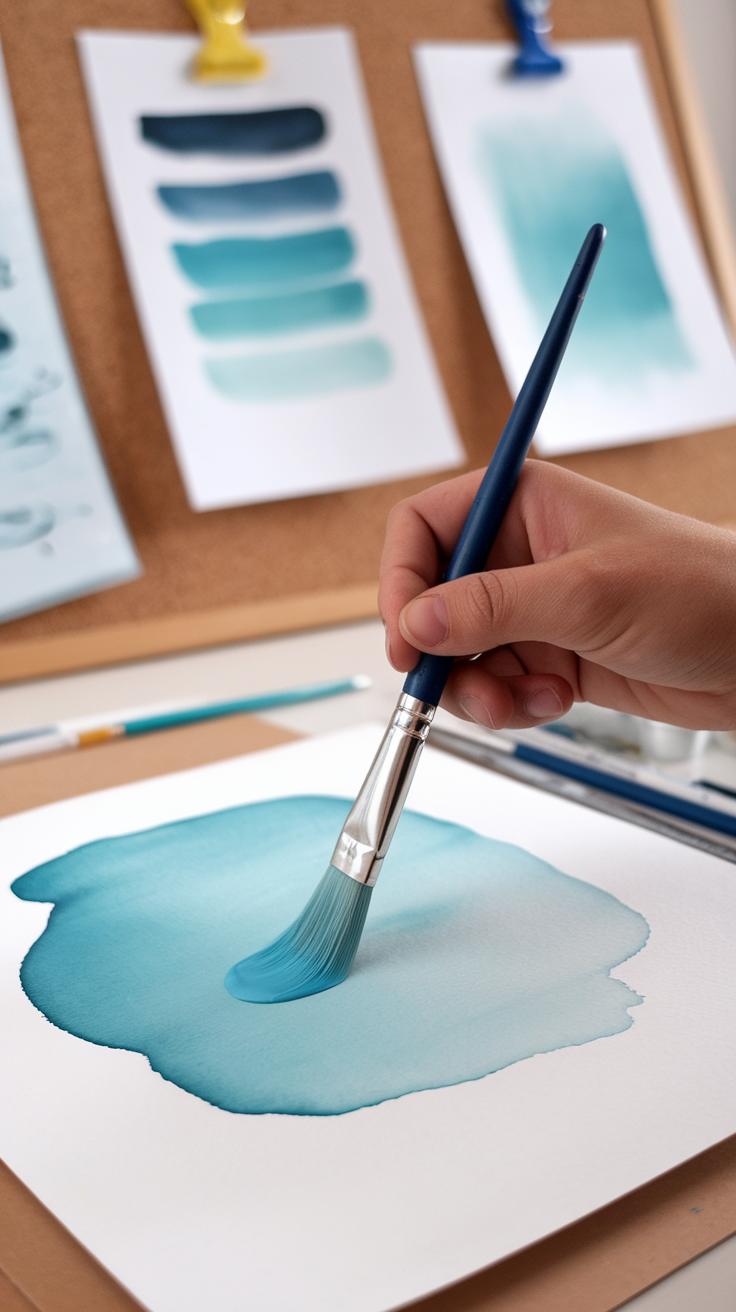
Color blending is about mixing colors either on your palette or directly on paper. Experiment by adding small amounts of one hue to another and see how they shift. Gradients work by gradually changing the amount of water or pigment on your brush to move from dark to light smoothly.

Layering involves letting one layer of paint dry completely before adding more on top. This technique lets you build depth and richer colors, avoiding muddiness. Can you see how each technique changes the look of your painting? Trying these will boost your confidence and skill quickly.
Applying Paint on Wet vs Dry Surfaces
Paint behaves differently depending on how wet your paper is. When your paper is wet, paint flows freely and creates blurred or soft edges. This works well for skies, backgrounds, or gentle color fades.
Painting onto dry paper results in sharper, crisp lines and clear shapes. Use this to add details or outlines that stand out sharply against other parts of your painting.
Try painting a simple circle twice. For one, wet the paper first and add color. For the other, paint directly on dry paper. You will notice how the wet surface blurs the edges, while the dry surface keeps the edges tight and neat. Knowing when to use each will help you control your art better.
Creating Smooth Color Transitions
To make smooth gradients, start with a paint-loaded brush on one part of your paper. Slowly add clean water or dilute your pigment as you move your brush, lightening the color. The key is to keep your brush wet but avoid puddles.

Practice by painting a color strip from dark to light, adjusting how much water you use. Blend two colors by painting one color next to another while still wet, then gently moving your brush over the border to soften the meeting point.
Watch how controlling water and pigment changes the transition’s smoothness. How well can you blend colors without harsh lines? Mastering this skill adds a professional touch to your paintings and gives you greater freedom to express gradients and shadows.
Preparing Your Workspace for Watercolor Painting
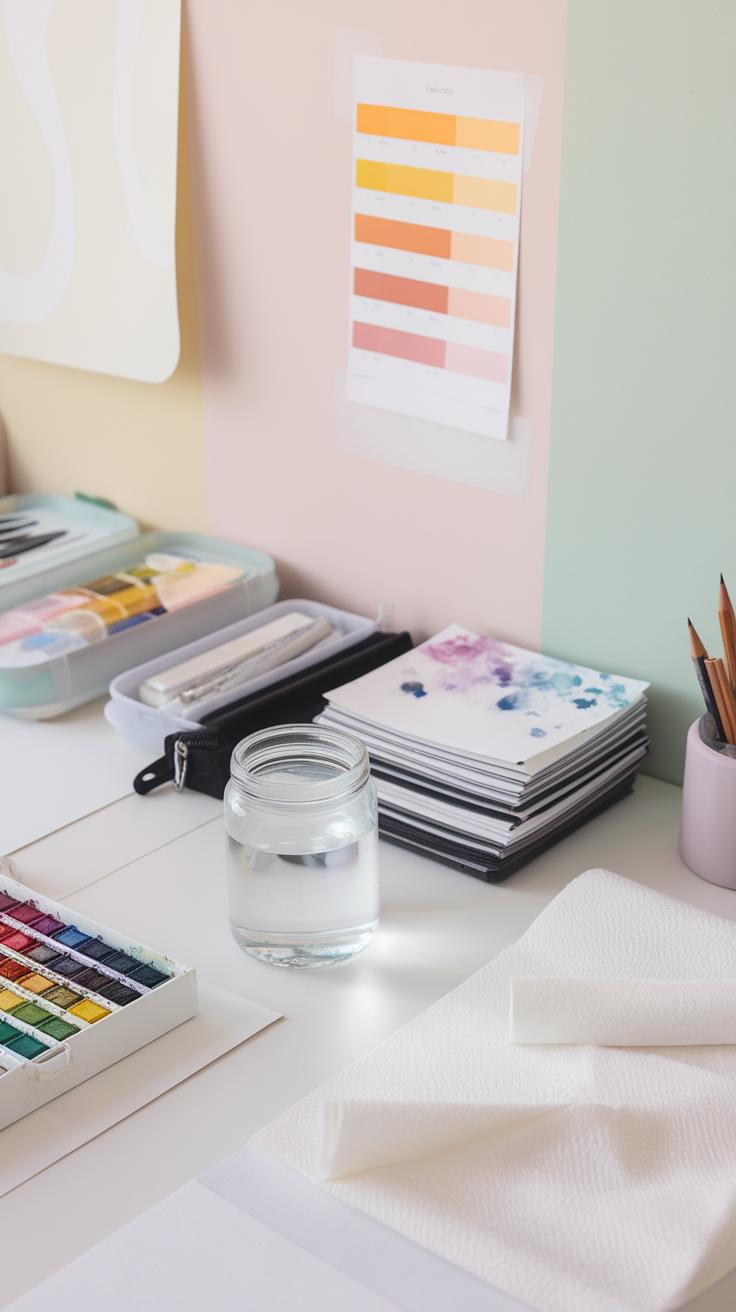
Creating an organized and clean workspace helps you paint with more focus and less frustration. Start by choosing a well-lit spot, preferably near a window or using a bright lamp. Good lighting lets you see true colors and details clearly.
Set up your paper flat or at a slight angle on a sturdy surface. Secure it with masking tape if needed to keep it from curling when wet. Make sure your water containers are within easy reach—one for clean water and another for rinsing brushes.

Keeping brushes clean during painting influences the quality of your colors and the flow of your work. Clean brushes prevent muddy colors and help control paint application. Organize your paints, brushes, paper, and water in a way that feels natural to your movements. Think about how you will reach each item without interrupting your painting.
Setting Up Your Painting Area
Pick a flat surface with enough room to hold your paper, paints, and water bowls comfortably. If you use a table, clear clutter off it first to avoid distractions. A smooth, hard surface works best to hold your paper securely.
Natural light gives you the best color accuracy. If that is unavailable, place a daylight lamp close to your workspace. Position your light source so it does not create shadows or glare on your paper.
Arrange your supplies within arm’s reach. Keep brushes in a cup, paints on a palette, and water containers on one side, so you don’t have to stretch or move too much. An ergonomic setup saves energy and lets you focus on your strokes.
Keeping Tools Clean and Ready
Rinse brushes thoroughly in clean water after each color change. Use gentle strokes on the bottom of water containers or a brush cleaner to remove paint residue. Dirty brushes mix old and new colors, which leads to muddy results.

Change your water regularly when it becomes cloudy or tinted. Clear water stops paint from contaminating your fresh colors. Pay attention to the shape of your brushes. After washing, gently reshape the bristles with your fingers to keep them pointed or flat as needed.
Think about how much better your painting will look when each stroke is clear and clean. Are you giving your brushes the care they need to perform their best? Simple habits while preparing and cleaning tools will improve your workflow and keep painting enjoyable.
Learning to Control Water and Paint Flow
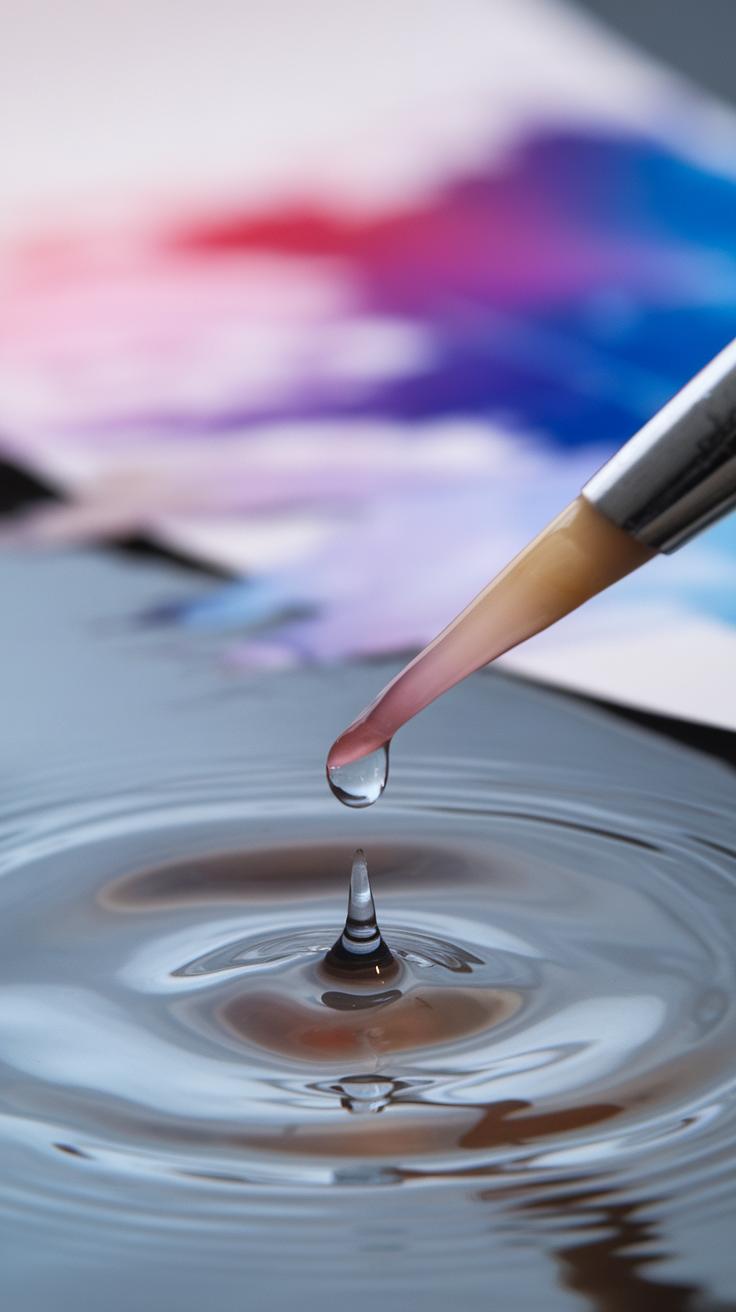
Mastering the balance between water and pigment on your brush and paper gives you better control over your watercolor paintings. When you add too much water, the paint spreads quickly and becomes lighter. Too little water makes the paint thick and harder to blend. Practicing with small swatches can help you see how different water amounts change the paint’s behavior.
Try this exercise: load your brush with a strong color, then use varying amounts of water across the paper. Watch how the paint flows and slows down as the water content changes. This helps you control paint spread and decide the right mix for areas that need strong color or soft washes.

Working intentionally lets you avoid unwanted bleeding and produce the effects you want. Ask yourself: How wet does the paper feel? Is the color too faint or too heavy? Adjusting water lets you answer these questions as you paint.
Balancing Water and Color Intensity
Mixing different water-to-pigment ratios changes the transparency and brightness of your paint. More water creates gentle washes that let paper shine through. Less water gives solid colors with strong intensity. Practicing these mixes lets you decide the look you want for details or backgrounds.
Try mixing one part paint with three parts water for a light wash. Then, try the same paint without water to see the difference. Testing these extremes shows how to control color in your work.
Good balance lets you build layers without muddying your colors. Think about what mood your painting needs. Should the colors be soft or bold? Mixing water lets you achieve that effect simply and quickly.
Preventing Color Bleeding
Unwanted color bleeding happens when wet paints run into each other. To avoid this, paint areas one at a time and allow each to dry before adding the next. Drying times depend on paper type and humidity, so watch your work carefully.
Using masking fluid protects areas where you want to keep paper white or preserve sharp edges. Apply it before painting, and peel it off once your work is dry. This keeps colors from mixing in unwanted places.
Have you noticed how waiting can improve your painting? Rushing causes colors to blend where they shouldn’t. Practicing patience and using tools like masking fluid helps you keep shapes clear and colors bright.
Simple NatureInspired Watercolor Projects
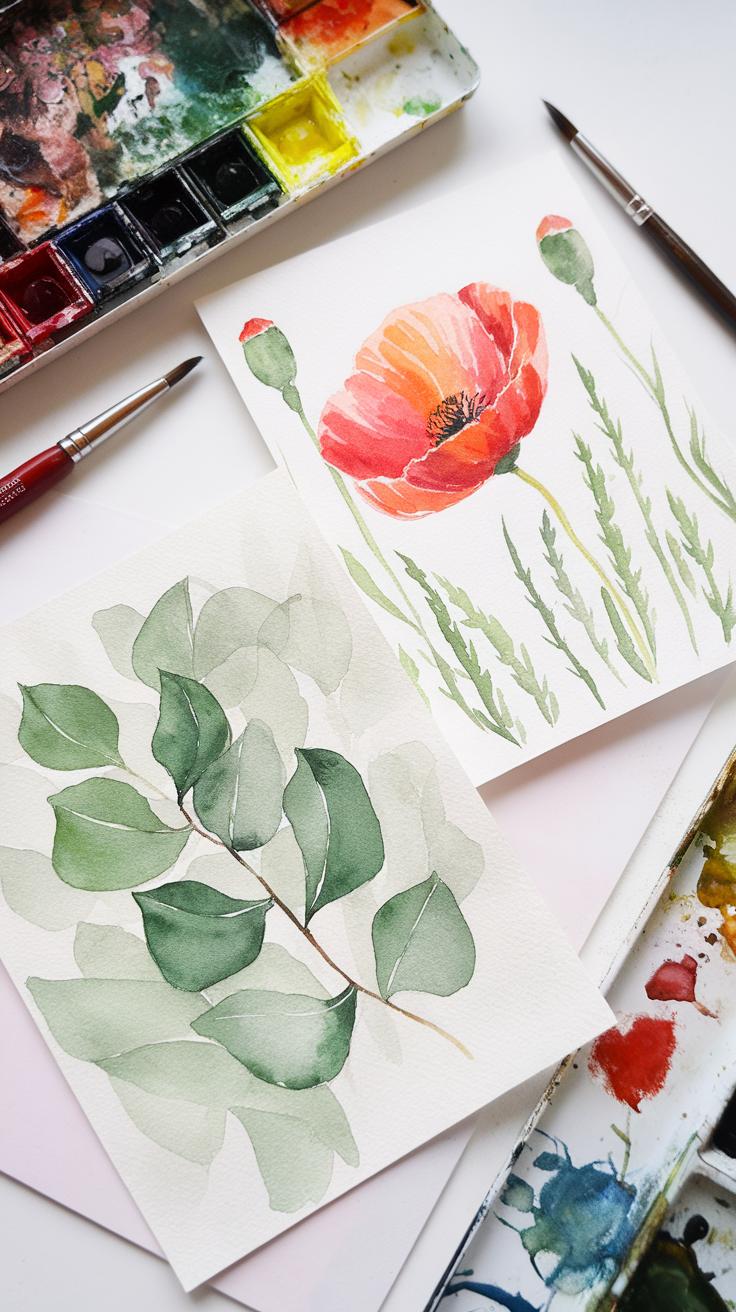
Working on nature-inspired subjects helps you practice form and color in a simple way. Start with painting leaves and flowers, where shapes are clear and easy to sketch. Use light pencil marks to outline basic forms like ovals or teardrops. Then apply gentle watercolor washes, letting the paint flow naturally to mimic organic textures.
For beginners, focus on layering colors rather than fine details. Try mixing two or three green shades for leaves to create depth. When painting flowers, add a base color first, then drop in darker tones while the paint is still wet. This keeps edges soft and shapes more natural.
Painting Basic Leaves and Flowers
Begin by drawing simple leaf shapes—pointed ovals or rounded edges work well. Keep your lines loose and light; this helps keep the painting fresh. Use a wet brush to lay down a thin layer of color, like a light green or soft pink.
While the paint is damp, add darker spots or veins with a slightly stronger pigment. This technique creates a sense of form and texture without drawing every line. Try skipping complicated outlines. Instead, allow the color’s flow to suggest shape and dimension. Experiment with a few leaves or petals on the same paper to see how colors blend.
Creating Simple Landscape Scenes
Start your landscape with broad washes for the sky. Use a clean brush and water to wet the paper first. Then mix a pale blue and paint across the top third of your paper. Let it dry slightly before adding layers of green or brown for grass or hills below.
Add simple trees or shrubs by painting rounded or triangular shapes with a darker green or brown. Use a light touch and vary the color to suggest leaves or branches. Keep details minimal and focus on layering colors from light to dark. You can create depth by painting closer objects with stronger colors and distant shapes with faded tones.
Try working wet-on-wet for skies and wet-on-dry for trees to keep edges sharp but soft where needed. How does changing the water amount affect your layering? Experiment to find your balance and watch your landscape come to life.
Mixing Colors and Creating Palettes

Understanding how to mix colors builds confidence in your watercolor work. Starting with the three primary colors—red, blue, and yellow—allows you to create many other hues. Mixing red and blue gives purple, blue and yellow make green, and yellow with red creates orange. Try mixing small amounts on your palette to see how the colors change.
Creating a simple palette helps keep your colors organized and fresh. Place your primary colors in separate spots around the edges of your palette. Leave space in the center for mixing new shades. Before painting, test your mixes on scrap paper. This shows you how they look on paper and helps avoid muddy results.
Muddy colors often appear when you mix too many paints or use dirty brushes. Clean your brush when switching colors. Mix colors gradually and avoid adding black for dark shades; try mixing complementary colors like blue with orange instead.
Thinking about color harmony matters. Choosing colors that work well together gives your paintings balance. How can you create colors that complement your subject? Experiment with warm and cool tones mixed from your primaries to find what feels right.
Primary Colors and Color Wheel Basics
The three primary colors are your starting point in watercolor mixing. Red, blue, and yellow cannot be made from other colors but combine to form all others. When you mix equal parts of two primaries, you get secondary colors: green, orange, and purple.
Mixing a primary and a secondary color creates tertiary colors, such as red-orange or blue-green. These provide more nuanced tones for your artwork. Use the color wheel as a guide to see which colors are related and how they transition smoothly.
Try mixing colors on your palette to see how many different shades you can create from just red, blue, and yellow. Which combos surprise you the most? Testing these combinations builds your eye for color and improves your painting skills.
Organizing Your Palette
Arrange your palette so that your paint stays clean and easy to access. Place each primary color in separate wells or spots, leaving a central area free for mixing. Avoid crowding your palette, as this leads to accidental mud-colored mixes.
Use a scrap piece of paper next to your palette for testing new mixes. Try different ratios or add water until you find the right hue and transparency. This practice prevents mistakes on your main painting.
Set your palette up the same way each time you paint. Consistency helps you remember where colors sit, speeding up your workflow. How does organizing your space affect how you paint? Experiment to find what layout matches your style and keeps your process smooth.
Common Mistakes and How to Fix Them
Avoiding Overworking Paint
When you paint, adding too many brush strokes on wet areas can harm your paper. The surface may weaken or peel, and colors might lose their brightness. Overworking causes muddy spots and flattens your painting.
Try to plan your strokes. Apply paint gently and avoid scraping or rubbing the paper. Use a clean brush to soften edges instead of repeatedly brushing the same place. Let each layer dry before adding another.
Ask yourself if you are pushing the paint too much. Sometimes stepping back helps you see if the area needs more work or if it’s better to move on. You can learn to accept light imperfections, which add character to your work.
Avoiding Overworking Paint
Excessive brush strokes on wet paint can cause streaks or damage the paper surface. Your colors might dull because the paint mixes too much or lifts off the page. To keep colors fresh, work fast and with confidence.
Try to avoid brushing the same spot repeatedly. Wait for paint to dry if you want to add more details. Soften edges by lightly touching the paint with a damp brush instead of scrubbing it.
Think about your brush movements before you start. Are you pressing too hard or going back and forth too much? Controlling your strokes will help your painting stay vibrant and lively.
Fixing Uneven Washes and Bleeding
Uneven washes happen when paint pools or dries too fast, leaving blotchy areas. Bleeding occurs when colors mix without control. You can fix these by gently lifting paint with a tissue while it is still damp. Dab instead of rubbing to avoid tearing the paper.
If the paper is dry, layering thin, transparent colors can even out blotches. Use soft colors first and gradually build darker tones. This technique preserves the smoothness of the wash.
Have you noticed blotchy spots during your wash? Try tilting your paper slightly or adjusting water amounts to control paint flow. Accepting some unexpected effects gives your painting a natural feel, showing your personal touch.
Using Masking Techniques to Add Detail
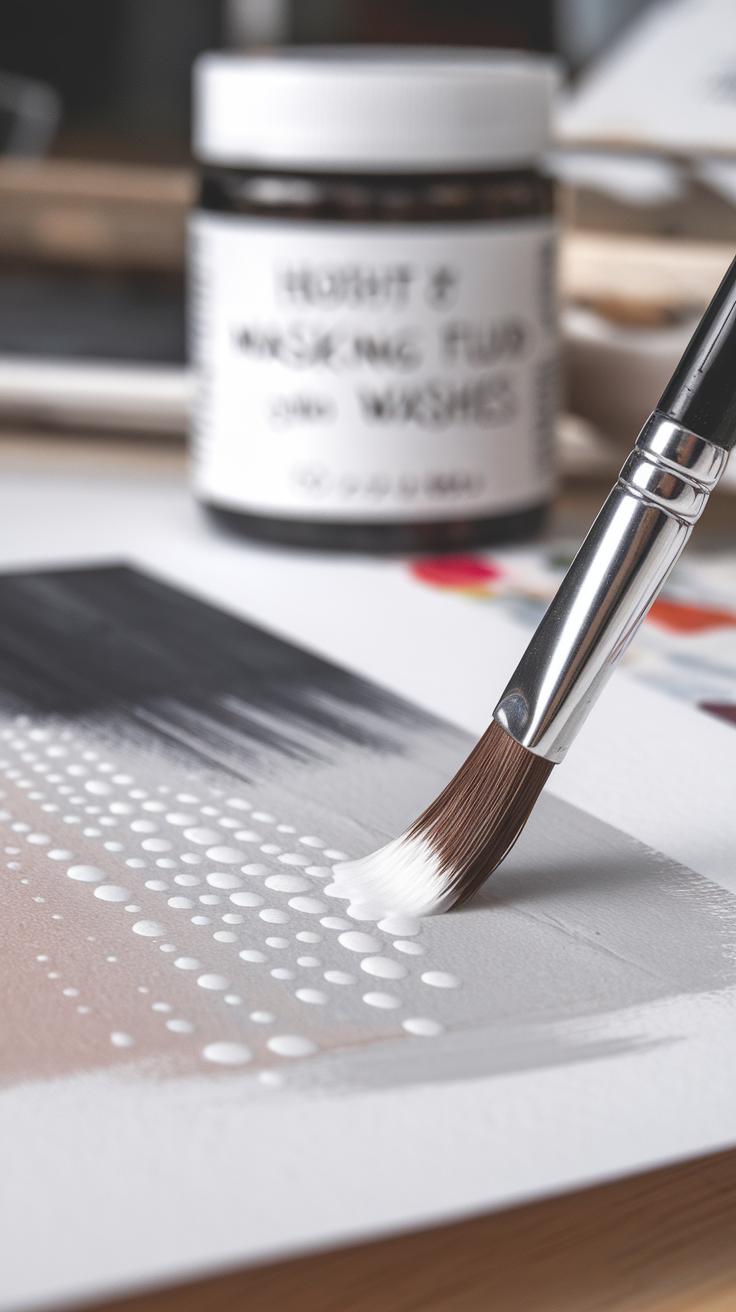
Masking techniques help you keep certain areas of your paper free from paint. That way, you can create sharp edges and bright white highlights in your watercolor paintings. These details make your artwork stand out and add depth without complicated brushwork. You can use either masking fluid or tape depending on the kind of effect you want.
Masking fluid is a liquid that you apply to the paper before painting. It acts like a shield, protecting areas you want to stay white or untouched by color. After your paint dries, you carefully peel or rub off the masking fluid to reveal the clean paper underneath. This technique works well for small details like highlights on leaves, reflections in water, or fine lines.
Masking tape is another option, especially when you want crisp, straight edges or geometric shapes. You stick the tape down, paint over the area, and then remove the tape once your paint is dry. This method helps you make clean borders, like edges of windows, walls, or frames. Using masking fluid and tape thoughtfully can save time correcting mistakes and add professional touches to your watercolor art.
Applying Masking Fluid
Start with clean, dry paper before applying masking fluid. Use a small brush or a cotton swab for better control. Apply the fluid only where you want to keep white paper, such as tiny highlights or thin lines. Avoid dragging your brush over already-dry masking fluid so you don’t tear the paper.
Let the masking fluid dry completely before painting over it. You’ll know it’s ready when it feels rubbery to the touch. Paint your watercolors normally on top, even with thick washes, without worrying about bleeding into the masked areas.
Once your painting has dried fully, take a rubber cement eraser or gently rub with your finger to remove the masking fluid. Do this slowly to avoid damaging the paper. Removing the mask reveals crisp white spots, creating contrast that brings your painting to life.
Using Tape for Straight Edges
Masking tape helps you paint clean, sharp borders or geometric shapes. Choose artist tape or painter’s tape that won’t rip the paper when removed. Tear or cut the tape to size and press it firmly on the edges you want to protect.
Paint your colors over and around the tape carefully. Avoid pushing paint under the tape’s edge by using light strokes. After the paint dries completely, peel off the tape slowly at a low angle. This reveals straight, well-defined edges that are difficult to achieve freehand with a brush.
Try this technique for painting elements like windows, picture frames, or even graphic shapes in modern floral designs. You can combine tape with masking fluid to add both sharp edges and tiny details, giving your painting a balanced and controlled look.
Dry Brush and Texture Techniques

The dry brush technique helps you add texture with a stiff brush that holds very little paint and water. When your brush is mostly dry, it creates scratchy marks on paper instead of smooth washes. This makes it ideal for painting rough surfaces and bringing out details in simple watercolor paintings easy for beginners.
To try this, load your brush with paint and then dab or wipe most of it off on a paper towel. Use quick, light strokes across the paper so the brush skips over the surface, leaving streaky patterns. This method works well for drawing bark on trees, grass blades, and rocky textures.
Experiment with the angle of your brush and pressure to find different effects. Think about what natural surface you want to represent and what kind of marks will best suggest it. How can you break away from flat colors to make your paintings feel more alive with texture?
Mastering the Dry Brush Technique
Control over paint and brush dryness is key to the dry brush technique. Begin by dipping your stiff brush lightly in paint, then remove most of it on a scrap paper or cloth to keep it nearly dry. The brush should feel rough and scratchy when you run it over paper.
Use short, uneven strokes while keeping your hand loose. The paint will catch only on the paper’s texture, often leaving gaps. This creates broken, scratchy lines instead of solid ones. Try varying the pressure: pressing harder adds more color, while lighter touches give faint, broken marks.
Ask yourself how to control moisture for each stroke. How might changing brush dryness affect your painting’s feel? Practicing this way lets you create marks that look natural without overwhelming your simple watercolor paintings easy for beginners.
Painting Natural Textures
Using dry brush strokes, you can suggest many natural textures in your artwork. For example, dry brushing vertical lines with a little color can imitate tree bark’s roughness. For grass, try quick, short upward strokes, changing the brush angle often to create variety.
To depict rough stones or uneven ground, use jagged, uneven brush strokes. Layer these strokes in different shades for more depth. Dry brush can even help you add texture to clouds by lightly sweeping the brush over paper, leaving a soft, broken effect.
Which natural surface interests you most to try with dry brush? Painting textures this way adds interest and detail without complicated steps. You will notice your watercolor scenes becoming more realistic and engaging with practice.
Building Confidence Through Practice and Creativity
Consistent practice shapes your skills and builds confidence slowly but surely. Focus on simple watercolor projects to avoid feeling overwhelmed. Try painting a single leaf, a small flower, or a clear sky. These small tasks let you practice essential techniques without pressure.
Experiment with your style by changing colors, brushstrokes, or painting speed. How does your work change when you use brighter colors or softer lines? This kind of exploration helps you find what feels natural and enjoyable for you.
Inspiration is everywhere. Notice colors in your surroundings, patterns on walls, or shapes in nature. Keep a small sketchbook or take photos for quick ideas. Social media can also provide fresh views, but choose accounts that encourage creativity without being overwhelming.
Staying Motivated and Inspired
Setting small goals makes progress easier. Try goals like finishing one painting a week or learning a new brushstroke technique. These targets give you clear steps to follow instead of feeling lost.
Look for ideas in everyday life. Can you paint your morning coffee, your pet, or a favorite chair? These simple subjects connect your art to daily moments, keeping your interest alive.
When scrolling online, save images that catch your eye. Ask yourself what you like about them. Could you paint a variation or combine ideas in your own way? This active approach turns inspiration into motivation.
Sharing Your Work and Growing Skills
Sharing your paintings with others opens new doors. Join a local art group or an online forum where you can post your work and ask for feedback. Hearing different perspectives helps you see your strengths and areas to improve.
Engage with fellow artists by commenting on their posts and joining challenges. This creates a supportive network that encourages you to keep practicing and learning.
What stops you from sharing your art now? Remember that every artist starts somewhere. Showing your work grows both your skills and confidence in equal measure.
Conclusions
Watercolor painting offers a fulfilling way to express creativity with minimal supplies and space. The key to success for beginners is practicing basic techniques with small, manageable projects. As you experiment with brushes, color blends, and paper types, you will improve steadily. Remember, the goal is to enjoy the process and learn at your own pace.
Keep challenging yourself with new ideas and simple exercises from this guide. Over time, you will see your skills deepen and your paintings become more vibrant and confident. Whether you paint for relaxation or to share with others, watercolor art can bring lasting joy and satisfaction into your life.


