
Introduction
Water art presents a unique form of artistic expression that uses water as a primary element or influence in creating captivating visuals. This genre often merges watercolor techniques with other materials and methods to produce striking pieces. Understanding the principles behind water art can open new creative pathways and provide fresh tools for your artistic toolbox. You will learn about the fluidity, transparency, and interaction of water in art and how these qualities contribute to distinctive effects that are difficult to achieve with other media.
Using mixed media in water art combines various materials like inks, acrylics, pastels, and texture elements on water-responsive surfaces. This approach not only broadens your artistic options but also allows for experimentation with texture, color saturation, layering, and abstract forms. You will find that mixing media encourages problem-solving and innovative thinking as you discover how different substances interact with water and each other. Questions to consider include how the materials react differently to water, how layering affects the outcome, and how you can control or let go of control in your work.
Understanding The Basics Of Water Art

Water art uses water as a key element in creating images and effects. Water acts as a vehicle to carry colors and pigments, shaping the final look of your work. Its physical nature directly influences your art’s outcome.
Water is transparent, allowing layers and colors underneath to remain visible. This property creates depth and luminosity. Its fluidity lets pigments flow, blend, and spread in ways that other mediums cannot replicate. This can bring both control and surprise.

The unpredictability of water plays a big role. Water moves with gravity and surface tension, sometimes causing unexpected shapes or textures. This unpredictability challenges you to adapt and incorporate chance into your process.
How do you plan to use water’s qualities in your own work? Can you balance control with letting water guide your brush or tool? Understanding water’s behavior opens the door to new artistic possibilities.
Water As A Medium
Water changes how colors appear. Wet pigments tend to look brighter and more transparent than dry ones. When you apply water, colors blend smoothly, creating gradients and soft edges. This can help you create natural shadows or delicate transitions.
Water’s drying speed also affects your work. Colors dry lighter and often shift in hue once water evaporates. Fast drying can lock in shapes quickly, while slow drying lets you work longer with wet-on-wet techniques.
Thinner water layers create fine, delicate washes, while more water produces broad, fluid strokes. Adjusting water amounts gives you more control over texture and detail in your art. How do you experiment with water to find effects that fit your style?
Common Water Art Techniques

Watercolor painting stands as the most popular water-based technique. It uses transparent pigments diluted with water to create vibrant, flowing images. Layering thin washes builds depth and atmosphere.
Ink wash painting uses black or colored inks diluted with water. It emphasizes tone and contrast over color richness. You can use brushes or pens to control ink flow and create textures.
Pouring methods involve mixing water, pigment, and sometimes other substances before pouring the mixture onto a surface. This lets the medium move freely, creating unique, organic patterns. Each technique asks you to work with water’s nature, not against it. Which methods invite you to try new approaches?
Introduction To Mixed Media In Water Art
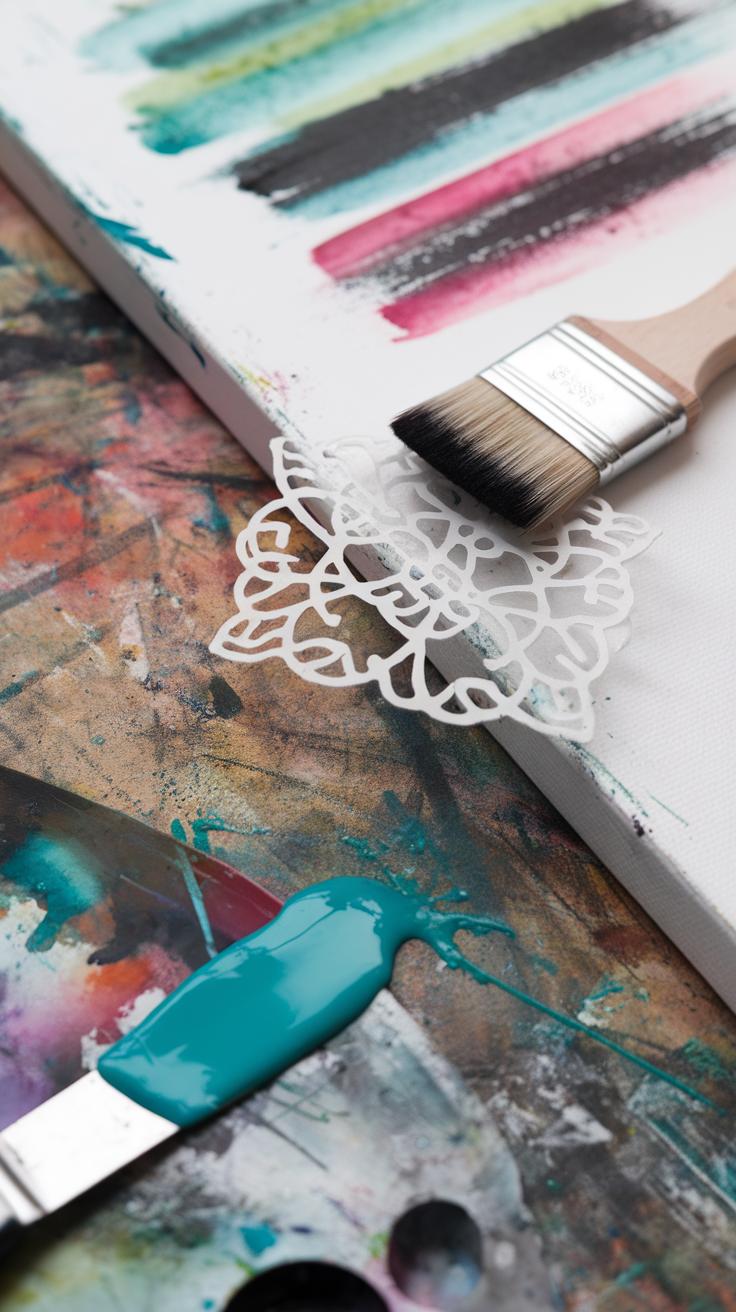
Mixed media in water art means combining water-based materials like watercolor or ink with other artistic tools and textures. Instead of relying on a single material, you bring together paints, papers, pastels, and even found objects. This combination pushes your creativity beyond the limits of one medium.

Using more than one material helps you express ideas in fresh ways. For example, watercolors offer soft washes and transparency, while adding pencil or charcoal can sharpen details or create bold lines. This mix lets you build layers, depth, and mood that water media alone might not achieve.
Have you tried blending different materials before? Notice how the results surprise or challenge you. Using mixed media invites experimentation and opens new paths for your artwork’s story.
Benefits Of Mixing Media
Mixed media injects texture into your water art. You can use rough pastels or smooth acrylics to create tactile contrasts. These changes catch the eye and invite viewers to look closer. Texture makes your work more interesting.
The color range grows with more materials. Watercolors offer gentle transparency, but adding inks or acrylics introduces solid, bright colors that stand out. This contrast between soft and strong tones can highlight key areas in your painting.
Combining mediums also expands your techniques. You can layer materials to reveal or hide parts of your work. This creates visual depth and helps tell your story clearly. Have you noticed how layering changes the mood of your art?
Materials That Complement Water

Acrylic paints work well with water-based art because they dry fast and add solid color. You can layer acrylic over watercolor or ink without smudging your base.
Inks provide intense color that flows with water but also can be controlled with pens for detail. Using ink with watercolor creates sharp contrasts between fluid and defined areas.
Pastels and colored pencils add texture and lines. These dry tools make marks that stay put while watercolor washes create soft backgrounds.
Collage elements like paper scraps or fabric introduce new textures and shapes. Glue them onto your surface after water layers dry. This adds a physical dimension to your work you can touch and see.
Which materials have you tried mixing with water media? Trying different combinations helps find your unique style and expands your creative options.
Preparing Your Surfaces And Materials

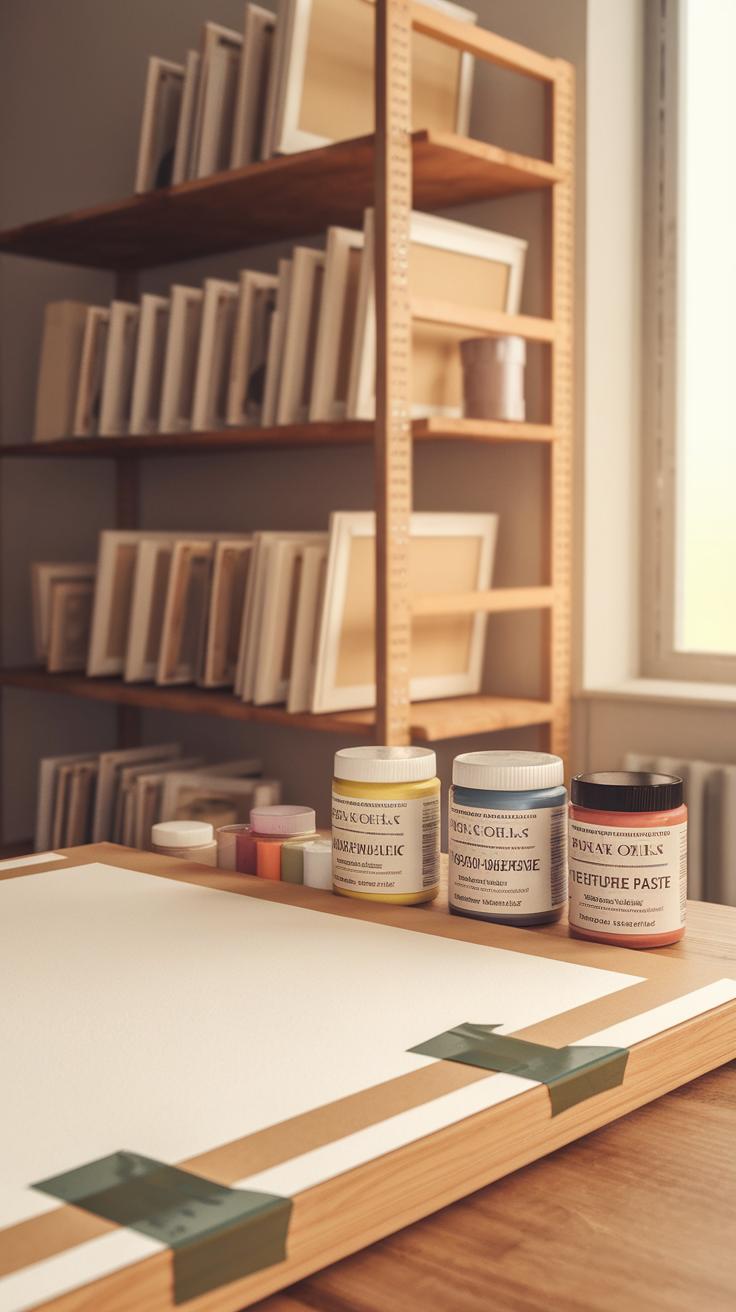
You need the right surface for mixed media water art to succeed. The texture affects how water and other materials behave. Rough surfaces hold paint differently than smooth ones, shaping your final image.
Absorbency is another key factor. Some papers soak up water fast, which can blur details. Others hold moisture longer, letting you blend colors softly. Canvas tends to absorb less, making it good for layering different materials without warping.
Durability matters when mixing media. Heavy layers of paint, glue, or ink may crack or peel on weak surfaces. Choose materials that can handle those stresses without falling apart or buckling.
Choosing The Right Paper Or Canvas
Look for heavy-weight watercolor paper, usually 140 lb (300 gsm) or more. This weight supports wet layers and collage without wrinkling. Cold press paper offers a slightly rough texture that grabs pigment well, ideal for layered techniques.

Hot press paper feels smooth, better for detailed ink work or fine washes. When using canvas, primed cotton canvas helps water-based materials float on the surface and resist soaking in too quickly.
Think about your project’s style. Rough textures give a natural look. Smooth surfaces suit sharp lines and mixed media with fine details. How does the paper or canvas feel to your touch? That first impression guides your choice.
Material Preparation Tips
Stir paints and inks well before use to keep pigments evenly distributed. Thin some watercolors slightly with water to control flow, but avoid diluting pigments too much. Test color strength on a scrap piece first.
Shake or roll acrylic inks before applying. If using markers or water-soluble pencils, moisten tips or leads for richer marks. Prepare collage papers by cutting or tearing edges ahead of time to fit your composition.
Mixing materials works best when each part is ready. Does your ink separate without shaking? Are your paints clumpy? Regularly checking these details can improve how your materials perform during each layer of your artwork.
Layering Techniques For Depth And Interest


Layering different media and water treatments adds both depth and visual interest to your art. You can apply a thin watercolor wash, let it dry, then add ink lines to highlight shapes or add texture. Each layer builds complexity, inviting viewers to spend more time with your work.
Vary the amount of water in your layers to change the opacity and effect. More water creates lighter, translucent washes. Less water gives you stronger color and sharper edges. Combining these approaches helps you control focus areas.
Try adding layers in stages. Allow each to dry completely to prevent colors from mixing unpredictably. This method also lets you rework sections by adding or lifting pigment as needed. How can layering your materials change the story your art tells?
Building Layers With Watercolor And Ink
Start by painting a light watercolor wash over your surface. Keep it thin and even to avoid pooling. Wait for the wash to dry before adding ink details. This way, your ink will stay crisp over the soft background.

Control drying times by adjusting humidity or using a hair dryer on a low setting. Multiple watercolor layers should be transparent enough to let earlier layers show through. If you want darker tones, add layers gradually rather than in a single thick coat.
Use waterproof ink pens to avoid smudging. You might also experiment with dipping ink brushes lightly into the watercolor layers for soft edges. How does the contrast between soft washes and sharp ink lines affect your composition?
Incorporating Textures And Collage
Add texture by attaching thin layers of tissue paper or fabric to your painting. Tear the papers into shapes that support your design, then lightly glue them with a water-based adhesive. These materials catch light differently, adding tactile interest.
Incorporating fine sand or grit into your paint mixtures creates a rough surface that contrasts with smooth washes. Experiment with sprinkling sand over wet watercolor or mixing it with gel mediums before applying.
Allow textured materials to dry fully between layers so they hold their shape. Think about how each added texture influences both look and feel. What textures invite the viewer to explore your piece with their eyes or hands?
Combining Watercolor With Acrylics And Inks

Using acrylics and inks in your watercolor projects can open new possibilities in texture and detail. Watercolors usually remain transparent and soft, but acrylics add bold shapes and opaque layers on top of dried washes. When you apply acrylics over a fully dry watercolor layer, you create sharp contrasts. This contrast gives your artwork a stronger focus and depth, as acrylics do not blend with the watercolor underneath.
Try painting a loose watercolor background, then let it dry completely. Next, use acrylic paint to add geometric shapes or solid color areas. You will notice the acrylic’s opacity highlights shapes that stand out clearly against the softer watercolor. Using acrylics this way also prevents disturbing the watercolor layer below while adding a new dimension to your composition.
Acrylics Over Watercolor
After your watercolor layer dries, apply acrylic paint in areas where you want more strength or texture. Acrylics create a flat, solid surface that resists being reactivated by water. This means the acrylic layer locks the image beneath and adds a fresh visual layer without smearing.
Experiment with both thick and thin acrylic paint. Thinner acrylic washes let some of the watercolor tones show through. Thicker strokes form ridges and textures that contrast with smooth watercolor washes. You can also use acrylic gels or mediums to build up texture and sculptural effects over your watercolor base.
Have you tried using a palette knife to spread acrylic paint on top of watercolor? The sharp edge can create unexpected, crisp textures and lines that complement the softness of watercolor.
Using Inks For Detailing
Inks are excellent for adding fine lines and sharp details on watercolor paintings. After the watercolor dries, use a dip pen, brush pen, or fine-tipped marker with ink to draw delicate outlines, patterns, or intricate textures. The deep, permanent colors of ink contrast well with watercolor’s softness.
Try outlining shapes or adding crosshatching, dot work, or other line techniques with ink. This detail work brings focus to specific areas in your painting. Thin ink lines can guide the viewer’s eye or define shapes lost in watercolor washes.
If you want to add contrast without losing softness, experiment by layering translucent ink washes. These can darken areas and add shadow effect without overwhelming the watercolor. What kind of ink lines or marks do you think could change your artwork the most? Playing with bold and fine lines will sharpen your mixed media skills quickly.
Experimenting With Textures And Tools
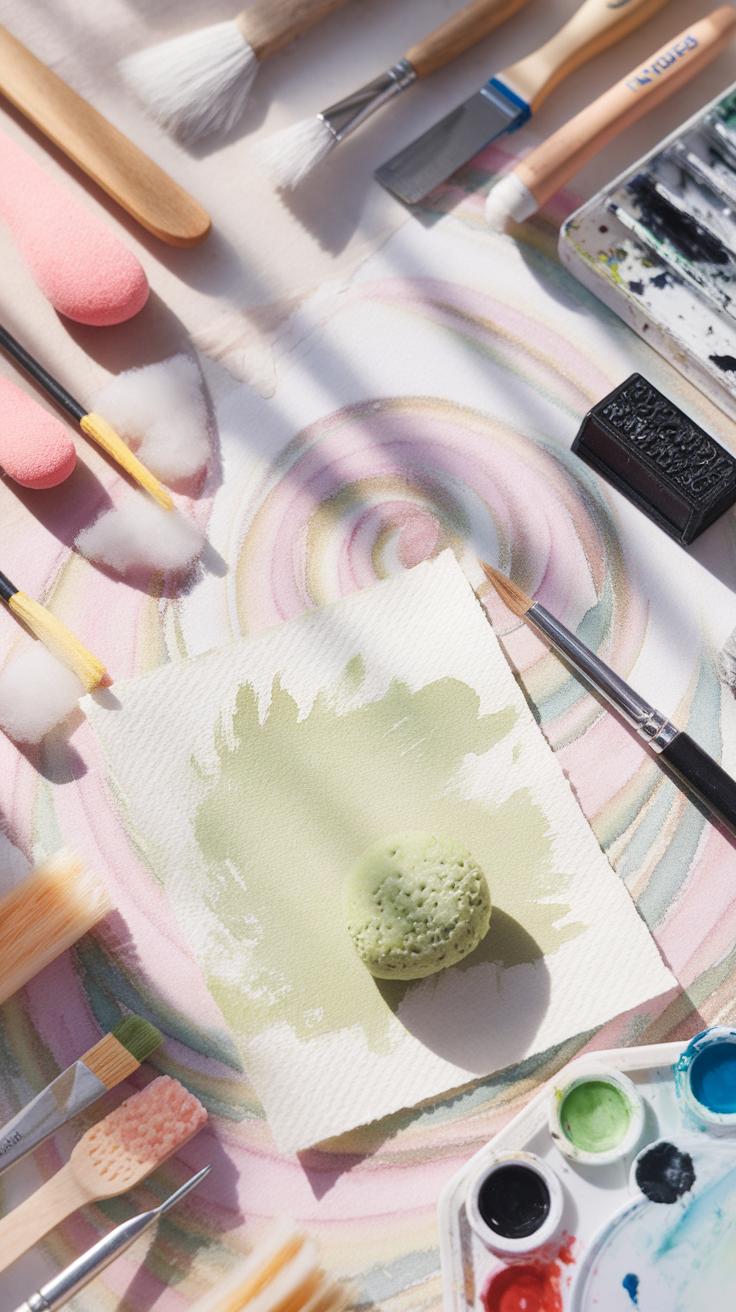
Using Tools To Manipulate Water
Tools like spray bottles and sponges give you control over the flow and spread of water in your artwork. A spray bottle lets you mist fine droplets across the paper, creating soft, speckled patterns. Adjust how much water you spray and the distance from your surface to vary the effect. You can also use a sponge to absorb or add moisture selectively. Dabbing with a damp sponge lifts pigment in certain areas, producing lighter textures. Pressing a sponge loaded with paint onto the paper creates rough, uneven strokes that add dimension. These tools let you guide water’s movement and influence paint behavior without needing brushes. How might you use different spraying angles or sponge textures to create unique patterns in your projects?
Adding Texture With Non-Traditional Materials
Incorporate materials like salt, sand, and fabric to build texture beyond brush strokes. Sprinkling salt on wet watercolor makes tiny crystals that pull pigment aside, leaving speckled highlights as the paint dries. Try different types of salt to see varied effects. Adding fine sand to paint or glue creates gritty surfaces that catch light differently. Pressing fabric onto wet paint can transfer interesting patterns or leave textured impressions. Think about layering torn cloth for raised areas in your composition. These items encourage you to move beyond traditional tools and introduce physical texture into your water art. What unexpected materials do you have nearby that might change the feel of your next piece?
Overcoming Challenges In Mixed Media Water Art

Working with water and multiple materials in mixed media art often brings unexpected challenges. Managing how water interacts with different surfaces can lead to unintended blending or color bleeding. This can frustrate your vision if not controlled carefully. You might ask yourself: how do I keep waterflow where I want it?
Material incompatibility is another frequent issue. Some paints, papers, and adhesives don’t work well together and might cause peeling, cracking, or fading over time. Testing each material before combining them can prevent damage.
One practical step involves setting up small trial spots on similar paper to observe how each medium behaves. Think about your drying time too. Patience can save a piece by letting layers dry fully before adding new ones. What strategies do you use when a material behaves unpredictably during your process?
Managing Water Control
Control over water flow starts with knowing your tools. Use brushes with firm bristles to limit water spread. Adding less water to your brush reduces the chance of colors running into areas you want to keep distinct. Spray bottles offer a way to mist water gently, but adjust pressure carefully to avoid over-wetting.
Timing is key. Work in sections that you can finish before drying begins to set unevenly. Waiting a minute or two between layers helps prevent unwanted mixing. If blending happens, lift some color using a dry brush or paper towel before it dries completely. Have you tried using blotting techniques to rescue areas where water ran too freely?
Preventing Material Incompatibility
Start by researching your materials. Questions to consider include: Will your paint stick to this paper? Does this glue discolor the surface? Make test swatches combining each pair you plan to use. Observe them over several days for changes.
Use archival-quality materials when possible, as they tend to resist damage better. Sealants like varnishes can protect fragile layers but test first to ensure they do not react negatively. When layering, apply a thin base or undercoat to separate materials that might otherwise conflict. What material combinations have you found work well or poorly in your experience?
Showcasing Your Mixed Media Water Art
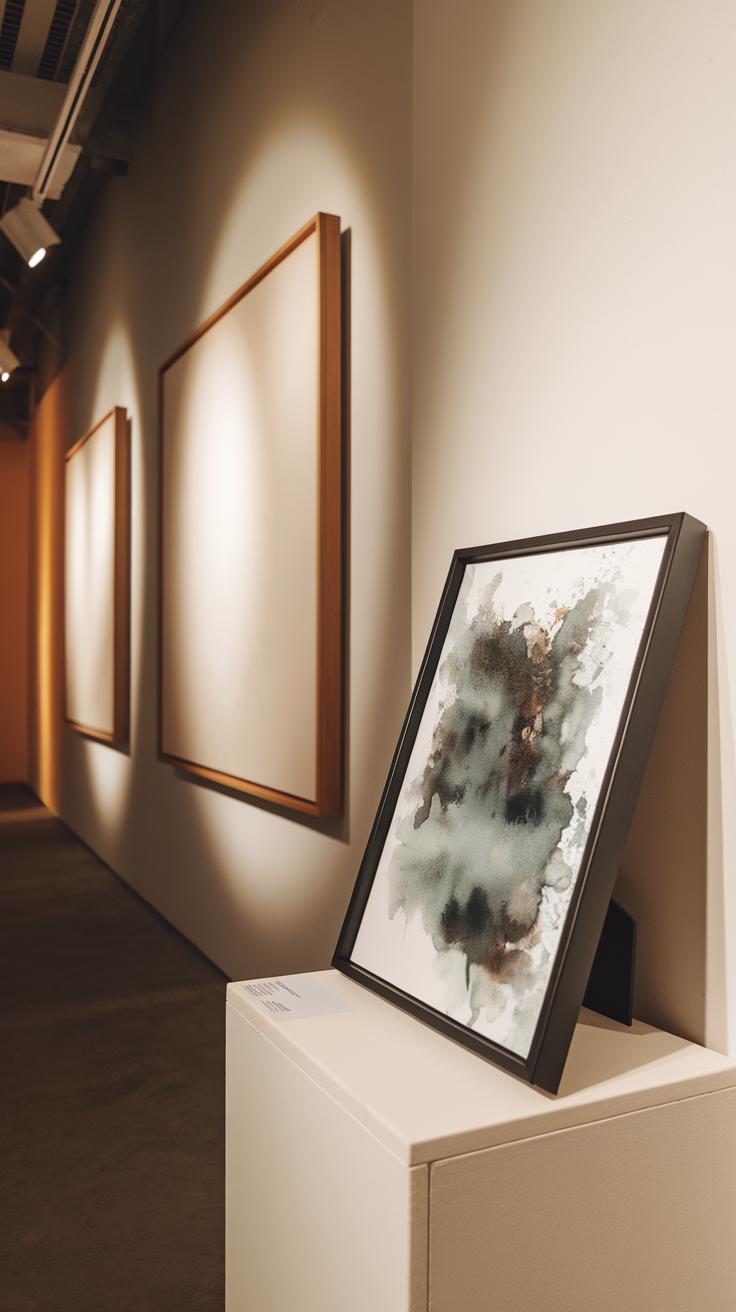
Framing And Display Options
Choosing the right frame can protect your artwork and highlight its unique qualities. For mixed media water art, look for frames with a deeper rebate to hold the layered materials securely. Avoid glass that touches the surface to prevent sticking or damage. Opt for UV-protective glass or acrylic to shield colors from fading over time.
Consider using a mat board. It separates the artwork from the glass, adds space for breathing, and draws attention to your work. You might also try shadow boxes if your piece has texture that extends outward. These display options keep your art safe while letting viewers appreciate the mixed media effects.
Simple but sturdy display stands work well if you prefer not to frame immediately. Keeping your artwork away from direct sunlight and high humidity areas will extend its life. What framing methods have you found help maintain the vibrancy of your mixed materials?
Documenting Your Work
Photographing water-based mixed media art requires attention to lighting and angle. Use natural light if possible, but avoid direct sunlight that creates harsh shadows. Soft, even light helps capture true colors and subtle textures.
Experiment with angles to highlight layered details and material contrasts. A slight tilt can reveal textures that flat photos miss. Use a high-resolution camera or smartphone to pick up fine details clearly.
Try taking multiple shots with different backgrounds to see what makes your artwork stand out best. Test how your photos look on different screens and print formats. Have you noticed how lighting changes the mood in your art images? Use this understanding to create visual stories that represent your work online and in portfolios.
Conclusions
Water art coupled with mixed media techniques offers a vast range of creative possibilities. As you experiment, you will gain a better understanding of how water modifies the appearance and texture of different materials. This knowledge can help you refine your style and develop a unique artistic voice. Crafting artwork with water as a key element brings a sense of movement and unpredictability that invites viewers to engage and interpret the work in personal ways. Your creative process can evolve meaningfully by embracing this dynamic medium.
Continually exploring new materials and tools while working with water will enhance your skills and artistic confidence. You are encouraged to test various combinations and document the results to learn what resonates with your vision. The interplay between control and chance is central to water art and mixed media, offering both challenge and opportunity. Keep asking yourself how you can harness this tension to produce impactful work that communicates your artistic intent and invites viewer reflection.


