
Painting With Coffee as Your Medium
Coffee painting is an intriguing and creative form of art where the natural tones of coffee are used as paint. This technique offers a unique way to produce beautiful artworks with rich sepia hues and a warm, organic feel. Artists appreciate coffee painting for its simple materials and surprising depth of color. You can make your own coffee paint from brewed coffee or instant coffee powder mixed with water. This natural and eco-friendly medium invites experimentation and endless creativity. Are you ready to explore how to bring your coffee painting skills to the next level?
This tutorial guides you through the essential coffee painting techniques used to achieve different textures, layers, and effects. Whether you are a beginner or want to refine your skills, these instructions help you gain confidence in coffee as your painting medium. You’ll learn how to prepare your coffee paint, apply washes, build contrast, and create highlights. Do you want to create dramatic shadows or gentle gradients? Let’s discover how coffee painting can become your new favorite art form.
Understanding Coffee as a Painting Medium
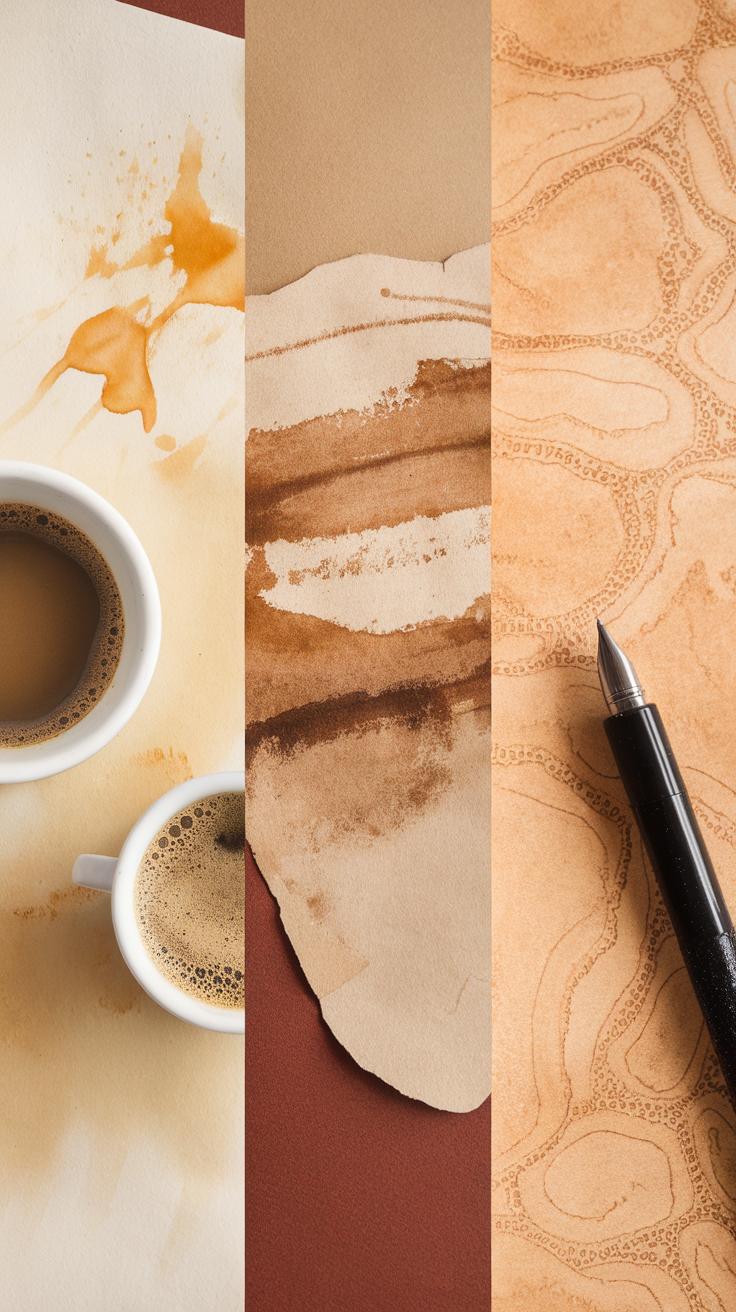
Coffee acts as a natural dye with a range of warm, brown tones that vary depending on how it’s applied. Its ability to stain paper makes it a unique painting medium. When dried, coffee leaves a transparent layer that allows layering and shading effects similar to watercolor.
Different types of coffee produce varying colors. Brewed coffee creates softer, lighter shades, while espresso or concentrated instant coffee offers deeper and richer browns. Mixing coffee grounds with water can also add texture or tone variations to your paint.

The drying process changes the depth of color. Wet coffee appears darker, but it lightens as it dries. Absorbent paper highlights these differences, letting you build contrast without harsh lines. Understanding this interaction helps you control your designs with subtlety.
What Makes Coffee Unique for Art
Chemical compounds in coffee, such as tannins and melanoidins, give it strong staining power and a palette of brown to sepia tones. These natural pigments respond well on paper, allowing varying intensities from pale washes to bold highlights.
You might find coffee more accessible than traditional paints. It costs little and is an eco-friendly option since you use a common household item. This means you can experiment freely without worrying about expense or harsh chemicals damaging your work environment.
Visual qualities of coffee give your art an organic feel. The color range differs from commercial paints, offering warm, earthy hues that digital or synthetic colors can’t mimic exactly. How might you use these tones in your next project?
Preparing Coffee Paint at Home
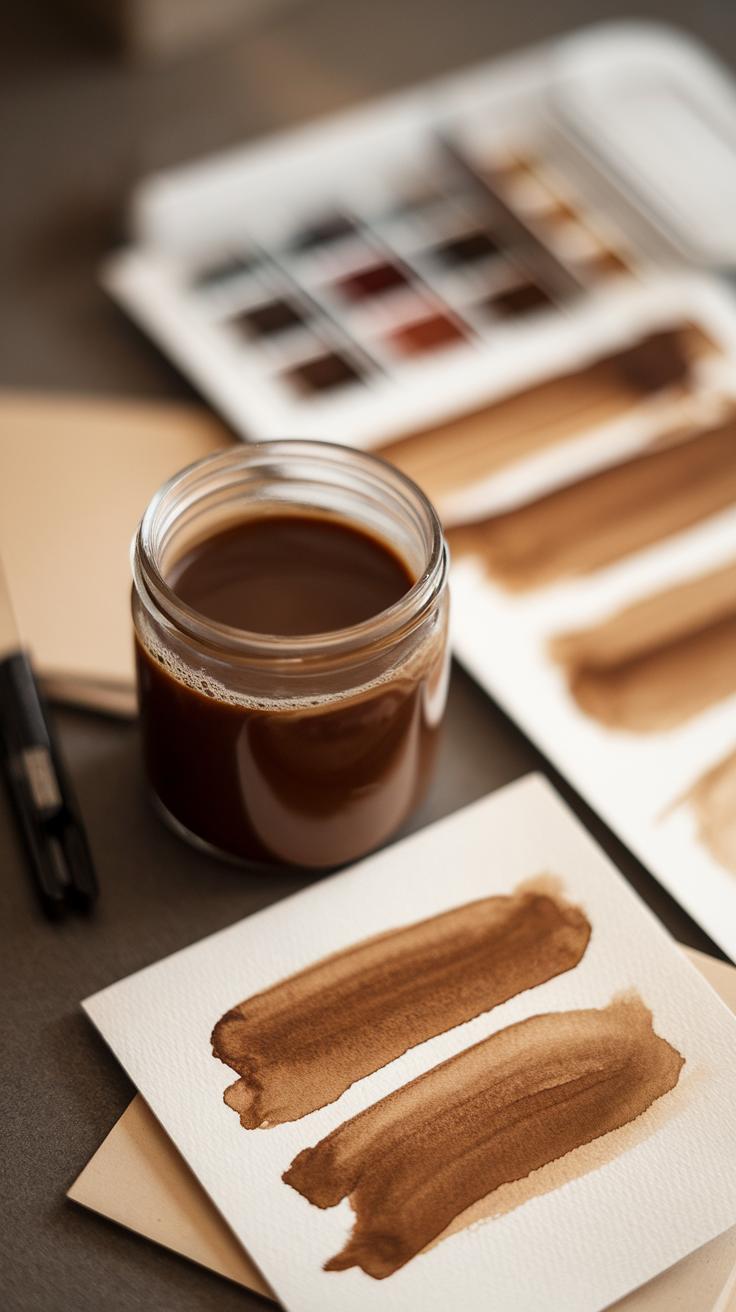
Start by brewing your coffee. Use instant coffee for quick preparation; mix 2 teaspoons in a small amount of hot water to create a liquid you can paint with. Espresso works well for stronger colors, while regular brewed coffee suits lighter washes.
Adjust how much water you add to change your paint’s strength. More coffee and less water create darker shades, drying slower and leaving intense colors. More water makes a thinner paint that dries quickly with paler tones.

Store leftover coffee paint in an airtight container and refrigerate it to keep it fresh for a few days. Stir before use, as pigments may settle. Have you tried mixing different coffees to find your favorite shade? Experimenting helps you understand how to get the best results for your artwork.
Tools and Materials for Coffee Painting
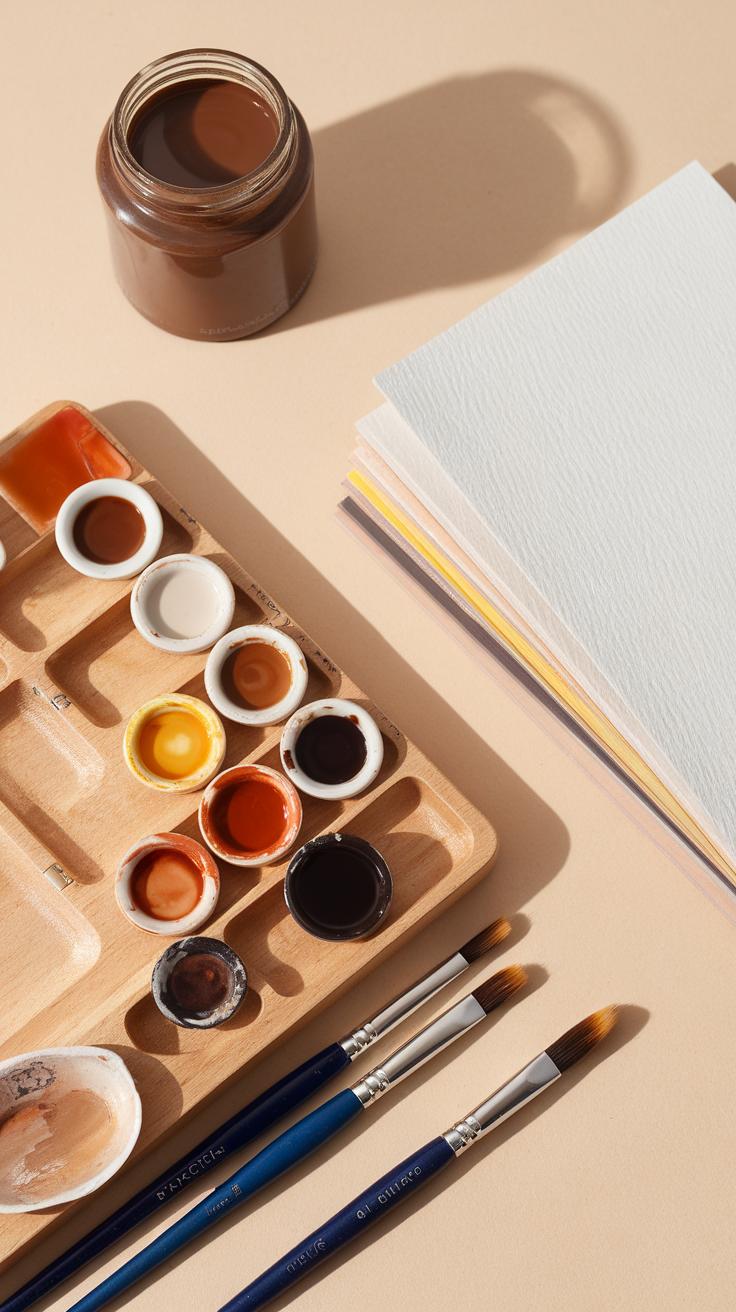
Selecting the right tools and materials affects how your coffee paintings turn out. Coffee paint behaves differently from traditional paints, so you need supplies that handle its watery texture well. Paper must absorb coffee without warping or bleeding too much. Brushes should hold water and allow for detail or broad strokes depending on what you want to create.
Using supplies made for watercolor or ink can be a good start since coffee paint shares similarities in handling. You’ll also need palettes or dishes to mix coffee with water. Other handy items include clean water for rinsing brushes, paper towels, and containers for brewing coffee if you prepare fresh paint. Each choice impacts the richness and clarity of your finished art.
Would you try different brush shapes or paper textures to see how they change your coffee painting? Testing materials helps you find what works best for your style and technique.
Choosing the Right Paper and Brushes

Cotton-based watercolor paper with a medium or rough texture works best for coffee painting. Its absorbency helps coffee stains settle nicely without overly spreading. Thin or smooth papers tend to buckle or allow coffee to puddle, making your work appear messy.
Brushes made from synthetic fibers or sable hair perform well with coffee paint. Round brushes in sizes 4 to 10 cover most needs—smaller brushes help with fine details, while larger ones create washes or fill big areas. Flat brushes also offer crisp edges and neat lines.
Experiment with brush stiffness to see how much control you gain. Would a softer brush make blending easier? Could a firmer brush give you sharper shapes? Finding your preferred brush set improves your coffee art dramatically.
Palettes and Mixing Techniques
A flat ceramic or plastic palette lets you mix coffee paint at different strengths easily. Pour brewed coffee into the wells, then add water to create lighter tones. This helps you plan gradients and layering without applying paint that’s too dark or light.
Mix smaller amounts frequently to keep the coffee fresh and strong. Use clean water to dilute coffee gradually, observing how each step lightens the color. Layer darker and lighter washes on the paper for depth and contrast.

Have you tried mixing coffee with other natural stains like tea? Testing mixes will show how colors blend and separate. Getting familiar with your palette lets you control coffee paint in amazing ways.
Basic Coffee Painting Techniques
Mastering foundational techniques sets the stage for stunning coffee paintings. Start by practicing washes. Create a smooth, even layer of diluted coffee paint across your paper to establish a base tone. Control the coffee paint’s intensity by adjusting its concentration with water. Thinner washes produce light, transparent effects, while stronger mixes give richer, darker hues.
Gradients can add dimension by blending from dark to light smoothly. Work quickly on damp paper to achieve seamless transitions. Avoid harsh lines by controlling the amount of liquid on your brush and blending edges while the paint is still wet.
Layering helps build depth. Allow each layer to dry fully before applying the next to prevent unwanted mixing or blotches. This step-by-step buildup lets you create shadows and highlights effectively. How might your work change if you paid close attention to drying times and brush control? Experiment with layering to see how it enhances your coffee art.
Applying Coffee Washes

Begin with a clean, wet brush loaded with diluted coffee paint. Apply broad strokes evenly across your paper. The key is consistent wetness—too much liquid causes puddles, while too little creates streaks. Dilution affects the wash’s transparency; higher water ratios lighten the color.
To avoid unwanted texture, paint in one direction without overworking the area. Resist the urge to go over drying edges, which causes marks. Try tilting your paper gently to help paint spread uniformly. What results do you notice when adjusting water ratios in your washes? Practice with small test sheets to find your perfect balance.
Building Layers for Depth
Layering coffee paint intensifies shadows and highlights by adding multiple transparent coats. Wait for each layer to dry completely before continuing. This preserves your previous work and avoids muddy colors.
Use darker, stronger coffee mixtures for shadows and lighter washes to soften areas. Control opacity by altering the paint’s thickness or number of layers. Concentrate detail where needed, such as around edges or features.
Timing matters—applying a new layer too soon can lift pigment and ruin smoothness. How would your paintings evolve by carefully planning each layer? Practice layering gradually, building depth with patience rather than heavy strokes. This technique brings your coffee art to life with subtle contrast and rich tone.
Advanced Coffee Painting Techniques

Mastering advanced coffee painting techniques can take your art to a new level. You can create texture, add highlights, and work with detailed brushstrokes using only coffee paint. These methods help bring your paintings to life by emphasizing depth and visual interest.
Try working with coffee’s natural tones to build contrast. You can adjust the coffee concentration to get lighter or darker shades, creating layers with more complexity. Using detailed brushwork, you can shape fine lines and intricate patterns that stand out.
Think about how this challenges your control over the medium. How can you make the most of coffee’s unique qualities to add a fresh dimension to your work? Experiment with slow, deliberate strokes and layering dark and light sections to see how they impact the overall design.
Creating Texture with Coffee
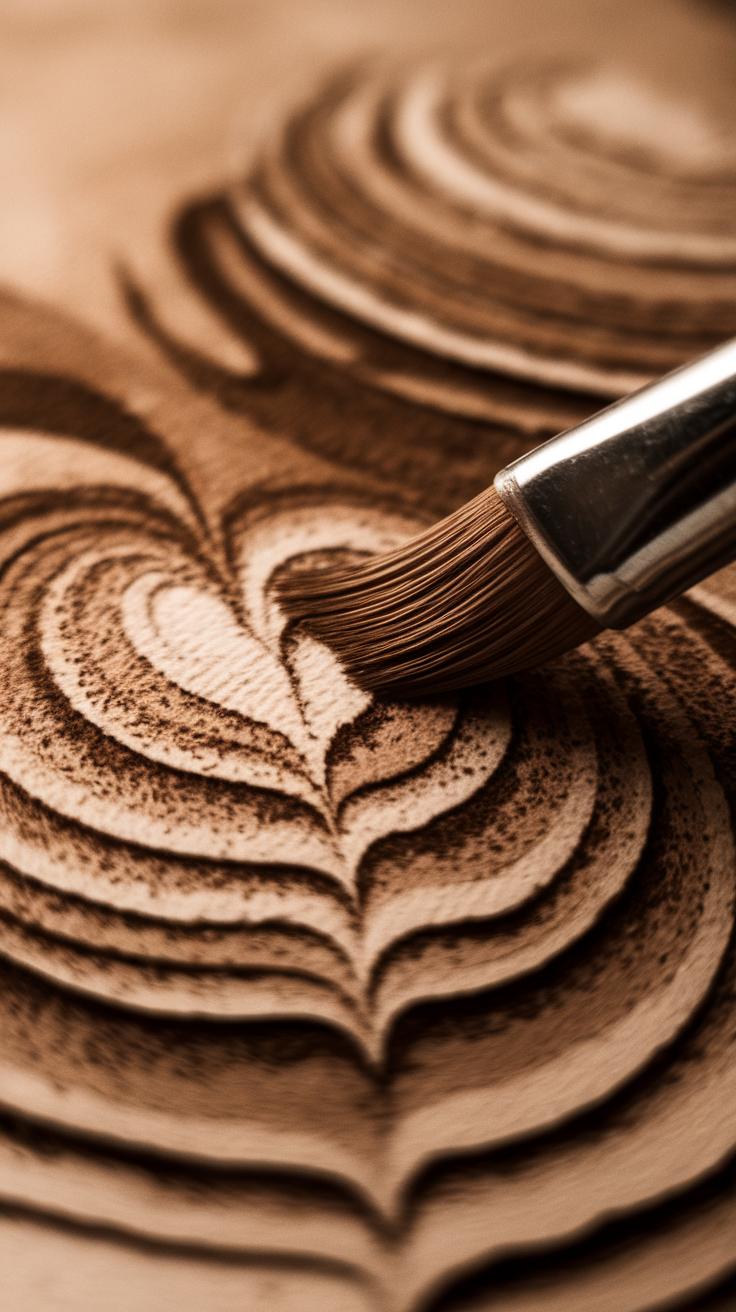
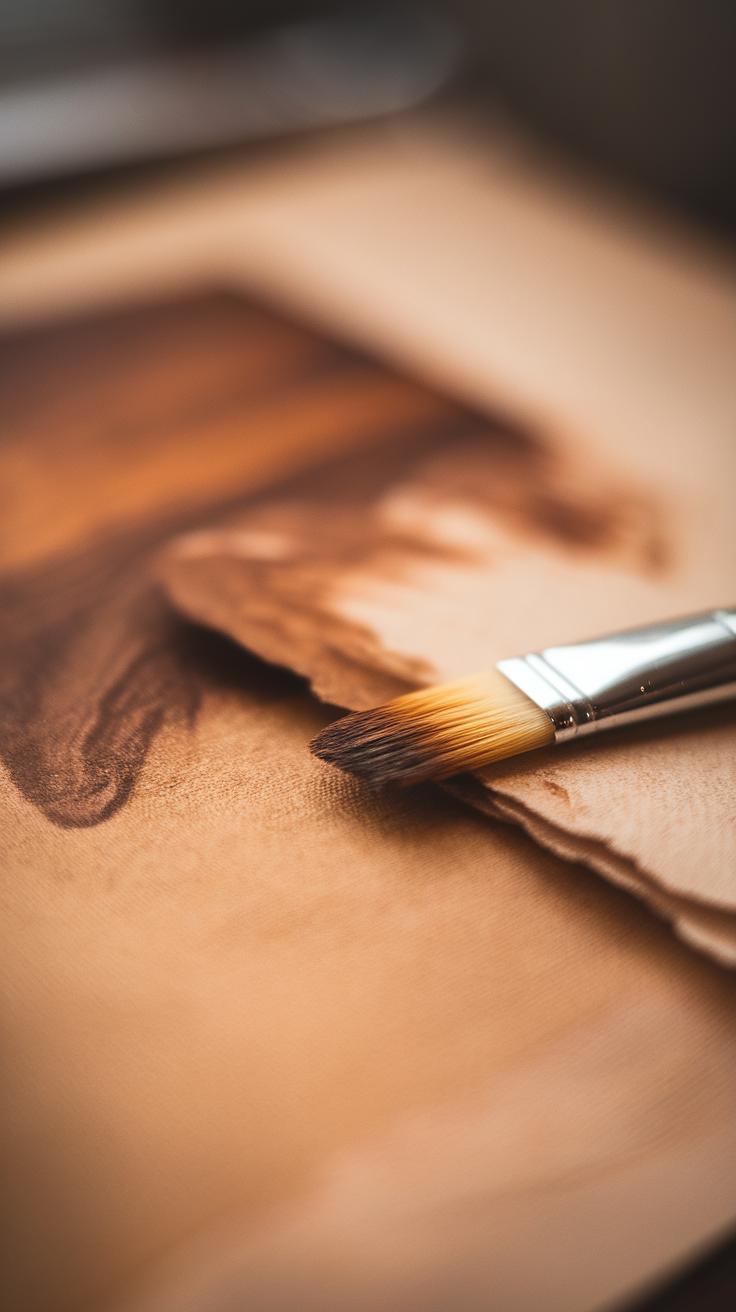
Texture adds life to your coffee paintings. Use a dry brush technique by dipping your brush lightly in coffee and then brushing off excess paint before applying it on paper. This creates rough, textured strokes that mimic natural surfaces.

Splattering coffee with a stiff brush or toothbrush helps add random spots or dots, introducing an organic texture. Notice how coffee forms different patterns as it dries—sometimes it leaves darker edges or tiny rings you can use for effect.
Try layering textured strokes over smooth washes. You will see how coffee’s drying pattern works to add interest without extra tools. Have you considered how different papers affect these textures? Rough papers can enhance the effect, while smooth papers soften it.
Highlighting and Contrast Effects
Highlighting means preserving or restoring light areas in your painting. You can lift coffee paint by dabbing a clean, damp brush or sponge on wet or slightly dry coffee stains. This lifts pigment and reveals lighter spots below.
To deepen shadows, use darker, more concentrated coffee. Applying multiple layers of thick coffee creates rich, dark areas that contrast sharply with highlights. This method gives your images strong visual impact.
Try to balance lifting and darkening to draw the eye to important parts of your painting. What areas in your artwork would benefit from sharp contrast? Experiment with these techniques to enhance your work’s three-dimensional feel.
Combining Coffee with Other Mediums


Using coffee paint alongside other materials can take your artwork to new levels. Coffee’s warm tones pair well with water-based mediums like watercolor, ink, and pencil.
You should consider how each medium interacts with coffee. For example, coffee dries slightly textured, so layering matters. Watercolors can blend smoothly if applied gently over dry coffee stains. Ink gives sharp lines that stand out against coffee washes, while pencil adds subtle shading.
Start by applying your coffee layers first. Let these dry completely before adding watercolor, ink, or pencil on top. This prevents smudging and preserves detail. Testing your paper’s absorbency helps avoid unwanted bleeding between layers.
Try combining coffee with a bold ink drawing or a loose pencil sketch on a coffee-washed background. How does the contrast change your image? What new textures appear? Experimenting with layering order will help you create richer, more unique coffee artworks.
Mixing Coffee with Watercolor
Mixing coffee with watercolor offers soft, earthy effects in your painting. Both mediums are water-based, so they blend smoothly when applied carefully.
Start by making a light wash of coffee and let it dry. Then, add watercolor over it to intensify colors or add new shades. You can also try layering coffee over finished watercolor to bring in brown-tinted accents.
Remember coffee stains are less bright than watercolor, so using watercolor on top can add vibrance. Thin your coffee paint for lighter effects and thicker for darker washes. Paper quality affects how these blends behave, so test on scrap sheets first.
What areas of your painting benefit from coffee’s natural browns? Using coffee alongside watercolor lets you control warmth and depth while keeping your colors lively.
Using Ink and Pencil with Coffee Paint
Ink and pencil are excellent for adding detail on coffee-painted surfaces. You can create coffee backgrounds that set tone, then overlay crisp ink lines or gentle pencil shading.
Apply coffee paint first and wait until it’s fully dry before drawing in ink or pencil. Ink works best on sturdy, smooth paper as it resists bleeding. Use fine liners or dip pens for precise lines that pop against coffee’s soft texture.
Pencil is great for subtle shadows or sketchy details. Press lightly to avoid damaging paper. Layering ink on coffee backgrounds can emphasize shapes and add contrast, while pencil enhances texture without overpowering the coffee tones.
Do you want sharp outlines or soft shading? Experiment with how ink and pencil interact with coffee layers. Adjust your brush strokes and pressure to preserve the natural beauty of coffee paint while enhancing your artwork’s depth.
StepbyStep Coffee Painting Project
Setting up Your Coffee Painting
Start by gathering your materials: coffee grounds or instant coffee, water, a few brushes of different sizes, watercolor or mixed media paper, and a pencil for sketching. Choose a sturdy paper to handle wet washes without warping. Brew several strengths of coffee to create a range of tones, from light to dark.
Mix coffee with water in small containers, adjusting the concentration to control the paint’s intensity. Thicker mixtures produce darker shades, while diluted coffee creates lighter washes. Test different mixes on scrap paper to see the effect.
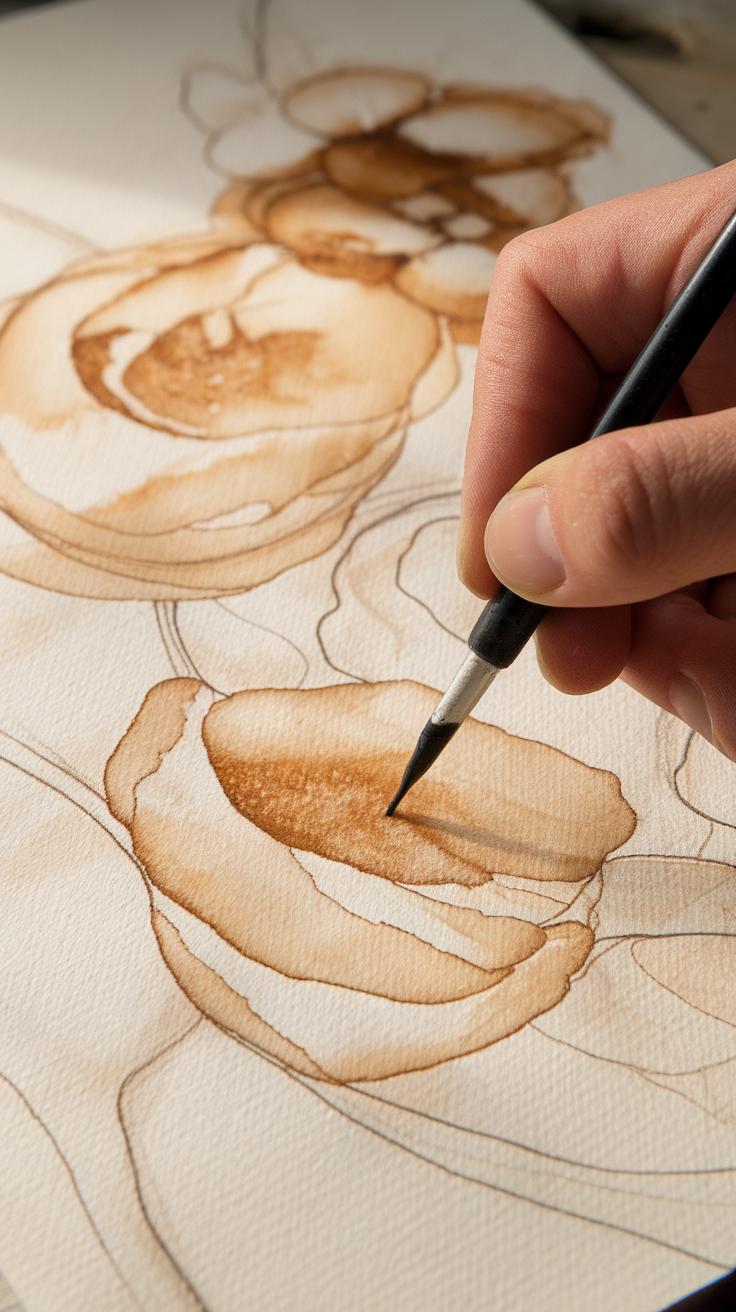
Lightly sketch your composition with a pencil. Keep the lines soft; coffee paint is transparent and will show your sketch underneath. Choose a simple subject for your first project, such as a leaf or a small flower, to focus on learning washes and layering.
Painting and Refining Your Artwork
Begin by applying a light coffee wash over the larger areas of your sketch. Use a broad brush and let your first layer dry completely before adding more paint. Drying times vary but expect 15 to 30 minutes depending on thickness and humidity.
Next, add darker layers to build shadows and depth. Use a more concentrated coffee mix and a smaller brush to work in the details. Apply multiple layers cautiously to avoid paper damage or unwanted blotching.
Once layers dry, add final touches like fine lines or small dots to emphasize details and textures. If you make a mistake, correct it by lightly blotting with a damp brush or lifting color with a dry brush before the paint dries fully.
Do you notice how coffee’s varying tones create natural gradients? Take your time with layering and watch how your artwork gains richness with each step. Your patience will show in the final piece.
Troubleshooting Common Coffee Painting Challenges
Many artists find coffee painting tricky because of issues like blotching, uneven drying, and fading colors. These problems can disrupt your flow and affect your final piece.
Blotching usually happens when too much liquid pools in one area or the paper’s surface isn’t uniform. To fix blotches, try lightly dabbing the wet spot with a clean, dry brush or a soft tissue before it dries. Working with high-quality watercolor paper helps because it absorbs coffee evenly and resists sudden drying changes.
Uneven drying leads to inconsistent tones. Use a spray bottle to mist your paper gently while painting to keep moisture levels balanced. Also, let each coffee layer dry fully before adding the next. This step controls the coffee’s concentration and prevents unwanted dark spots.
Consider how temperature and humidity affect your work area. Changes in these factors can cause drying inconsistencies. Aim to work in a stable, room-temperature environment for best results.
Fixing Blotches and Uneven Color
When blotches appear, resist the urge to add more coffee immediately. Excess liquid only makes blotches worse. Instead, lift some color carefully using a damp brush or tissue. You can also paint over blotchy areas once dry with a thin coffee wash to even out tones.
Prevent blotches by controlling your coffee’s intensity. Dilute it to lighter shades for background washes and use more concentrated coffee only in focused details. Test your color on scrap paper before applying it to your painting.
Brush choice matters. Flat brushes help spread coffee more evenly, while round brushes work better for detail. Avoid brush strokes overlapping wet areas, which creates streaks and uneven patches.
Preventing and Repairing Fading
Coffee stains can fade because of light exposure and poor sealing. To prevent fading, keep your finished painting out of direct sunlight. Using UV-protective glass in framing helps shield your work from harmful rays.
Sealing your coffee painting with a clear fixative designed for watercolors locks in color. Spray a light coat evenly over your dry painting to avoid pooling.
If fading occurs, you might restore deeper tones with a gentle touch-up using the same coffee mixture. Apply very thin layers to maintain transparency and avoid dark spots. Consider storing your artwork in a cool, dry place with minimal light to preserve its vibrancy.
What steps can you take to balance your coffee’s water ratio while painting? Experimenting with small adjustments might solve stubborn blotches and fading before they happen.
Preserving and Displaying Coffee Paintings
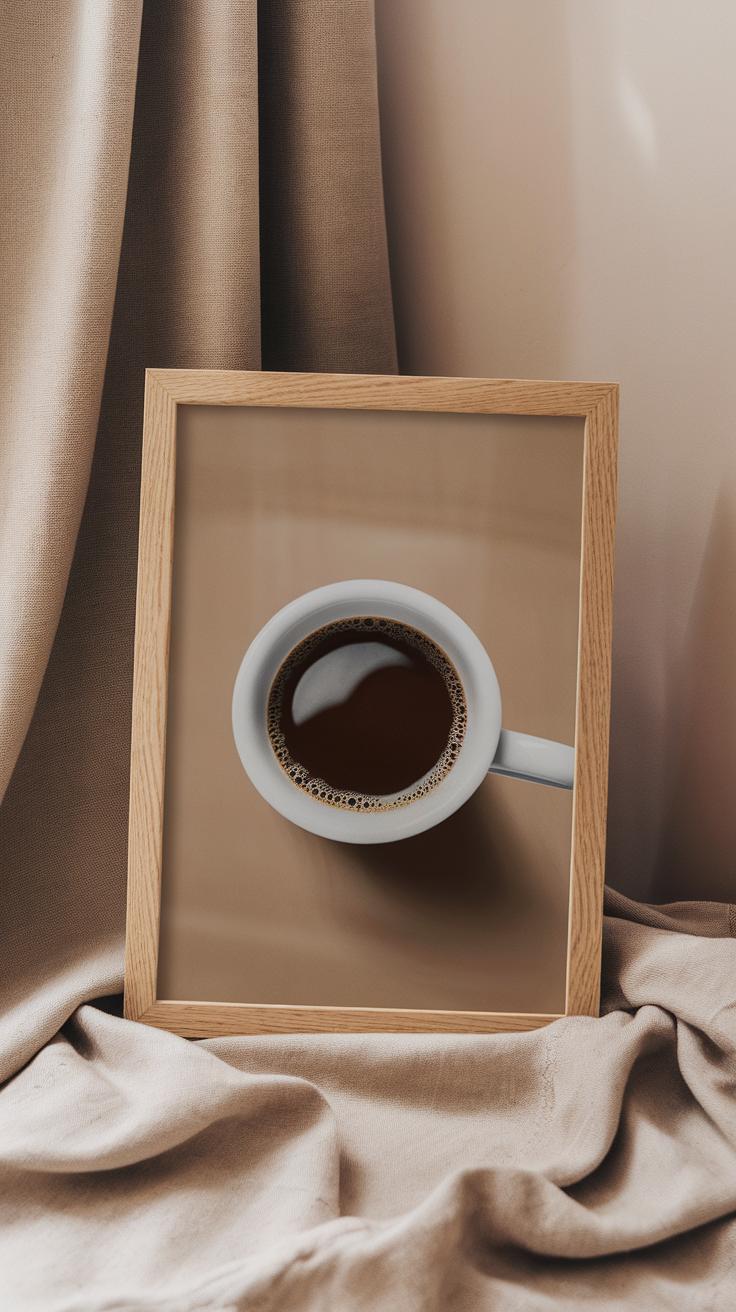
Preserving your coffee paintings requires careful handling to keep their rich tones intact over time. Proper framing and storage play a key role in this process. Without protection, coffee art can fade, warp, or attract dust and moisture that damage the paper.
Framing creates a barrier against physical damage and environmental factors. Using UV-protective glass helps to slow fading caused by sunlight. Choosing acid-free mats and backing ensures the paper won’t yellow or degrade. You want to avoid plastic frames that trap humidity, which can cause mold growth.
Sealing your painting can lock in the pigments. Many artists use a light, matte fixative spray designed for watercolor, testing it first on a small section. Too much or the wrong fixative might darken or blur your coffee work, so proceed with care.
Framing and Sealing Techniques
Select a frame that fits your coffee painting with a slight space between the glass and the art. This gap prevents condensation from touching the paint. Wood frames are sturdy and breathe better, but metal frames with corrosion-resistant coatings also work well.
Mat boards protect edges from touching the glass and add a polished look. Choose mats and backing that are acid-free to stop chemical reactions that cause yellowing. Avoid standard cardboard, which can harm artwork quickly.
When sealing, apply a fixative spray with soft, even strokes from about 12 inches away. Test on scrap paper painted with coffee before applying to the original. Avoid glossy sprays as they may alter the painting’s natural texture and color.
Storage Tips for Longevity
If you can’t frame your coffee paintings immediately, store them flat in a cool, dry place. Avoid basements and attics where temperature and humidity fluctuate greatly. Such changes can cause paper to warp or paint to run.
Use acid-free folders or sleeves to keep paintings separated and protected from dust. Interleaving sheets of acid-free tissue paper between pieces stops them from sticking or transferring stains.
Think about light exposure even in storage. Coffee pigments break down when exposed to strong light over time. Storing artwork in a dark drawer or box can prevent this kind of color fade.
Does your storage area maintain a steady temperature and humidity? Ideally, keep humidity levels between 40-50 percent and temperature around 70°F. Consistency prevents many common forms of deterioration.
Inspiration and Creative Ideas Using Coffee Paint
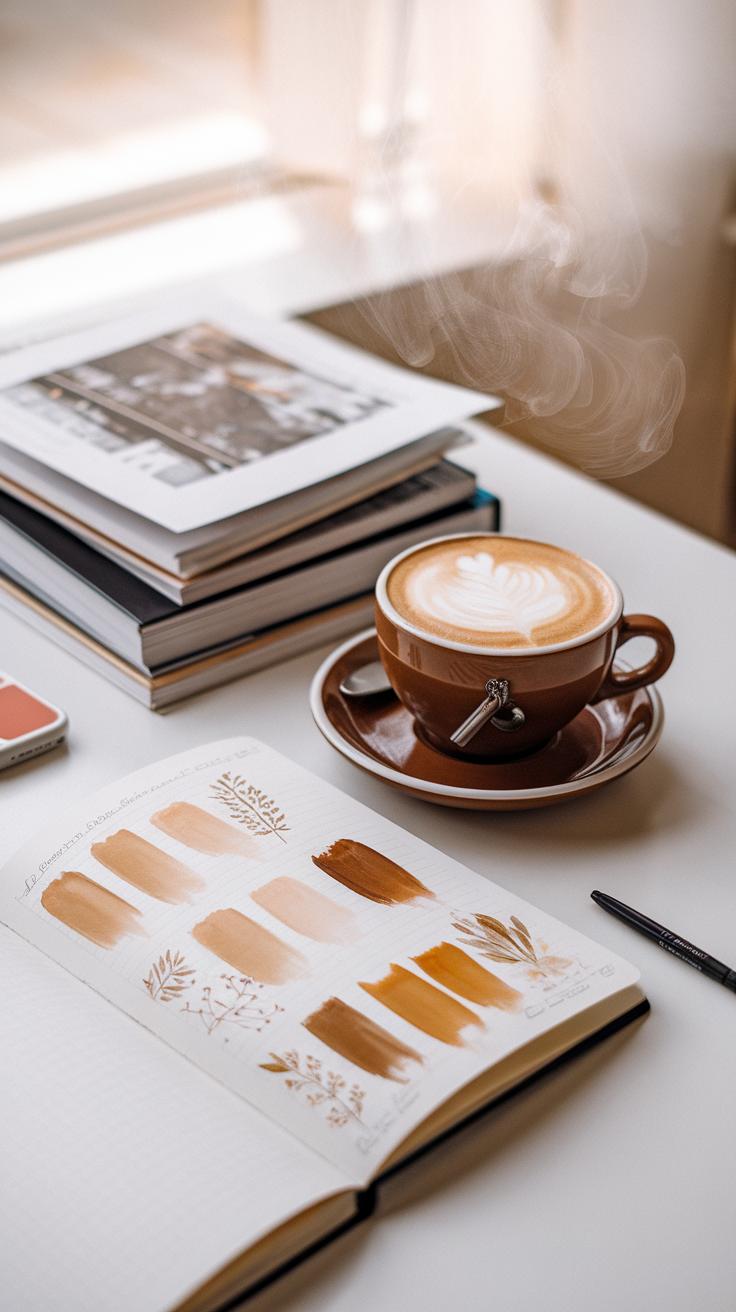
Coffee paint invites you to experiment with many subjects and styles. Try painting nature scenes like leaves, trees, or gentle landscapes. Their varying tones come alive through coffee’s natural shades. Portraits also work well, capturing soft shadows and expressions with simple washes.
Abstract designs offer freedom to play with shapes and textures, pushing coffee’s fluidity in unexpected ways. You can mix coffee with ink or watercolor to add depth and contrast. Combining coffee with text or calligraphy creates an interesting storytelling element, blending word and image.
Ask yourself what themes excite you. Could you portray your daily life, emotions, or cultural motifs through coffee art? Trying new ideas helps you find the unique style coffee painting offers. What happens when you layer coffee with other media? Experimenting leads to discoveries about this versatile medium.
Popular Subjects in Coffee Art
Nature holds a top spot for coffee paintings. Leaves, flowers, and landscapes benefit from coffee’s warm browns and soft tones. These elements appear realistic and inviting when shaded with coffee layers.
Portraits reveal mood through coffee’s subtle color shifts. You can capture faces with light washes and stronger darks for contrast. Many artists use coffee to give their portraits a gentle, timeless feel.
Abstract designs let you explore coffee’s unpredictable flow. Shapes, lines, and patterns blend naturally, letting you experiment with mood and movement. Still life, including cups, books, or simple objects, also suits coffee’s look, inviting close attention to detail.
Exploring Your Artistic Voice with Coffee
Coffee paint responds well to your personal touch. Try building your style by focusing on what themes or moods interest you most. You might find a way to tell a story through layers of coffee tone and brushwork.
Fusing coffee with other methods, like pencil sketching or light watercolor washes, expands your choices. Using coffee as a base and adding details with ink creates vivid contrasts and texture. You may develop a signature blend that feels unique to you.
Consider why you choose coffee paint. Does the natural color connect to your theme? Can the shapes you create express deeper feelings? Building on these ideas helps make your coffee paintings truly yours and encourages you to push the medium further.
Conclusions
Smoking coffee painting techniques can produce stunning results that highlight the natural beauty of coffee as an artistic medium. Understanding the properties of coffee, such as its staining ability and rich tones, opens up various possibilities for creating unique artworks. By practicing layering and controlling dilution, you can achieve depth and dimension in your paintings. Are you ready to develop your own style and use coffee to tell your own stories on paper?
Consistent practice and experimenting with different coffee concentrations and tools will enhance your ability to craft detailed and expressive paintings. Coffee painting is accessible and rewarding, offering you a fresh way to express creativity. Your journey with coffee art can lead to personalized techniques and original compositions. What ideas will you bring to life using coffee as your artistic tool?


