Achieving Realistic Skin Tones in Gouache Portraits
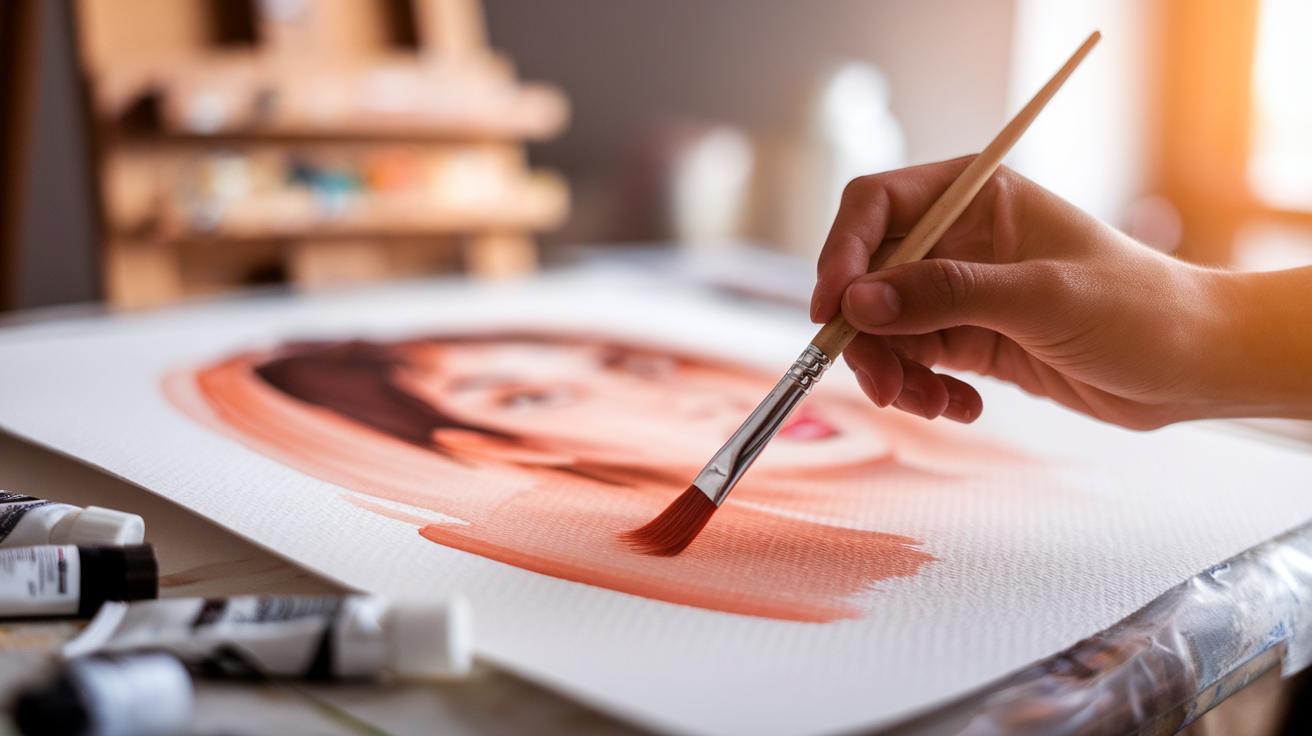
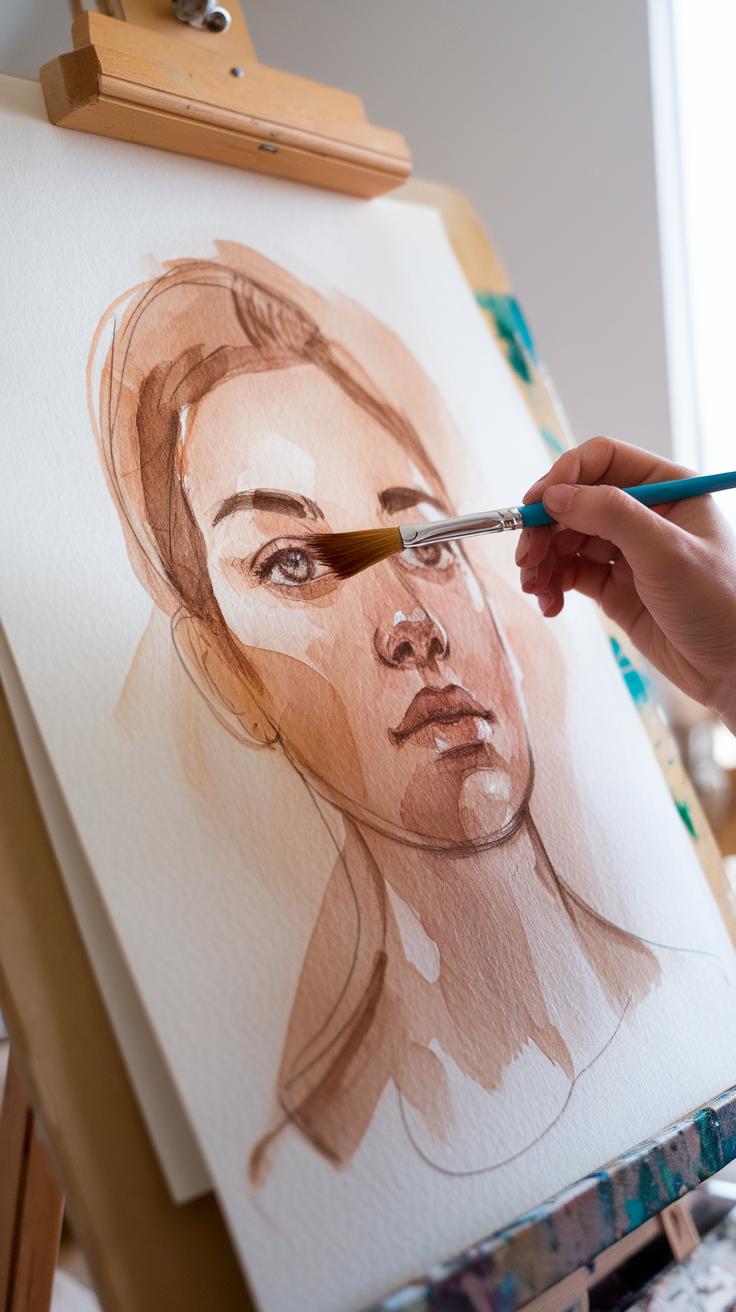
Using gouache for portrait painting offers unique advantages. This medium combines qualities of both watercolor and acrylic paints, giving you the ability to create vivid, opaque layers. Achieving lifelike skin tones with gouache can transform your portraits, making them appear authentic and expressive. Understanding the nuances of gouache paint is key to mastering these techniques.
Creating realistic skin tones involves more than mixing colors. It requires observing subtle color shifts, managing transparency, and applying paint strategically. With gouache, you can easily adjust and correct your work. This article will guide you through effective tips and methods to help you enhance your gouache portrait paintings with realistic and striking skin tones.
Understanding Gouache as a Medium
Gouache is a water-based paint made from finely ground pigments mixed with a binder, usually gum arabic, and white fillers that give it an opaque finish. Unlike watercolor, which is transparent and light passes through it, gouache blocks light, allowing you to paint in solid layers without underlying colors showing through.
Compared to acrylic, gouache remains water-soluble even after drying, which means you can rewet and adjust your painting later. Its matte surface reduces glare, making skin tones easier to see and correct. This opacity and reworkability make gouache a favorite for portrait artists trying to capture realistic skin textures and subtle color shifts.
The ability of gouache to cover mistakes quickly and build up smooth, flat skin tones without shine lets you blend shadows and highlights precisely. When you paint portraits, this control helps bring lifelike qualities to skin that more transparent or glossy paints often miss. Have you noticed how some portraits seem to glow? Gouache’s texture often adds to this natural look.
Composition and Properties of Gouache
Gouache consists of pigments, gum arabic as a binder, and inert fillers like chalk or white clay. These fillers give it thickness, opacity, and a matte finish. The pigment concentration is higher than in watercolor, making colors richer and more solid.
When gouache dries, it forms a velvety surface resistant to light reflection. This quality lets you see colors clearly without brightness masking subtle skin details. Drying happens quickly, but the paint reactivates with water, which allows for corrections or blending even after initial layers dry.
The opacity means you can layer light colors over dark ones, which is useful for painting highlights on skin. The thicker consistency also lets you control brushstrokes carefully to mimic skin texture—soft transitions, gentle contours, or sharper details. How can you take advantage of these properties for delicate skin variations?
Advantages of Gouache in Portraits
Gouache dries fast, so you can build layers quickly without waiting long. This speed helps you work efficiently on portraits where capturing subtle changes in skin tone is key. Each layer can be reworked simply by adding a damp brush, unlike acrylics that become permanent after drying.
The paint’s vibrancy remains strong whether you use thin or thick layers. This quality allows you to mix rich, lifelike colors for skin and keep them vibrant even when the paint dries matte. Gouache’s smooth surface captures fine brushwork, such as delicate blending between shadow and light on the face, which creates realistic skin textures.
Because you can paint light colors on top of dark, you can highlight areas of the skin without losing previous work. Working this way mimics the way light interacts with skin, producing depth. Can you experiment with layering to recreate pores, freckles, or veins gently? Gouache invites this detailed approach, making it excellent for lifelike portrait skin tones.
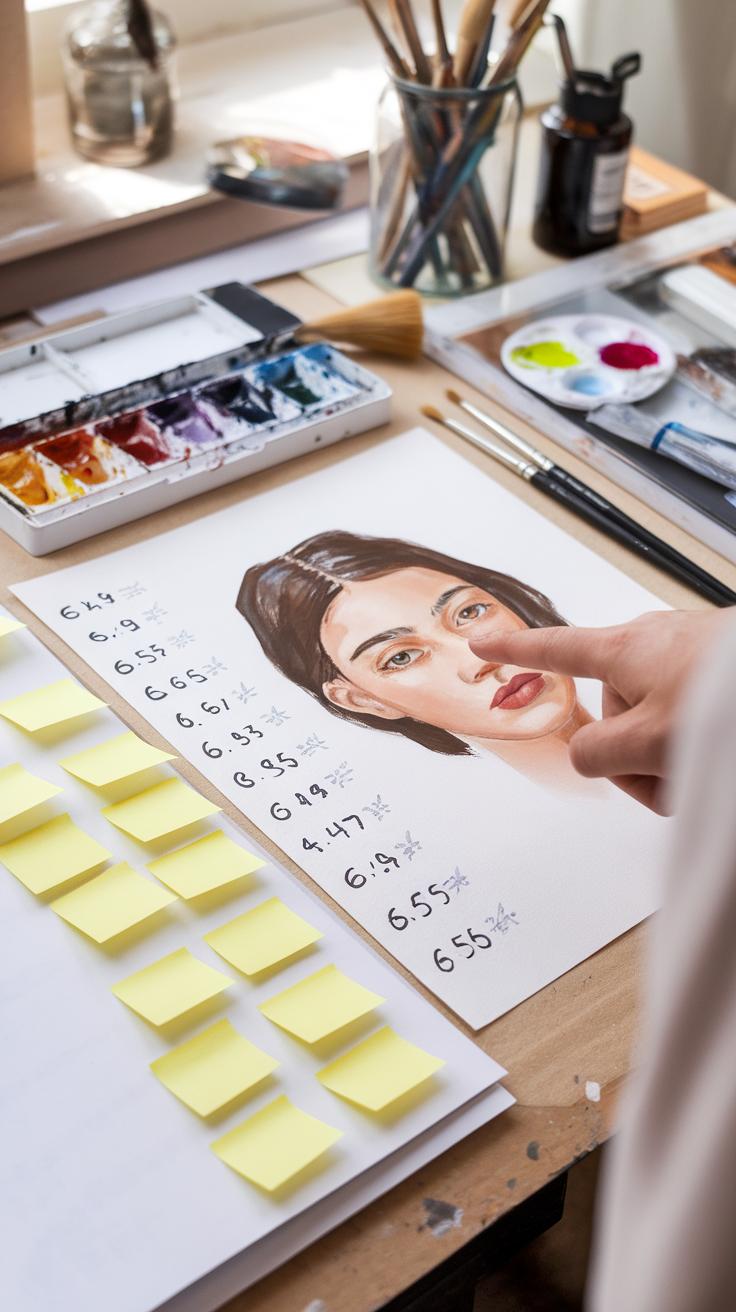
Color Theory for Realistic Skin Tones
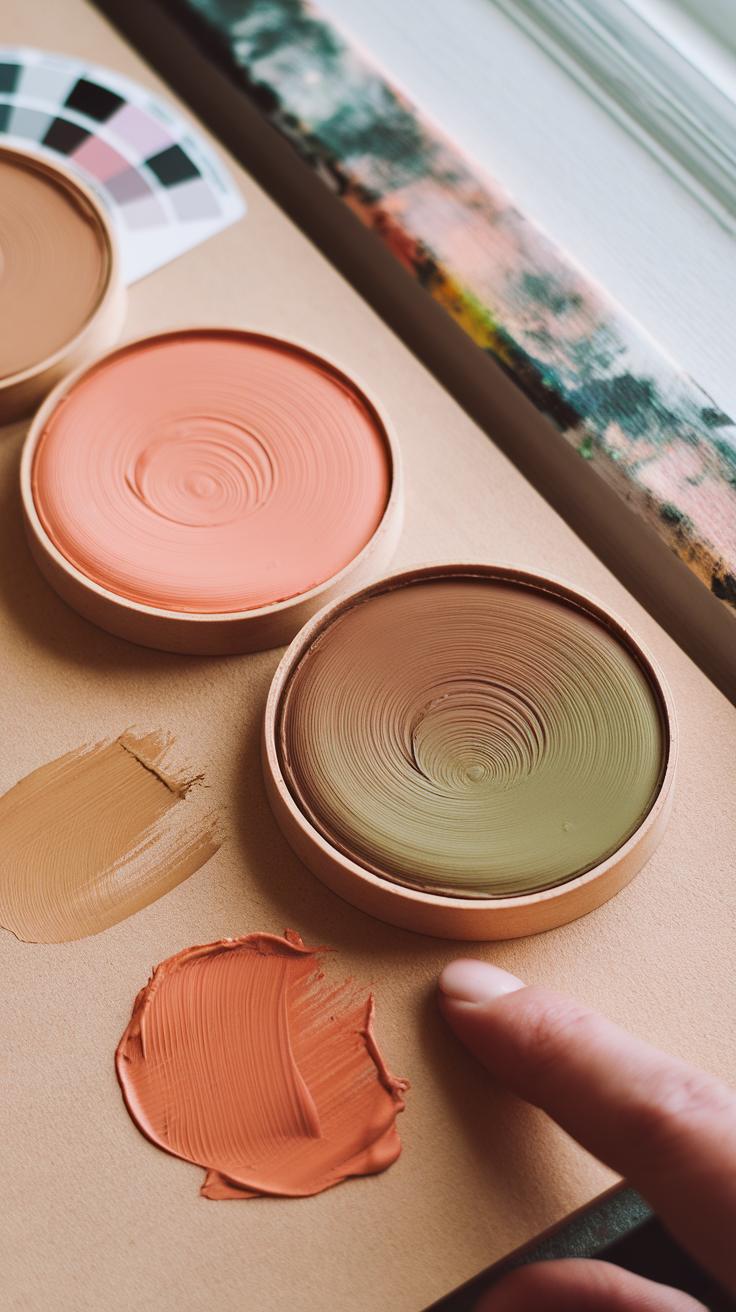
Skin tones range widely, so understanding how to mix colors with gouache is key. You start with the three primary colors: red, yellow, and blue. Mixing these in different amounts creates the base hues for skin. Adding white lightens the tone and controls opacity.
To create realistic skin, you must adjust the mixture based on the type of skin you’re painting. For warm skin, include more yellow and a touch of red. For cooler skin, add blue or a cooler red tone. Neutral skin tones balance all three primaries without one overpowering the others.
Keep in mind the undertones of your subject. Are they olive, pink, golden, or deep brown? Customize the base color by mixing in small amounts of complementary colors like green or purple to mute or enrich the skin tone. What colors do you notice in the person you want to paint?
Base Colors and Mixing Techniques
The typical base colors for realistic skin start with cadmium red, cadmium yellow, and ultramarine blue. You mix these to form a foundation, then adjust for warmth or coolness.
Start by mixing red and yellow to form an orange base. If you want a warm tone, increase yellow slightly. To cool it down, blend in blue or a cool red like alizarin crimson.
For neutral tones, balance the three primaries evenly. Add small amounts of white to lighten and reduce opacity. For darker skin, add burnt sienna or raw umber for richness.
Mix your colors in small batches. Test them on scrap paper to see how they look when dry. How does your base color compare to the area of skin you are painting?
Influence of Light and Shadow on Skin Color
Light changes how skin color appears in a painting. Bright light makes skin look lighter and cooler. Shadows deepen and warm the color.
For highlights, mix a lighter tone with white and a cooler tint such as blue or violet to simulate reflected light. Use less pigment and more water for soft edges.
Shadows require a richer, warmer mix. Add burnt umber or a dark purple to your base tone to create depth. Shadows often have subtle color shifts, so observe carefully.
Adjust your palette depending on the light source’s color temperature. Warm sunlight creates golden highlights, while indoor light may cast cooler shadows. How can you tweak your colors to show where the light hits or fades away?
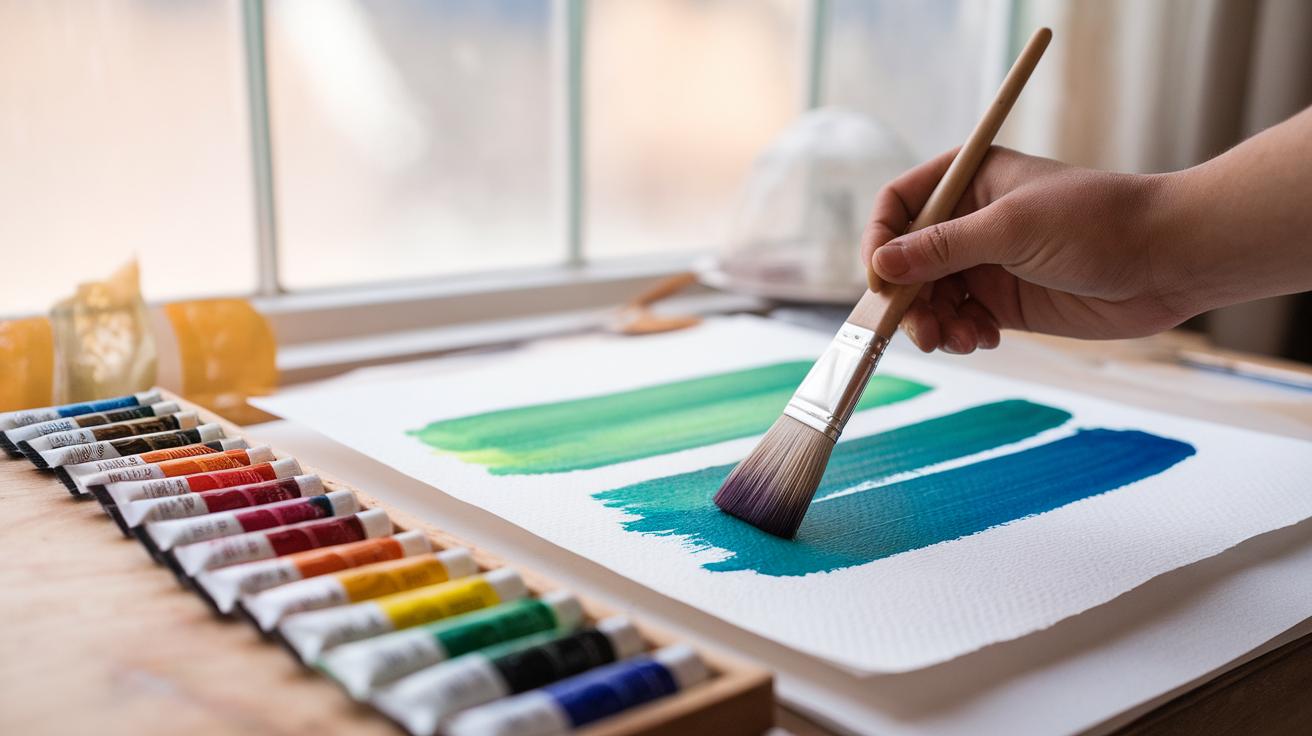
Preparing Your Palette and Tools
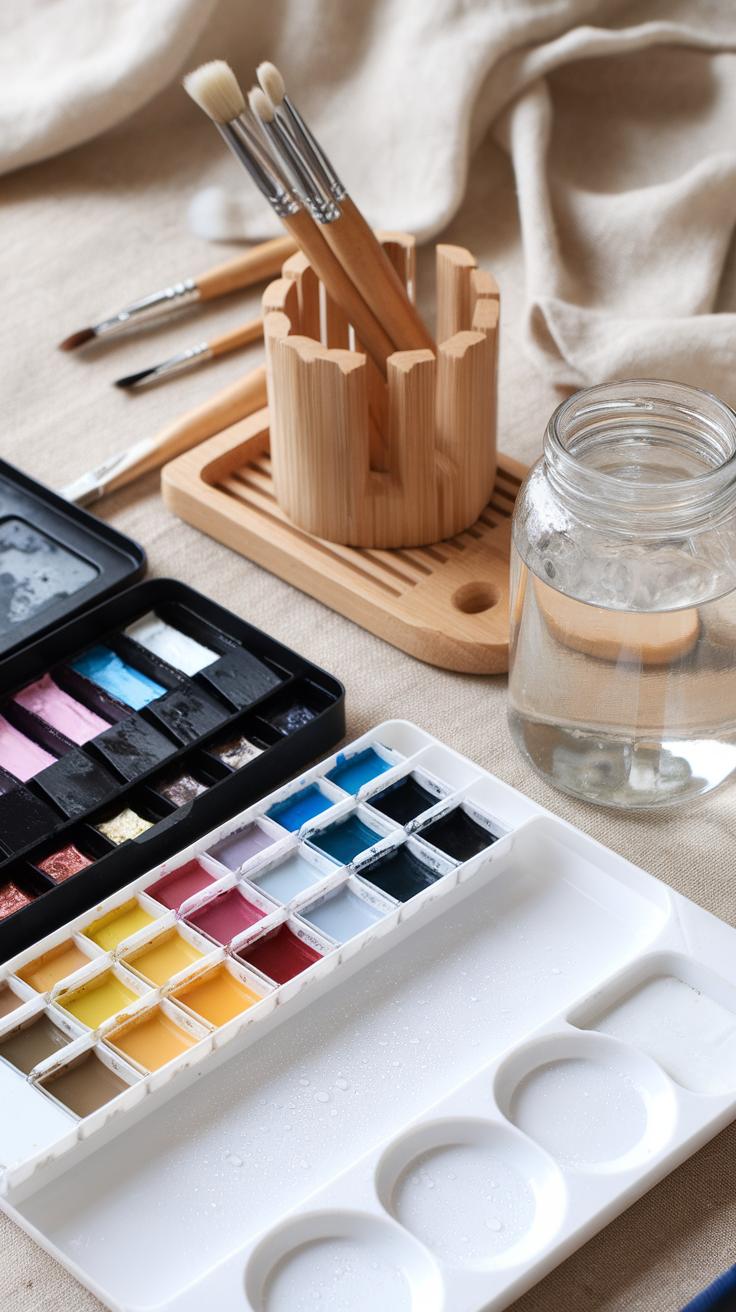
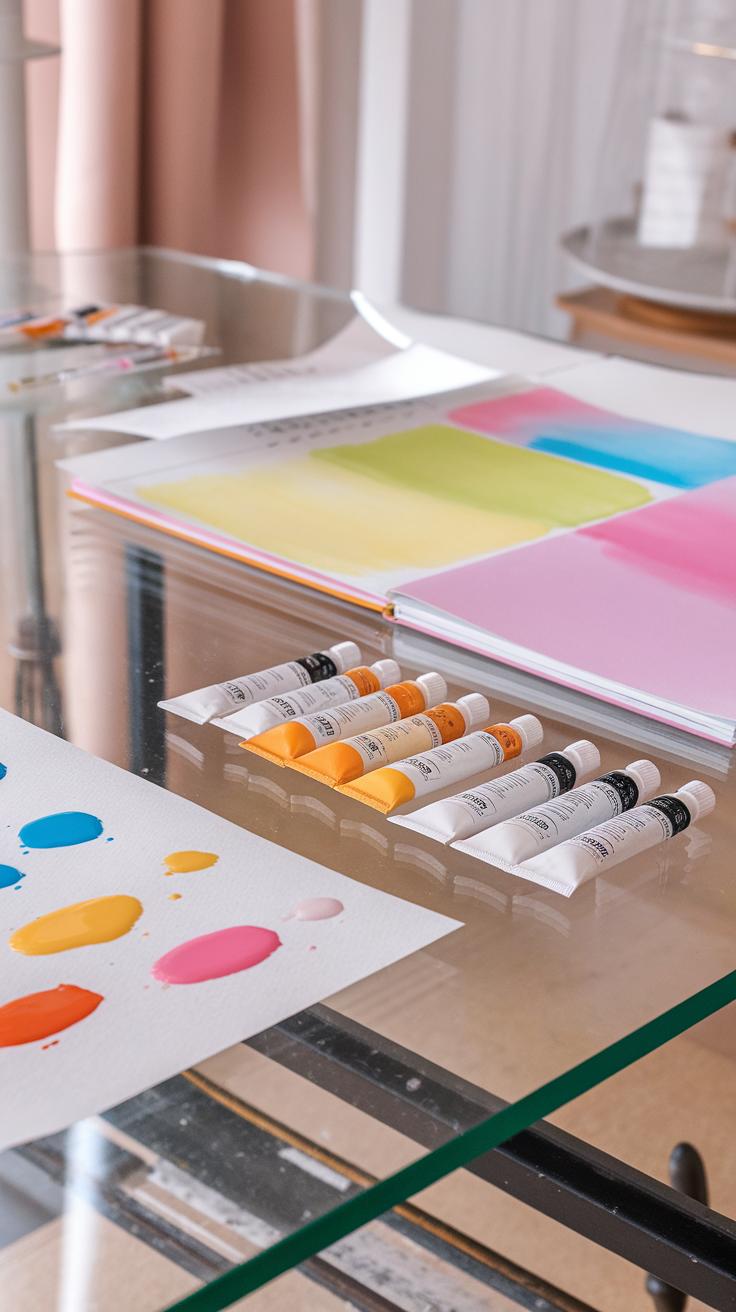
Setting up your workspace before starting a gouache portrait can shape the entire painting process. Arrange your palette with a clear area for mixing, separating your tubes or pans by color families to keep things neat. Use a palette with wells or a flat surface where you can control how much paint you mix. Clean water is vital; dirty water will muddy your colors and affect your skin tones. Change the water frequently to keep your colors bright and consistent.
Maintaining the right paint consistency matters more with gouache than with other paints. You want your gouache slightly thick but smooth enough to spread without streaks. If the paint feels too dry or thick, add tiny water drops. Avoid diluting too much, or the paint will become transparent, losing its opacity. Clean your brushes often, so colors don’t contaminate each other. Does your workspace invite ease and focus? An organized setup can help your techniques flow naturally.
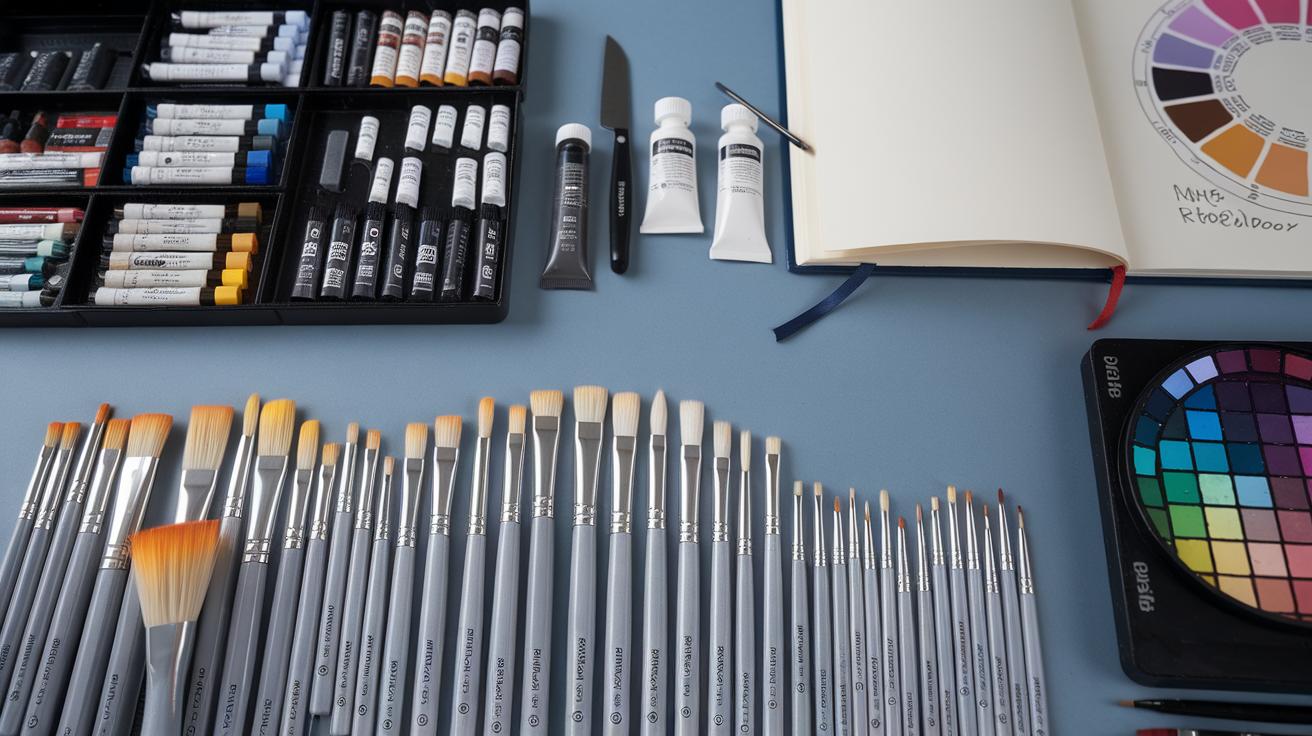
Choosing the Right Brushes
Your choice of brushes impacts the detail and blending in your gouache portraits. Flat brushes work well for covering large areas and creating smooth skin tone gradients. Round brushes deliver control for finer lines like eyelashes and lips. Look for synthetic brushes, which hold gouache better and retain their shape after cleaning.
For delicate blending, soft filbert brushes help you transition between colors without harsh edges. Smaller detail brushes, like fine liners or spotters, allow you to add tiny highlights or subtle texture on the skin. Try testing several brushes on scrap paper to see how they handle gouache’s thickness. When was the last time you experimented with different brush shapes? Your best tool may surprise you.
Mixing and Maintaining Gouache Consistency
Gouache requires careful mixing to match your desired skin tones. Start by mixing colors on a palette rather than dipping brushes directly into paint tubes. Use a palette knife or brush to combine small amounts of paint with water until you find the right balance between opacity and flow.
Thicker gouache layers produce solid coverage for base skin tones, while thinner paint works better for subtle shadows and highlights. If you notice your paint drying fast on the palette, spray a light mist of water or cover your palette with plastic wrap. Avoid mixing too much water at once; you can always add more to adjust consistency.
Fresh gouache helps maintain sharp skin tone shades during painting. Have you tried stopping mid-session to refresh your paint mix? It prevents dull or uneven layers from forming and keeps your portrait vibrant throughout long sessions.
Layering Techniques for Depth and Texture
Building layers in gouache portraits helps you create realistic depth in skin tones. Start with thin, broad washes that cover large areas evenly. Once dry, add more color gradually, each layer refining shadows, midtones, and highlights.
The challenge lies in preserving gouache’s opacity while blending subtle transitions. Instead of heavy, thick layers that hide earlier ones, apply light strokes that carefully build up color. This method keeps skin looking smooth and natural, avoiding chalkiness or flatness.
Think about how light hits skin differently in various parts of the face. Use soft edges when blending successive layers to mimic these transitions. You can gently rework wet layers or add dry ones to create texture without losing the vibrancy of the previous layer.
Ask yourself: how does layering affect the mood of the portrait? When you layer patiently, your portrait gains lifelike volume and texture, moving beyond simple flat color to something more vivid and real.
Building Up Layers Without Overworking

Patience will improve your layering. Allow each layer to dry completely before adding another. This prevents colors from mixing unintentionally and turning muddy. You want crisp, clean transitions in skin tones.
Use thin layers to avoid overworking the paper. Thick paint piled on can crack or lose its texture. Apply just enough pigment to adjust color and tone, not to cover everything at once.
Keep your brush strokes light and controlled. Over-brushing can break down previous layers and dull colors. Timing matters too—if a layer is still slightly tacky, blending can cause unwanted mixing, but fully dry layers hold their shape better.
Whenever your paint starts looking dull, step back and assess whether you need to pause. Fresh eyes will help you avoid excess layering that spoils clarity and depth.
Using Highlights and Midtones Effectively
Midtones form the foundation of realistic skin. Aim to mix a range of natural hues that reflect the person’s base color. Start by blocking in midtones evenly but do not flatten them. Let their slightly varied edges suggest the complex texture of skin.
Highlights add volume and bring life to your portrait. Use small touches of lighter shades in areas where light naturally hits the face—like the cheekbones, forehead, tip of the nose, and chin.
Apply highlights sparingly and layer them gently over midtones. Gouache’s opacity lets these highlights sit on top without losing color underneath. Blending edges slightly will avoid harsh or artificial contrast.
Watch closely how natural light interacts with skin. Are highlights soft and diffused, or sharp and direct? Adjust your highlight placement and softness to match your observation. Experiment with subtle shifts in midtone temperature to signal changes in light and shadow.
Capturing Subtle Skin Variations
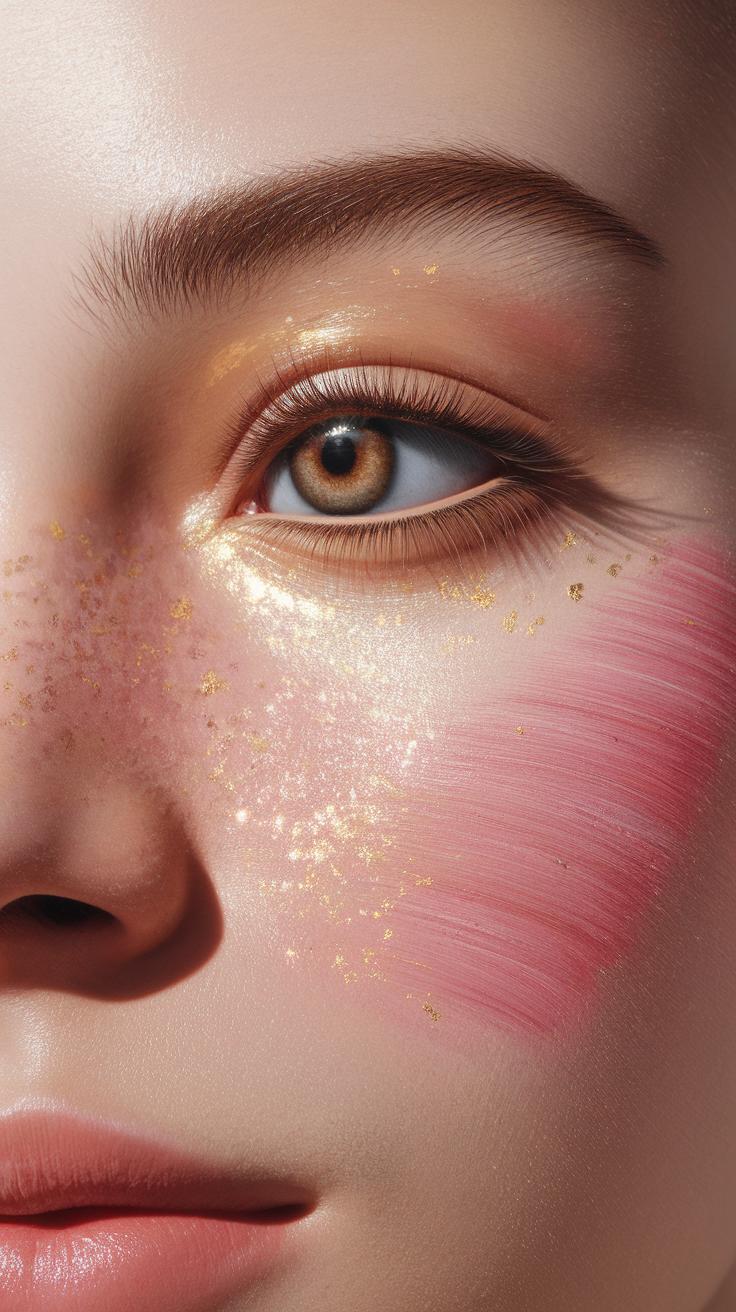
When you paint skin, notice how it never looks flat. Real skin has tiny shifts in color that change with light and blood flow. Reds often appear where the skin is thinner or warmer, like cheeks and nose tips. Blue tones show under veins or in shaded areas, especially near eyes and temples. Shadows don’t just darken; they change the color slightly, leaning toward cooler or warmer hues based on the light source.
Watch your subject closely. Where does the blood color peek through? Where do cool blues or greens hint beneath the surface? These variations give skin a natural look. Try mixing tiny amounts of reds, blues, and even yellows to reflect these shifts. Painting these subtle changes creates a lifelike effect that separates your portrait from a simple block of color.
Recognizing Undertones and Surface Colors
Skin has a base color under everything. This undertone stays consistent and defines whether someone’s skin is warm, cool, or neutral. Surface colors sit on top and change depending on blood flow, lighting, or skin condition. You must paint both separately for realism.
Start by choosing a solid undertone that supports the subject’s overall hue. Then layer surface colors lightly on top, like gentle reds on cheeks or pale yellows on forehead highlights. Paint surface colors with thinner, more transparent layers so the undertone remains visible but changes subtly. Can you see the difference in depth you get when you separate these two?
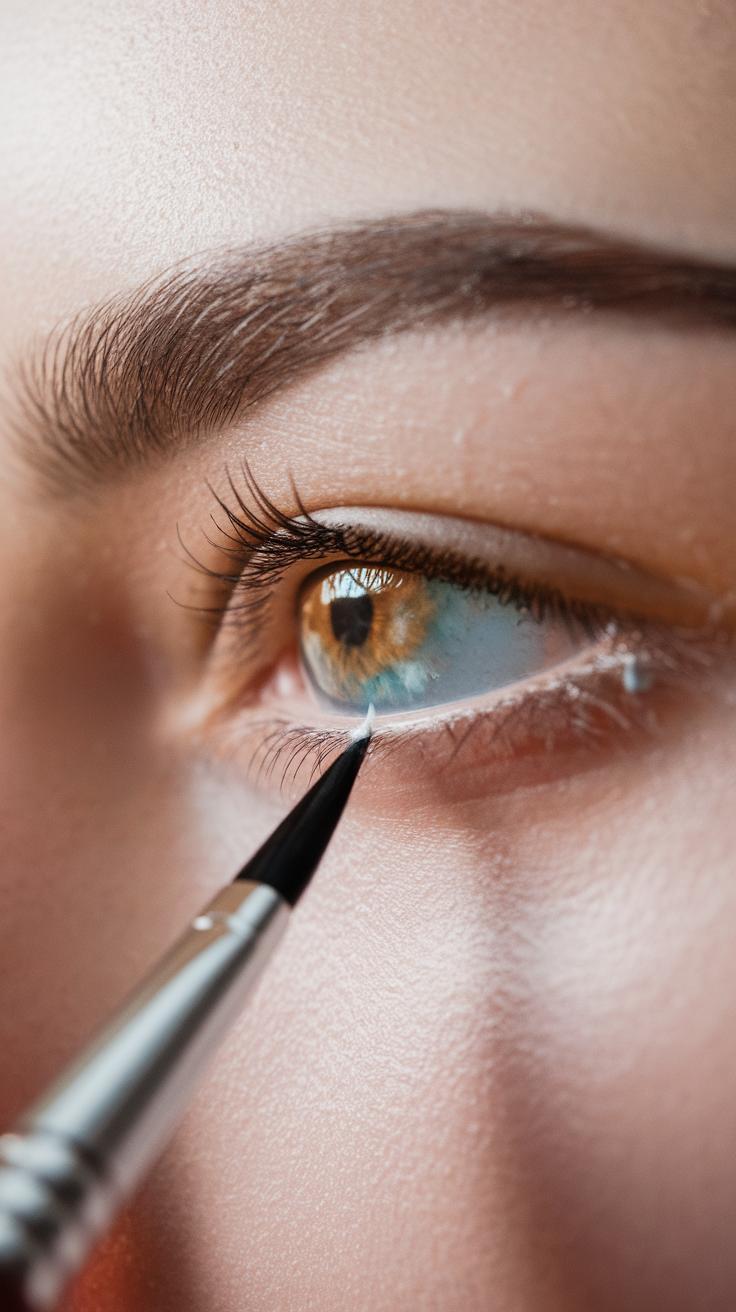
Adding Details for Realism
Small marks bring skin to life. Freckles add texture and personality. Tiny veins near temples or hands introduce a cool blue just beneath the skin. Watch for slight shifts in color around the eyes, lips, and nose edges—areas that hold moisture or have thinner skin.
Use a fine brush to add these details sparingly. They should enhance, not overwhelm. What happens when you add just a few freckles or a faint vein? The portrait starts to feel more like a real person, not just a face. Keeping your details subtle helps maintain the skin’s softness while sharpening the natural look.
Handling Corrections and Adjustments

When working on a gouache portrait, mistakes happen. You might notice a misplaced shadow or a color that doesn’t blend well with the skin tone. The key is fixing these errors without tearing the paper or muddying your layers.
Avoid layering thick paint over an error as it can create unwanted texture and dull colors. Instead, gently lift or lighten the paint using water and a soft brush. This keeps the paper surface intact and lets you repaint smoothly.
If you need to scrape off paint, use a sharp blade carefully. Light, controlled scraping removes paint without scratching the paper below. Practicing this on a test sheet can help you get a feel for pressure so you avoid damaging your sketch.
When adjusting skin tones mid-painting, mix a small amount of cooler or warmer pigment into your current color. This changes the hue without repainting whole areas. Observe the light source and reflect on how subtle tone shifts affect realism. Have you tried shifting a color by just adding a tiny bit of blue or orange?
Keeping your adjustments subtle allows you to maintain the layered, translucent quality gouache excels at. This way, corrections enhance the portrait without sacrificing depth or detail.
Techniques to Remove or Lighten Paint
Lightening gouache paint layers starts with using clean water. Dip your brush in water, then gently rub the painted area while lifting the wet pigment with a clean sponge or paper towel.
This method prevents damage because you never scrub too hard or remove all the paint at once. Repeated gentle lifts reduce color density gradually, preserving the paper’s surface.
For tougher corrections, use a fresh blade or craft knife to scrape thin paint layers. Angle the blade carefully and scrape lightly, avoiding too much pressure.
If paper fibers begin to lift or fray, stop immediately and switch to lifting with water. Using a light sandpaper block is sometimes possible on thicker watercolor paper but test first.
Patience is necessary when removing mistakes so you can fix errors cleanly without compromising your base layers or detailed edges.
Adjusting Colors Midway
Shifts in lighting or skin tones may require changing colors halfway through your painting. Mix small batches of a new shade on your palette before blending fumes directly on the portrait.
Try layering thin glazes instead of covering old paint outright. For example, adding a thin glaze with a warmer red-orange can shift cool base layers to a more lively skin tone.
Another option is mixing transparent pigments with white gouache to lift dull or flat areas and add vibrancy.
Check your work under different lighting conditions. Skin changes appearance in warm or cool light, so adjusting colors to fit the scene helps maintain realism.
What subtle color shifts have you noticed in the skin tones you captured? Experiment with gentle layering and transparent washes to adapt your painting while preserving texture.
Finishing Touches and Texture Enhancements
Small details make a big difference when painting realistic skin with gouache. After you have built the basic colors and shapes, focus on fine lines and subtle textures to give your portrait life. Adding tiny veins, soft wrinkles, or faint shadows near pores can create a natural look. These elements break flatness and suggest the complexity of real skin. You might notice how slight color shifts and delicate marks give skin its character. Think about where light hits the skin or where it deepens into shadow, then use that knowledge to place your details carefully. How much texture you add should match the character of your subject’s skin and age. Avoid overworking; gentle touches often work best.
Using Small Brush Strokes for Detail
Using a fine brush helps you control every tiny line and edge. Choose brushes with a sharp point, such as size 0 or 1, to paint hair edges, eyelashes, or soft creases around the eyes and mouth. Tiny brush strokes also refine the shape of lips or the contours of the nose. Work slowly, dipping your brush in a small amount of paint to maintain precision. Often, layering thin lines adds depth more effectively than trying to paint one thick mark. Experiment with short, deliberate strokes that mimic the direction of skin texture or hair growth. Can you see how these strokes add volume without obvious brush marks?
Enhancing Texture Through Paint Application
You can use different paint techniques to add skin texture on top of smooth base layers. Dry brushing works well because it leaves uneven patches of paint that suggest pores or tiny bumps. Use a nearly dry brush with little paint, then drag it lightly over areas you want to texture. Stippling involves tapping the surface with a sponge, brush tip, or even a toothbrush to create tiny dots that resemble freckles or fine pores. By varying pressure and paint amount, you control the intensity. Try using these methods sparingly in highlighted areas or along shadows to imitate natural skin changes. How can these subtle shifts affect the overall realism of your portrait?
Practical Tips for Painting Portraits with Gouache
Maintaining Patience and Observation
Observe skin closely under different lighting conditions. Notice how shadows shift and colors vary on the face throughout the day. Work slowly when painting portraits with gouache. Build skin tones in thin layers to avoid muddy colors. Each layer improves depth and richness in your painting.
Patience helps you correct mistakes without rushing. If a tone looks off, wait for the paint to dry before adjusting it. Gouache allows reworking, but hurried changes can spoil the texture.
Ask yourself how the light affects subtle color shifts in the skin. Study your own face or a model’s carefully. Your eye trains itself to see the nuances that make skin look real. How much time can you spend observing before starting your next portrait?
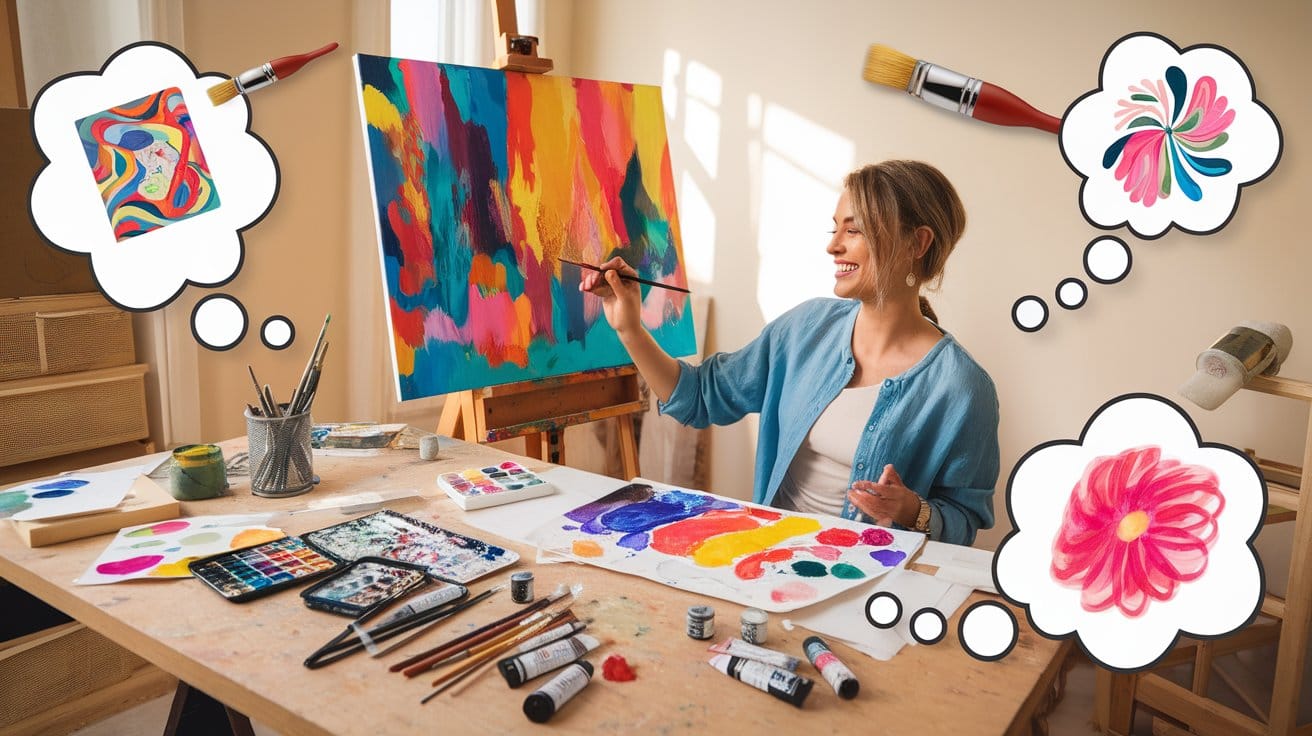
Practice and Experimentation Strategies
Try mixing skin tone colors from a limited palette to understand your pigments better. Practice blending smooth transitions between highlights and shadows to avoid harsh lines. Use small swatches to test your color mixes before applying them to your portrait.
Experiment on different paper types like smooth or textured surfaces. Some papers absorb water differently and change how gouache layers behave. Test brushes of various shapes and sizes to find those best for blending and detailing skin.
Challenge yourself with exercises like painting quick studies under timed sessions. Paint the same face multiple times with different palettes or drying times. What can you learn by changing your tools or speed? Your skills grow with each experiment you try.
Conclusions
By focusing on color mixing, layering, and brushwork, you can achieve skin tones that look natural and vibrant in your gouache portraits. Your choice of palette and understanding of lighting greatly affect the outcome. Careful observation of your subject’s skin tones will guide your application and mixing process.
Mastering gouache portrait techniques takes practice and patience. Use these strategies to refine your skills and add depth to your portraits. Remember that each portrait is a learning opportunity. Keep experimenting with these methods to find what works best for your style.


