Introduction
Gouache is a unique type of paint that is perfect for creating artwork with solid, opaque colors. It has a long history and has been used for centuries in various art forms, from posters to detailed illustrations. You can use gouache paint on many surfaces and create effects that combine qualities of watercolors and acrylics. Understanding how to use gouache is important if you want to take on painting projects that are both creative and manageable, especially for short sessions like weekend workshops.
Weekend workshops are ideal for quickly learning new art techniques and completing small projects. They offer a focused time to practice painting without the pressure of longer commitments. Easy gouache painting projects fit perfectly into these workshops. By using gouache, you can produce striking paintings that stand out due to their opacity and vibrancy. These projects are great for artists of all levels, especially if you want practical tips and hands-on experience during a short workshop.
Understanding Gouache Paint
Gouache is a water-based paint made from pigment, water, and a binding agent, usually gum arabic. Its pigments have a high concentration, giving the paint an opaque and matte finish. Unlike watercolor, which is transparent, gouache covers surfaces completely, allowing you to layer light colors over dark ones with ease.
Compared to acrylic, gouache remains water-soluble even after drying. This means you can rework your painting by adding water and new layers, which is useful in workshop settings. The paint dries quickly but maintains a smooth texture, making it perfect for beginners who want quick results.
Gouache suits weekend workshops because it blends simplicity with flexibility. You don’t need expensive equipment or complex techniques to create vivid images. The quick drying time helps keep sessions moving, and its forgiving nature encourages experimenting. How might you use gouache on your next project to create detailed or bold effects?
What Makes Gouache Unique
Gouache stands out because of its strong pigments combined with a binding agent that traps water and pigment particles. This mix creates a paint that blocks light instead of letting it pass through. That opaque quality changes how you paint by letting you fix mistakes quickly or add highlights without worrying about underlying colors showing through.
The texture feels thicker than watercolor but smoother than acrylic. You can achieve solid color blocks and sharp edges. This quality also makes gouache versatile—you can paint large areas or add tiny, detailed touches that other paints might struggle with.
How would knowing this change how you approach layering and blending in your art? Gouache invites you to work in layers, changing your process and your final outcome.
A History of Gouache
The use of gouache dates back to ancient times when artists mixed pigments with gum arabic for manuscript paintings. Its strong pigmentation and durability made it popular in illuminated texts across Europe and Asia. Later, artists used gouache for illustrations, advertisements, and design work because of its vibrant color and fast drying time.
In the 20th century, gouache gained status as a serious art medium for both professionals and hobbyists. Artists valued its ability to create solid shapes and smooth color blends on paper and other surfaces.
Considering its long history, how might this paint connect you to artists who painted centuries ago? Its enduring qualities offer both a practical tool and a link to artistic tradition.
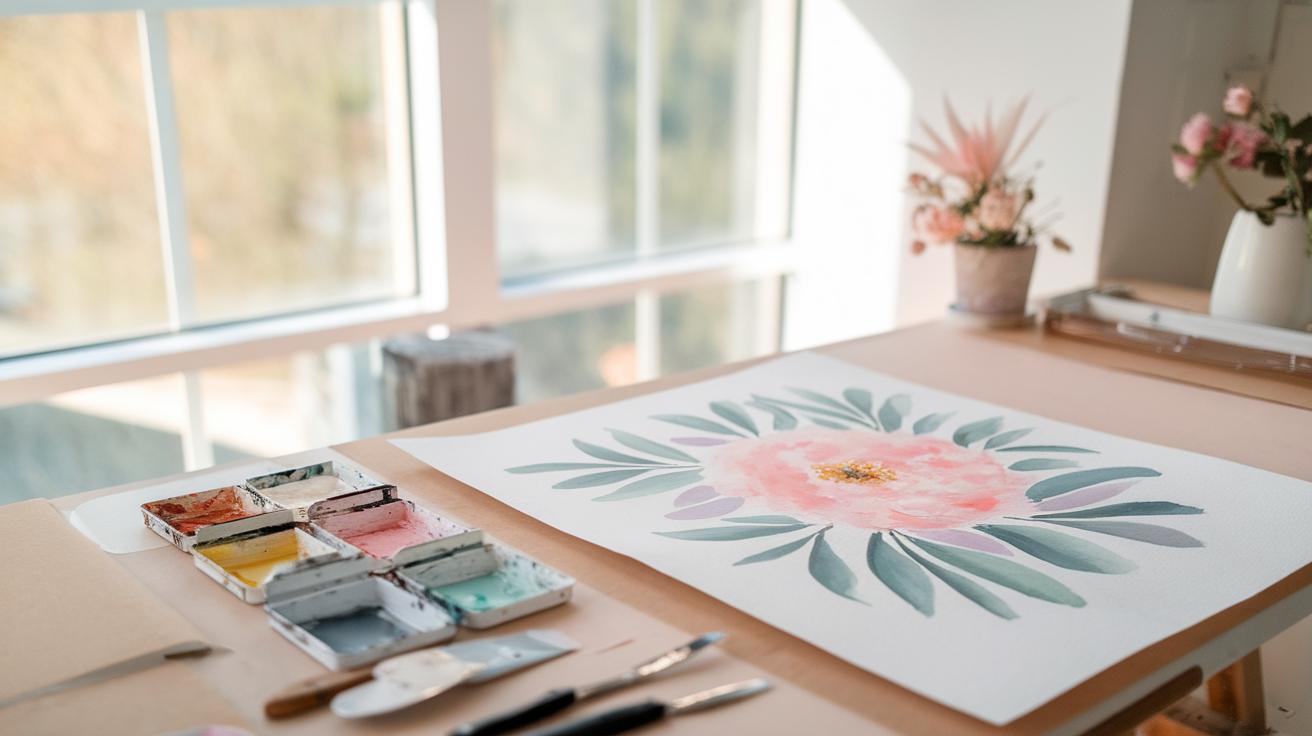
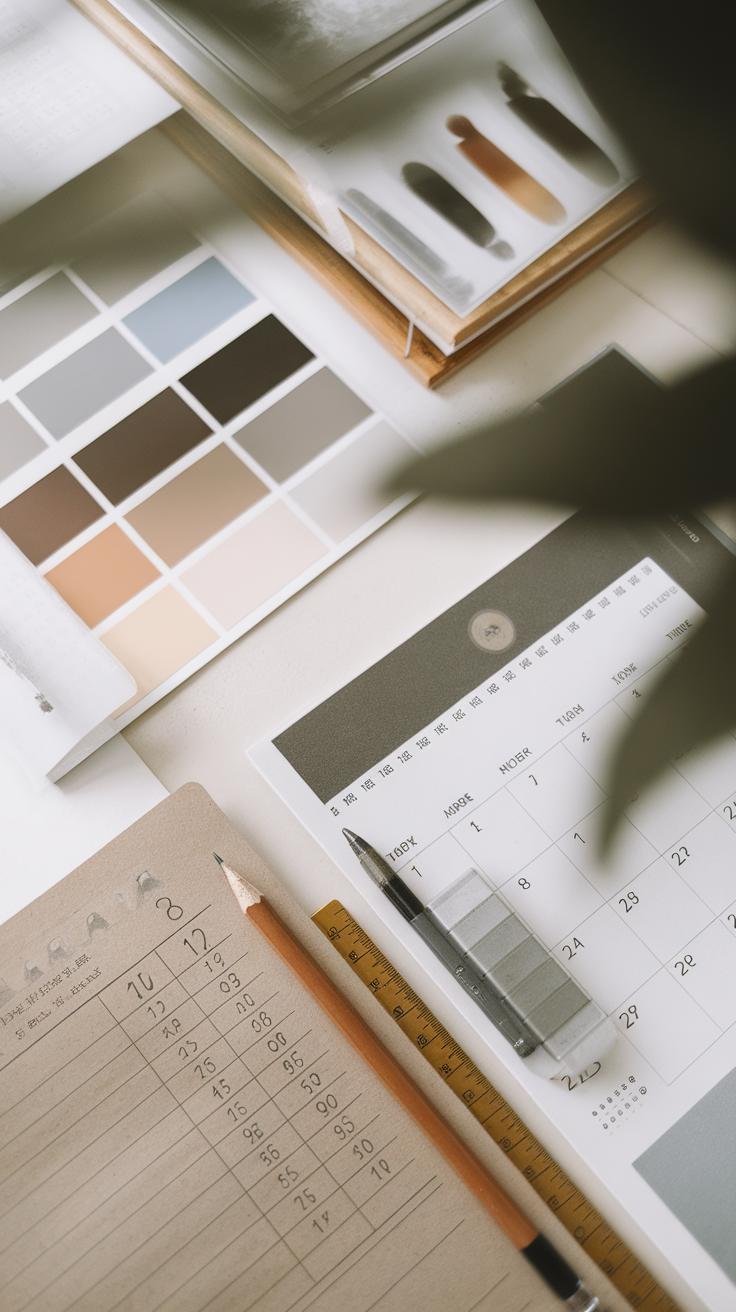
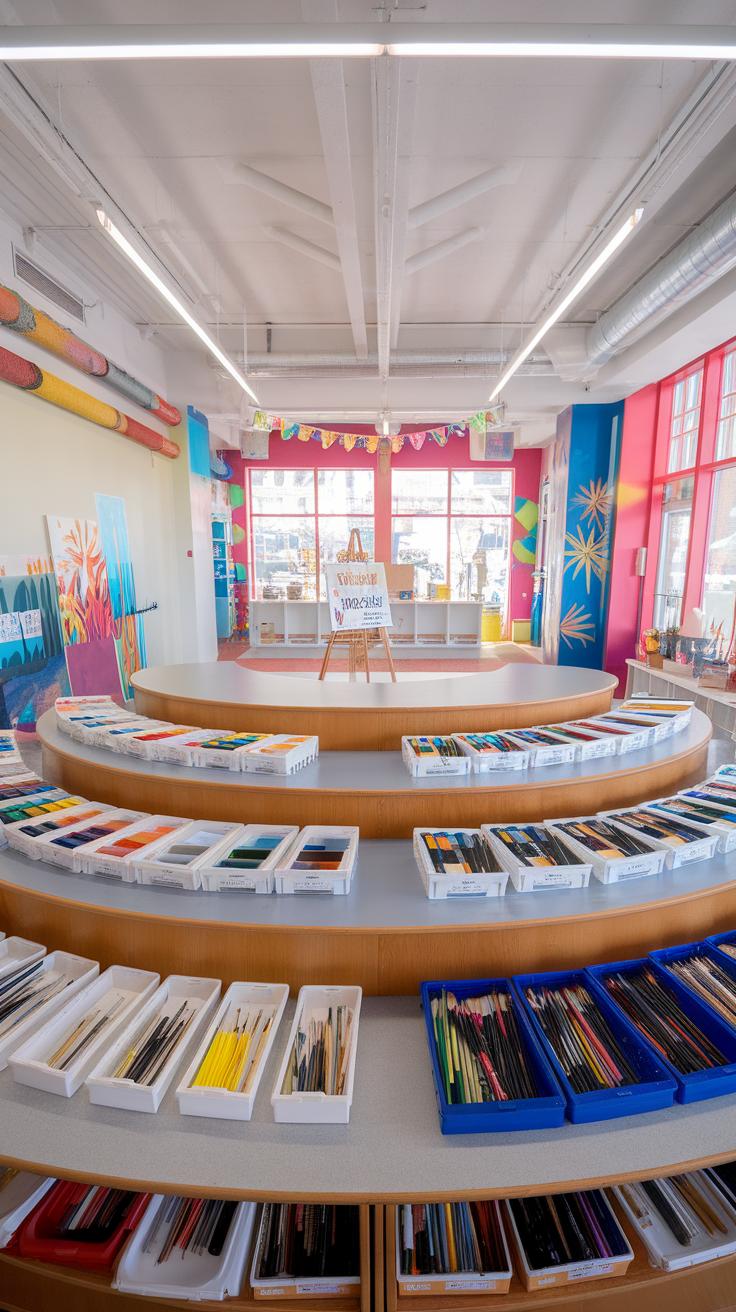
Materials Needed for Gouache Projects
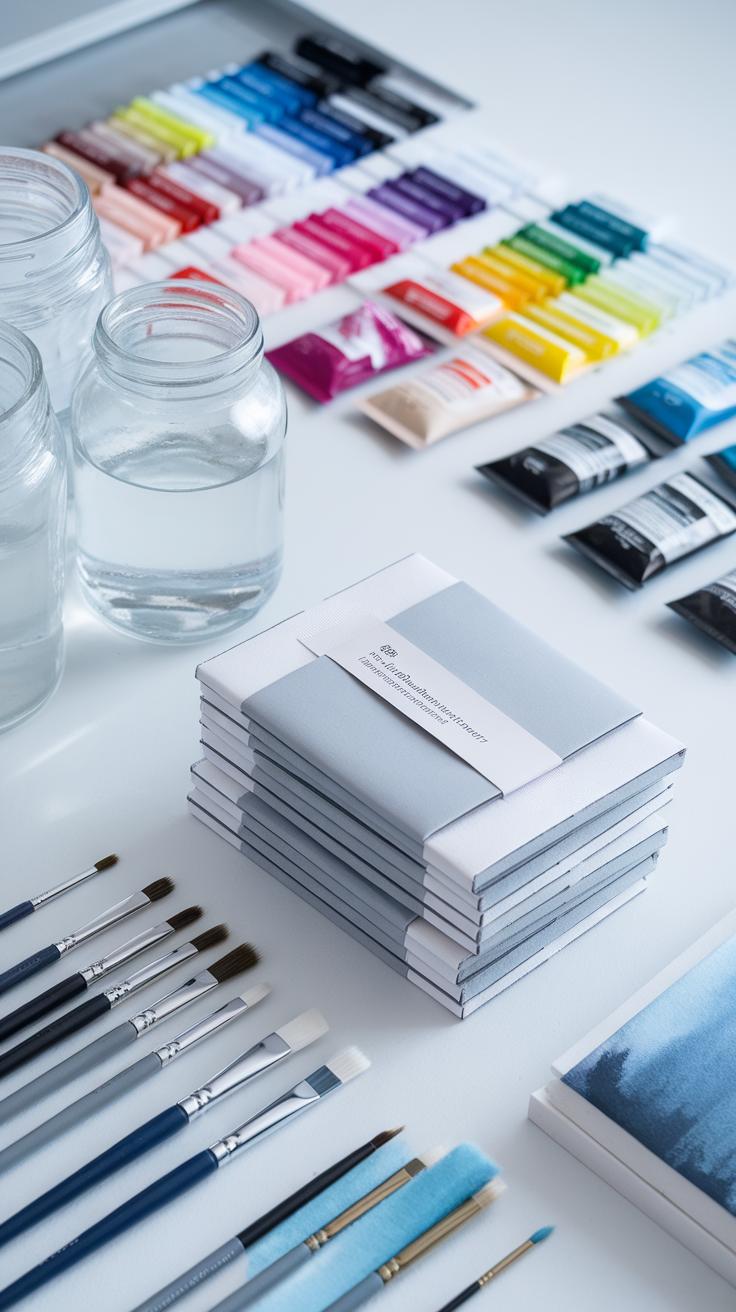
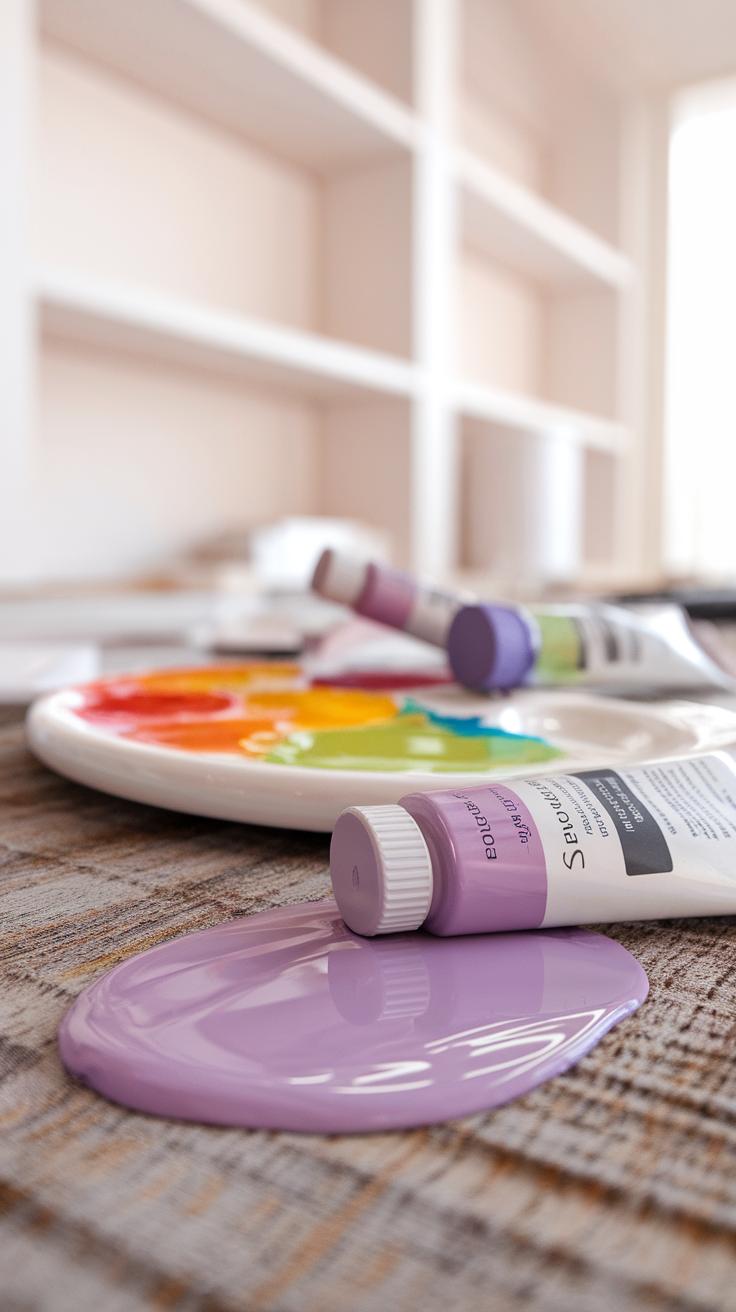
Gathering the right materials makes your gouache workshop smoother and more enjoyable. Start with gouache paints in basic color sets. Primary colors plus black and white give you plenty of mixing options. Choose paints with creamy consistency for easier control.
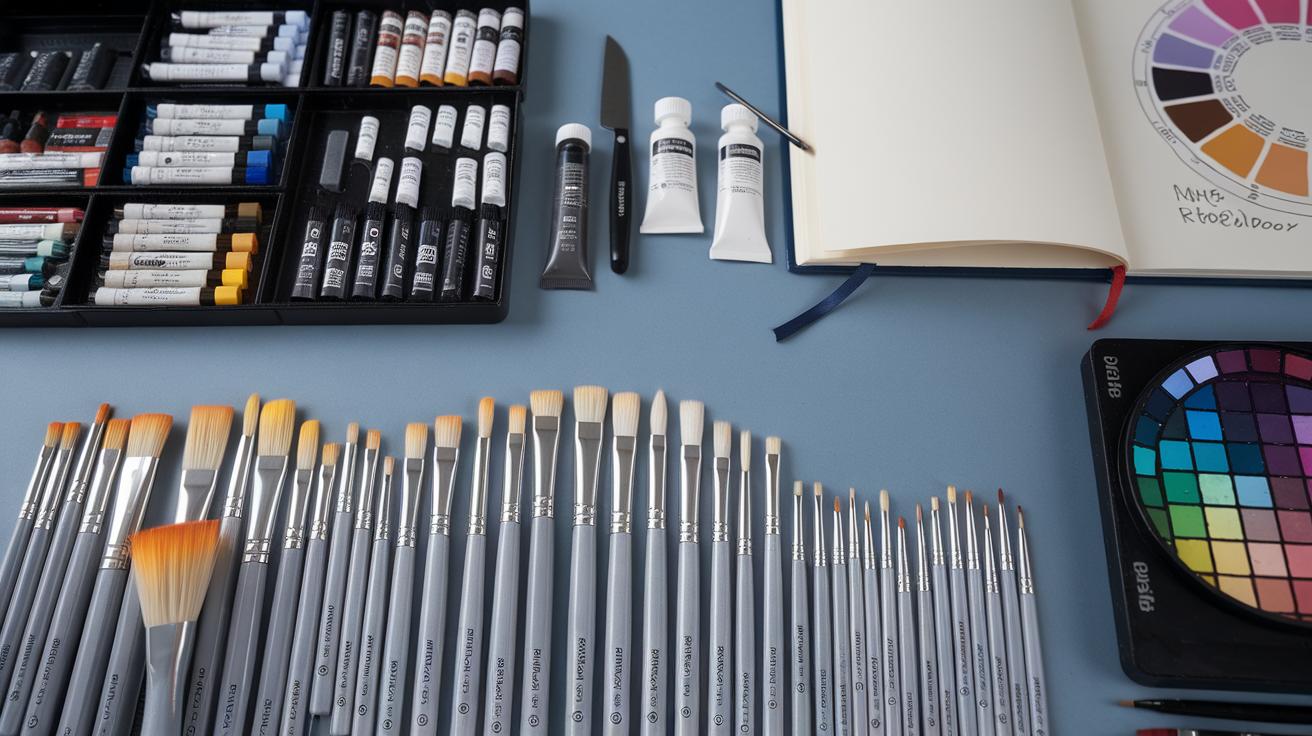
Select brushes with synthetic or mixed fibers. Flat brushes around size 6-10 work well for broad strokes, while round brushes from size 2-6 handle detail. Avoid very soft brushes that soak too much water, which can affect paint opacity.
Use heavyweight paper specifically made for gouache or mixed media. A 300gsm (140lb) paper resists buckling and holds paint layers well. Watercolor pads or heavyweight sketch pads are good choices.
A mixing palette with separate wells helps blend colors without muddying. A plastic or ceramic palette cleans easily after use. Keep a container for clean water to rinse brushes between colors.
Essential extras include paper towels or rags to blot brushes, masking tape to secure paper, and a pencil for sketching outlines. A spray bottle with water can keep paints moist during breaks.
Choosing Your Paints and Brushes
Select gouache paints that offer rich pigment but remain affordable. Look for student-grade brands for practice sessions. They provide good quality without spending too much.
Start with a limited color palette to avoid being overwhelmed. Primary red, blue, yellow, plus black and white lets you mix many hues. Avoid large, expensive sets before you know your favorite colors.
When picking brushes, choose synthetic ones labeled for acrylic or gouache, as they resist damage from water and paint. Flat brushes cover larger areas quickly, while round brushes work best for details.
Consider buying brush sets designed for beginners. These sets often include a variety of sizes to experiment with, and they cost less than individual pieces.
Reflect on how you usually paint. Do you prefer bold strokes or fine lines? Your brush selection should support your style and comfort as you practice.
Preparing Your Workspace
Arrange your workspace for easy access to all materials. Set your painting surface at a comfortable height to avoid strain during long sessions.
Natural light is the best choice. Position your setup near a window, or use daylight-balanced lamps to see colors clearly. Avoid harsh overhead lights that cast shadows.
Protect your table with a washable cloth or plastic mat. Keep paper towels, water containers, and your palette within arm’s reach to maintain flow while you paint.
Set aside a small trash bin or bag for scraps and used tissues. Clean brushes regularly with gentle soap and water to extend their life and prevent color mixing.
Ask yourself if your space feels inviting and clutter-free. A well-prepared area keeps distractions low and helps your creativity focus on the painting.
Basic Gouache Techniques

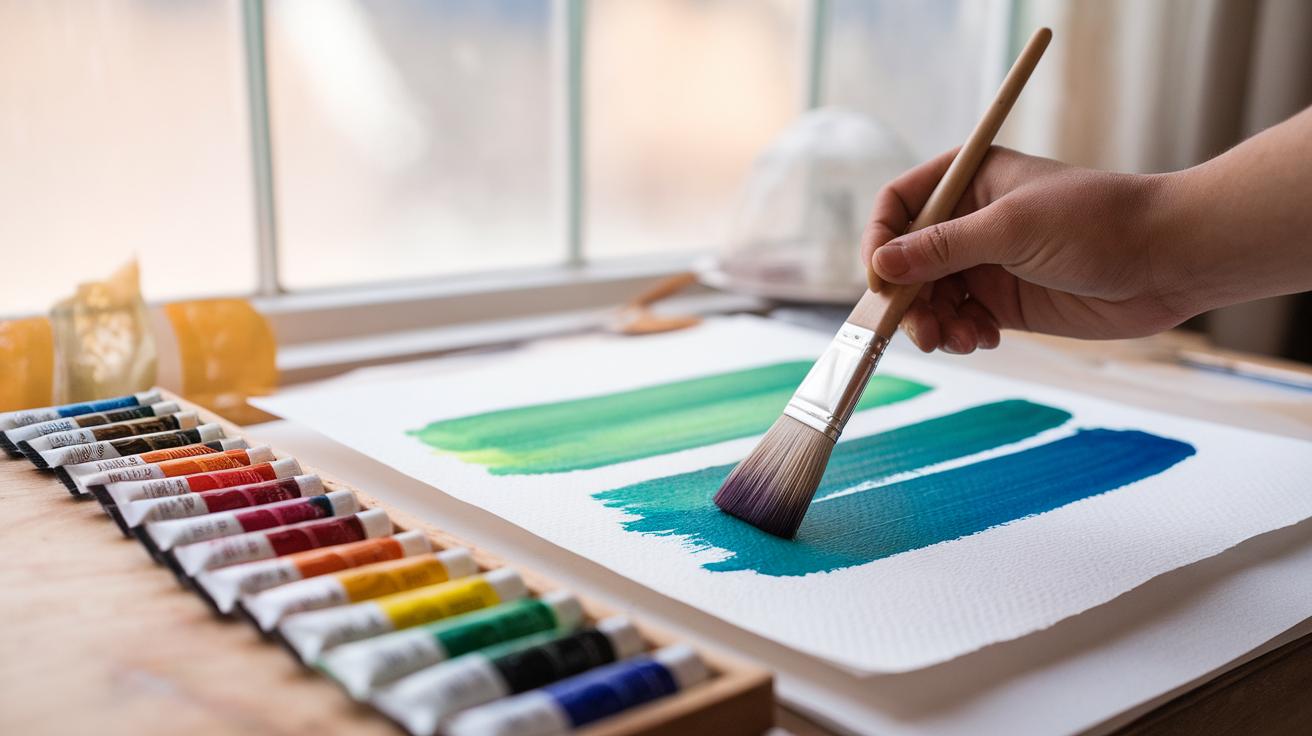
Gouache painting requires control over layering, blending, washes, and opacity to create vibrant art. Start by practicing layering. Apply one color, let it dry, then paint a second layer on top to build richer tones. Try layering warm and cool colors to see how they interact.
Create smooth color blends by working quickly while the paint is wet. Use a clean, damp brush to soften edges between two colors. Mixing colors gradually on your palette before painting helps maintain control.
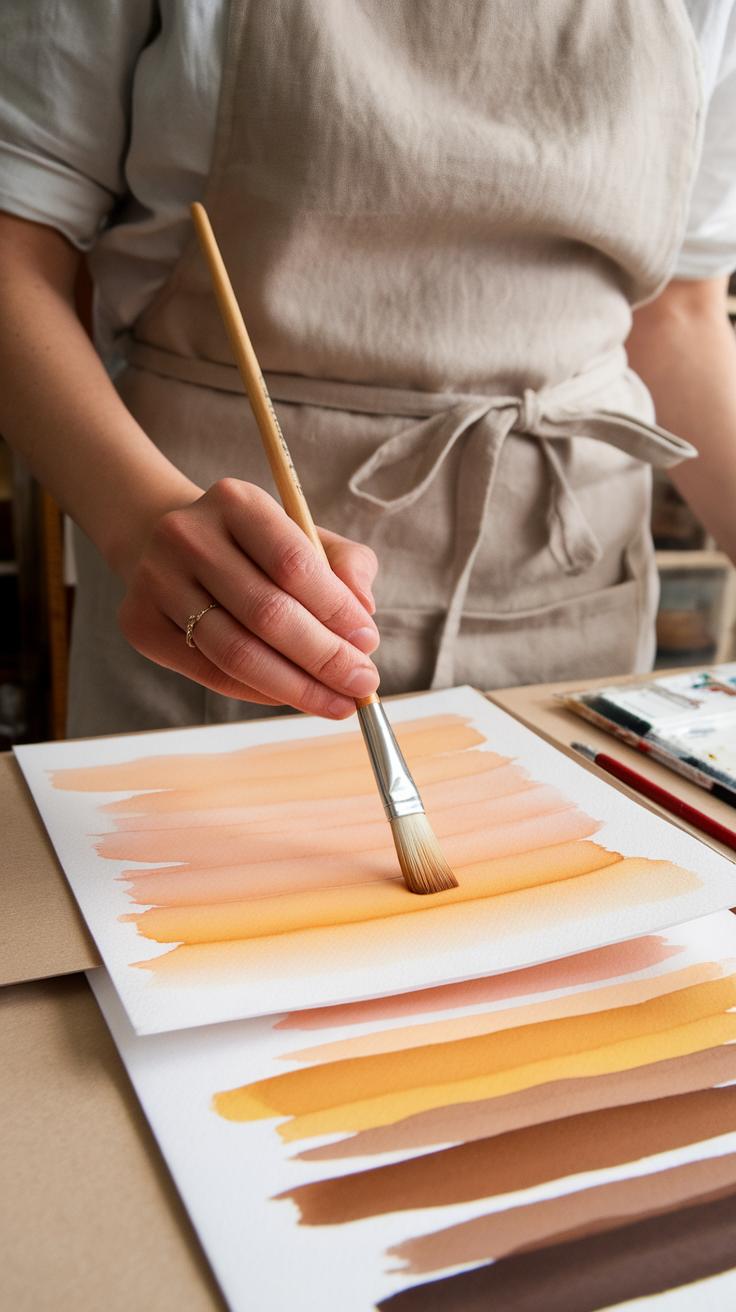
Practice thin washes to get translucent backgrounds. Thin down the paint with water to create even, soft layers that don’t overpower your paper.
Test opacity by applying different amounts of water. Start with a thick stroke, then paint gradually thinner, noting how light passes through.
Try small exercises like painting a simple gradient sky or layered leaves. These help you develop muscle memory and understand gouache’s unique qualities. What happens when you apply a thick layer over a thin wash? Try it to find out.
Layering and Blending Colors
Layering builds depth in your gouache paintings. Begin with a base color that covers your area evenly. After it dries, add shadows or highlights with different colors. Each layer adds complexity without muddying the colors.
Blending requires working while the paint is still wet. Apply two colors side by side and use a soft brush to merge them smoothly. Small circular strokes often blend best.
Avoid mixing too much on the paper; keep your palette colors fresh and separate. This preserves brightness and makes transitions appear natural.
Try painting a simple sunset using layering: start with light yellow, then add orange and deepen with red on top. Blend edges gently for a smooth gradient.
Ask yourself: how many layers does it take before the colors lose their vibrancy? Experiment with thin and thick layers to discover your balance.
Using Washes and Corrections
Wash techniques produce soft backgrounds or light underpaintings. Mix paint with plenty of water to thin it, then brush evenly across your paper. This sets tones quickly while leaving room for later layers.
Because gouache reactivates with water, fixing mistakes is easier than with other paints. If an area looks too dark or uneven, dampen it lightly with a brush, then wipe or blend the paint away.
Practice this by painting a simple colored wash, letting it dry, then rewetting some parts to erase or soften edges. Mistakes become chances to practice corrections and enhance your work. Use small clean brushes for detail corrections.
Think about how you can use washes to suggest light or distance in your next project. What areas could you wash first and then build detail on top?
Selecting Simple Projects for Weekend Workshops
Choosing projects that fit into a weekend workshop means focusing on quick, clear results. You want activities that keep students engaged without overwhelming them. Easy projects encourage confidence and creativity.
Think about pieces that can be completed in one or two sessions. Avoid long, detailed work that needs drying time or complex techniques you covered earlier. Projects like small paintings or color exercises fit well.
Consider the size of the canvas or paper. Smaller surfaces mean faster coverage, which suits gouache’s quick drying nature. Pick ideas that highlight gouache’s bright colors and smooth layering.
Ask yourself: will this project teach important skills and bring satisfaction by the session’s end? Aim for projects that show clear progress and results visitors can admire immediately.
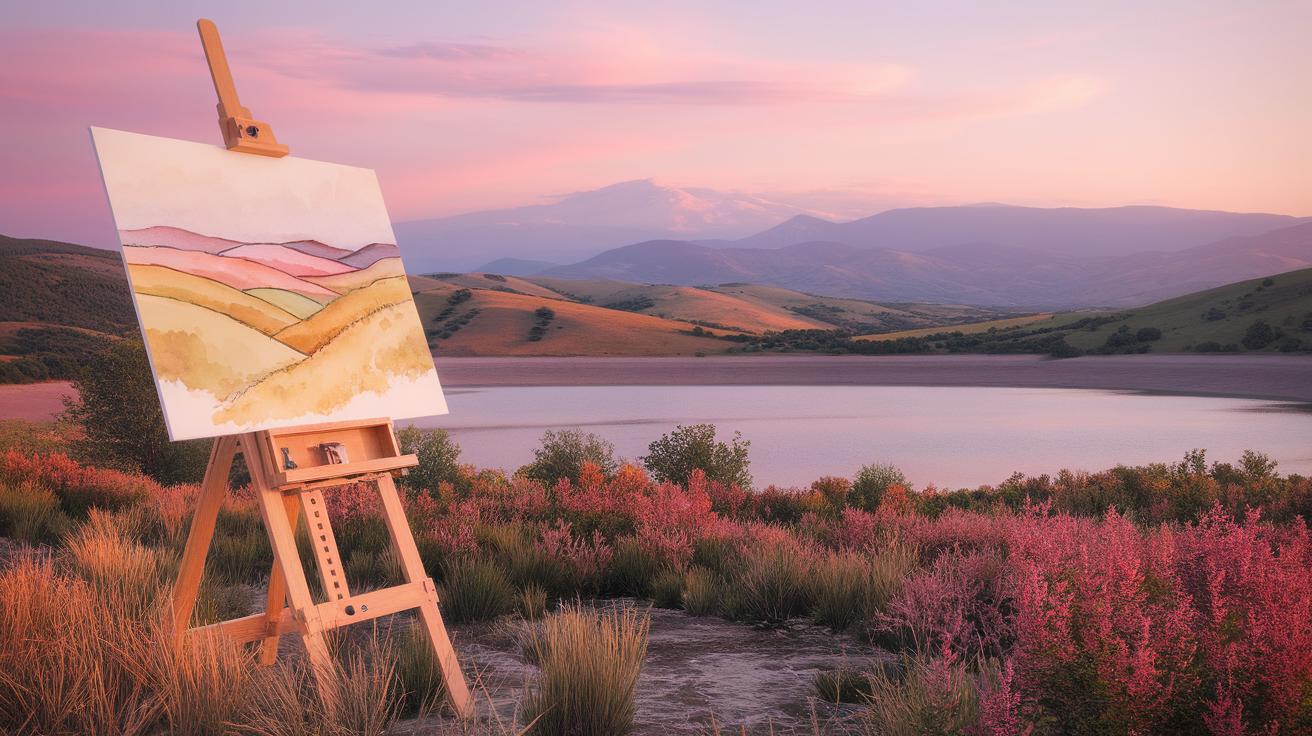
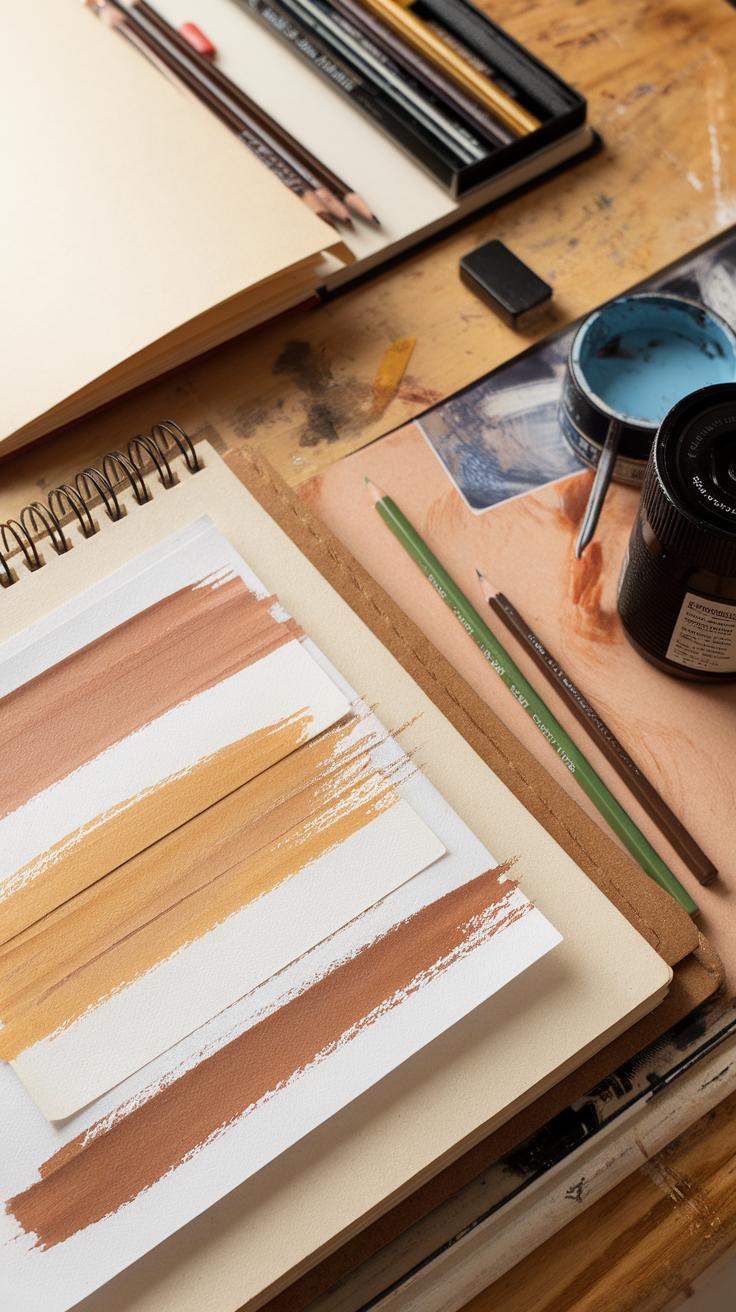
Small Landscape Paintings
Small landscapes are perfect for weekend workshops. Start with simple shapes like hills, trees, and skies to keep the subject manageable. Focus on mixing basic colors to capture different natural tones, such as greens, blues, and earth shades.
Encourage layering for depth. Because gouache dries quickly, you can paint flat shapes and add details soon after without waiting long. This teaches students how to build images step by step.
Limit the time spent on details. Instead, highlight color blocks and gradients to convey light and shadow. Ask participants to experiment with mixing colors they see outside or in photos.
Have you noticed how landscapes let you play with horizons and moods without perfect lines? This is a chance to practice using gouache’s strengths in opacity and layering.
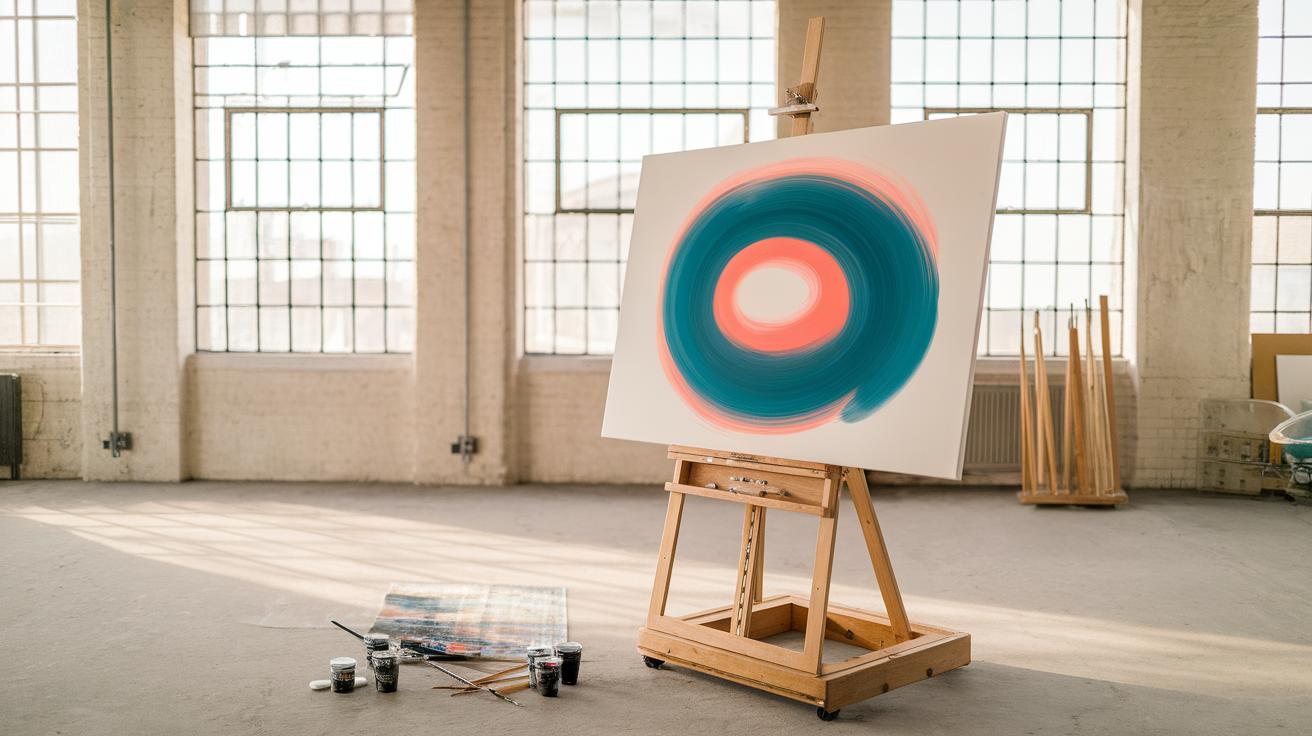
Abstract Color Studies
Abstract work lets you focus on color and brushwork rather than complex subjects. A weekend workshop can explore contrasts between warm and cool tones, or how colors blend when overlaid.
Invite participants to use broad strokes, dabs, or lines in different directions. This approach encourages playing with movement and texture. They learn how pressure and brush choice change the paint’s effect.
Keep the compositions open and freeform. Without a strict plan, you and your students can discover new color combinations and layering styles quickly.
How does altering brush speed or layering two clashing colors feel on paper? These experiments build intuition with gouache and open creative doors on short timelines.
Step by Step Project Planning
When planning a gouache painting project for your weekend workshop, break the session into clear parts. Allocate specific times for each step to keep things moving smoothly. Think about how long sketching will take, then how much time you need for laying down base colors, adding details, and finishing touches.
Set a simple goal for the project, like completing a small still-life or landscape. Keep the focus on finishing a whole piece, not perfecting every detail. This keeps the energy up and helps everyone feel accomplished.
Ask yourself: How much time do you have? What painting size fits that time? What tools and materials will be ready for participants? Planning this way helps avoid rushing or running out of time. It also lets you support learners as they move through each stage.
Breaking Down the Painting Process
Divide the painting project into easy stages. Start with a basic sketch to get shapes and composition set. Use simple shapes and light lines so corrections can happen quickly.
Next, apply the base layers of color. Keep these flat and broad. This stage sets the tone and values but focuses on speed and coverage, not detail. After that, work on adding details to shapes, like shadows or texture. This brings depth to the painting.
Finally, finish with highlights and sharpening edges where needed. This last step pulls the different parts together. Encourage your group to work patiently through each step before moving forward. It makes the process calm and manageable.
Setting Realistic Workshop Goals
Define achievable goals for each project to keep participants motivated. A goal might be completing a small gouache landscape or a simple flower composition within the workshop time.
Focus on tangible results instead of perfect works. Goals like finishing a painting or learning a new brush technique are clear and satisfy participants. This helps avoid frustration or hesitation.
Ask yourself: What should everyone complete by the end? How can you break this into smaller tasks? Setting goals that fit the time and skill level ensures learners stay confident and engaged from start to finish.
Techniques for Workshop Teaching
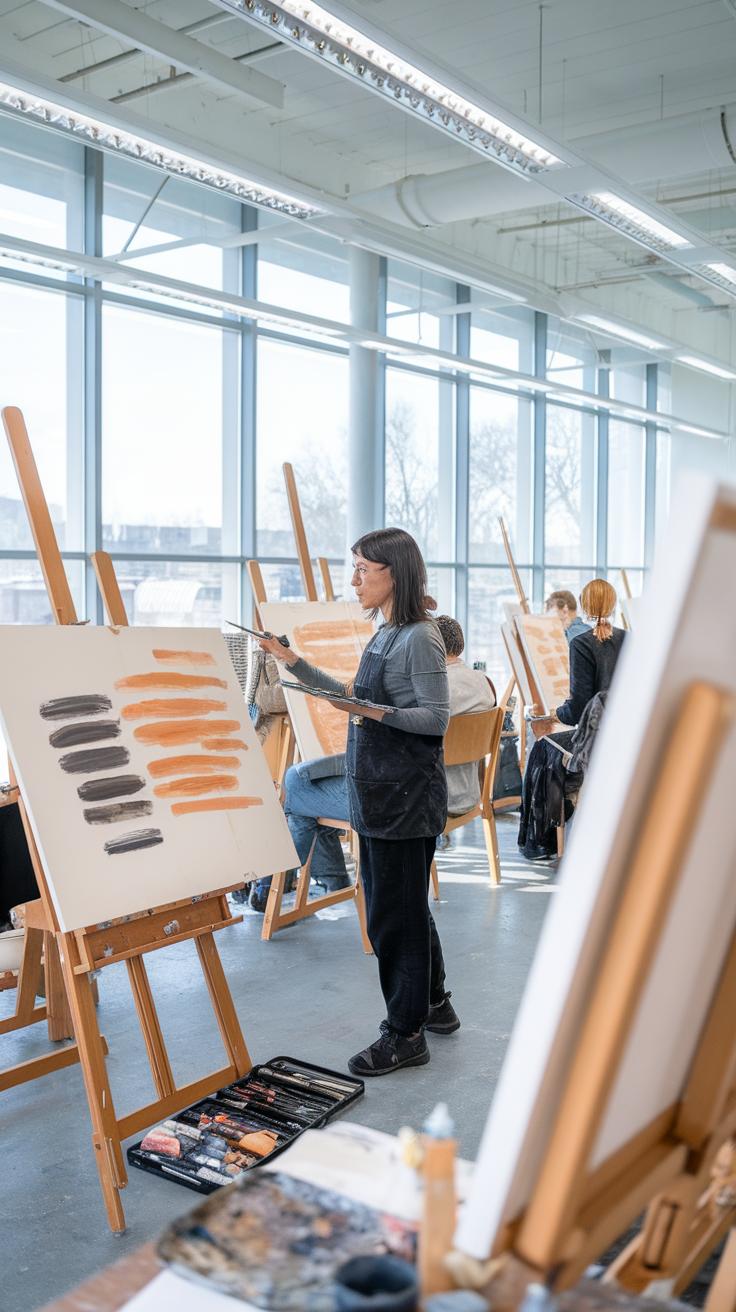
Clear teaching methods make your gouache workshops more effective and enjoyable for everyone. Break down each step into simple, manageable parts to avoid overwhelming participants. Use visual aids like live demonstrations or recorded videos to show brush strokes, blending, and layering techniques in action. Ask participants to watch closely, then try the steps themselves.
If you notice someone struggling, offer gentle, specific advice and encourage questions. Invite more skilled participants to share their approaches, which helps build a supportive group dynamic. Always check in regularly to ensure everyone keeps up without feeling pressured.
Use simple language and avoid jargon. Keep lessons short and focused on one technique at a time. Feel free to repeat key steps, and provide printed or digital handouts that summarize techniques for reference later. How can you adjust your teaching style to meet different learning speeds? This reflection helps you connect with your group.
Demonstrating Techniques Clearly
Start with the basics of mixing gouache colors and proper brush care. Show strokes slowly and from different angles. Explain why you choose certain brushes or colors. Use phrases like “watch how I…” or “notice that this causes…” to draw attention to details.
Invite participants to practice in front of you so you can give immediate feedback. Use comparisons like “this stroke is softer” or “this shape is sharper” to clarify differences. Try grouping participants by skill level when possible to tailor instruction.
Encourage note-taking and picture-taking. This supports memory and allows participants to revisit steps after the class. How much time should you devote to practice versus demonstration? Striking the right balance keeps energy high and learning steady.
Encouraging Experimentation and Creativity
Create an open environment where participants feel free to try new things. Remind them that gouache responds well to layering and mixing, which means mistakes can become part of the art. Praise efforts, not just results, to boost confidence.
Offer a variety of subjects and styles for projects to spark different ideas. Give simple prompts like “paint a mood” or “use only three colors” to challenge creativity. Avoid rigid rules; instead, ask questions like “What happens if you mix these two colors?” or “How can you change this shape to make it more interesting?”
Share your own experiments and discoveries to model curiosity. Invite participants to show their unique styles and share what inspires them. How can you help each person find their creative voice with gouache? Encouraging risk-taking and individual expression unlocks memorable workshop experiences.
Troubleshooting Common Gouache Challenges
Many beginners notice that gouache behaves differently than other paints. One frequent issue is how colors shift as they dry. You may paint a vibrant blue that looks dull once dry. Understanding this helps you adjust your mixing and layering to keep colors true.
Cracking and peeling often happen when gouache layers become too thick or dry too quickly. Applying thinner paint layers and allowing each to dry fully before adding another layer can prevent this.
Another challenge is reactivating dried gouache without disturbing the underlying paint. Spritzing a little water and gently blending can work, but excess water can cause unwanted mixing. Learning to control moisture helps you maintain clean edges and details.
Have you noticed your gouache sometimes flakes after drying? Adjust your paper choice and paint consistency. Using textured paper and mixing paint to a creamy but not overly thick texture creates stronger adhesion.
By recognizing these challenges, you can develop confident techniques for creating smooth, vibrant gouache paintings that hold up well during workshops.
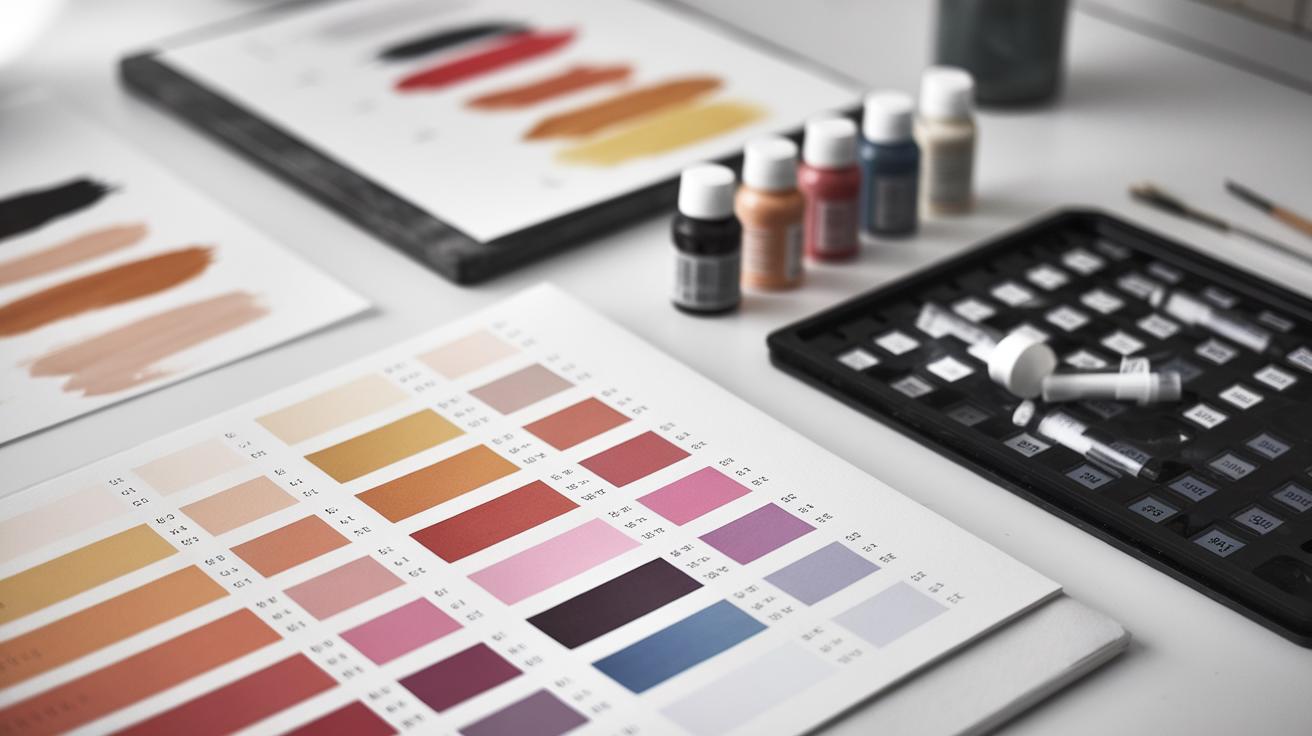
Managing Color Changes and Drying
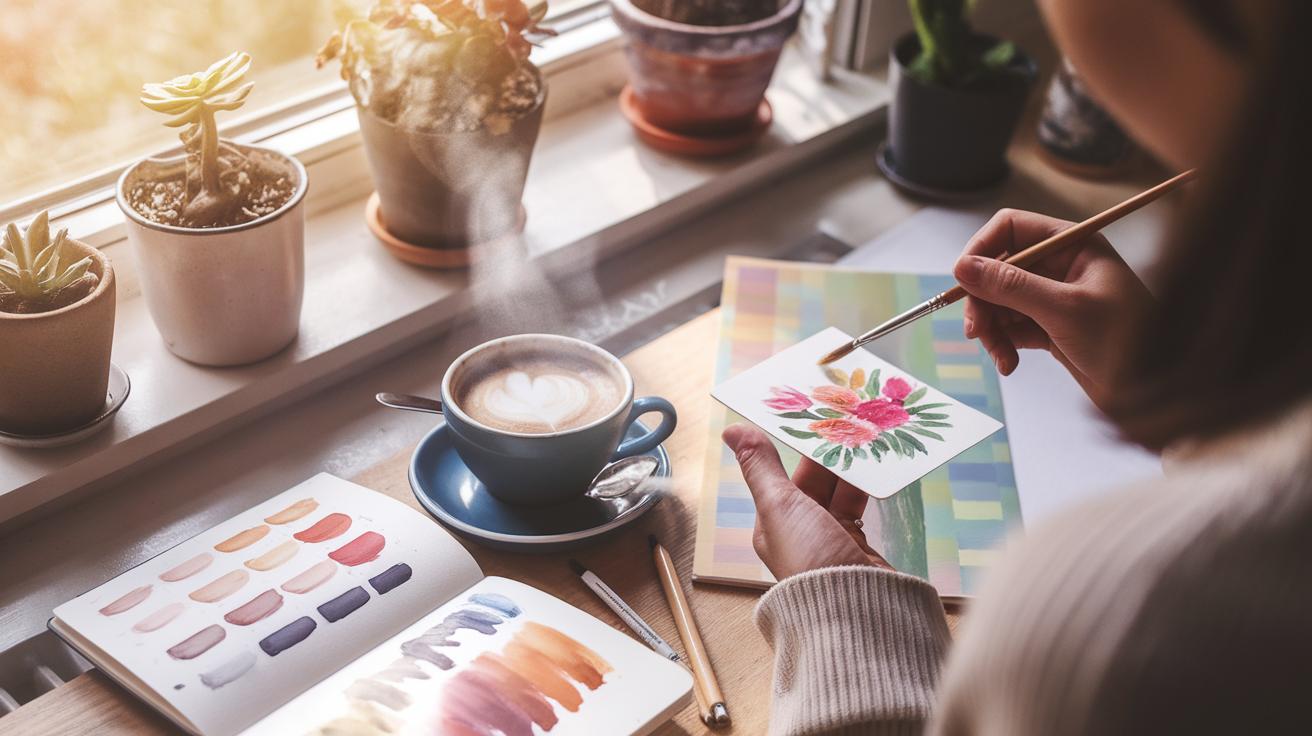
Gouache colors often dry lighter and less shiny than when wet. To manage this, mix your colors slightly darker or more saturated than your goal. Testing swatches before painting on your final piece helps you anticipate these changes.
Work in small sections and paint quickly to blend colors before they dry. Use a spray bottle to lightly mist your palette or painting surface. This keeps the paint moist longer without flooding it with water.
Some artists find it helpful to layer gouache. Paint a base layer and let it dry completely. Then add details on top with less water. This method keeps colors vibrant and reduces surprises in drying shades.
What strategies work best for you to keep colors steady? Experimenting during your weekend workshops can reveal helpful personal techniques.
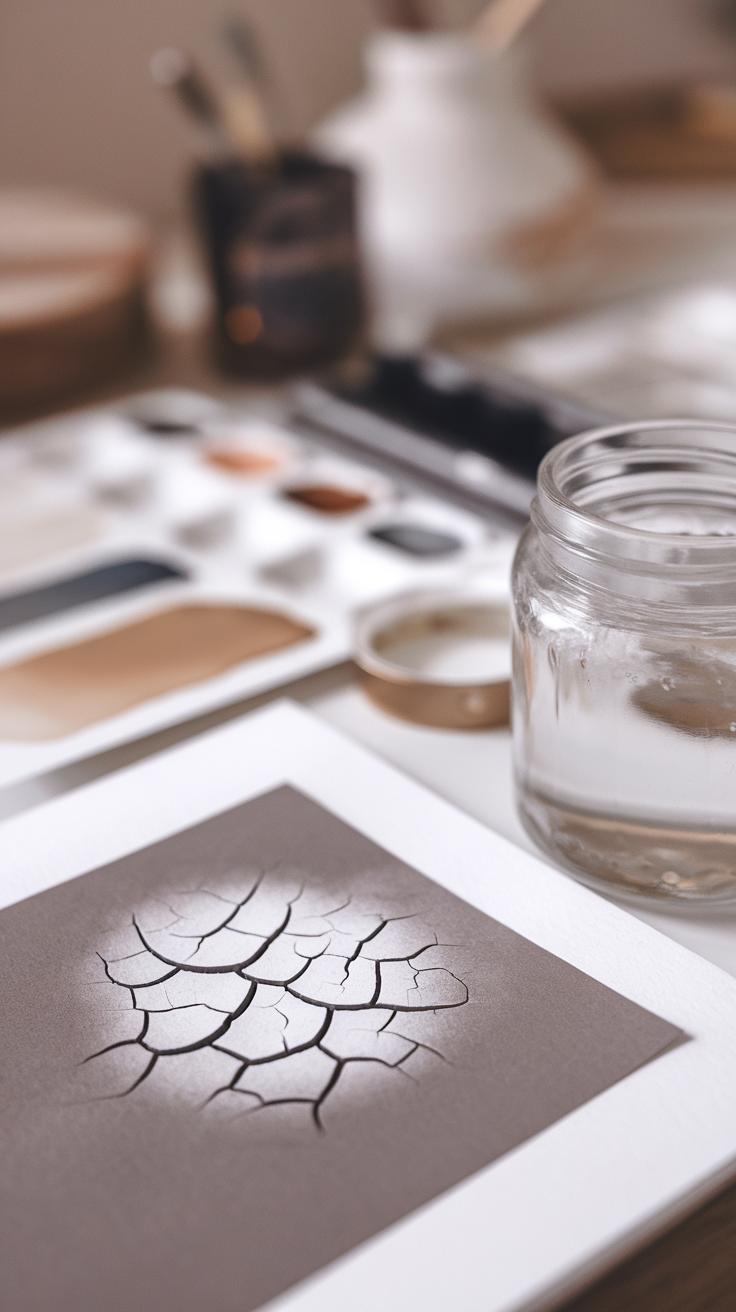
Avoiding Cracking and Peeling
Cracking happens when thick gouache layers dry unevenly. To avoid this, thin your paint with small amounts of water. Aim for a creamy texture, not too watery or pasty. Your brush should flow smoothly.
Apply paint in thin layers and allow each to dry before adding more. This keeps the surface flexible and reduces stress that causes cracking.
Use paper designed for gouache or acrylics, as it tolerates moisture changes better. Avoid heavily sizing or coated papers that resist paint gripping.
Peeling can occur if paint doesn’t adhere well. Press your brush lightly and avoid scraping the surface. When painting edges or details, let the underlying layer dry completely to anchor layers.
Have you experienced peeling in your paintings? Adjust your technique and materials step-by-step and observe improvements in your workshop projects.
Combining Gouache with Other Media
Mixing gouache with other art materials can add fresh textures and layers to your weekend projects. When you combine gouache with watercolor, ink, or pencil, you create new effects that make your paintings stand out. You might apply a light wash of watercolor under gouache to build a soft background. Or you could use ink to add sharp lines over dried gouache for contrast. Think about how each medium behaves—watercolor stays translucent, gouache covers with opaque color, and ink can provide crisp details.
Try starting a painting with watercolor, let it dry, then paint over it with gouache. This layering can create depth and bring life to simple shapes. Alternatively, add pencil or fine liner details after your gouache layers dry. Which effect do you want: soft and blended or bold and defined? Experiment with these combinations to find your style during workshops.
Enhancing Gouache with Watercolor
Watercolor and gouache work well together because their properties balance each other. Painting watercolor under gouache lets you build subtle backgrounds without losing the opacity of gouache on top. For example, lay down a soft watercolor wash of blues and greens to suggest a sky or foliage.
When you apply watercolor over dried gouache, the watery colors create interesting textures as they mix with gouache’s matte surface. You might use this technique to add shadows or highlights. Try lifting some watercolor with a damp brush after laying it down over gouache to create contrast. How does layering different transparencies change the mood of your painting? Exploring these layers can be a simple yet powerful way to expand your painting skills.
Adding Details with Pen or Pencil
Using fine liners or colored pencils on top of gouache paintings adds sharpness and focus. Gouache provides a smooth, solid color base, making pen or pencil marks pop clearly. You could draw outlines, accentuate shapes, or add textures like hair strands or grass blades.
Colored pencils offer subtle shading, while black fine liners create bold crisp edges. Look closely at your gouache work and ask where extra detail will make your image stronger. Adding lines around key shapes draws the viewer’s eye. Detail work is perfect for weekend workshops because it gives instant refinement without needing complex tools. What details would you add to your next gouache piece to personalize it?
Organizing Your Weekend Workshop
Planning a gouache painting workshop requires careful attention to time, materials, and the overall experience. Your schedule should balance learning with hands-on practice, allowing participants to grasp techniques and complete projects without feeling rushed. Think about when to insert breaks that help everyone recharge while keeping the creative energy alive.
Prepare your participants by sending clear information ahead of time. Share lists of required supplies, like brushes, paper types, and paint colors. Encourage them to try simple exercises or watch short tutorial videos in advance. This builds confidence and ensures more time can be spent painting during the workshop.
Manage your materials by organizing sets for each participant and extra supplies for quick replacements. Create a welcoming space with good lighting, enough room to work comfortably, and easy access to water and cleaning tools. Ask yourself: How can you make your workshop feel inclusive and inspiring? The small details set the stage for a satisfying, creative weekend.
Planning the Workshop Schedule
Divide your weekend workshop into clear segments. Start mornings with a brief demonstration to introduce key gouache techniques. After that, give participants focused time to try these on their own projects. Plan short breaks every hour or so—they keep energy levels up and minds fresh.
Reserve the afternoons for guided painting sessions where you offer individual feedback. Include time for participants to experiment and develop their style freely. Don’t forget to set aside the final hour for finishing touches and group sharing. How can you pace the day to keep things productive but relaxed?
Preparing Participants and Materials
Reach out to attendees well before the workshop date. Provide a detailed checklist of tools and suggested brands or brands to avoid, such as the best gouache paints for beginners. Encourage participants to prepare their workspace at home, testing their materials if possible.
Explain how different brushes or paper will affect their painting results. Let them know about any optional supplies like mixing palettes or masking tape. Preparing in advance saves time during the workshop and reduces frustration. Think about how you can support each person’s success with clear, practical guidance.
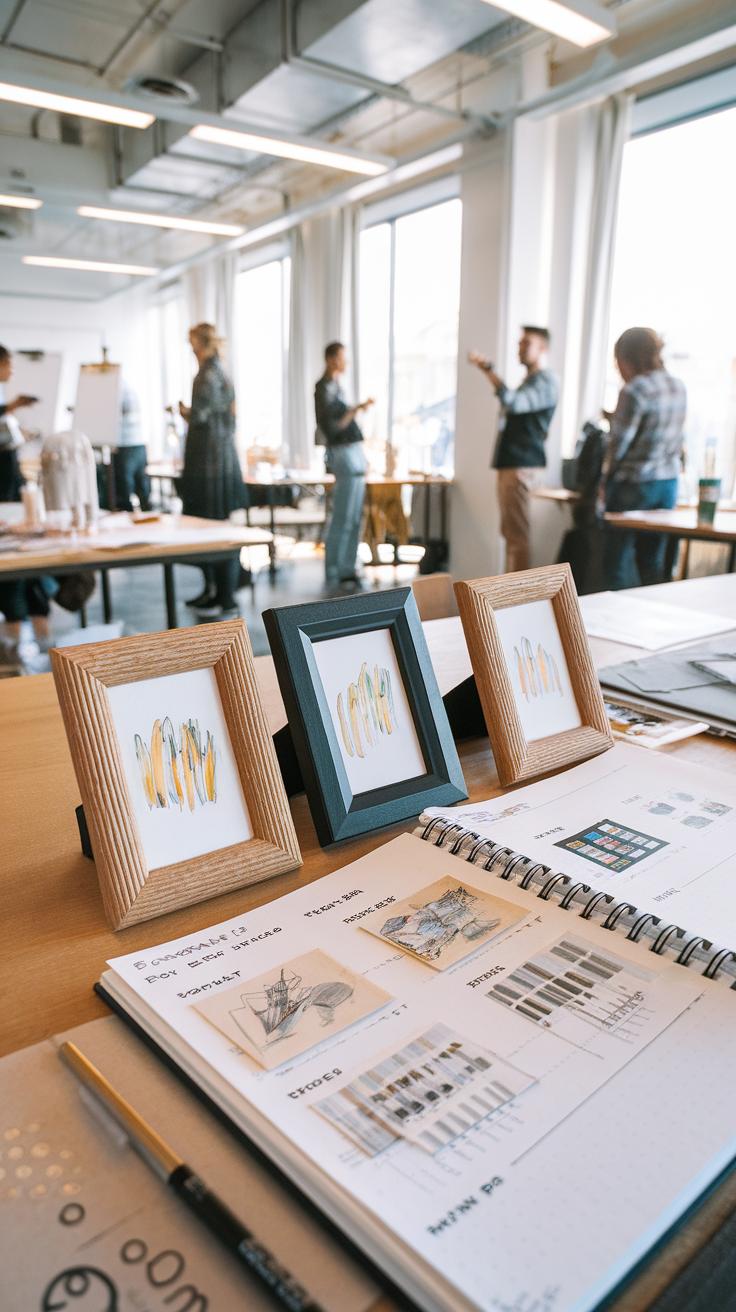
Showcasing and Sharing Workshop Art
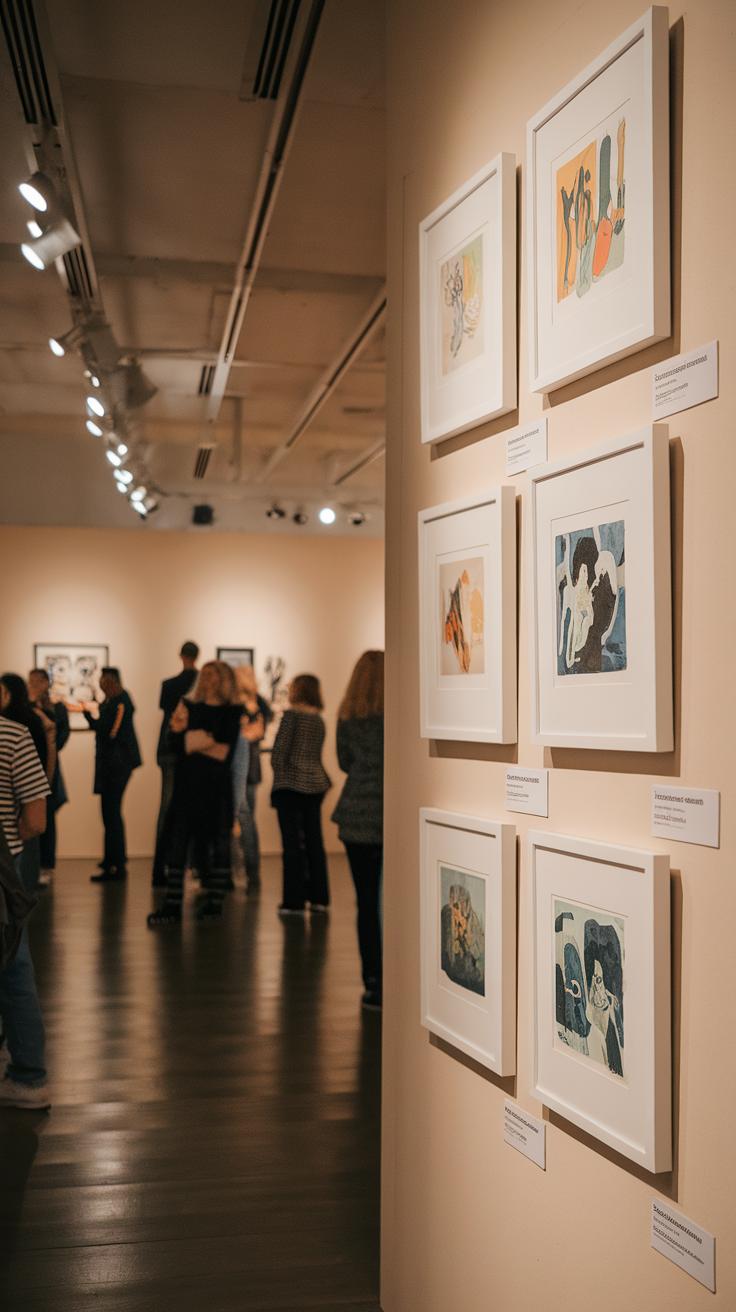
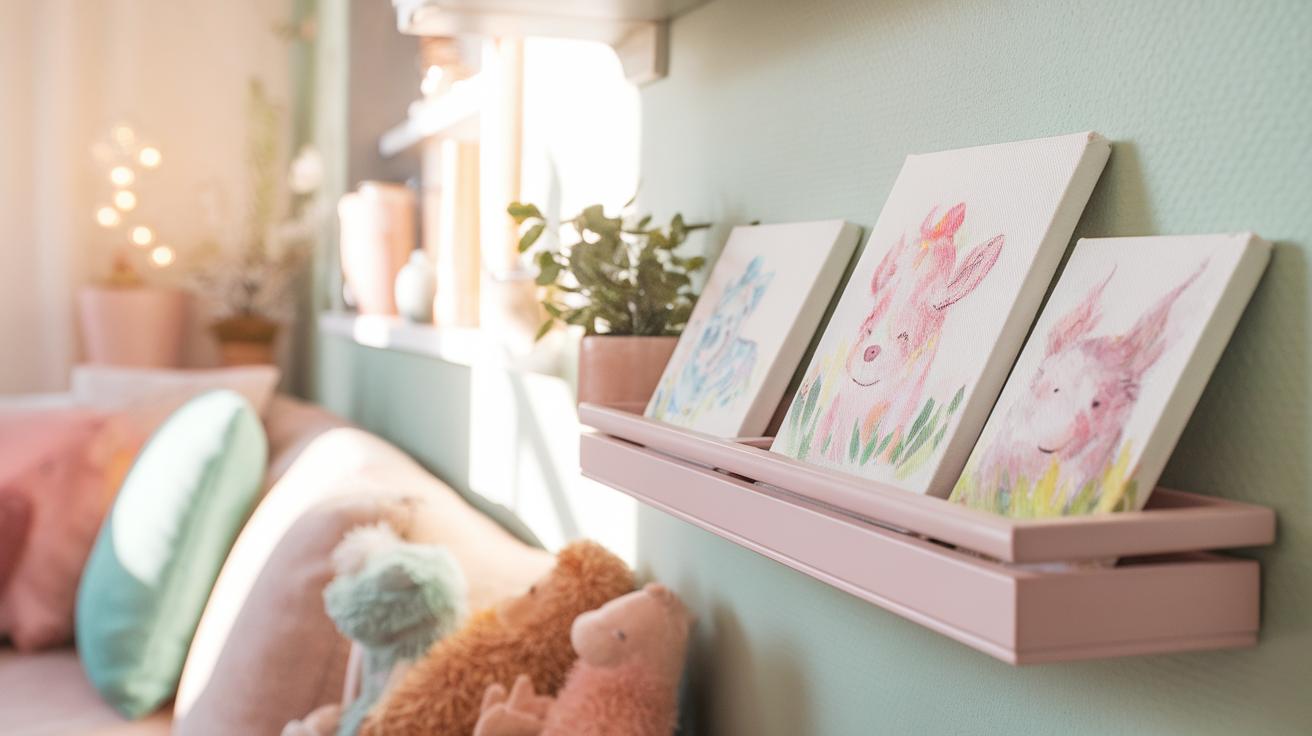
Encouraging participants to display their completed gouache paintings helps build confidence and pride in their work. You can organize a small exhibition within your workshop space or at a nearby community center. Arrange the artworks neatly on tables or hang them on walls using simple clips or stands. Label each piece with the artist’s name and the title of the work to make the display feel more official. This creates a sense of accomplishment and allows participants to see the variety of styles and interpretations in the group.
Inviting friends, family, and local artists to view the exhibit can create a supportive environment. Ask participants to share stories about their paintings, which encourages conversation and connection. Could this prompt new ideas for future workshops or collaborations?
Creating an Art Display
Setting up a mini-gallery requires planning the space and flow. Choose a well-lit area where each painting has room to be seen clearly. Consider grouping artworks by theme, color, or skill level to create a guided viewing experience. Use simple materials like string and clothespins or inexpensive display boards to keep costs low.
Offer participants the chance to help with setup. This involvement creates ownership and enthusiasm. Think about adding a guestbook where visitors can leave encouraging notes for the artists. How might such feedback influence your participants’ motivation and future creativity?
Using Social Media and Community Events
Sharing artwork online broadens the reach of your weekend workshop. Create a dedicated social media page or group where participants can post their paintings. Use clear photos and short captions about the project or inspiration behind each piece. Encourage participants to tag friends or local art groups to increase visibility.
Participating in local fairs, farmers markets, or library events can also showcase the group’s creations. Setting up a booth or display table gives you a chance to talk about gouache painting methods and invite new members. How might sharing your group’s work outside the workshop attract more interest and support for your art community?
Conclusions
Gouache painting offers a flexible and accessible way to explore painting techniques during weekend workshops. The opacity and vibrancy of gouache allow you to complete projects that look polished and professional in a short time. By choosing simple, well-structured projects, you can develop your skills and enjoy the creative process. The ease of correcting mistakes and layering colors makes gouache a friendly medium for beginners and experienced artists alike.
Weekend workshops focused on gouache allow you to experiment with colors and forms while working in a supportive, structured environment. These projects provide a chance to create impressive art pieces without a long time investment. If you want to build new skills or enjoy painting as a hobby, starting with easy gouache projects is a practical choice. What painting project will you try this weekend to make the most of your creative time?