Introduction
Art enthusiasts seeking to improve their skills can find valuable resources in gouache painting and color pencil art. Gouache is a type of opaque watercolor paint that allows for bold and vibrant artwork with rich coverage. Color pencils provide a versatile and clean medium for detailed drawings and blending effects. Both mediums offer unique challenges and benefits for artists.
Today’s online art lessons provide accessible training for beginners and advanced artists alike. Through video tutorials and interactive sessions, you can learn how to apply gouache techniques effectively and master color pencil shading and layering. This guide explores practical tips and insights for succeeding in gouache painting and color pencil artistry through online courses.
Understanding Gouache Paint and Its Characteristics
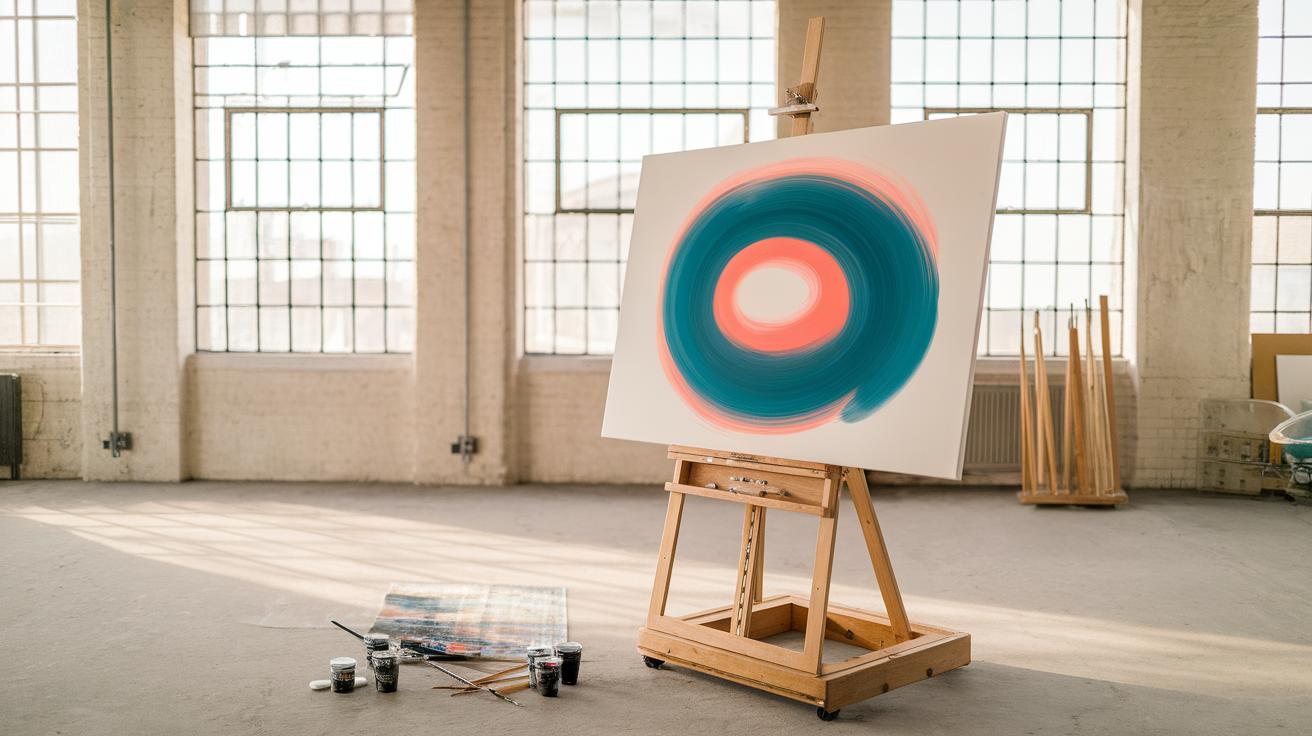
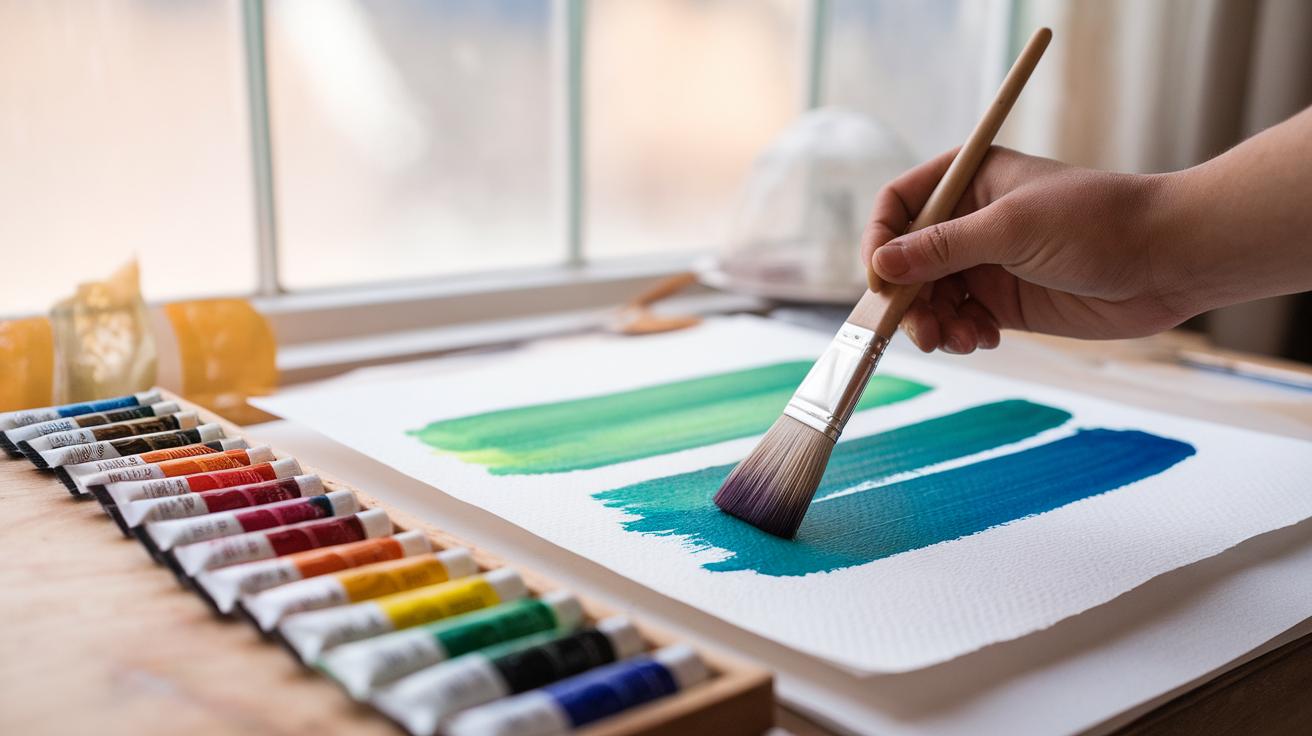
Gouache is a water-based paint known for its thick, creamy texture and strong color. It consists of pigment, water, and a binding agent like gum arabic. These ingredients make gouache stand out from other paints.
Gouache differs from watercolor mainly in opacity. While watercolor is transparent and light passes through its layers, gouache blocks light along with a matte finish. This makes colors look solid and vibrant.
Acrylic paint dries harder and faster, often forming a plastic-like surface. Gouache remains softer and can be reactivated with water even after drying. This feature allows you to make changes easily.
The paint dries quickly, which suits artists who want to work without long waiting periods. Gouache’s ability to cover previous layers makes it ideal for correcting mistakes or adding highlights.
Have you noticed how gouache layers can create bold shapes and sharp edges? This quality lets you focus on details or experiment with flat color areas.
Composition and Opacity
Gouache paint includes finely ground pigment, water, and a binder like gum arabic. The pigment gives the color its strength, while the binder sticks pigment particles to the surface.
Unlike standard watercolor, gouache contains a higher amount of pigment and a white filler such as chalk. This white filler helps the paint stay opaque and prevents light from passing through.
This combination results in strong coverage. You can paint dark shapes on light paper without previous layers showing through. This trait makes gouache easier to layer and modify.
Have you tried using gouache over watercolor? The opacity allows you to add highlights or correct mistakes without muddying your artwork.
Applications and Uses
Gouache is popular in commercial art and illustration because it dries fast and covers well. Designers often use it for posters, logos, and storyboards where clear, flat colors are needed.
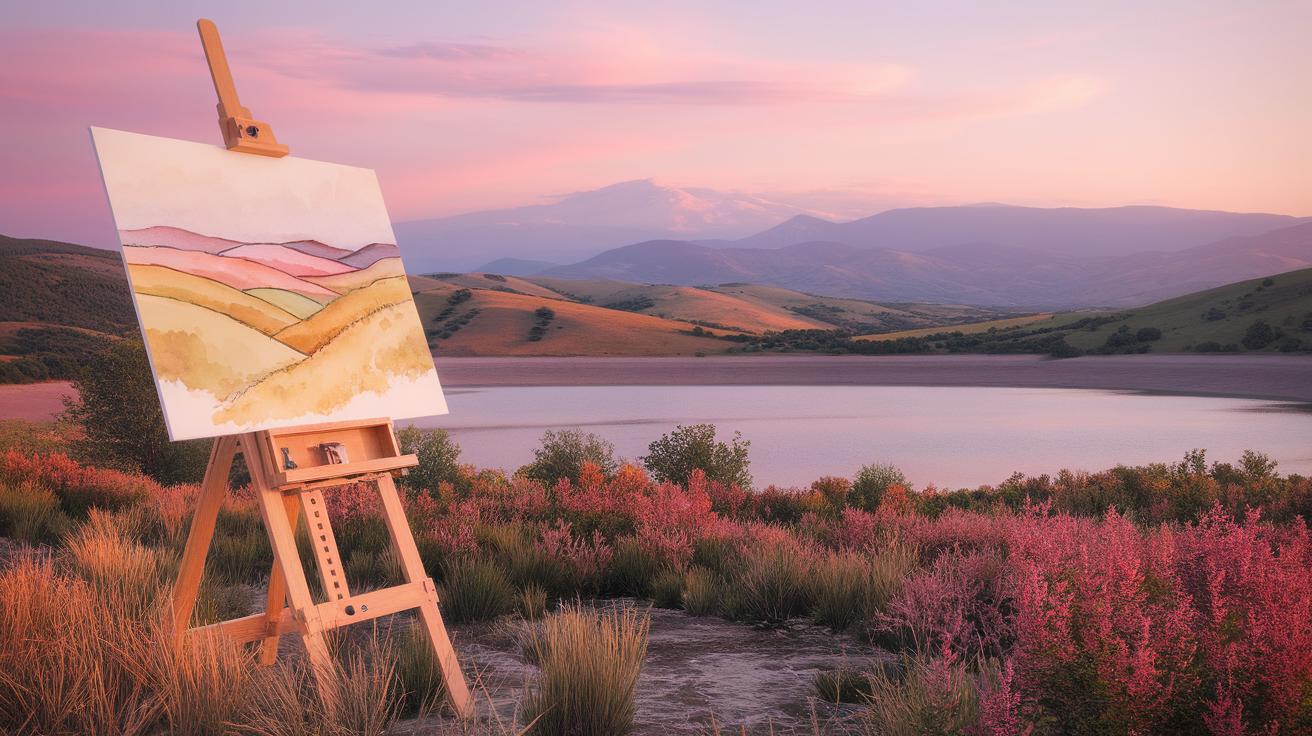
Fine artists choose gouache for detailed paintings, landscapes, or portraits requiring clean edges and vibrant tones. The paint helps bring focus to small areas due to its matte finish.
Its quick drying time makes gouache great for layered work or mixed media projects. You can add color, let it dry, and then build additional layers without waiting too long.
Think about your own art goals. Would quick drying and strong color coverage improve your workflow or style? Gouache gives you control to paint boldly or subtly.
Exploring Color Pencil Art Techniques
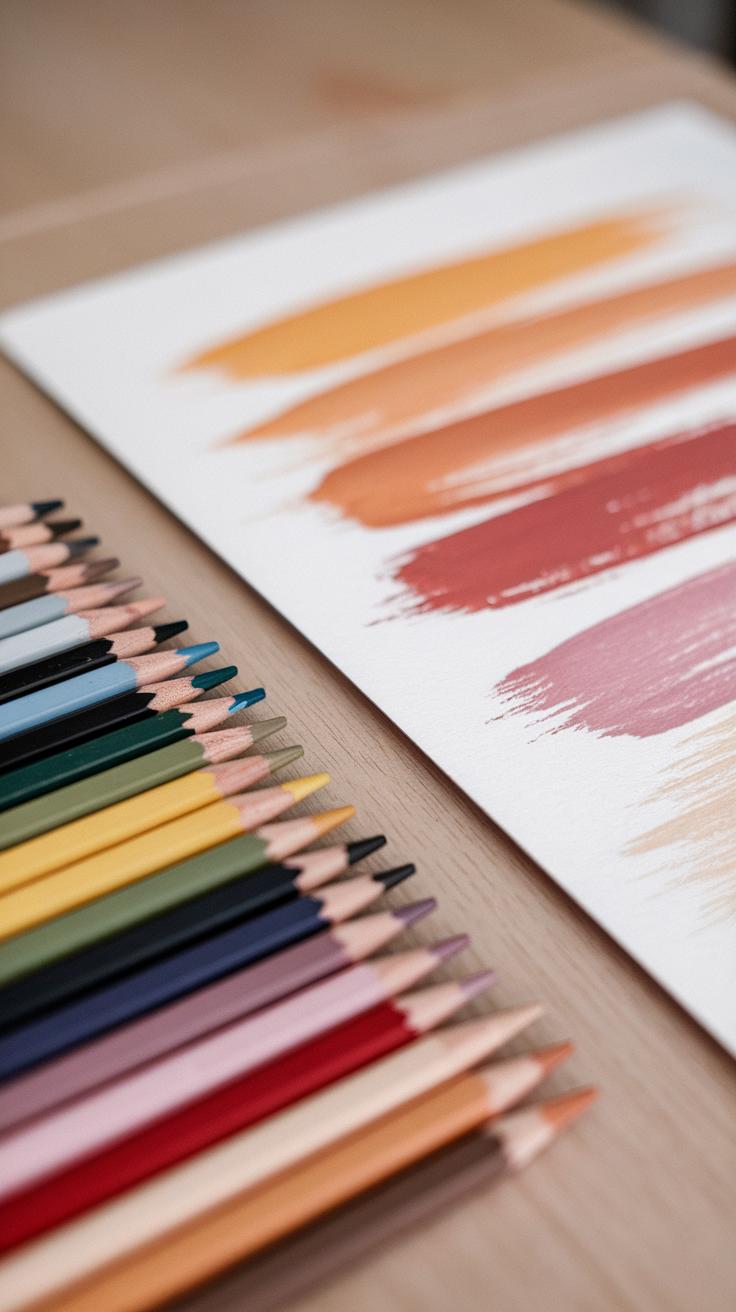
Color pencils offer a versatile way to create detailed and vibrant artwork. You can use them for drawing, layering, and blending colors to build depth and texture. These pencils come mainly in two forms: wax-based and water-soluble. Wax-based pencils use pigments combined with wax, resulting in smooth application and rich color but limited blending with water. Water-soluble pencils contain a dye or pigment that dissolves with water, allowing you to create effects similar to watercolor paintings by adding water after applying the color.
Choosing between these depends on your style. If you want crisp lines and controlled layering, wax-based pencils work best. If you enjoy experimenting with washes and softer gradients, water-soluble ones expand your possibilities. Have you tried mixing both types in a single artwork to combine precision and fluid effects?
Types of Color Pencils
You will find two main categories of color pencils: artist-grade and student-grade. Artist-grade pencils offer higher pigment quality and stronger lightfastness. This means your colors stay true and resist fading over time. These pencils also have a smoother texture, which makes layering and blending easier. If your goal is professional work or long-lasting art, investing in artist-grade pencils pays off.
Student-grade pencils tend to be less expensive but have lower pigment concentration and durability. They work well for beginners and casual projects. However, they might feel waxy or gritty compared to artist-grade options. When selecting your pencils, think about the type of projects you plan and how much detail and longevity you want in your artwork.
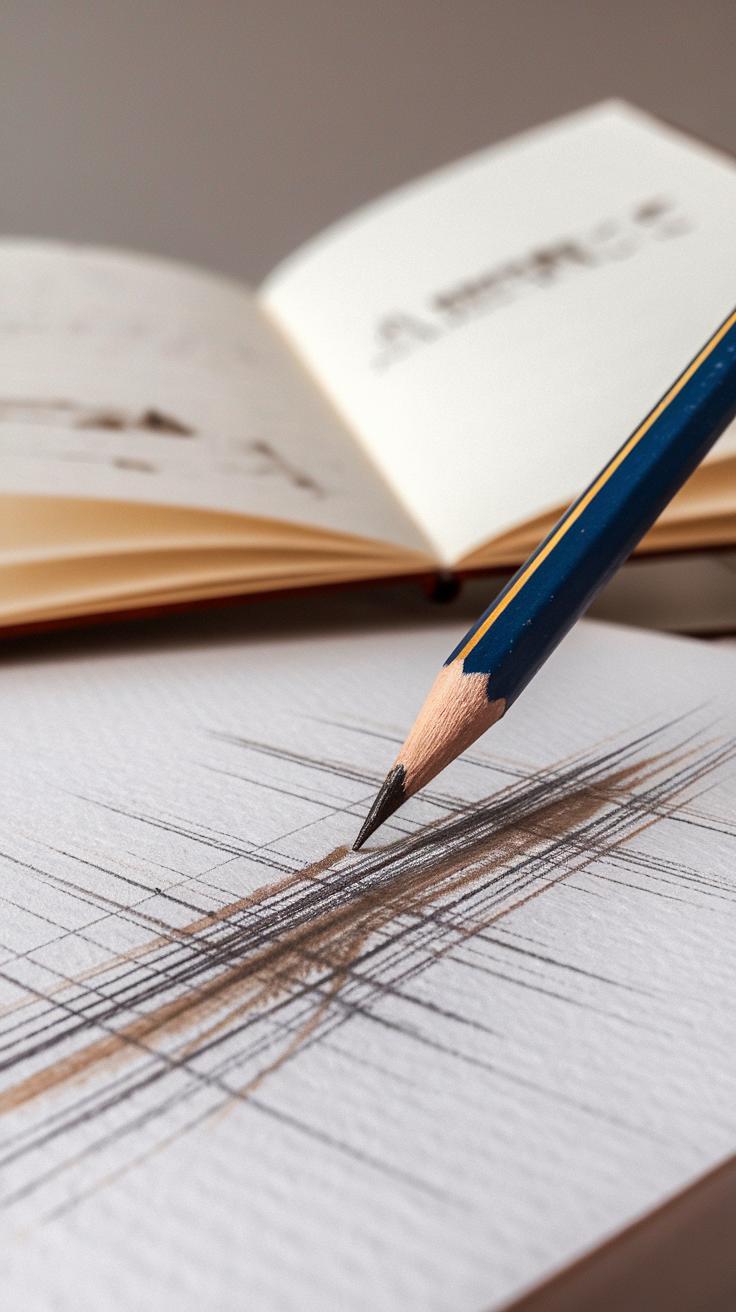
Basic Drawing and Shading Methods
Mastering color pencil drawing starts with learning a few basic techniques. Layering is a key method where you build colors gradually by applying light strokes on top of each other. This creates rich depth without damaging the paper surface. You can blend layers by gently rubbing with a colorless blender pencil or by using a soft tissue to smooth transitions.
Blending helps soften edges and mix colors seamlessly. Creating gradients involves changing the pressure and layering to move from one color smoothly into another. For example, you might start with light yellow, then add orange, and finish with red to show a gradual change in color brightness. Are you practicing controlled pressure to get smooth shading in your work?
Benefits of Learning Art Online
Learning painting and drawing online offers clear advantages for anyone eager to improve their skills. You can set your own pace and schedule, which means you can practice creativity around your daily life without pressure.

Online lessons remove location limits. If you live far from art schools or have limited transport, you still connect with quality teachers anywhere in the world. This access opens doors that might stay closed otherwise.
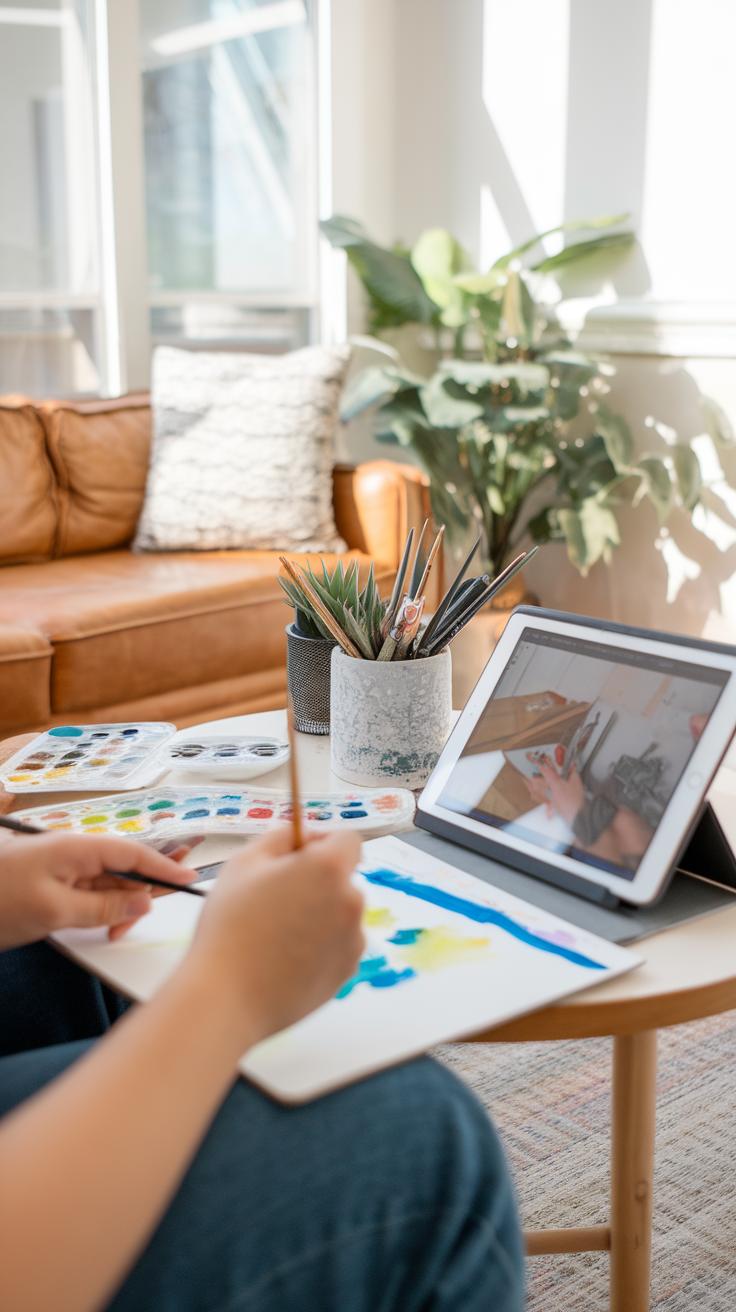
You will find many different materials right at your fingertips. Video demonstrations let you watch techniques over and over until you feel comfortable. Downloadable guides and reference sheets help reinforce lessons.
Many online classes offer feedback through forums or live chats. Getting advice in real time or from a larger community can push your art forward faster than practicing alone.
What part of your art journey can benefit the most from flexible, resource-rich lessons? Online learning might give you the chance to find out.
Flexibility and Accessibility
Online lessons let you choose when and where to learn. Whether you only have 30 minutes during lunch or prefer evenings, you fit art into your lifestyle without stress.
Distance is no longer a barrier. People living in remote areas or busy cities can access the same classes. This convenience expands opportunities for everyone, including beginners and experienced artists.
This approach means you can explore color pencil and gouache techniques naturally, without trying to adjust to fixed times or travel. You stay in control of your creative time.
Learning Resources and Support
Online platforms provide varied tools that help you grasp art methods clearly. Step-by-step video tutorials break down even complex gouache mixing or layering with color pencils into simple stages.
You gain access to guides, practice sheets, and project ideas that you can save and review anytime. Interactive features, such as quizzes or drawing assignments, keep you engaged and motivated.
Communities and instructors offer feedback through comment sections and live sessions. This interaction helps you spot mistakes early and improve quickly from expert advice and peer reviews.
How would regular feedback and comprehensive resources change your approach to mastering gouache and color pencils?
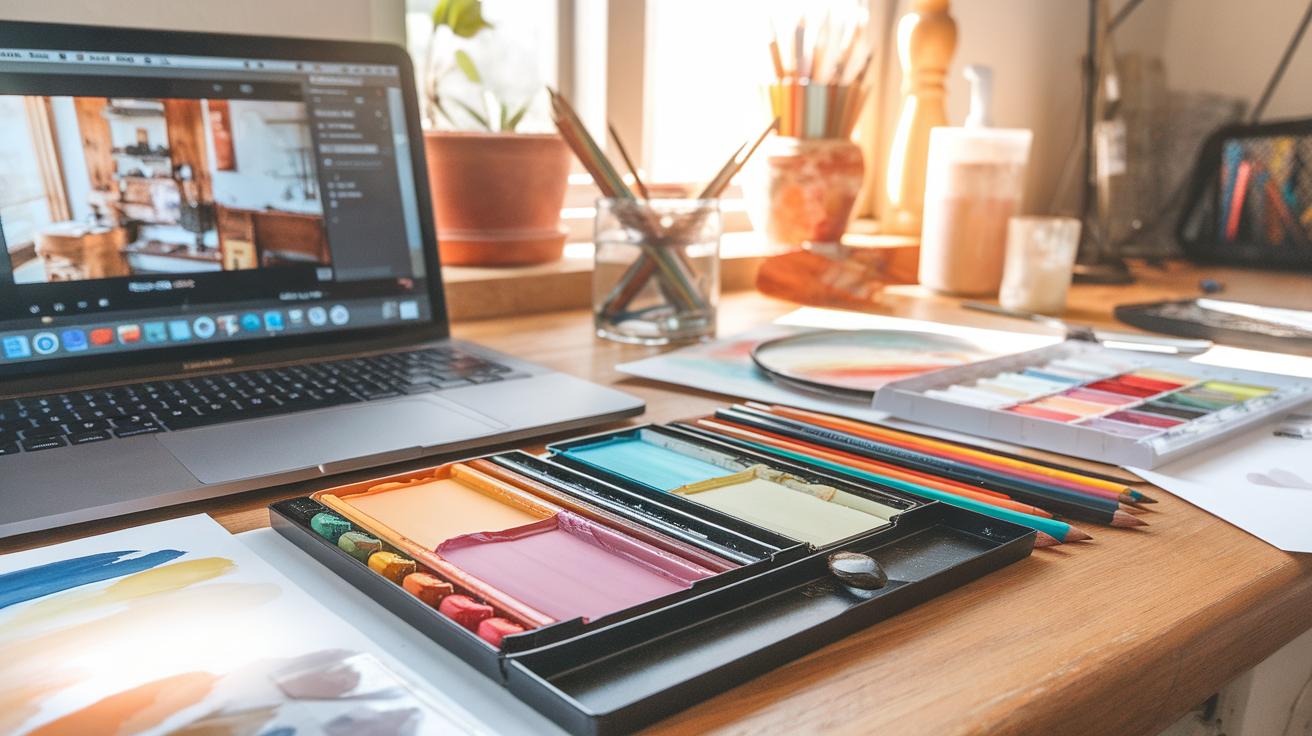
Setting Up Your Gouache Painting Workspace at Home
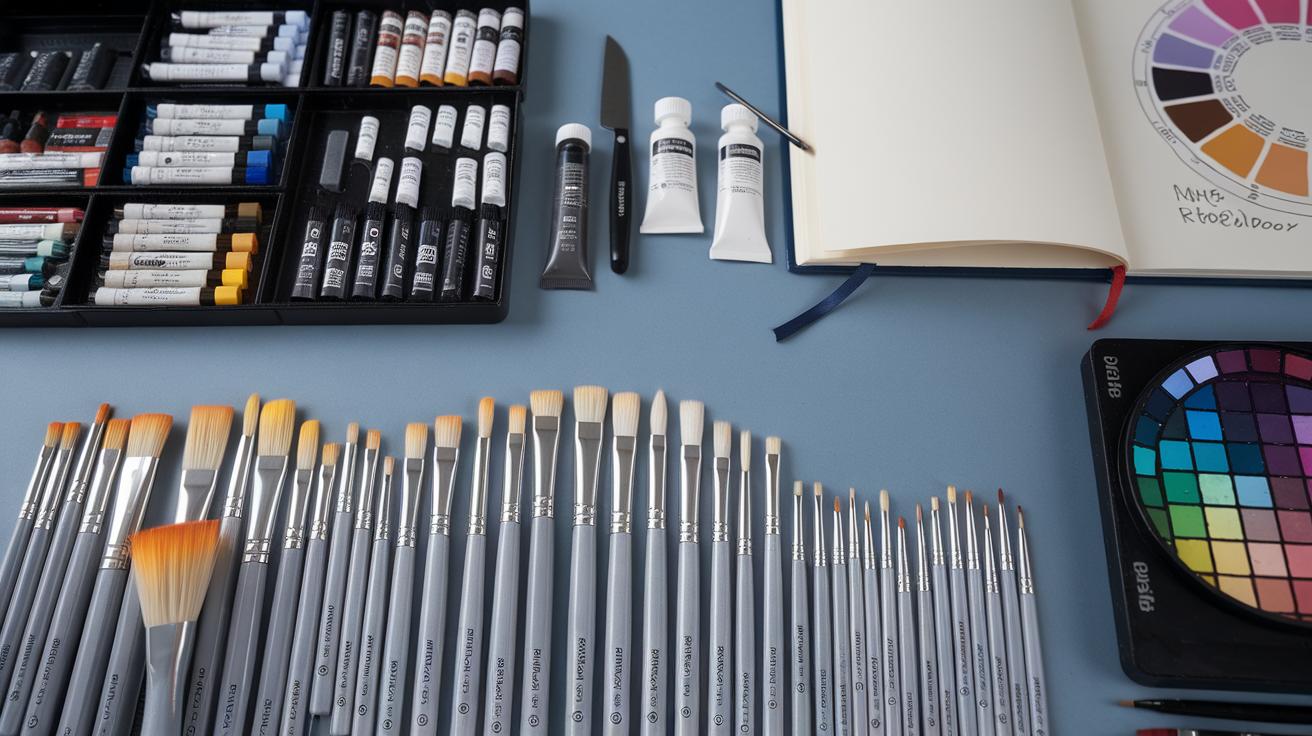
Essential Materials and Tools
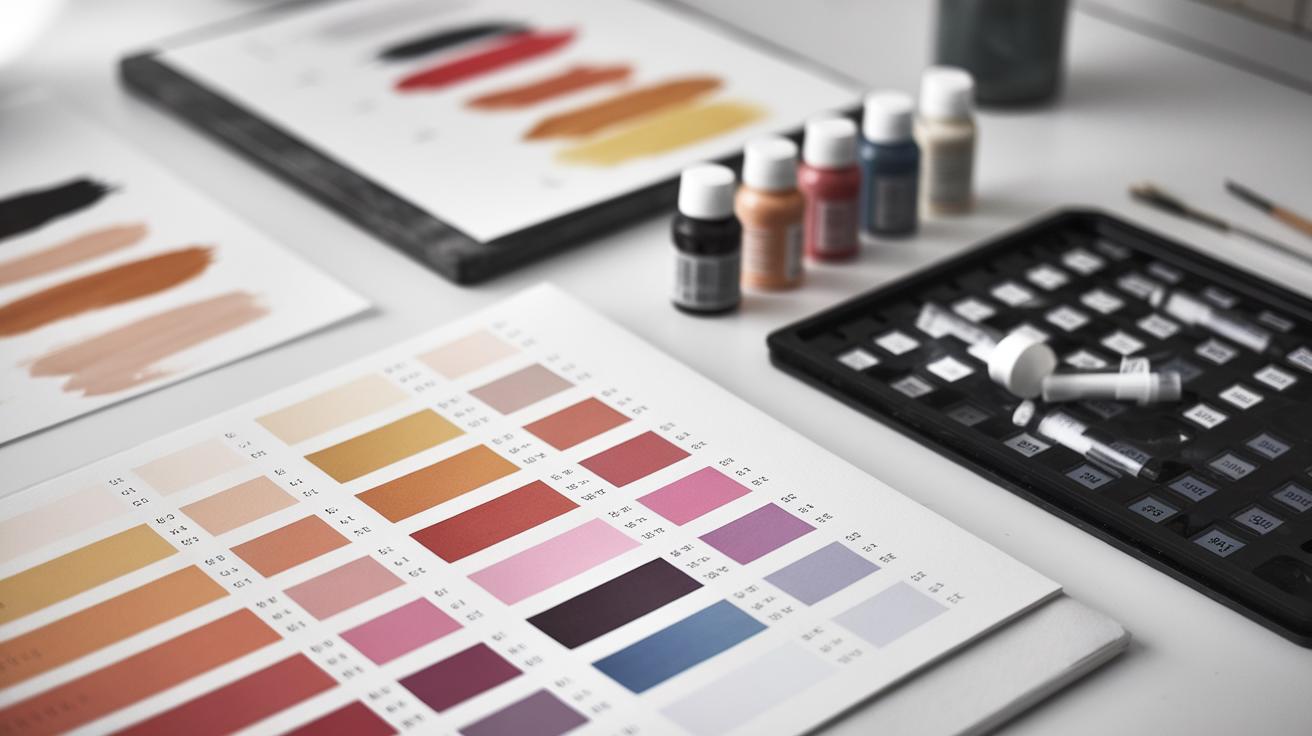
Start with high-quality gouache paints in a basic color set. Choose paints that offer good pigmentation and smooth consistency. Select brushes designed for gouache—usually synthetic or natural with firm but soft bristles. Round and flat brushes work well for different strokes. Paper matters. Use watercolor paper or mixed media paper with a weight of at least 140 lb to resist warping. A palette helps mix paint smoothly; consider a plastic or ceramic one with wells to keep colors separate. Keep a jar of clean water nearby for rinsing brushes often. Have paper towels or a cloth ready to blot brushes or clean spillages.
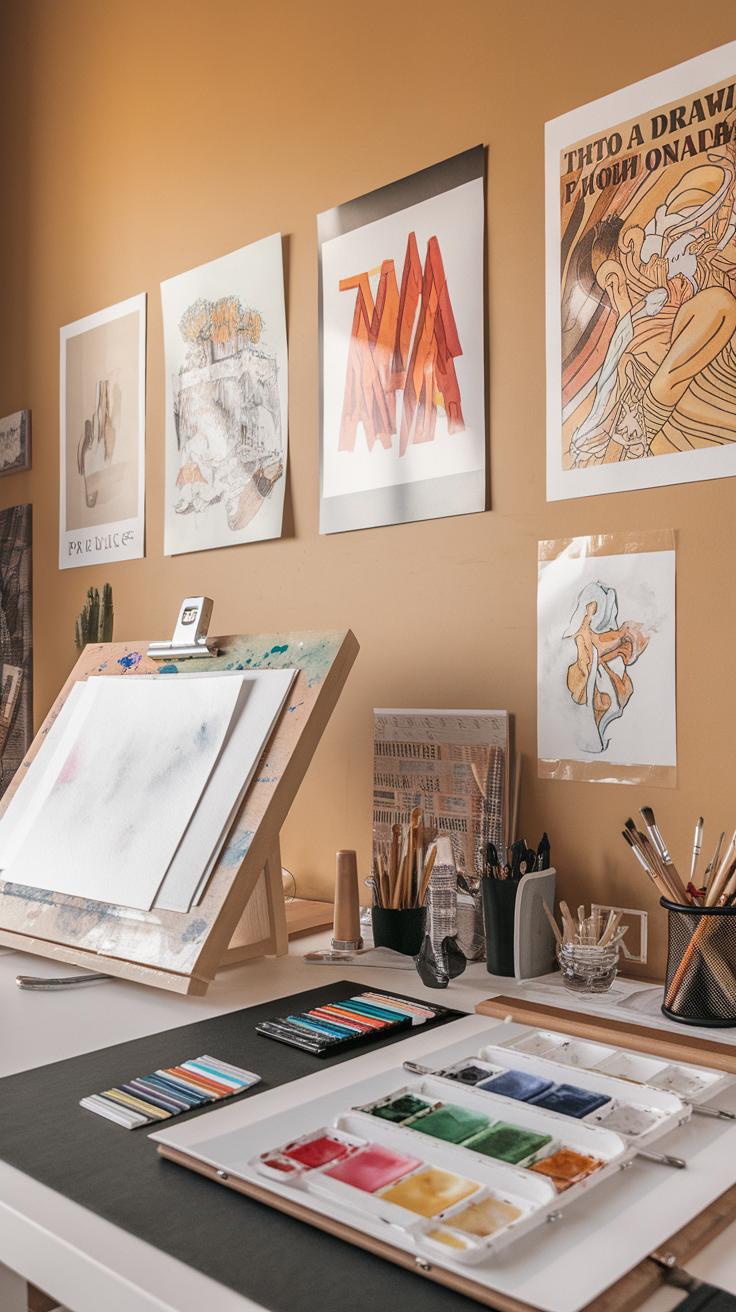
Organizing Your Space
Arrange your supplies within arm’s reach to avoid interrupting your flow. Use small containers or trays to hold brushes, pencils, and tools upright. Store paints in a way that lets you see color labels clearly. Keep your palette clean and ready before you start painting. Cover your work surface with a washable mat or newspaper to protect it and make cleanup easier. Set up good lighting, preferably natural light near a window or a bright lamp. Keep a trash bin close for used paper towels or scrap paper. Does your workspace allow you to paint comfortably without distractions? Try adjusting your setup to fit your creative habits.
Mastering Fundamental Gouache Painting Techniques
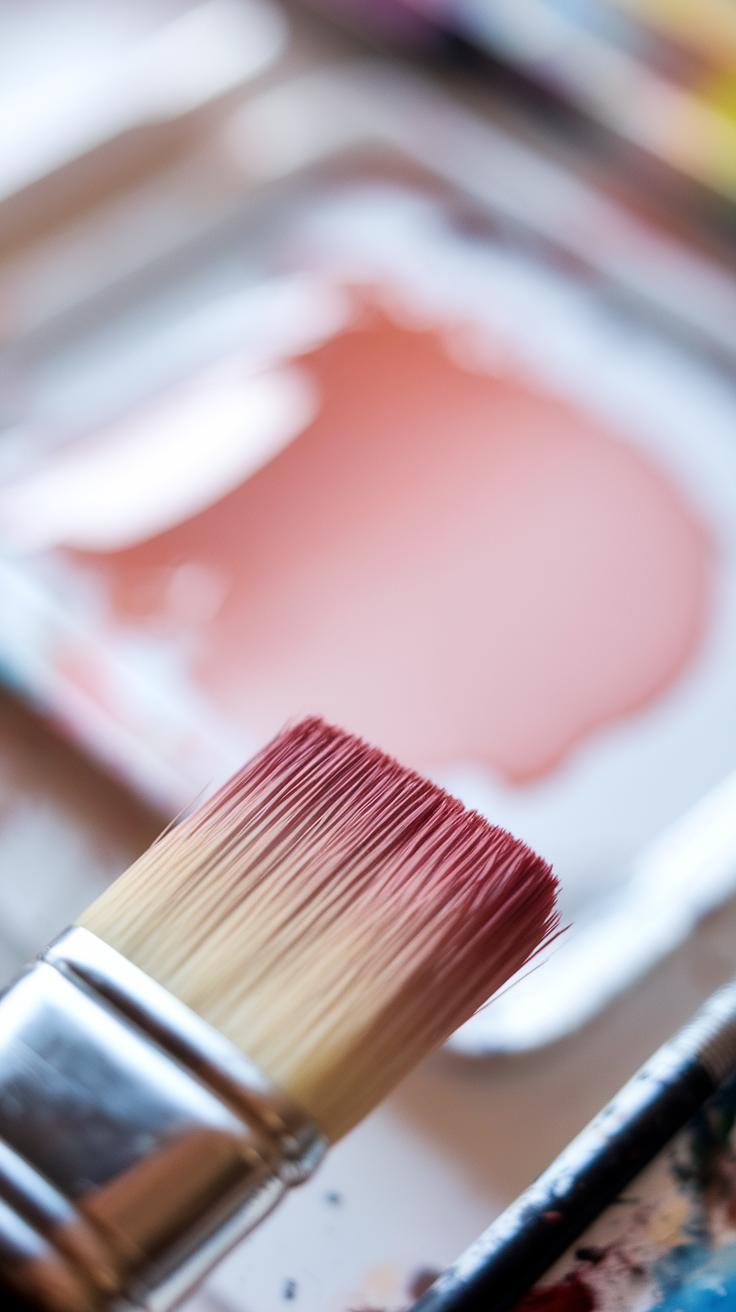
Layering is a key skill when working with gouache. You start with thin layers and gradually add more to build the depth and richness of color. Each layer dries quickly, allowing you to work efficiently without long wait times. Watch how the layers interact—some colors become more vibrant, while others soften. This lets you create textures, like rough wood or smooth fabric, by changing brush pressure and paint thickness. Your goal is to control the paint, not just cover the paper in one go.
Blending with gouache requires attention. Work while the paint is still wet, using a damp brush to transition colors smoothly. If you wait too long, new strokes will leave harsh edges. Practice blending warm and cool colors to see how they affect each other, and choose your brush size carefully to achieve either broad fades or detailed transitions.
Layering and Coverage
When applying gouache, think of layers as building blocks. Thin your paint with water for see-through layers that let undercolors peek through. Use thicker paint to cover mistakes or add highlights. Wait until a layer fully dries before adding the next to avoid muddiness. How many layers does your painting need? Test on scrap paper to see how many coats create your desired texture or tone.
Different papers absorb paint in unique ways. Try layering on both rough and smooth surfaces to understand coverage differences. You may discover that a light wash works better on rough paper, while smooth paper lets you build clean, sharp details with more layers.
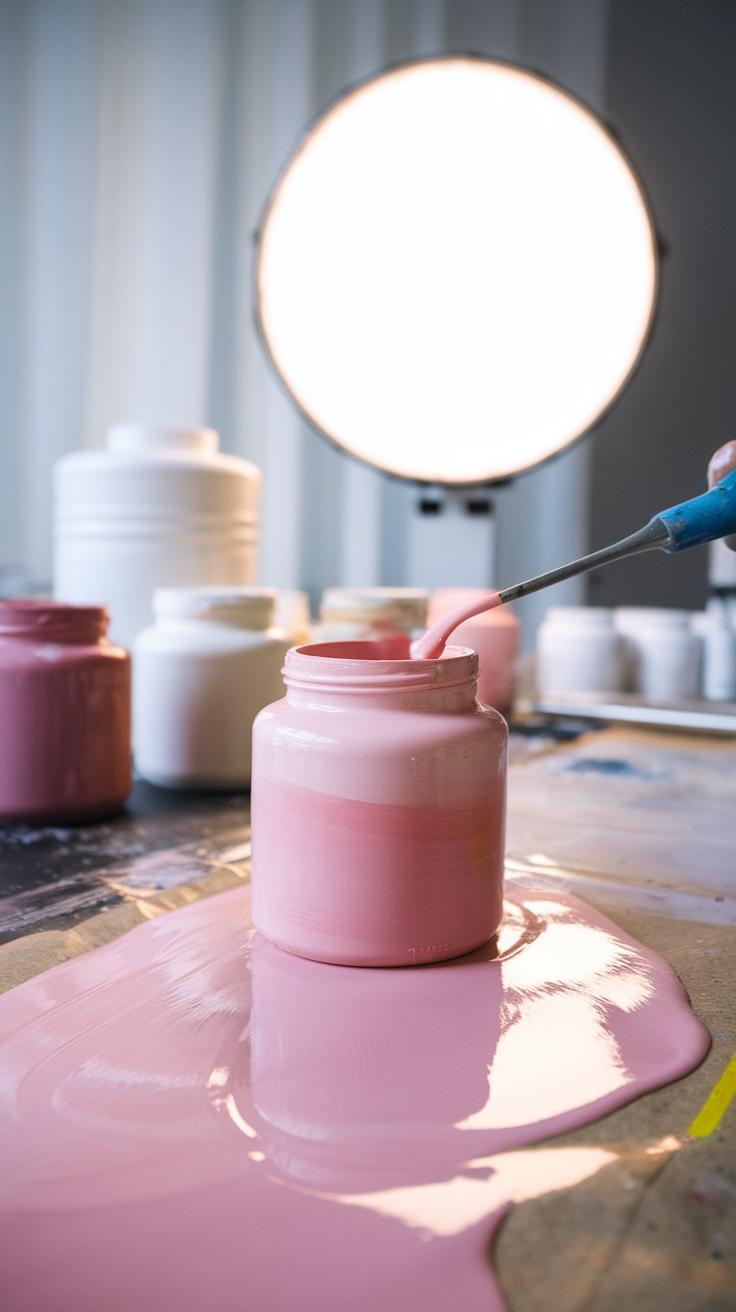
Managing Drying Effects
Gouache darkens slightly as it dries because the water evaporates and pigments become denser. To predict this, watch a wet stroke and note the color change as it sets. Plan your painting knowing that a color looks different wet compared to dry. Can you spot when a bright blue becomes a deeper navy?
Retouching dry gouache can lift previous layers, so avoid overworking areas too soon. If you want soft edges, rewet the paint gently and blend with a clean brush. Different brands and pigment types react differently. Experiment with your supplies to discover how drying changes appear in your work.
Developing Skills in Color Pencil Art
Advanced color pencil work often focuses on creating depth and realism through techniques like burnishing, layering, and texture creation. Burnishing means pressing your pencil hard to polish the paper’s surface, blending multiple layers into a smooth, even finish. This method eliminates visible strokes and boosts color vibrancy, ideal for areas requiring a solid and bright look.
Layering several colors lets you build complex hues and rich shadows. Try applying light tones first, then add darker shades gradually. This slow buildup prevents damage to the paper and avoids muddiness. Experiment with different color combinations to find unique effects.
Creating realistic textures takes time and careful observation of the subject. Look closely at how light interacts with surfaces like wood, fabric, and hair. Use directional strokes, stippling, or cross-hatching to suggest texture. How can you turn flat color into something you can almost feel? Practice these techniques to sharpen your eye and hand coordination.
Burnishing and Blending
Burnishing helps you achieve a polished, smooth surface by applying heavy pressure with a light or colorless pencil. This process blends layers and removes graininess from the paper, making colors pop. When you burnish, your artwork gains a refined look that simple layering cannot reach.
Try burnishing over multiple layers of color to unify shades seamlessly. It also seals the pigments, protecting your work from smudging. Use a white or cream pencil for softer blending or a heavier color to deepen shadows. Do you notice how burnishing changes the texture and brightness? Practicing this will improve your control over your pencil’s pressure and stroke quality.
Texture Creation
Mimicking textures like fabric, hair, and natural surfaces demands specific strokes and layering methods. For example, to create fabric, use small cross-hatching strokes that follow the cloth’s folds. Hair requires long, flowing lines with varied pressure to show strands and highlights.
Natural elements like bark or stone benefit from irregular patterns and combining stippling with short, sharp strokes. Layering lighter colors over darker underlayers can replicate rough or soft textures. When capturing texture, think about how light affects the surface and try to match that effect in your pencil work. What details catch your eye the most? Focusing on these details will bring your drawings closer to reality.
Combining Gouache and Color Pencil Techniques
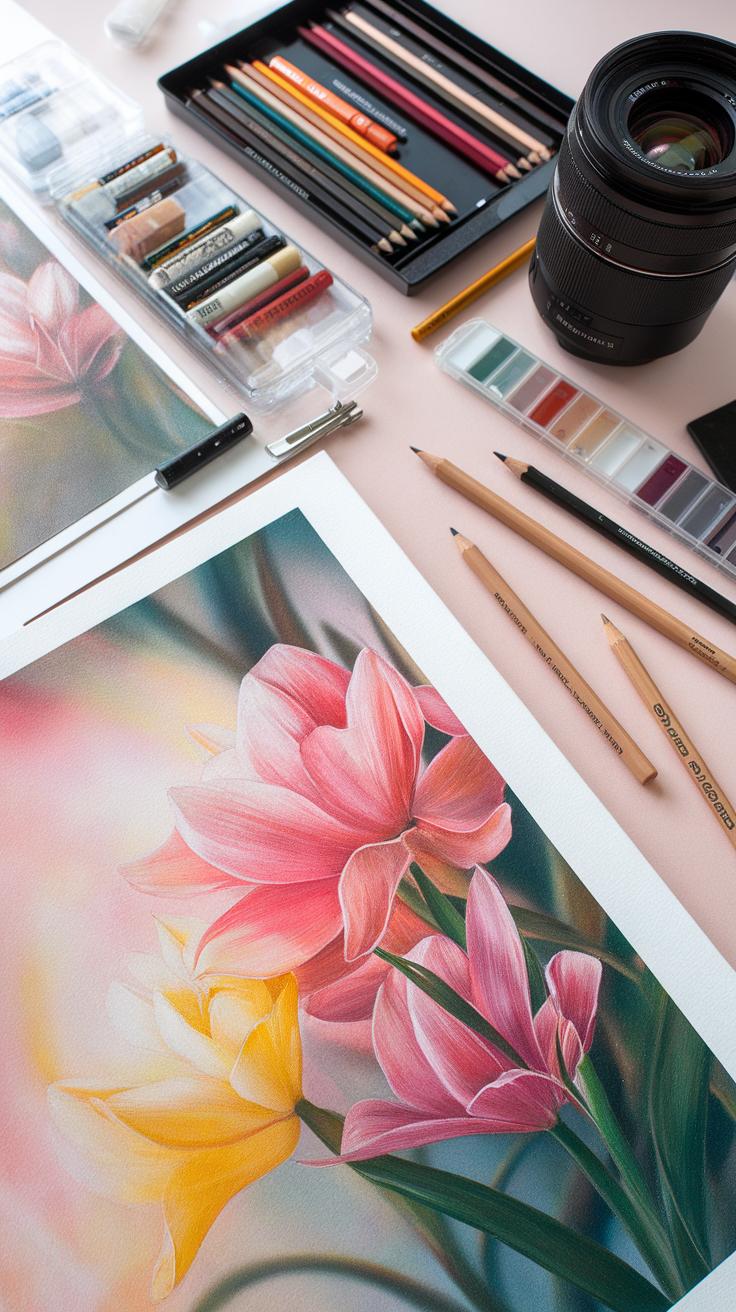
Mixing gouache paint and color pencils opens creative opportunities to enrich your artwork with texture and depth. Gouache creates solid areas of color with a matte finish that sets a foundation you can build upon. After the gouache paint dries, you can layer color pencils to add sharp details, textures, and subtle color variations that are harder to achieve with paint alone. Have you tried using pencils to accentuate fine lines or bring out highlights on top of painted fields?
You can control contrast more precisely this way, creating sharper edges or soft shadows. This technique works well for subjects like portraits, flowers, or landscapes where you want both bold shapes and intricate patterns. Integrating these mediums pushes your work beyond single methods and encourages experimentation.
Using Color Pencils Over Gouache
Start with a dry gouache painting for the best result when adding color pencil details. Wet gouache can smudge or mix with pencil pigment unpredictably. Once dry, lightly sketch over the paint with hard or medium hardness pencils to add crisp lines or texture. You can use soft pencils too, but be careful not to damage the paint surface.
This process enhances your work by increasing definition and layering. For example, adding pencil strokes can emphasize hair strands or leaf veins without repainting. It also helps you fix small imperfections or introduce color gradients gradually. This layered approach lets you maintain the gouache’s rich base while crafting precise marks that enrich the overall piece.
Mixed Media Approaches
Artists often combine gouache and colored pencils to create unique mixed media art. Some use gouache for bold, flat backgrounds and add pencil details on top. Others blend colors carefully with paint and apply pencils to highlight textures like rough bark or soft fabric folds. This mix can bring tactile qualities to your work that aren’t possible with either medium alone.
Consider how you might use gouache for smooth, opaque shapes, then draw over them with sharp pencil lines to add movement or expression. Have you tried layering light pencil strokes over dark paint to create contrast? Experimenting with various marks and textures can transform simple gouache paintings into vibrant masterpieces that hold viewers’ attention longer.
Choosing the Right Online Art Course for You

Finding the best online course for gouache painting and color pencil art involves more than just picking one with fancy thumbnails. You need to study the course content carefully. Ask yourself: Does the course cover techniques you want to learn? Are the lessons designed for your current skill level? A beginner needs step-by-step instruction, while an advanced artist might look for courses on mixing media or mastering light and shadow.
Instructor expertise matters too. Look for teachers with proven experience in gouache and color pencil art. Check their portfolios or reviews from former students. Experienced instructors share insights that you won’t find in generic videos. You should also consider how the course supports students. Is there an active forum or group where you can ask questions? Will the instructor respond to your progress? Strong student support boosts learning by helping you overcome challenges quickly.
Evaluating Course Content
Review the course syllabus to see if it matches your goals. Does the content include the gouache and color pencil skills you want to improve? For example, if you want to learn layering techniques, make sure the course covers that in detail. Check if lessons include practice projects or real examples. These allow you to apply what you learn and track your progress.
Consider whether the course moves at your pace. Some courses cram too much too fast, which can leave you confused. Others may focus too much on basics when you want advanced tips. Look for clear descriptions or sample lessons before enrolling. This helps you avoid wasting time and money on a course that doesn’t fit your needs.
Instructor and Community Interaction
Instructor response time impacts your learning. When you get stuck, prompt feedback helps you fix mistakes and improve. Ask if the instructor offers personalized critiques, live Q&A sessions, or feedback on submitted artworks. These features build confidence and keep you motivated.
Your connection with fellow students matters as well. Peer feedback often reveals different viewpoints and techniques. It creates a learning environment where you can share successes and challenges. An engaged community can push you to keep improving and stay committed to your art journey. Have you looked for courses with active student groups or discussion boards? Interaction can make your learning experience richer and more enjoyable.
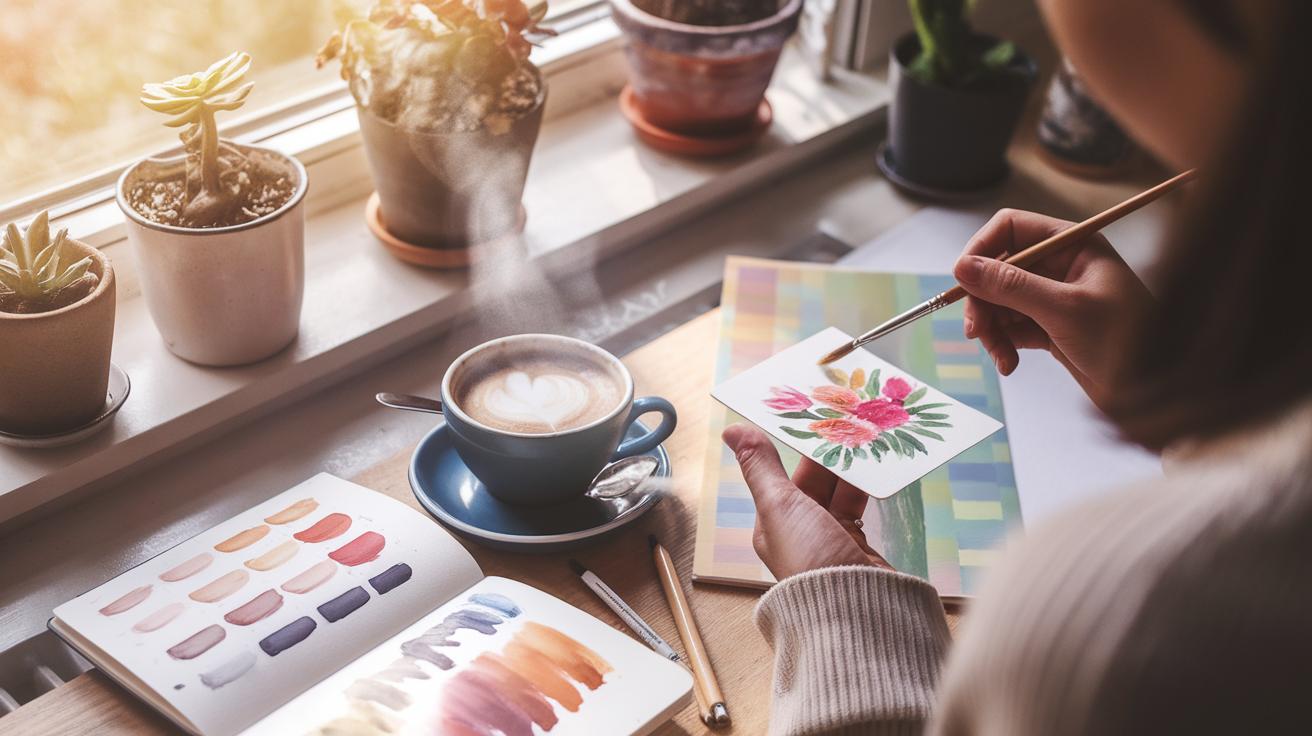
Staying Motivated and Practicing Regularly
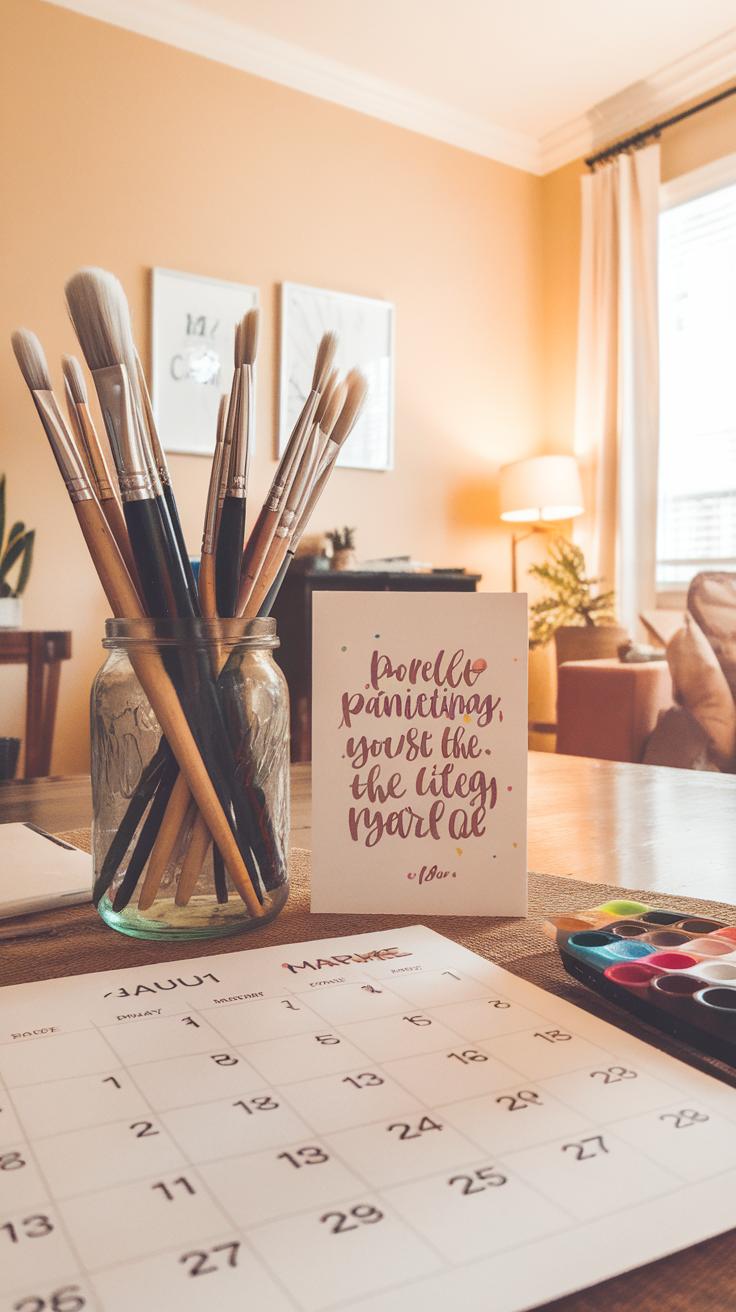
Setting clear goals helps you keep your focus while learning gouache and color pencil techniques. Break down big projects into smaller tasks you can finish step-by-step. For example, aim to master blending colors or creating texture within a week. Achieving these milestones gives you a sense of accomplishment and keeps you moving forward.
Consistency matters more than long sessions once in a while. Practice for 15-30 minutes daily if you can. Try simple exercises like creating color gradients with your gouache or experimenting with layering on your color pencils. These repetitive drills build muscle memory and improve control.
Ask yourself what skills you want to improve this week. Do you want smoother shading or sharper lines? Choose projects based on those goals. Try painting still life objects you see every day to practice observation and color matching. Keep a sketchbook to track your growth and spot areas that need extra attention.
Setting Realistic Goals
Set specific and reachable goals to maintain steady progress. Instead of saying “paint better,” pick challenges like “paint a leaf and capture its veins using gouache.” Define how much time you will spend each day or week. These clear targets prevent frustration and false starts.
Reflect regularly on what you have learned and adjust your plan. If blending is difficult, spend more time practicing that before moving on. How will you measure your improvement? Taking photos and comparing work weekly or sharing your pieces with a community can motivate you.
Practice Ideas
Try small studies focusing on one technique at a time. Paint simple shapes with gouache to practice layering transparently. Use color pencils to experiment with cross-hatching to create shadows. Combining both mediums on one page can spark creativity.
Set mini projects like creating a series of botanical sketches or painting a color wheel to understand pigment mixing. Challenge yourself to paint the same scene multiple times, changing your color choices or strokes. What effect does each change create?
Keep practicing even when progress feels slow. Which exercise helps you overcome your current challenges? Sticking to planned practice sessions will steadily improve your skills and build confidence.
Conclusions
Learning gouache painting and color pencil art online enables you to develop your art skills at your own pace. These lessons help you understand the materials, techniques, and applications necessary to create expressive artworks. You gain access to expert guidance and peer support, making your learning experience efficient and enjoyable.
Embracing online gouache and color pencil lessons expands your artistic capabilities. By practicing consistently and applying the methods shared in classes, you can produce stunning paintings and drawings. Your creative journey continues as you explore new styles and refine your craft with the knowledge you build.