Introduction
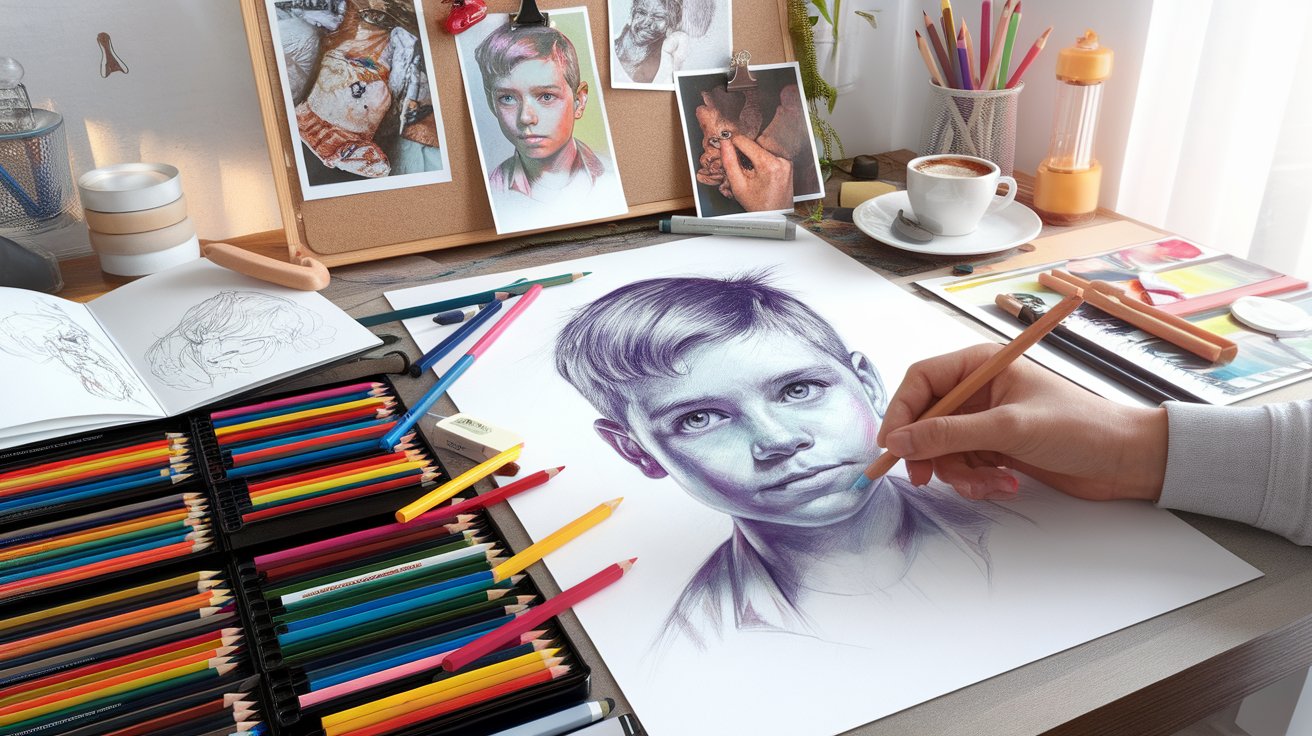
Creating art from photographs is a journey that blends technical skill and creative expression. For many, color pencil drawing offers the perfect medium to transform a simple picture into a timeless masterpiece. With its accessibility, precision, and ability to produce vibrant textures, color pencil art has become a favorite choice among beginners and professionals alike. Imagine turning a simple snapshot of a boy into a piece of art that tells a story, showcasing every shade and detail with lifelike depth.
By carefully selecting a photograph and applying proven techniques, anyone can achieve stunning results that evoke emotion and admiration. This guide will introduce you to the essential tools, processes, and techniques needed to transform ordinary photographs into extraordinary works of art. Whether you’re starting out or seeking inspiration, this journey promises both growth and fulfillment.
Why Color Pencil Drawing?
Color pencil drawing has gained popularity among artists for numerous compelling reasons. Not only is it an accessible medium, but it also offers a unique blend of precision and creativity that many other art forms struggle to achieve.
Accessibility and Versatility
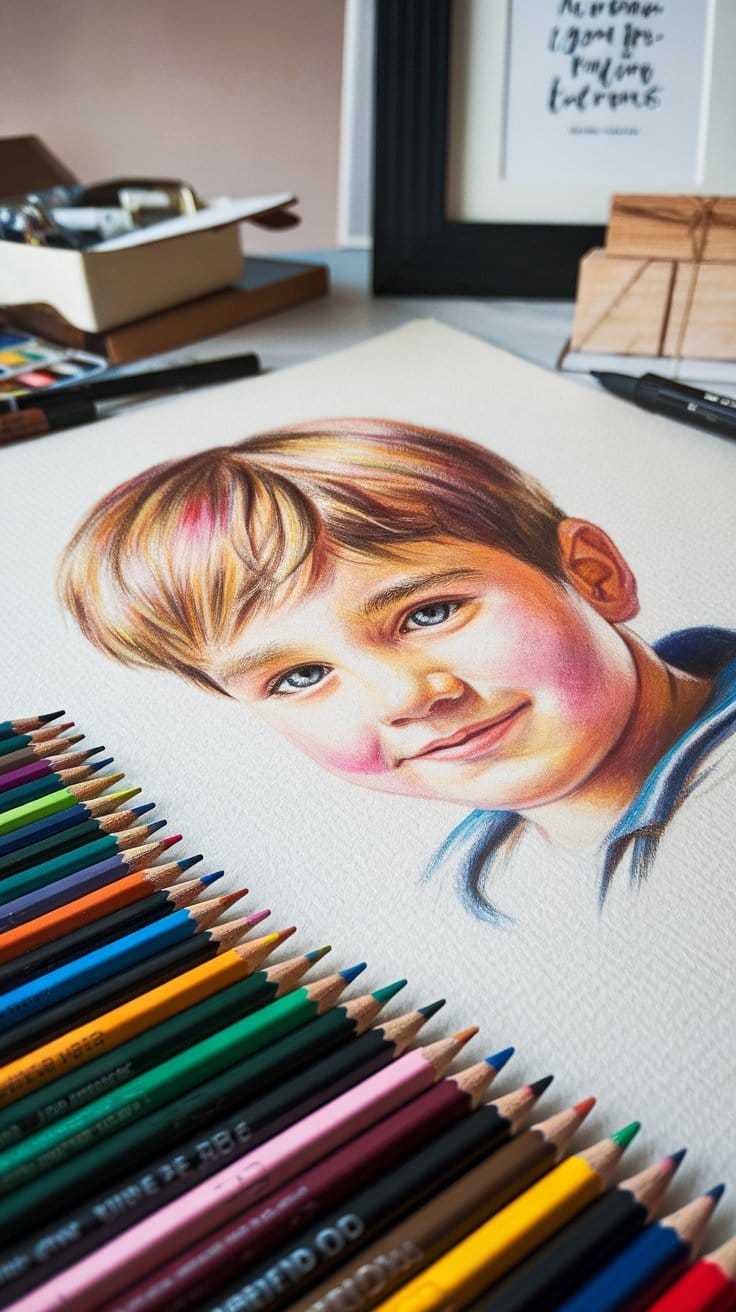
My journey with colored pencils began in my elementary art class, where I discovered that with just a few supplies, I could create vibrant pieces of artwork. They’re relatively inexpensive compared to other mediums, making them perfect for beginners and established artists alike. Color pencils provide the ease to:
- Layer colors effortlessly
- Achieve intricate detail
- Blend shades seamlessly

Moreover, you can use them on various surfaces, from standard sketch paper to toned and textured substrates. This versatility enables artists to explore different styles and techniques, such as shading, cross-hatching, and layering colors to create depth—leading to strikingly realistic portraits and landscapes. The journey from a blank page to a masterpiece becomes an engaging experience that connects the artist to their creative expression.
Choosing the Right Photograph
Selecting the ideal photograph to base your color pencil drawing on is a crucial step that can significantly influence the outcome of your artwork. An engaging reference not only inspires creativity but also provides clarity and direction in the drawing process.
Consider the Composition
The composition of your photograph should catch your eye at first glance. I recall a time when I stumbled upon a beautifully composed image from a nature walk, with vibrant colors and dynamic lines. It served as the perfect reference for a drawing that I was eager to create. When deciding on a photograph, focus on:
- Rule of Thirds: Position key elements along the grid lines or intersections.
- Strong Background: Ensure the background complements, rather than distracts from the main subject.
- Lighting: Look for images with dramatic lighting that highlights details and textures.
With the right photograph, your drawing will not only resemble your chosen scene but also capture its essence.
Reimagining the Boy Pic as a Retro AI Masterpiece
To truly elevate a photo to masterpiece status you must move beyond the digital clarity of modern smartphones and embrace the evocative nostalgic aesthetic of retro photography Using advanced image generation capabilities like Googles Gemini AI you can transform a standard concept into a convincing throwback that captures the spirit of a bygone era This technical approach adds a layer of timeless style that modern filters cannot replicate providing the unique value your content currently lacks
Crafting the Perfect Retro AI Prompt

Crafting an effective retro masterpiece is an art that requires specific technical details in your prompts Instead of just asking for a vintage look use Gemini AI to specify the film stock lighting and eraspecific fashion For example a 1990s Grungy Snapshot requires prompts mentioning 35mm film grain a cool color shift and a noticeable date stamp in the corner These meticulous details guide the AI to periodaccurate results that look like professionalgrade art
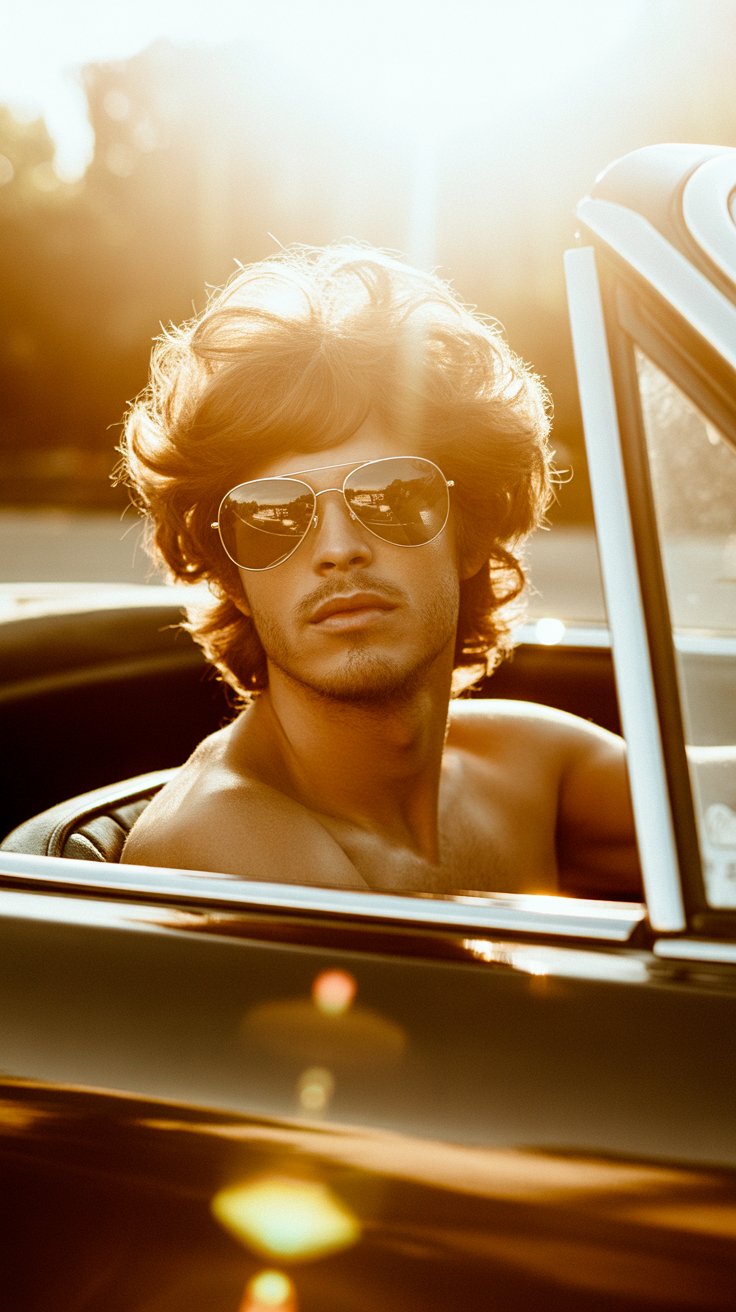
You can also experiment with highcontrast aesthetics like 1940s Film Noir By using harsh lowkey lighting and deep shadows to obscure the face you simulate a large format camera look perfect for a moody detectivestyle portrait Alternatively a 1970s SunDrenched look utilizes warm sepia tones and intense sun flares to evoke the soft washedout appearance of faded Ektachrome film instantly adding depth and a sense of memory to any portrait
Harnessing Period-Accurate Imperfections
To achieve a masterpiece you must reconsider your mobile device not as a snapshot tool but as a professional camera capable of complex edits Recreating historical looks isnt just about the AI its about harnessing intentional imperfections like film dust scratches and light leaks These subtle flaws add an irresistible charm and human touch that digital perfection often lacks effectively blurring the line between a standard selfie and a legitimate piece of art
Beyond AI generation utilize thirdparty mobile apps to layer textures and lighting effects while still on location Professional retouchers often use these tools to augment lighting with cube lights or add lens flares for a cinematic feel By combining these mobile editing workflows with AI capabilities you can turn ordinary captures into ultrarealistic 4Dstyle portraits ensuring your content provides the substantial value and technical depth required for highquality articles.
From Photo to Sketch
Transforming a photograph into a captivating sketch requires a few thoughtful steps to ensure an impressive final product. This process allows you to express your artistic vision while honing your drawing skills.
Preparing Your Materials

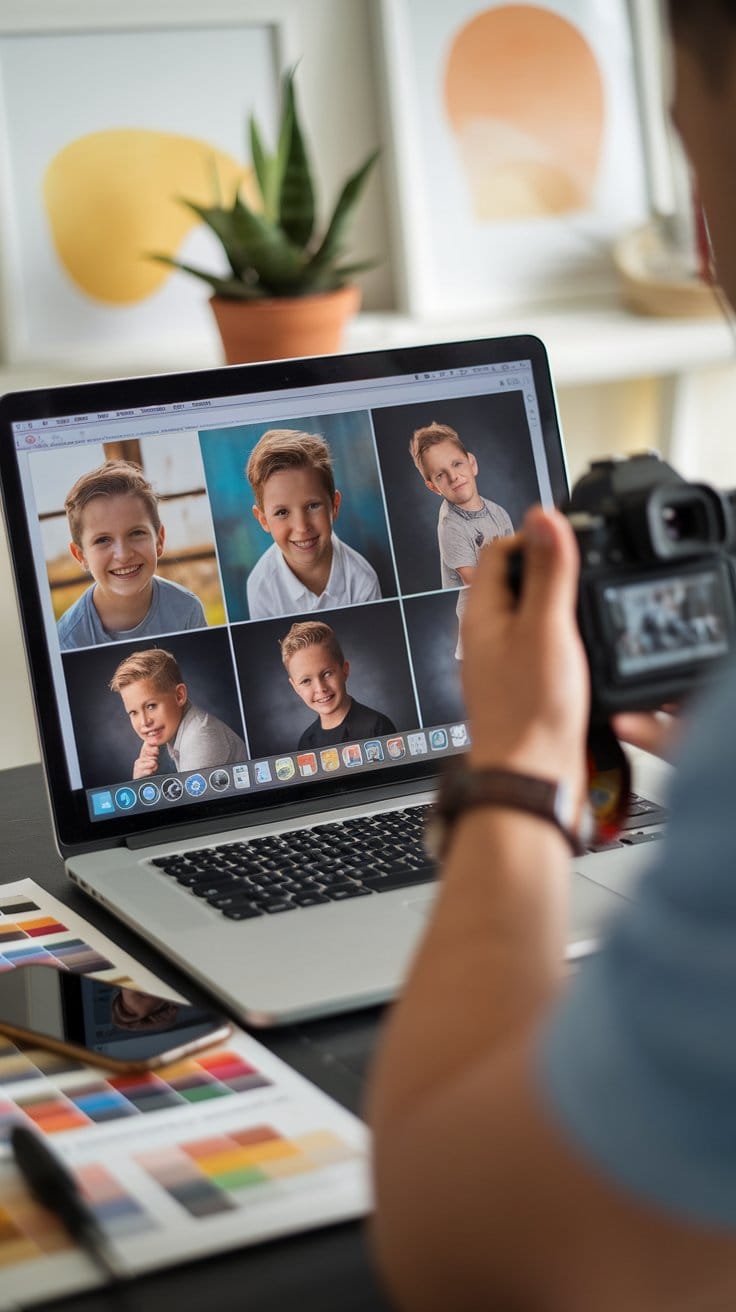
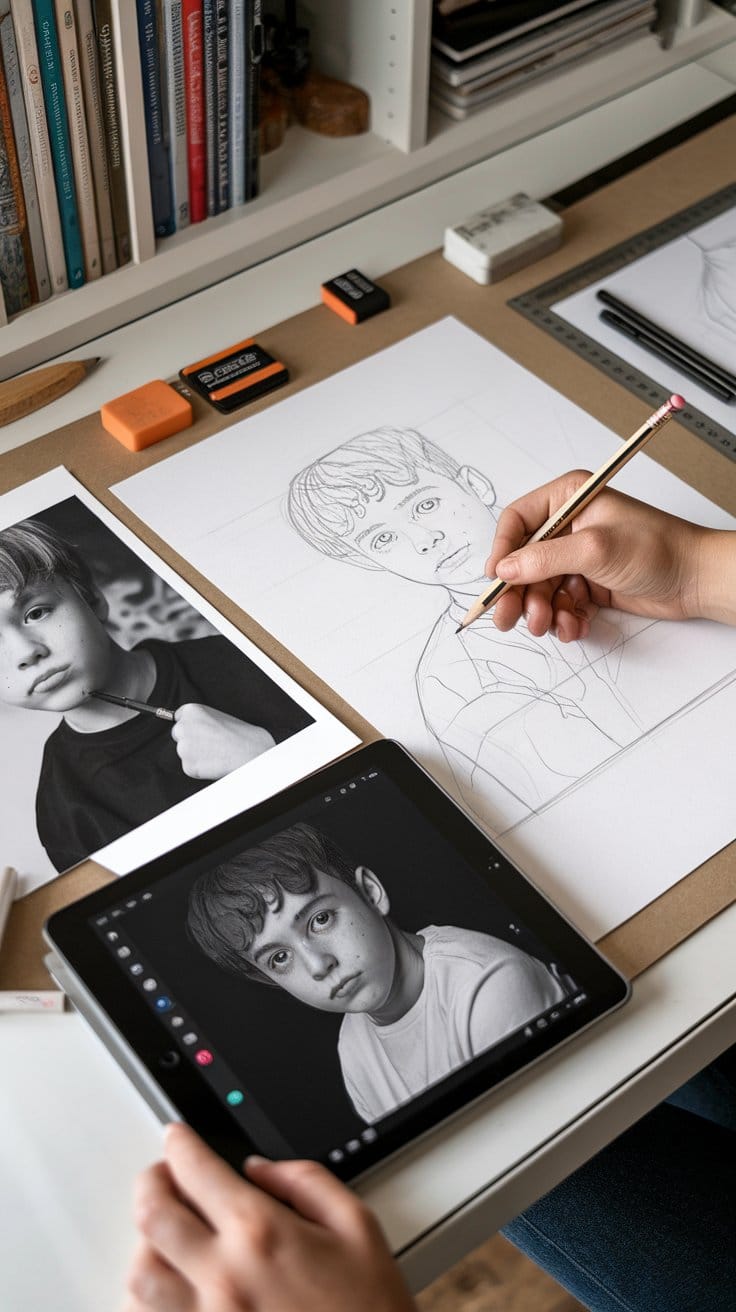
When I first attempted this technique, I found that the key lies in selecting the right photo and materials. Start by gathering your supplies, which include a well-lit image and sketching tools like pencils, an eraser, and quality paper. Next, enhance your photo:
- Convert to Black and White: This makes it easier to identify values and contrasts.
- Adjust Brightness and Contrast: Play around until you get a clean, high-contrast image that clearly defines the different elements.
These preparatory steps will set the stage for a successful and enjoyable drawing experience, bridging the gap from simple photography to art.
Mastering the Architecture of the Male Pose
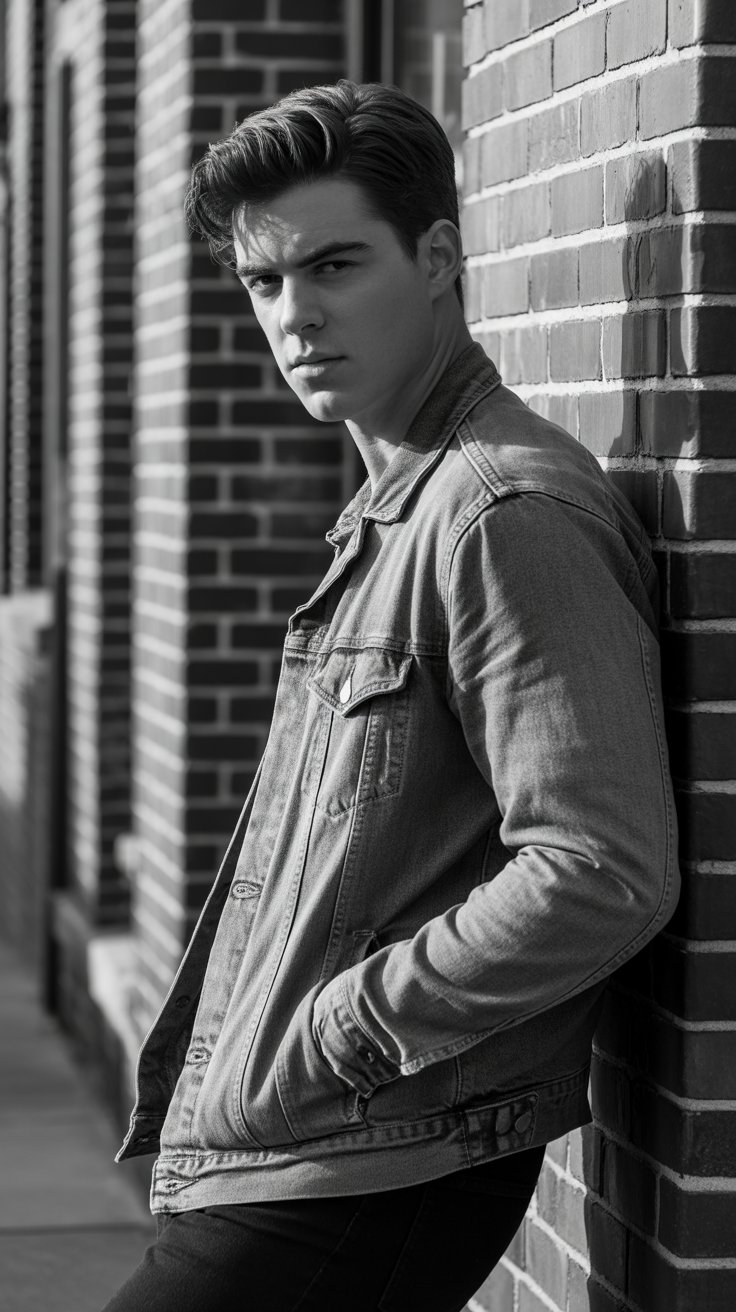
To transform a simple snapshot into a masterpiece you must understand the architecture of the male form Unlike female posing which often emphasizes curves male posing focuses on power and sharp angles By centering your composition on the Vshape broad shoulders and a tapered waist you create an immediate sense of strength and confidence Masterpiece photography isnt just about the camera its about directing the subject to embody his best most powerful version
Defining the Jawline and the “Squinch”
The jawline is a critical measurement of perceived manliness in a portrait To maximize this feature ask your subject to push their chin out and slightly down This stretches the neck and defines the jaw against the background shadows You should never allow the subject to pull their chin back as this creates an unflattering double chin and weakens the facial structure detracting from the masterpiece aesthetic you are trying to achieve

To add character and depth move away from round eyes and implement the squinch This technique involves lifting the lower eyelids slightly to narrow the gaze This subtle change makes the subject look like they are up to something adding playfulness and mischievousness to the expression It transforms a flat portrait into an evocative image that captures the subjects unique story and personality
Strategic Hand Placement and Body Angles
Men often look stiff because they have nothing to do with their hands A true masterpiece gives hands a clear reason for being in the frame Encourage your subject to hook a thumb in a pocket fix a tie or cross their arms to emphasize the biceps Busy hands reduce awkwardness and help the subject feel more comfortable resulting in an authentic capture that stands out from typical lowvalue social media selfies
Avoid shooting directly headon as it can look static Instead position the body at a 45degree angle to the camera This perspective slims the waist while highlighting the breadth of the shoulders creating a heroic silhouette Combining this angle with a slight head tilt away from the camera adds a touch of cool confidence ensuring the final image has the polished quality of a professional fashion editorial
Common Mistakes and How to Avoid Them
While capturing the perfect selfie can seem simple, there are often pitfalls that can hinder your success. Recognizing and avoiding these common mistakes is essential for looking your best in photos.
Key Mistakes to Avoid
Reflecting on my own early selfie attempts, I learned quickly what not to do. Here are some pitfalls to be wary of:
- Hiding Your Neck: Be mindful of your posture. Avoid tilting your chin down too much which can obscure your neck. Instead, elongate your neck slightly.
- Mechanical Smiles: A genuine smile involves more than just your mouth—your eyes should sparkle, too. Try thinking of something funny or happy to produce a natural expression.
- Ignoring Lighting: Poor lighting can make even the best poses look unflattering. Always strive to have good lighting, ideally from a natural source.
By steering clear of these mistakes, you’ll find it easier to take selfies that truly capture your essence!
Finishing Touches and Presentation
Once you’ve completed your colored pencil drawing, it’s time to add those final touches that elevate your artwork and properly present it to the world. This phase is crucial, as it enhances the overall appearance and longevity of your masterpiece.
Final Touches
After hours of hard work, don’t skip the details! When I finish a drawing, I like to step back and assess if any areas need more depth or brightness. Here’s how to polish your work:
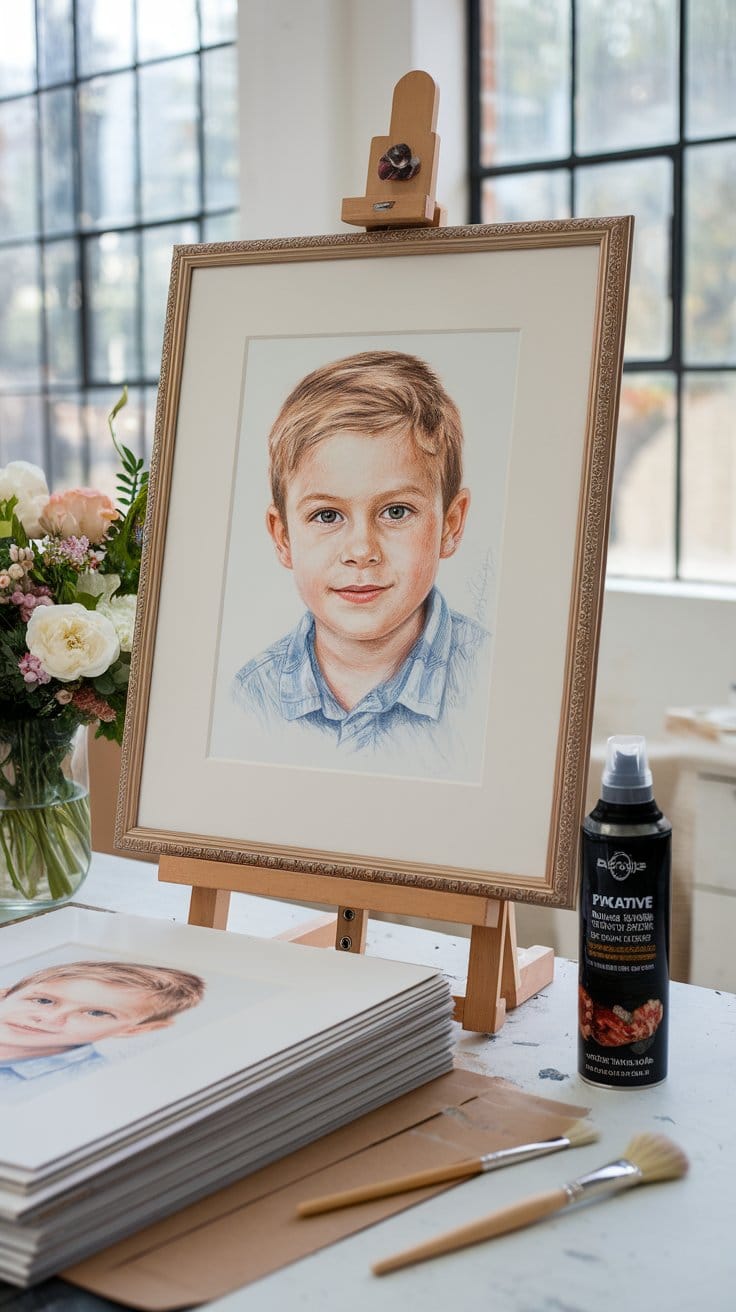
- Refine Highlights and Shadows: Use a white colored pencil to enhance highlights and deepen shadows for more dimension.
- Clean Up: Remove any smudges or stray pencil marks with a gentle touch. A soft brush can help lift debris without damaging the paper.
- Consider Fixative: Lightly spray a fixative if necessary to preserve your drawing, but always do a test on a scrap to ensure compatibility.
Presentation
Presenting your artwork thoughtfully can make a significant impact. You can frame your drawing under glass or window matting to protect it from dust and physical wear while enhancing its visual appeal. Remember, your finished piece is not just a reflection of your skill but also a testament to your creative journey. Sharing it online or gifting it to someone can spark inspiring conversations and connect you to other art lovers!
Conclusion
Color pencil drawing is not just about replicating a photograph but about reimagining it through your creative lens. By selecting the right photograph and using essential tools, even a beginner can create artwork that feels alive. Techniques such as layering, blending, and emphasizing light and shadow add depth and realism to your creation, turning it into a piece that tells a unique story.
The beauty of this medium lies in its accessibility and versatility. With a few supplies and a willingness to experiment, you can achieve results that captivate and inspire. Whether you’re preserving a cherished memory or exploring artistic expression, the skills and methods outlined here empower you to create artwork that resonates deeply with viewers.