Introduction
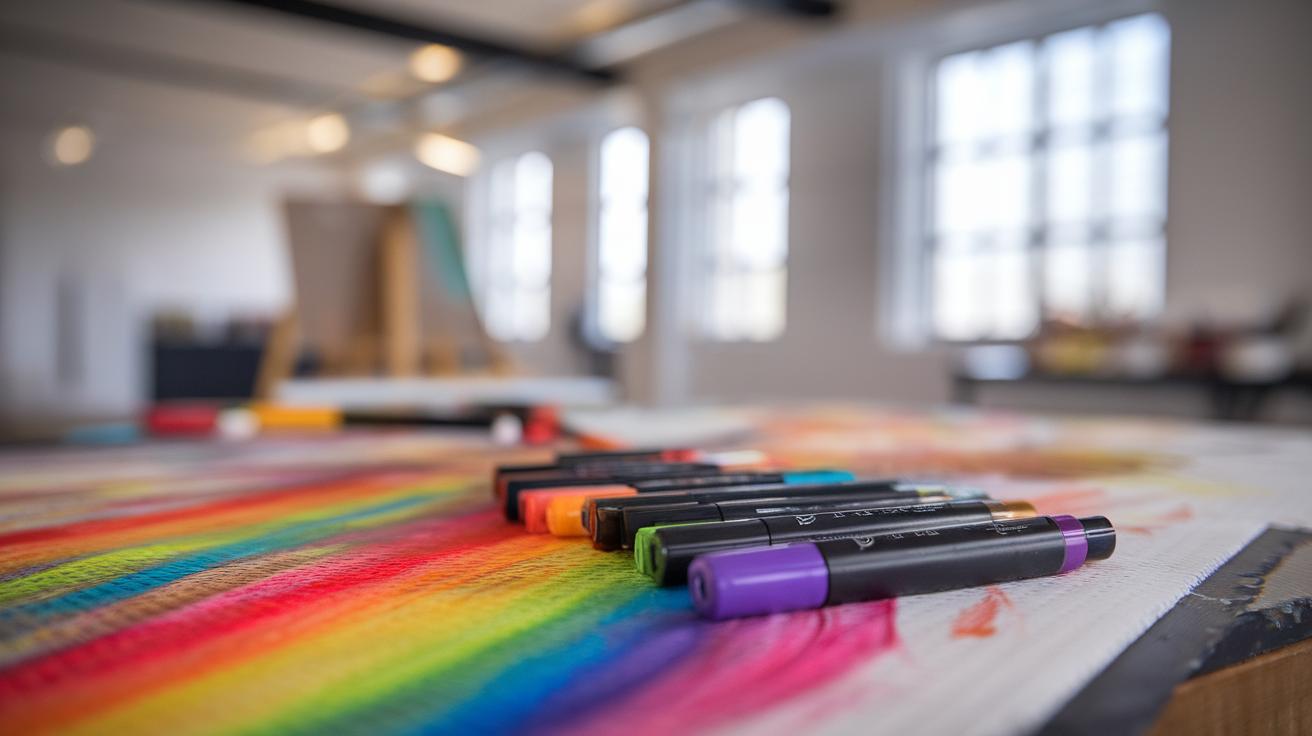
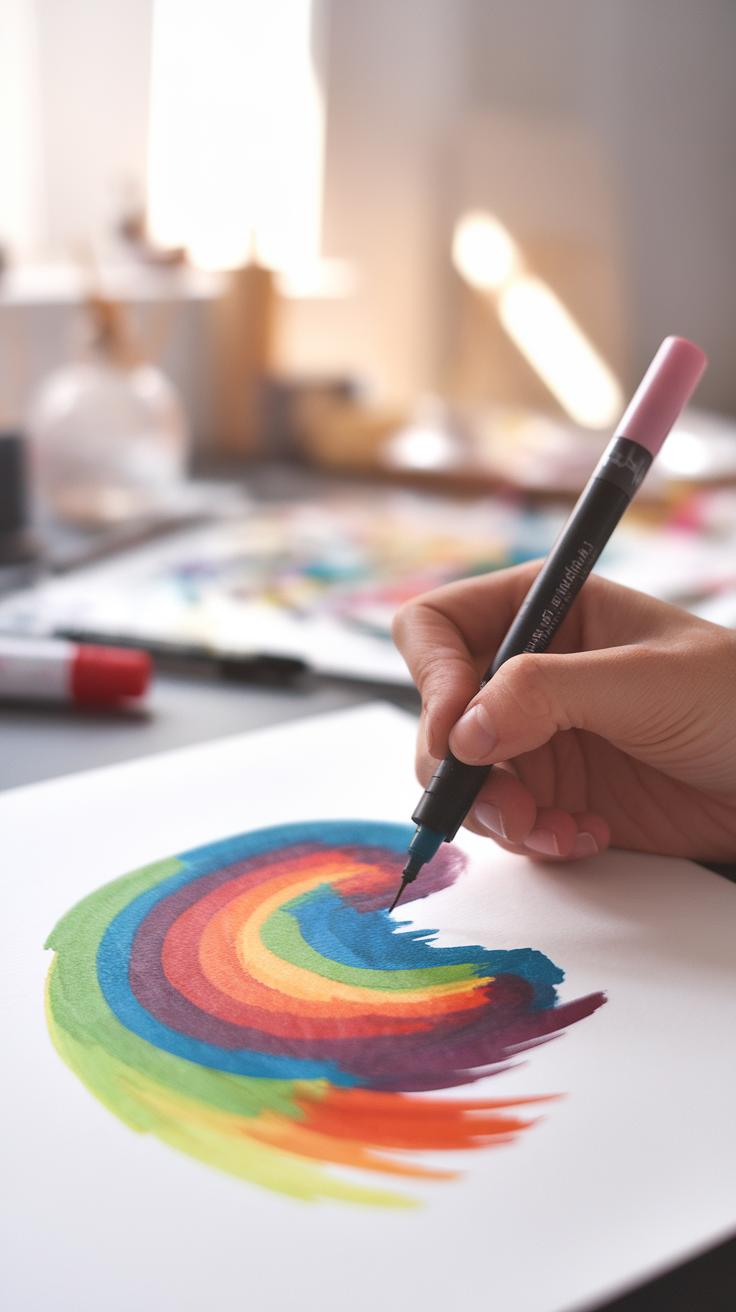
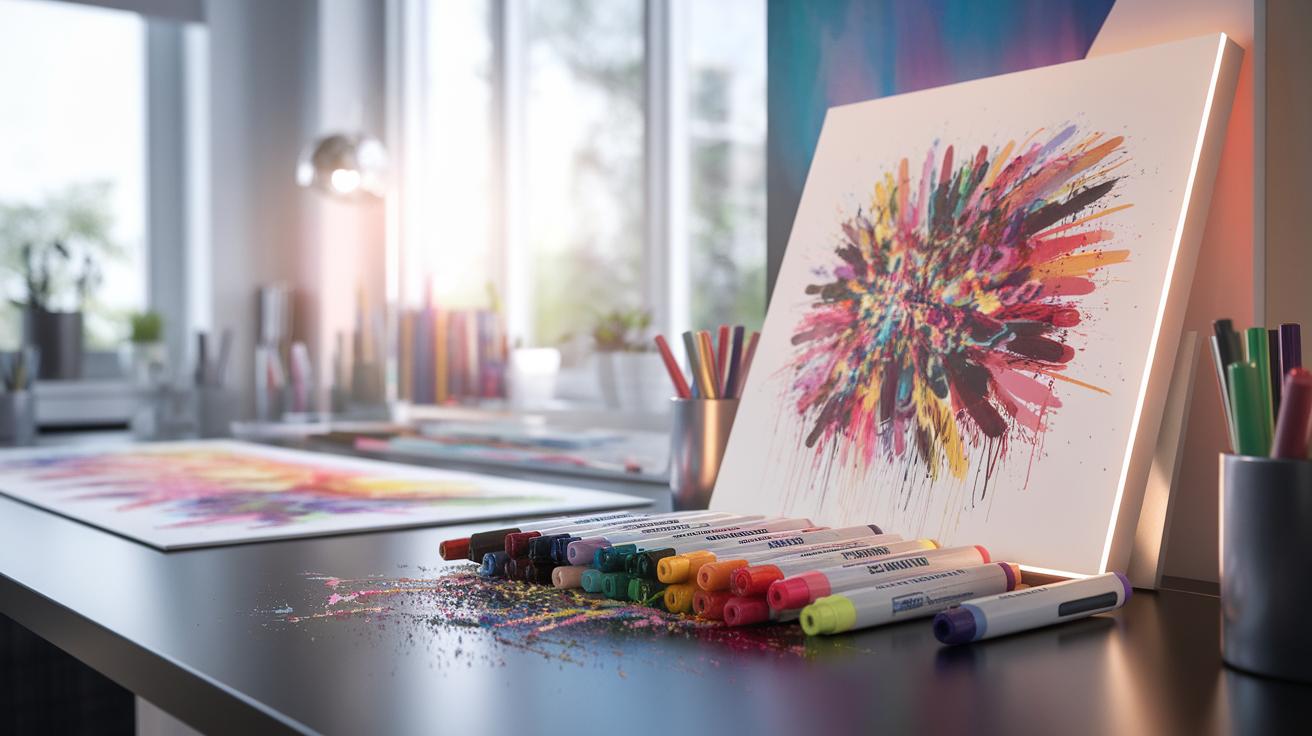
Artists consider alcohol markers a unique medium for vibrant and expressive art. These markers contain alcohol-based inks that produce rich colors and smooth blending, making them ideal for both beginners and experienced artists. Using alcohol markers can bring artwork to life, creating stunning visuals that grab attention. This article explores the world of alcohol marker drawings, highlighting techniques, styles, and tips to enhance creativity.
Throughout this journey, we will uncover various aspects of alcohol markers, including their types, the advantages of their use, and techniques for mastering the craft. Whether you create illustrations, comic art, or simple designs for fun, alcohol markers offer endless possibilities. By the end of this article, you will feel inspired to embrace alcohol markers and incorporate them into your artistic toolkit.
Understanding Alcohol Markers
Alcohol markers stand out as a unique type of drawing tool that contains alcohol-based ink. This ink offers artists a smooth application that blends easily. Each marker consists of a felt tip or nib, a barrel filled with vibrant ink, and often a cap that keeps the marker wet and ready for use. Alcohol markers differ from water-based and permanent markers by their ability to layer colors seamlessly without bleeding, allowing intricate designs and rich details. Artists can achieve a variety of effects, from soft gradients to bold strokes.
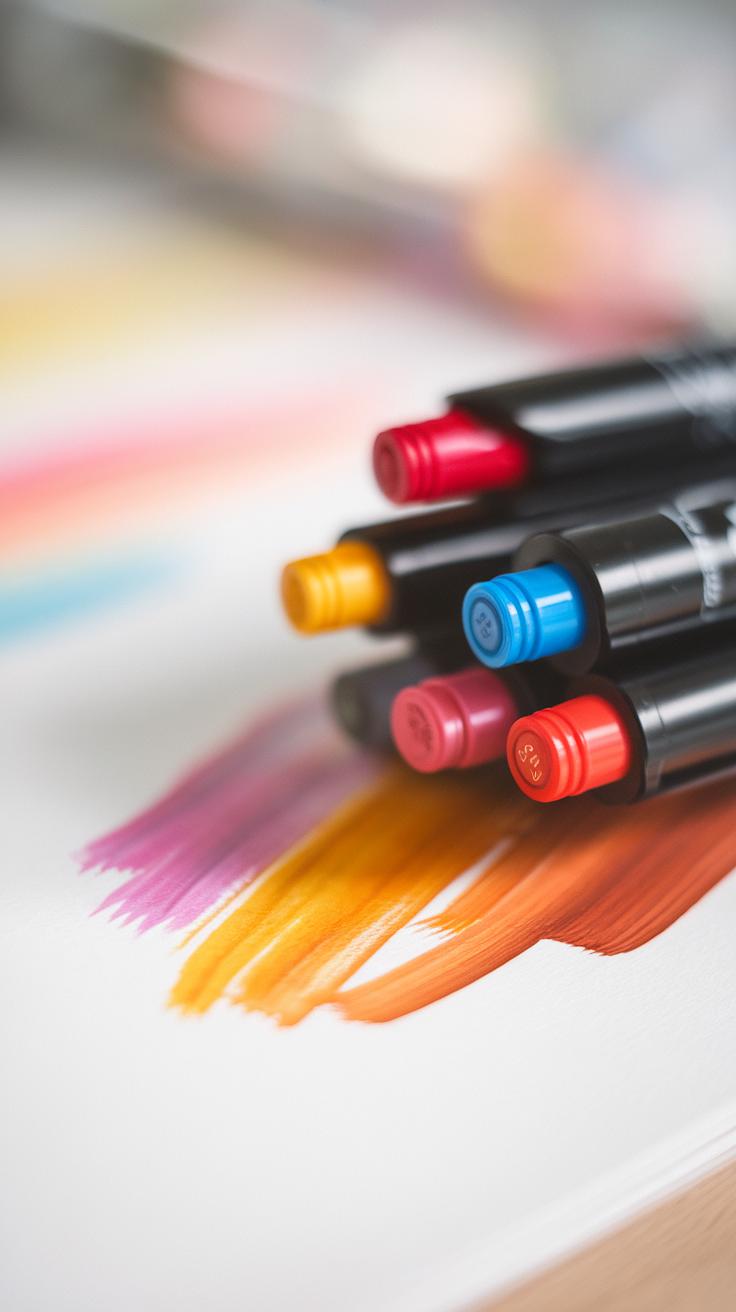
One major advantage lies in their quick-drying properties. Artists can add multiple layers quickly without waiting for the ink to dry. The strong pigmentation also contributes to vibrant artwork, making colors pop and enhancing overall visual appeal. Whether creating illustrations, fashion designs, or fine art, alcohol markers empower artists to express their creativity with precision and flair.
Types of Alcohol Markers
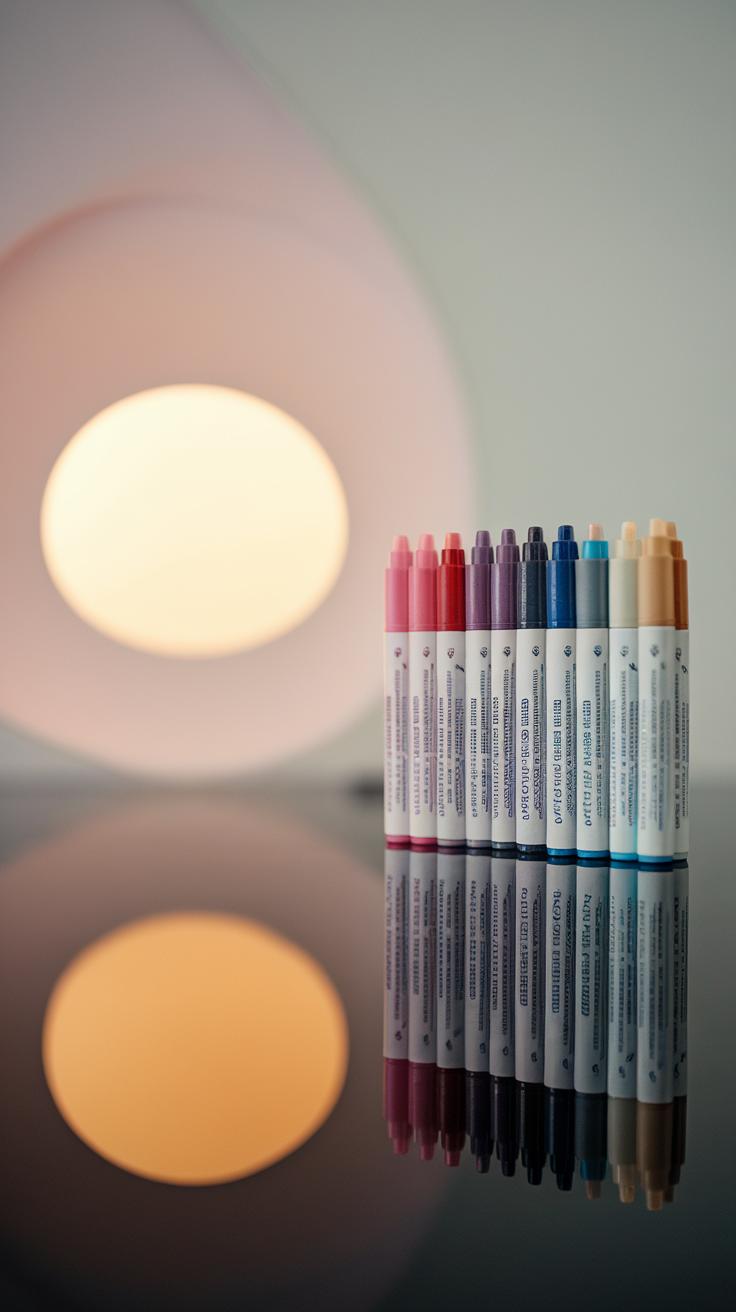
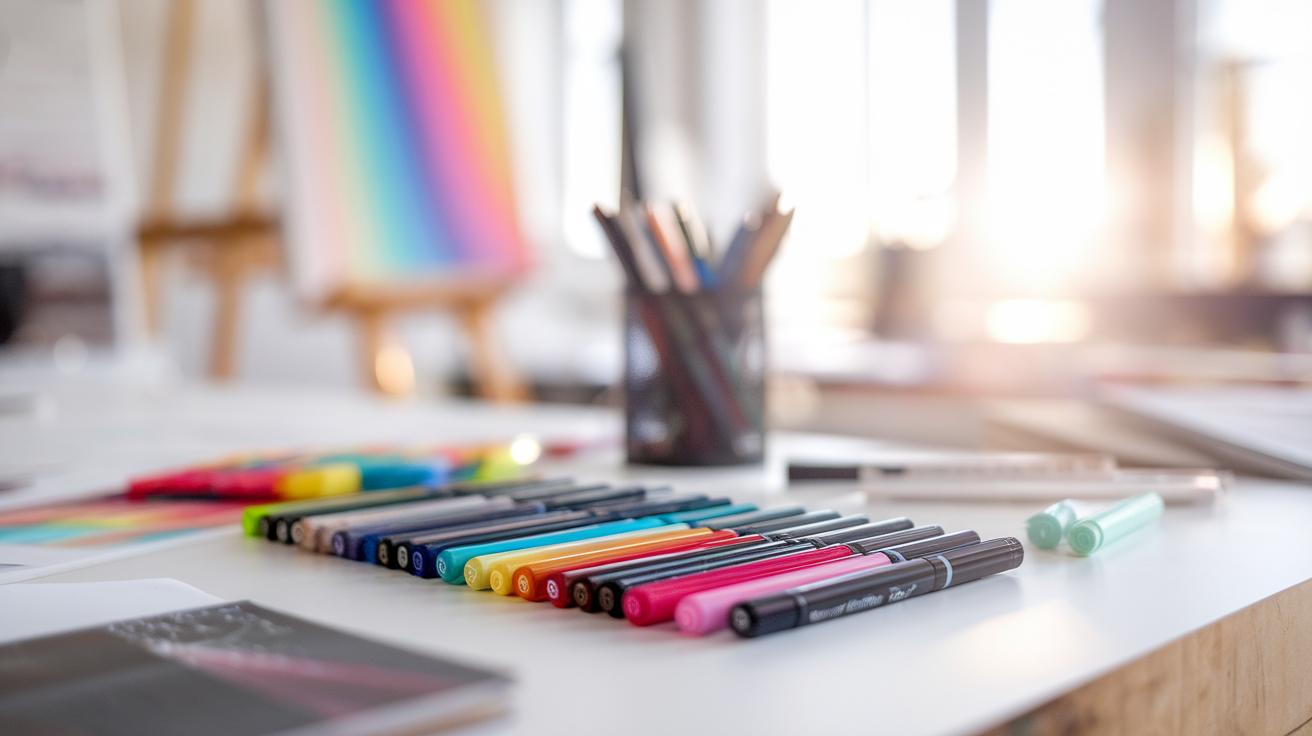
Alcohol markers come in various types, each designed for specific artistic effects. The most common types are sketch and chisel tips. Sketch tips feature a fine point, which helps artists create detailed lines and intricate designs. These markers are perfect for drawing outlines and adding fine details, making them a favorite among illustrators. Chisel tips have a flat edge and allow for broader strokes. They excel in filling large areas quickly and can produce beautiful gradients and shading when used correctly.
Artists also use specialty markers, which come with unique features. Some of these markers have brush tips, combining flexibility with control and enabling smooth blending. Others include white gel pens for highlights or metallic markers for shiny accents. Choosing the right marker type enhances your artwork, allowing you to express your creativity in vibrant ways.
Essential Techniques for Alcohol Marker Drawings
Mastering Layering
Layering allows artists to create depth and complexity in their alcohol marker drawings. Start with a base layer of color, applying it lightly to cover the area. Once the first layer dries, add a second layer in the same color or a complementary shade. This approach builds richness. Artists can experiment with different colors, layering them to achieve unique effects. Remember to let each layer dry before applying the next for the best results.
Blending for Smooth Transitions
Blending creates smooth transitions between colors. Choose two or more colors that complement each other. Use a lighter color first, applying it across the area. Next, take a darker shade and apply it gently at the edges. Use a blending tool or a colorless blender marker to combine the colors. This technique softens the lines while enhancing the vibrancy of the art. Consistent practice will improve your blending skills, allowing you to bring your drawings to life.
Color Theory in Alcohol Marker Art
Understanding Color Relationships
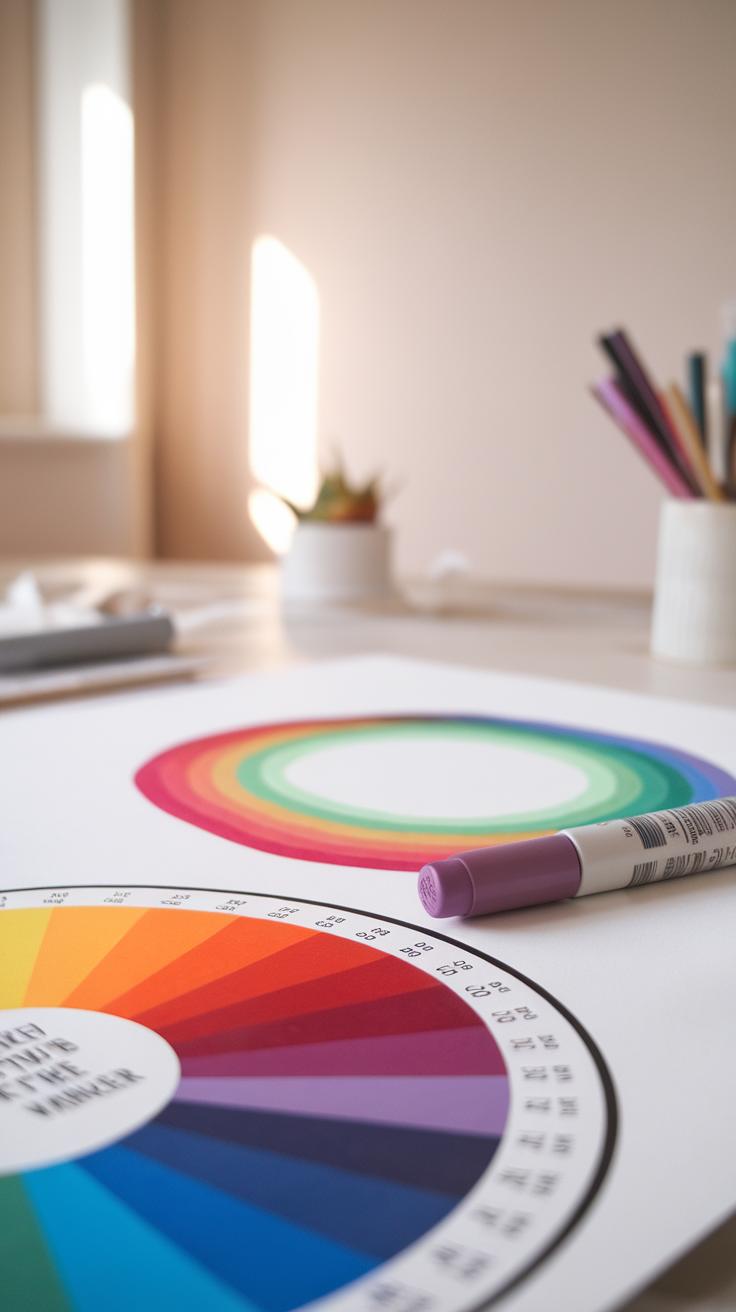
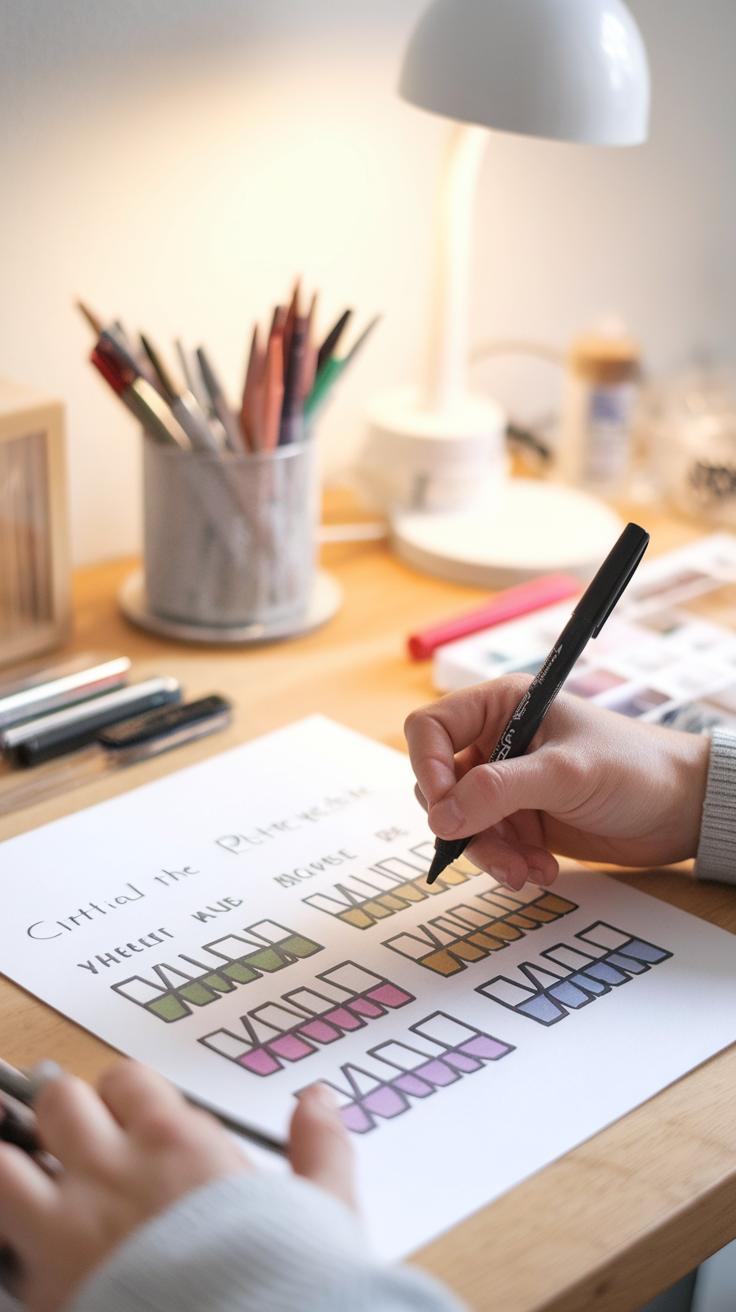
Color theory plays a vital role in alcohol marker art. Comprehending how colors work together allows artists to create striking visuals that capture attention. The color wheel showcases primary, secondary, and tertiary colors, helping you understand relationships among them. For example, complementary colors, positioned opposite each other on the wheel, create contrast, making elements pop. Analogous colors, found next to each other, provide harmony and unity in your artwork.
Applying Color Theory in Your Art
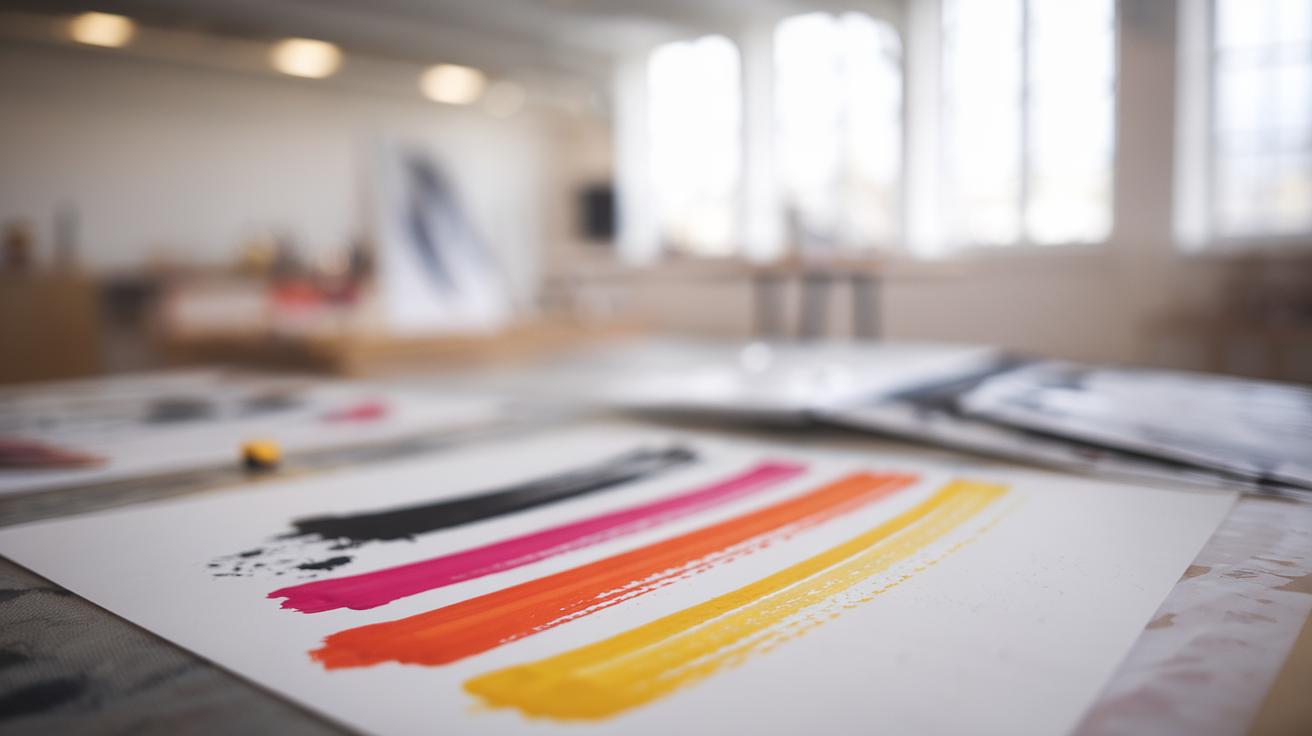
When you blend colors using alcohol markers, consider the mood you aim to convey. Warmer tones, like reds and yellows, evoke energy and excitement, while cooler colors, such as blues and greens, evoke calmness. By layering markers, you can experiment with shades, tints, and tones to bring depth to your drawings. Use color schemes to guide your choices, enhancing your artwork’s emotional impact and achieving the vibrancy that alcohol markers offer.
Choosing the Right Paper for Alcohol Marker Work
How Paper Choice Impacts Quality
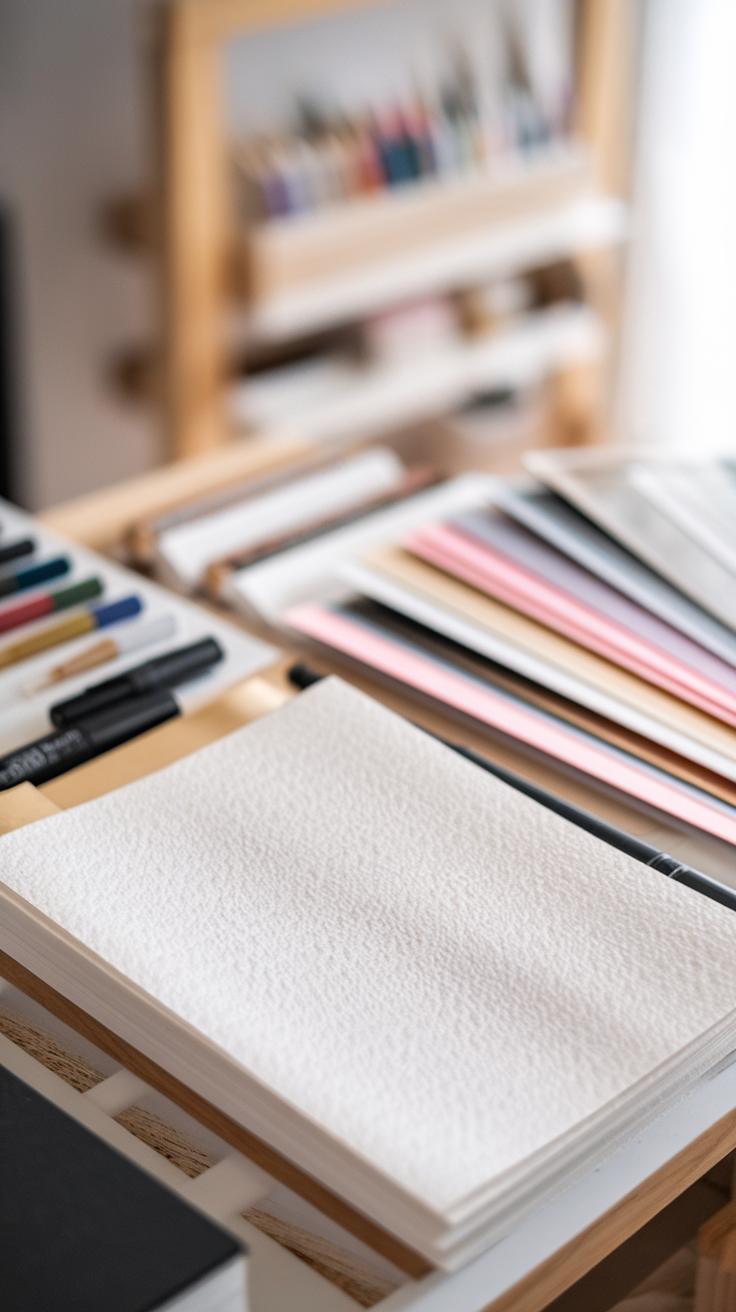
Selecting the right paper for alcohol marker art significantly affects the drawing’s overall quality. The ideal paper must have a smooth surface to allow markers to glide effortlessly. Using rough or textured paper can lead to uneven application, which may disrupt vibrant color blending and layering. Artists often choose specially designed marker paper that prevents bleed-through, preserving both the artwork and the surface underneath.
Different Types of Paper
Various types of paper cater to different artistic needs. Heavyweight paper can handle multiple layers without warping, making it suitable for detailed work. Some artists prefer glossy paper, which enhances color saturation and vibrancy. Experimenting with different options helps each artist find what works best for their style and vision. Ultimately, the right paper helps bring life to alcohol marker art, allowing creativity to shine through.
Creating Depth and Texture
Understanding Depth with Alcohol Markers
Creating depth in alcohol marker drawings can transform flat images into dynamic pieces. Start by using a light color as your base layer. Then, gradually add darker shades in areas where shadows naturally occur. This layering technique builds dimension and makes your artwork pop. Think about how light interacts with objects in real life. By placing darker colors along the edges or in the creases, you can replicate realistic depth. Remember, less can be more. Use subtle transitions between colors for a smoother effect.
Adding Texture for Realistic Effects
Texture adds interest and realism to your drawings. To achieve this effect, try techniques like cross-hatching or stippling. Cross-hatching involves drawing overlapping lines, while stippling uses small dots. Both methods work well with alcohol markers. Experiment with different pressures on your marker to create varying intensities of color. Using a lighter or darker tone alongside these techniques can enhance the textured look. Shadows and highlights bring objects to life, making your artwork feel three-dimensional.
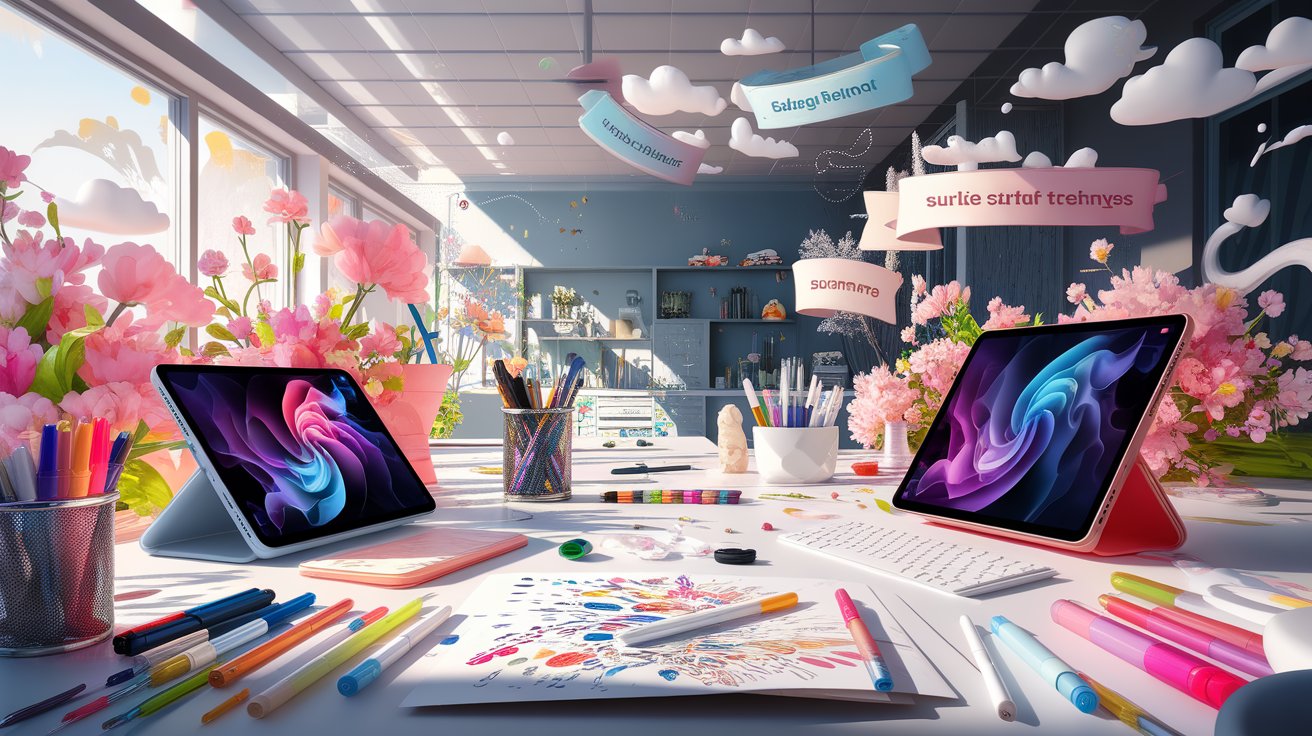
Incorporating Mixed Media with Alcohol Markers
Blend Alcohol Markers with Other Art Forms
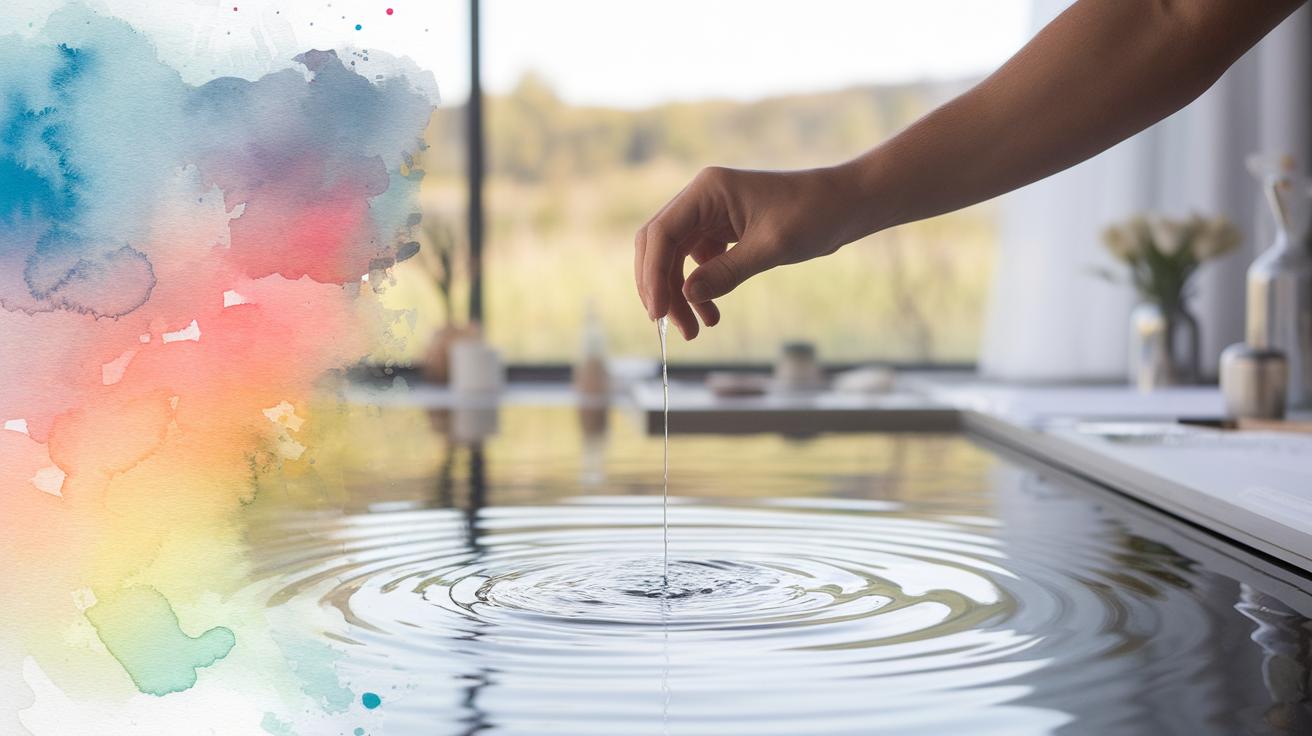
Combining alcohol markers with other media can greatly enhance your artwork. Artists find joy in mixing mediums like watercolor, colored pencils, and ink to create rich and dynamic pieces. For instance, layering watercolors beneath alcohol marker drawings allows vibrant colors to shine through, creating a beautiful effect. This method generates depth while providing a smooth foundation for the markers.
Using colored pencils for detailing after applying markers adds precision and texture. The pencils can fill in areas and produce subtler tones that complement the bold hues of alcohol markers. Artists might also incorporate inks or gel pens for striking outlines or highlights, allowing distinct contrasts that draw attention to key features in the artwork.
Experimenting with Textures and Techniques
Textures play a crucial role in mixed media art. By adding various materials, such as textured paper or fabric pieces, artists can create layers and dimensions that elevate their work. Using alcohol markers alongside these elements enriches the visual experience. Techniques like smudging or stippling with different tools can offer unique effects, making each piece more personalized and imaginative.
Exploring mixed media techniques ensures that your artwork not only stands out but also allows for remarkable creativity. The combination of alcohol markers and other media fosters endless possibilities for expression, sparking inspiration for future projects.
Inspiration and Styles

Exploring Cartoon and Realism Styles
Artists find inspiration in various styles when creating alcohol marker drawings. One notable style is cartoon art. Cartoon drawings often feature exaggerated characters, bold outlines, and playful colors. These elements invite creativity and allow artists to experiment with vibrant hues, helping their characters spring to life. Cartoon styles can appeal to various age groups, making them popular in animations and comic books.
On the other hand, realism offers a different approach. Realism emphasizes accuracy, aiming for lifelike representations. Artists skillfully blend alcohol markers to capture texture, shadow, and light. This attention to detail can make ordinary subjects appear strikingly beautiful. Many artists enjoy this challenge, using vibrant colors creatively to enhance their work. By exploring both cartoon and realism, artists enrich their skills, cultivating a diverse and engaging portfolio.
StepbyStep Guide to a Simple Alcohol Marker Project
Creating a Vibrant Alcohol Marker Artwork
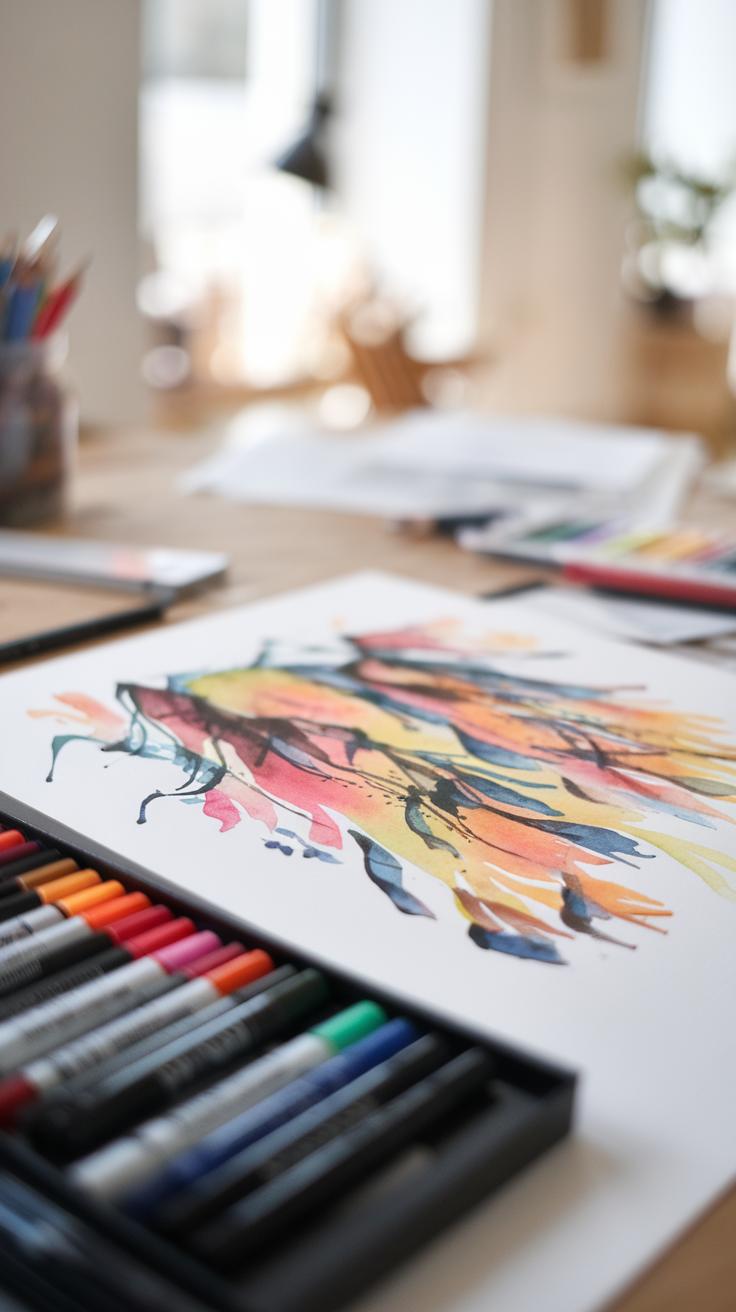
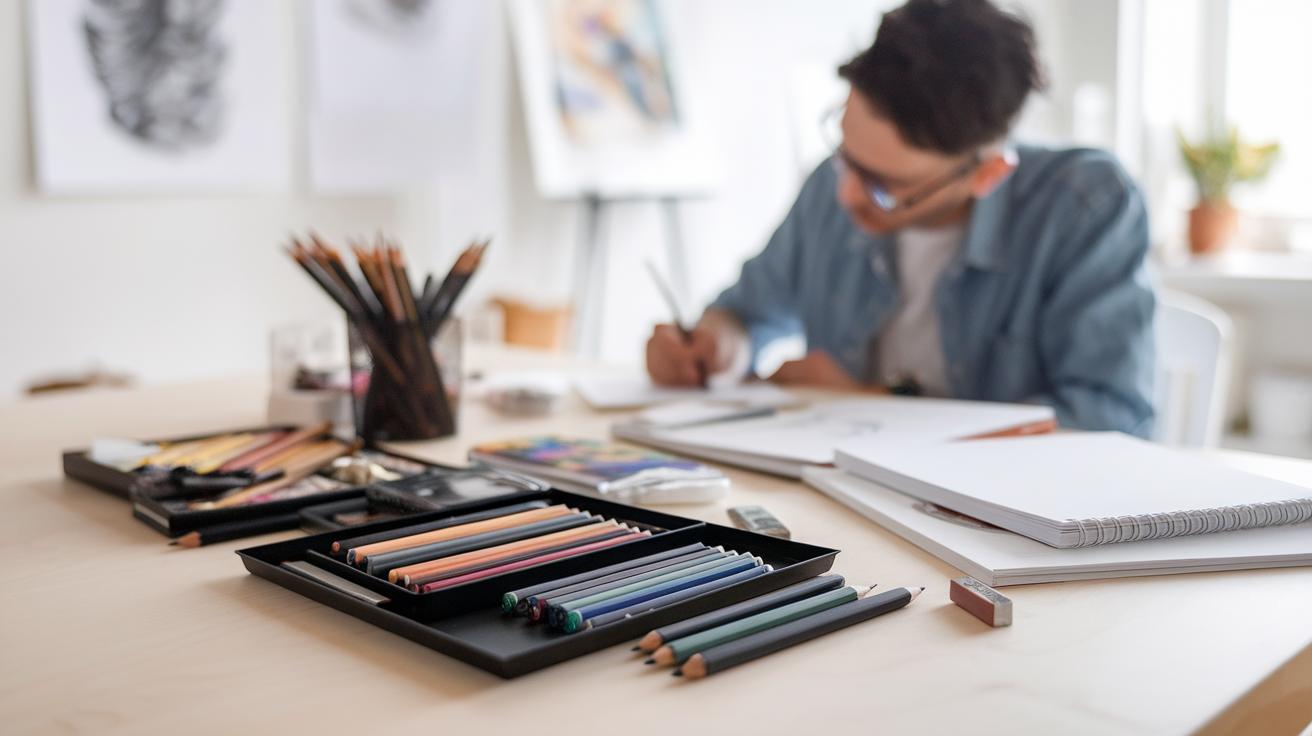
Start by gathering all your materials. You need alcohol markers, smooth paper, pencil, and an eraser. Choose your favorite colors and have some blending solutions handy for a smoother finish. First, sketch your design lightly on the paper. Focus on simple shapes and outlines to begin.
Next, pick a base color. Use one of your alcohol markers to fill in the large areas of your artwork. Apply even strokes to avoid blotches. After the base layer dries, choose a darker shade from your palette to add shadows and depth. Blend this color with the base using a blending marker or a light touch of your lighter base color.
Once satisfied with the blending, add details like highlights with a lighter color or white marker. This step will make your drawing pop. Finally, review your piece for any rough areas and touch them up as needed. Give yourself a moment to admire your finished work, embracing the colorful life you’ve brought to your art!
Tips for Maintaining Alcohol Markers

Ensure Longevity and Efficiency
Caring for alcohol markers helps keep their vibrant colors and improves their performance. Store markers horizontally in a cool, dry place to prevent the ink from settling. High temperatures or direct sunlight can cause the markers to dry out or leak. Always replace caps securely after use, as this prevents the tips from drying out.
Use a blending solution or colorless blender on the tips to keep them clean. Regular maintenance extends the life of your markers and offers smoother application. Avoid pressing too hard while drawing, as excessive pressure can damage the nibs. Instead, use light strokes for controlled layering. Lastly, regularly check the markers to ensure they still have ink. A quick shake helps you determine if they need refilling.
Conclusions
Alcohol marker drawings provide a unique and enjoyable way to express creativity. With their vibrant colors and ability to blend seamlessly, they open up a realm of artistic possibilities. Artists can explore illustrations, design graphics, and even create personalized gifts, all with these versatile tools. Through learning the various techniques and styles, you can improve your craft and find your unique voice.
The world of alcohol markers awaits your exploration. With practice, experimentation, and a bit of imagination, anyone can bring their artistic visions to life. So grab a set of alcohol markers and let your creativity flow. The only limit is your imagination!