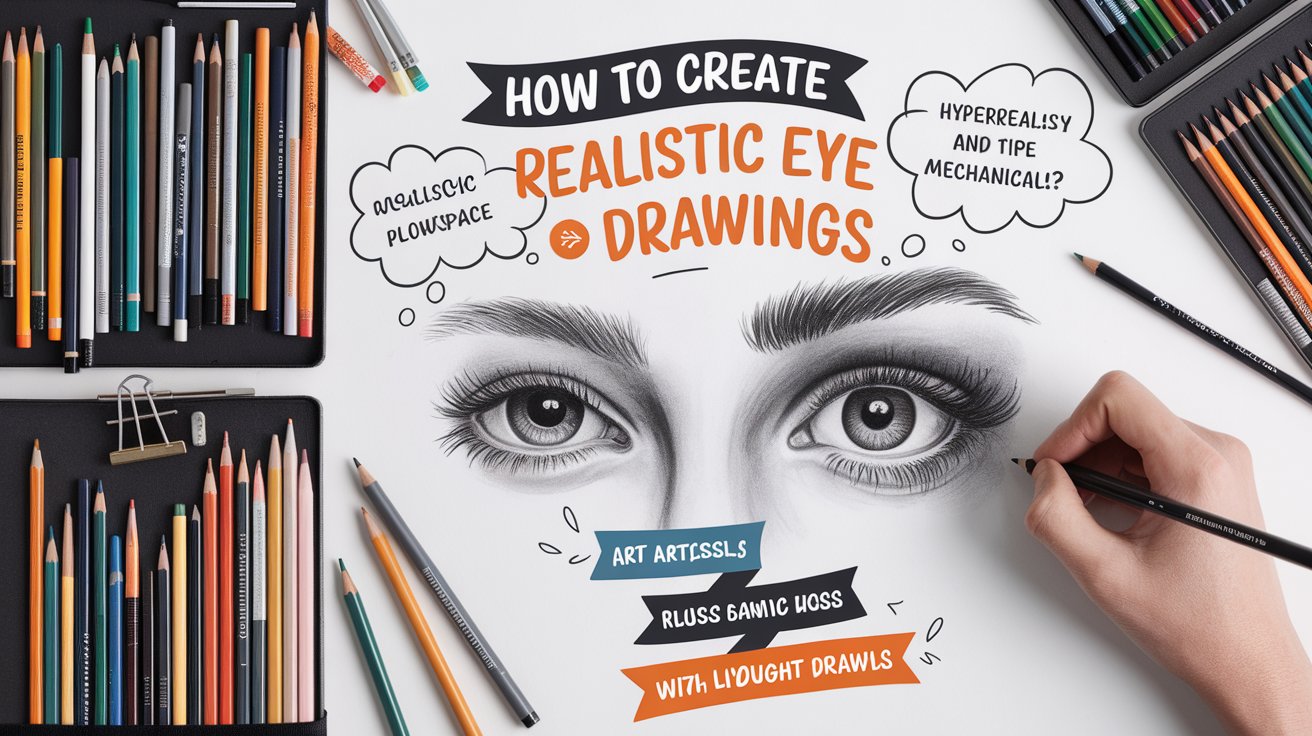
Introduction
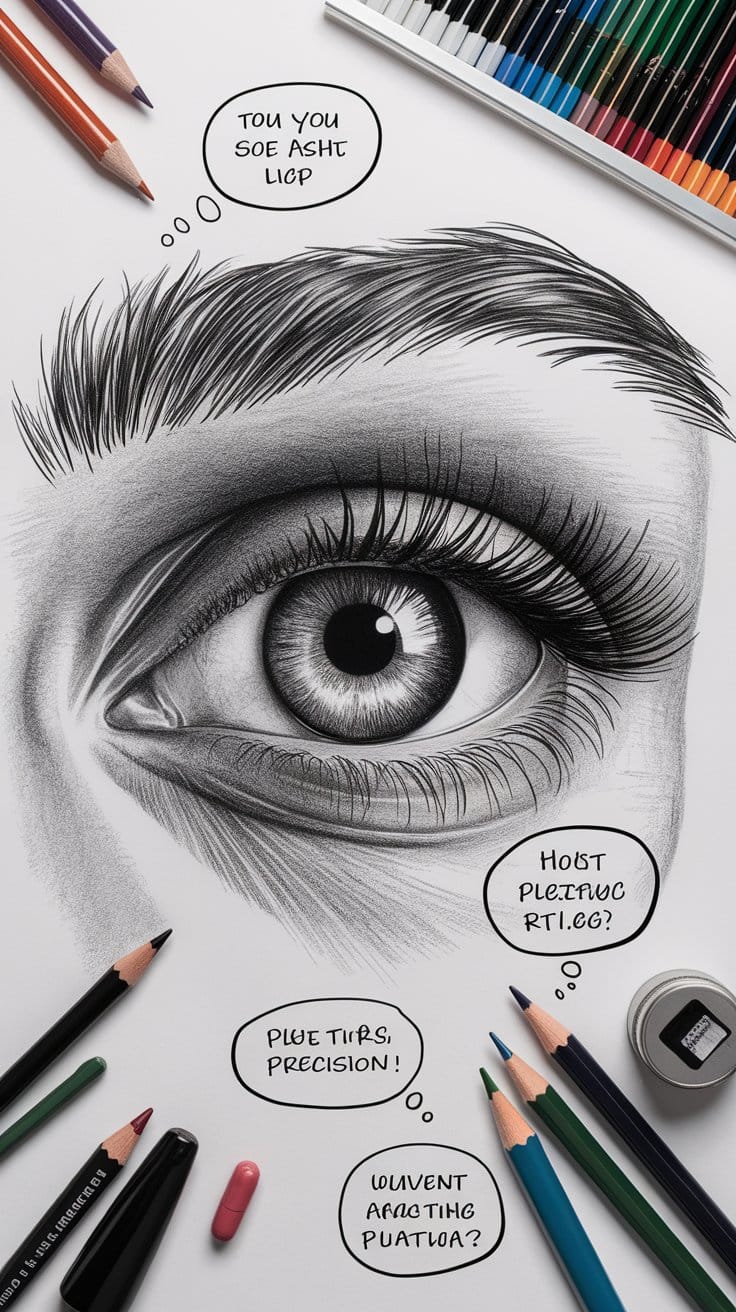
Welcome to our comprehensive tutorial on creating stunning realistic eye drawings. This guide is designed for artists eager to refine their drawing skills using graphite pencils and reference photos. In this step-by-step tutorial, you’ll learn to draw a realistic eye—from capturing the subtle details of the iris and pupil to shading the delicate eyelid and blending shadows effectively. Incorporating essential techniques, this art process also covers drawing the eye socket and adjusting proportions with precision.
Drawing a realistic eye involves technical precision and creative vision. Using methods from the Koray Framework, this tutorial offers expert advice on capturing the unique curves of the eyelash, the clear edge of the iris, and the play of light on the pupil. With a mix of sharp and soft pencils, you’ll learn techniques to render shadows and reflections for a balanced, hyperrealistic portrait. Transform basic sketches into stunning eye art and start drawing today.
Key Takeaways
- Choosing the right drawing materials, including sharp and mechanical pencils along with a quality sketchbook, is essential for creating a stunning realistic eye drawing.
- Following a detailed, step-by-step tutorial helps artists capture key elements like the iris, pupil, and eyelid with precision.
- Masterful shading techniques that blend dark and light graphite layers add depth and realism to the drawing.
- Focusing on intricate details such as the eye socket, eyelash, and the subtle curves of the eyelid enhances the overall accuracy of the portrait.
- Consistent practice, using reference photos, and employing an eraser for fine adjustments are crucial for refining drawing skills.
- Combining technical proficiency with creative insight transforms basic sketches into captivating, hyperrealistic eye portraits.

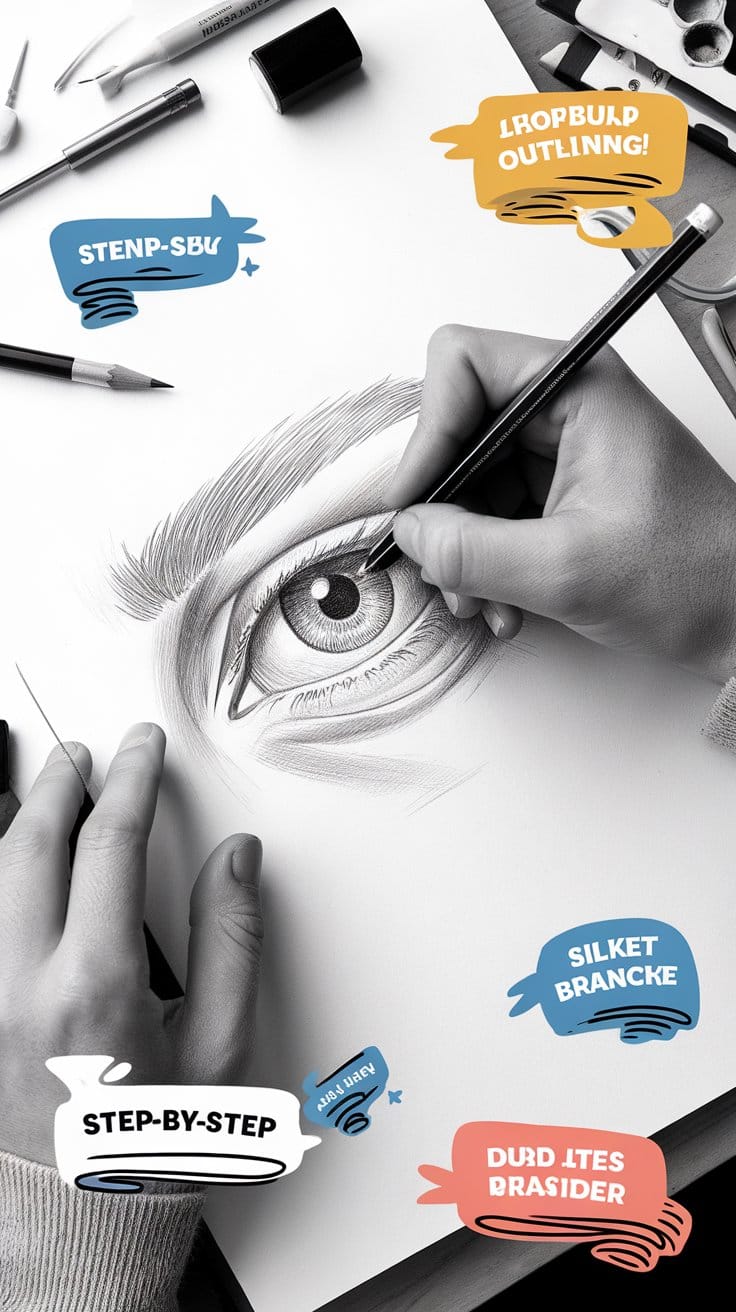
Step-by-Step Drawing Tutorial: Mastering Realistic Eye Drawing Techniques
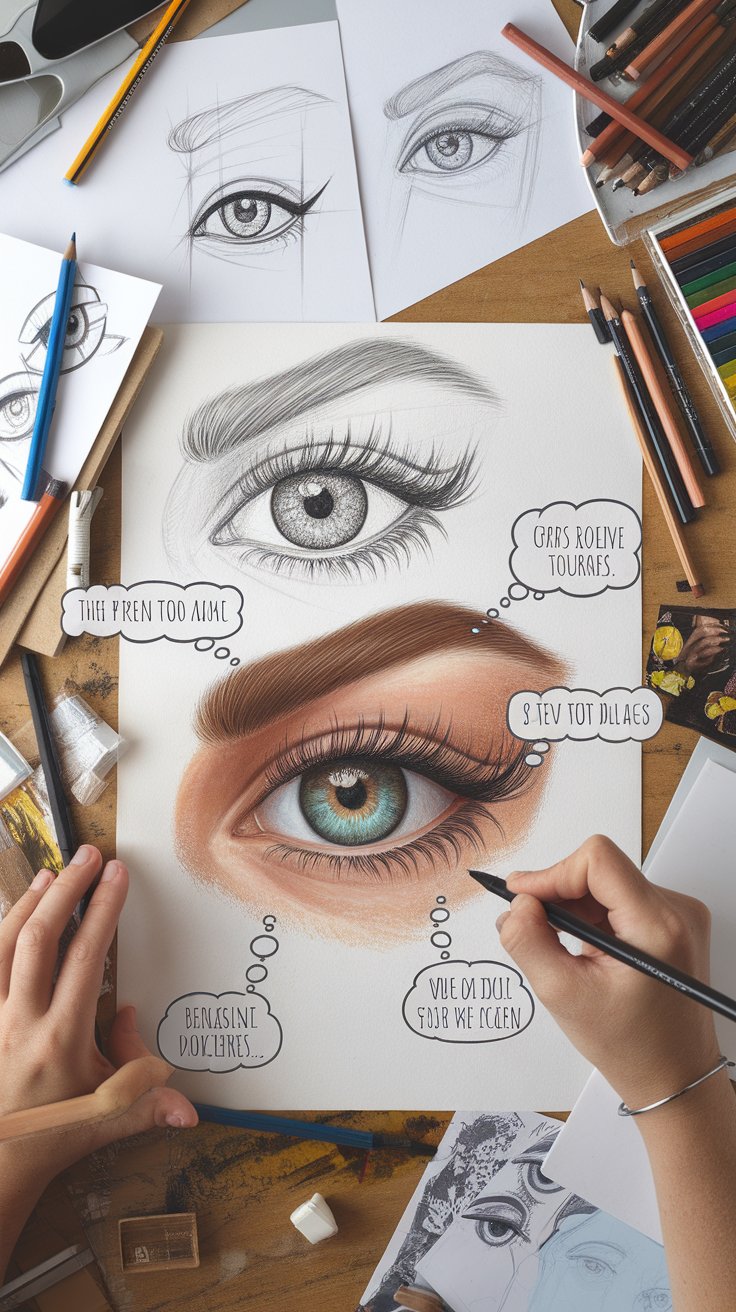
Embarking on a step-by-step drawing tutorial for realistic eye drawing can elevate your artistic skills remarkably. In this comprehensive guide, you’ll learn how to sketch a realistic eye using a graphite pencil, beginning with basic shapes and progressing to detailed shading. The tutorial covers drawing the iris and pupil, creating accurate proportions of the eyelid and eyelash, and capturing reflections in the eyeball. Utilizing both a mechanical pencil and a soft pencil for finer details ensures you blend shadow and light effectively. With a reference photo and careful attention to the eye socket, you can mimic the subtle gradations around the edge of the iris. Follow this eye drawing tutorial to refine your drawing process and produce stunning, hyperrealistic artwork. Enhance your art skills today.
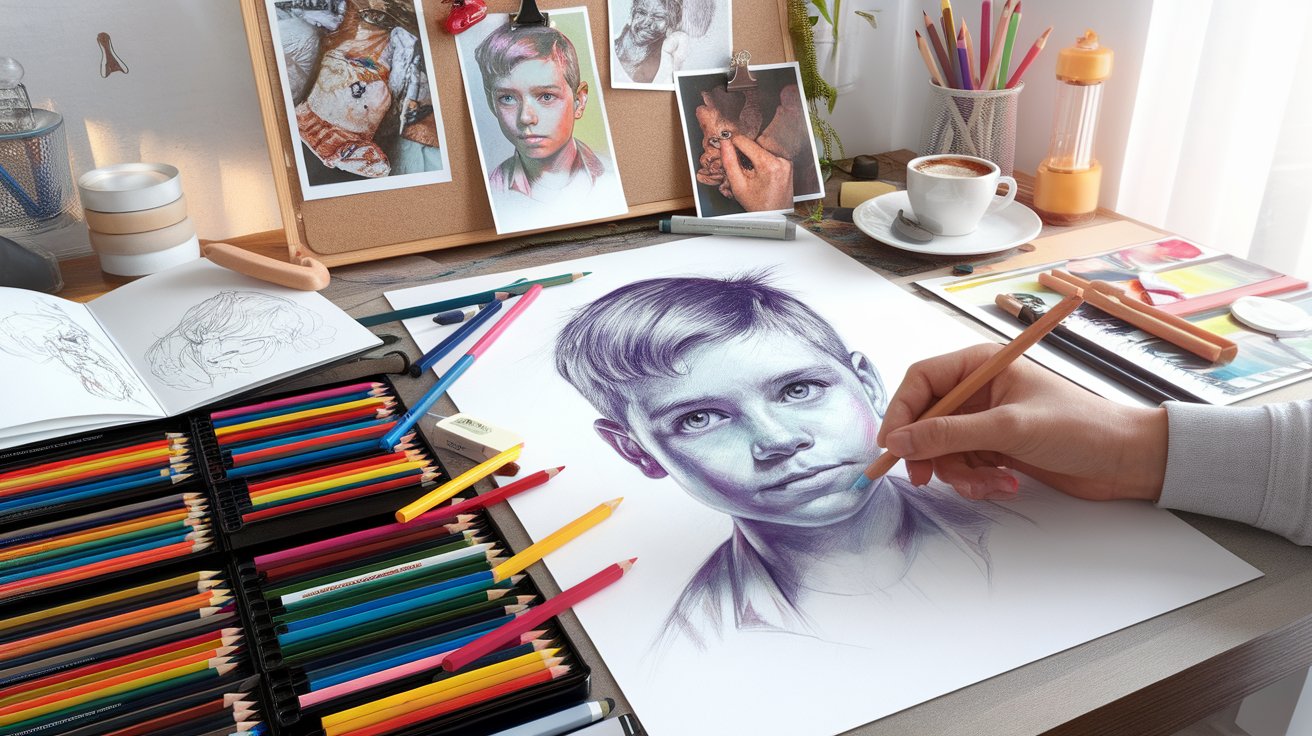
Choosing the Right Materials for a Realistic Eye Drawing
When starting a realistic eye drawing, choosing the right materials is essential to achieving a hyperrealistic result. Artists often begin with a sharp pencil or mechanical pencil and a soft pencil for layering graphite. Your drawing process should include a high-quality sketchbook and an eraser for refining details. Using a reference photo, you can accurately capture the iris, pupil, and delicate eyelid structure. This step-by-step tutorial emphasizes selecting the correct pencil hardness, blending shadows around the eye, and applying light source techniques for natural shading. With attention to the drawing skills required, you can focus on the gradual build-up of layers, ensuring the edge of the iris and reflections in the eyeball appear realistic. Start drawing confidently by preparing the right tools for perfect results.
Fundamental Techniques: From Pencil Strokes to Realistic Shadows
Mastering fundamental techniques is crucial when learning to draw a realistic eye. This section of the tutorial focuses on controlled pencil strokes, precise shading, and effective blending techniques that bring depth to your drawing. Using both a sharp pencil and a mechanical pencil, you can create gradual transitions between light and dark areas. Carefully observe the subtle interplay of shadow and light around the iris, eyelid, and pupil. This step-by-step guide teaches you to sketch the eye’s outline, then fill in details with layered graphite. Remember to use an eraser to adjust any misaligned lines, ensuring accurate proportions and realistic contours. Embrace these drawing skills to transform your sketch into a lifelike portrait, capturing every nuance perfectly with absolute confidence.
Expert Tips for Enhancing Your Eye Drawing Skills
1. Prioritize Light Source Analysis
Understanding the light source is crucial when creating a realistic eye drawing. Observe how light interacts with the iris and pupil, and note how shadows form around the eyelid and eye socket. This insight helps you blend dark and light areas using both soft and mechanical pencils. A clear light source ensures that the gradual shading enhances the natural curves of the eye, adding depth and hyperrealistic effects to your drawing process.
2. Experiment with Pencil Hardness

Different pencil hardness levels can dramatically influence the outcome of your sketch. Use sharper pencils for fine details such as the edge of the iris and delicate eyelash strokes, and softer pencils for blending shadows around the eyelid and under the brow. This combination allows you to accurately render textures and create a balanced, realistic eye portrait.
3. Study the Intricacies of Eye Anatomy
Delve into the detailed structure of the eye, including the eyelid, eye socket, and the corner of the eye. Familiarity with these components improves your drawing skills and helps capture the natural proportions and curvature. Understanding how elements like the crease of the upper lid and the subtle tilt of the iris contribute to overall realism is key to achieving a compelling eye drawing.
4. Utilize High-Quality Reference Photos
Always work with clear, high-resolution reference photos. They provide essential details for accurate proportions, such as the reflection on the pupil and the texture of the sclera. A quality reference supports you in replicating the natural gradation of light and shadow, ensuring that your drawing remains true to the model’s features and overall realism.

5. Embrace an Iterative Drawing Process
Refine your skills through continuous practice and thoughtful revisions. Start with a basic sketch, gradually build layers of graphite, and use an eraser to correct any missteps. This iterative approach enables you to improve your technique over time, turning initial sketches into polished, hyperrealistic eye portraits while enhancing your overall drawing proficiency.
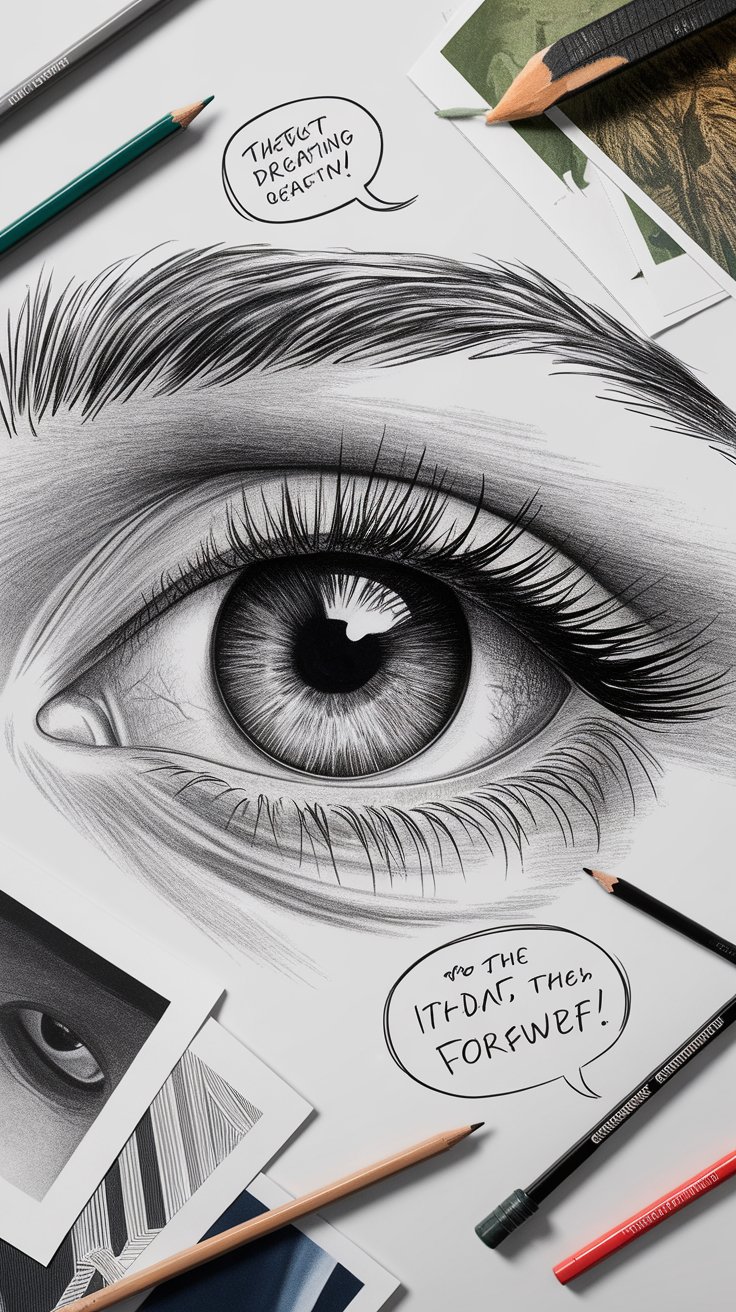
Detailed Eye Drawing Tutorial: Capturing the Iris and Pupil Accurately
Focusing on capturing the intricate details of the iris and pupil, this eye drawing tutorial guides you in creating realistic eyes with exceptional precision. Begin by outlining the basic shape of the eye and gradually add layers of graphite to define the iris and its subtle gradient. Using a sharp pencil, learn to blend shadows around the eyelid and establish a soft transition at the edge of the iris. The tutorial emphasizes the importance of understanding light sources and reflection, as well as the natural crease in the upper lid, to achieve lifelike results. With a reference photo and clear step-by-step instructions, you will master detailed shading techniques that bring out every nuance. Enhance your drawing skills and create compelling eye art today with passion.

Mastering the Art of Shading for the Iris and Pupil
Delving deeper into shading techniques is essential for capturing the intricate details of the iris and pupil. In this section of the eye drawing tutorial, artists learn to apply both soft and mechanical pencils to create smooth gradients that simulate natural light and shadow. Begin by outlining the realistic eye with a gentle sketch, then gradually build up layers of graphite to achieve the subtle transitions in the iris and pupil. This process involves careful observation of a reference photo and an understanding of light source direction. Using precise strokes and a quality eraser to refine edges, you can achieve hyperrealistic results. With every stroke, enhance the depth and dimensionality of the eye drawing, ensuring each part of the iris is rendered flawlessly indeed beautifully.
Techniques for Accurate Detail: Enhancing the Eye Drawing Tutorial
Focusing on intricate details elevates your eye drawing from a basic sketch to a stunning piece of art. This tutorial segment explores techniques for capturing fine nuances such as subtle shadows, delicate highlights, and the texture of the iris and pupil. Using a combination of sharp and soft pencils, you can simulate the natural gradation found in a realistic eye drawing. Apply layered shading to depict the curve of the eyelid and the slight crease at the upper lid. Carefully observe the reference photo to replicate the unique patterns and pore details that bring life to the drawing. An eraser becomes a vital tool for refining edges and correcting mistakes. Follow these instructions to improve your drawing skills and create an eye drawing with realism.
Case Study: Proko’s Realistic Eye Drawing Method

Proko, a respected online art education platform, revolutionized the approach to detailed eye drawing with its comprehensive tutorial on capturing the iris and pupil with striking realism. This innovative course guides artists through a meticulous step-by-step process that emphasizes the importance of selecting the right tools, such as sharp and mechanical pencils, and using high-quality reference photos to observe intricate details.
Learners are introduced to essential shading techniques that blend graphite layers seamlessly, creating a natural interplay of light and shadow around the eyelid, eye socket, and the delicate edge of the iris. By incorporating real-world examples and practical demonstrations, Proko’s method has significantly enhanced the drawing skills of students and professionals alike, setting a benchmark for aspiring artists worldwide.
Precision in Detail: How to Draw Eyes Featuring Eyelash, Eyelid, and Eye Socket
Achieving precision in eye drawing involves focusing on every delicate detail, from the curvature of the eyelid to the fine lines of the eyelash. This tutorial explains how to accurately render the eye socket, ensuring that each component contributes to a realistic portrayal. Start by sketching the basic outline, then carefully layer graphite to emphasize subtle shadows and the gradual transition of tones. Attention to the upper lid crease and the smooth gradient of the lower lid enhances the drawing process. By using both hard and soft pencils, you can blend shades and capture the roundness of the eyeball along with the reflective qualities of the iris. Follow these step-by-step instructions to improve your drawing skills and create artwork that truly captivates with utmost refined precision.

Detailing the Eyelid and Eyelash: Step-by-Step Precision
Focusing on the details of the eyelid and eyelash can significantly enhance the realism in your eye drawing. This segment of the tutorial provides a step-by-step guide on capturing the fine textures and natural curves that define the eyelid’s crease and the delicate lash line. Use a sharp pencil to create precise lines and a soft pencil for gradual shading around the eyelid edge. Observing a reference photo helps you understand the subtle differences in thickness and the natural tilt of the lashes. Incorporate drawing skills by carefully layering graphite, ensuring the transition between light and shadow appears smooth. Embrace these techniques to perfect your eye sketch and produce a realistic portrayal that truly highlights each intricate detail.
Capturing the Eye Socket and Surrounding Elements
Understanding the structure of the eye socket is crucial for creating a realistic eye drawing. This guide delves into techniques for illustrating the subtle contours around the eye, including the corner of the eye and the gentle curvature of the surrounding bone structure. Using a combination of sharp and soft pencils, you can effectively blend shadows to reveal depth and form. The tutorial emphasizes careful observation of the reference photo to capture the gradual transition from the eyelid to the eye socket. By applying layering techniques and using an eraser to refine lines, your drawing will exhibit exceptional realism. Embrace these detailed steps to improve your drawing process and accurately depict every part of the eye’s surrounding anatomy.
“The details are not the details. They make the design.” — Charles Eames, Designer

Start Drawing with Confidence: From Sketch to Realistic Eye Portrait Techniques
Beginning your journey to draw a realistic eye portrait starts with a sketch and a clear understanding of the drawing process. This tutorial encourages you to start drawing by mastering the basics, including the shape of the eye, proportion, and placement of the iris and pupil. As you progress, learn to use both a graphite pencil and a mechanical pencil to add depth through detailed shading and soft blending. Emphasizing the use of an eraser to correct mistakes, this guide also explores drawing hair around the eye and capturing the delicate reflection within the eyeball. With every stroke, discover how subtle shadows and precise lines create an expressive, lifelike portrait that captures every nuance perfectly. Refine your technique continuously. Elevate your skills; embrace drawing today.
Building a Strong Foundation: Sketching the Shape of the Eye
Establishing a strong foundation begins with accurately sketching the shape of the eye. In this segment of the tutorial, you are encouraged to start drawing by outlining the basic proportions of the eyeball, eyelid, and iris. Using a sharp pencil or mechanical pencil, create light, precise lines that serve as the framework for your realistic eye drawing. Observing a reference photo can guide you in capturing the correct proportions and curvature of the eye. Gradually build up layers of graphite and apply gentle shading to highlight natural shadows. Use an eraser to adjust any misaligned lines and refine the drawing process. Embrace these fundamental techniques to develop your drawing skills and achieve a lifelike eye portrait.
Advanced Techniques: Adding Realism with Shading and Reflection
Taking your eye portrait to the next level involves advanced techniques that emphasize shading and reflection. In this section of the tutorial, learn how to use both dark and light shades to create a three-dimensional effect on the realistic eye drawing. Focus on the interplay of shadows on the eyelid, the subtle gradient in the iris, and the reflective highlights that make the eye come alive. Utilize a sharp pencil for detailed lines and a soft pencil for blending to achieve smooth transitions. Observe your reference photo to capture accurate proportions and light source effects. Employ an eraser to clean up any excess graphite and refine your drawing. These advanced shading techniques are key to transforming your art into a hyperrealistic portrait with utmost precision.
Conclusion
In conclusion, mastering the art of realistic eye drawing requires both technical precision and creative insight. This comprehensive tutorial has guided you through the drawing process, from sketching the basic shape with a sharp pencil to layering graphite for a lifelike iris and pupil. With step-by-step instructions and careful shading techniques, you have learned to blend shadows around the eyelid, highlight the eye socket, and capture the delicate details of the eyelash and eyebrow.
As you continue to refine your drawing skills, remember that practice is key to achieving hyperrealistic results. Embrace the blend of soft and mechanical pencils, observe reference photos, and utilize an eraser for fine adjustments. The tutorial empowers you to start drawing confidently, ensuring that every stroke contributes to a stunning portrait. Thank you so much for joining this creative journey. Keep practicing and refining your technique, as improvement brings you closer to excellence in art.


