Introduction
Acrylic painting opens the door to countless possibilities for artists. Whether you’re a beginner or a seasoned painter, acrylics offer vibrant colors and fast-drying capabilities. This medium lets you create impressive artwork quickly, facilitating experimentation and innovation. Many artists love acrylics for their versatility, allowing unique techniques like pouring, glazing, and layering. With acrylics, the journey of artistic expression becomes even more exciting.
This article dives deep into acrylic painting ideas to spark your creativity. You will learn about various techniques and approaches to develop bold expressions on canvas. From exploring color mixing to investigating different application methods, each section equips you with the knowledge to create stunning works of art. You will also find practical tips to refine your painting skills as you express your individual style.
Understanding Acrylic Paint
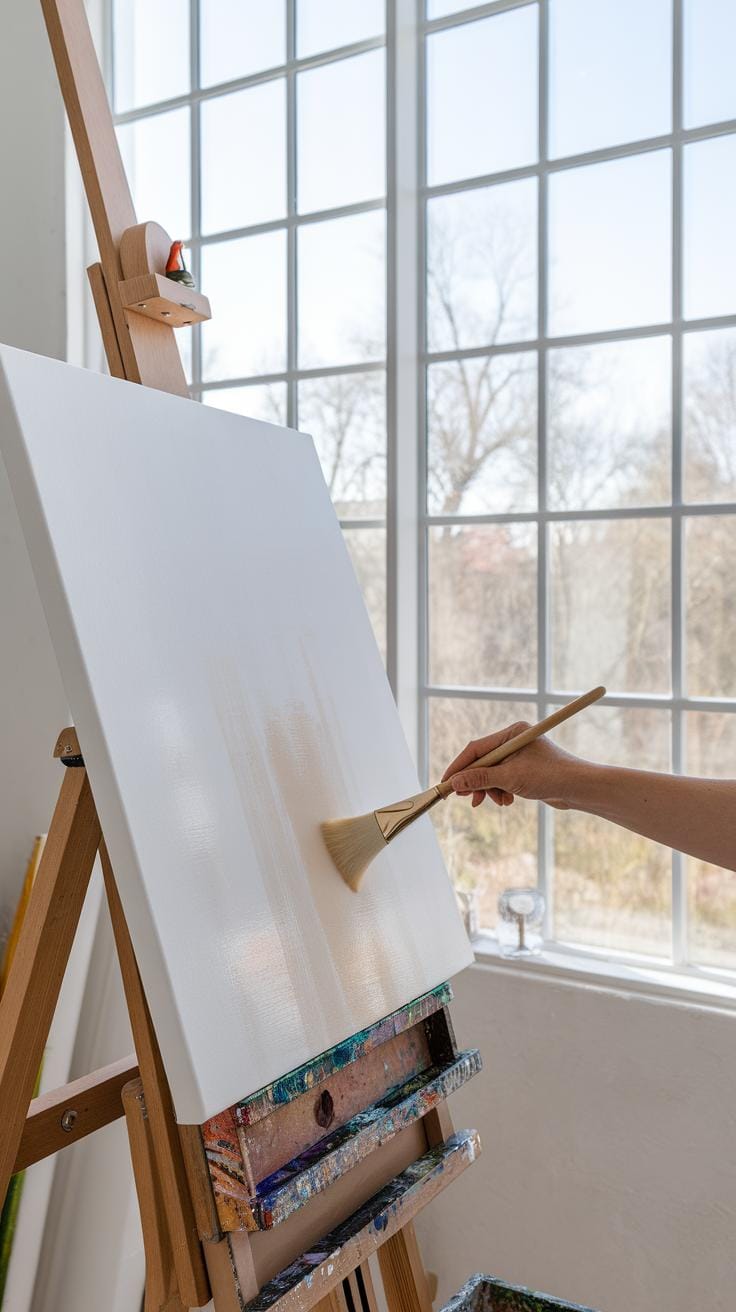
Acrylic paint is a popular choice for artists due to its unique characteristics. It dries quickly, often within minutes, allowing for rapid layering and modifications. This fast drying time can be both a benefit and a challenge. An artist must work swiftly to blend colors effectively before they set.
The texture of acrylics varies widely. You can find heavy body acrylics for thick applications or fluid acrylics for smooth, even washes. This versatility means you can achieve a variety of effects with the same medium. You can create everything from bold strokes to soft transitions with acrylic paint.
Acrylics differ from oils and watercolors in many ways. Oil paints require more time for drying, allowing for blending but also needing longer commitment. Watercolors offer transparency, which can limit opacity. Acrylics bridge these gaps, offering both transparency and opacity depending on how you use them. Have you thought about how these traits can influence your own creative approach? Exploring these differences can help you find what works best for your style.
The Outcomes of Acrylic Paint
Understanding these characteristics aids in experimentation. How will the fast drying time impact your layering process? Will you embrace the ability to create texture with thick applications? Will you enjoy the wide range of finishes available, from matte to glossy? Each choice you make with acrylics affects your final artwork.
This medium encourages bold and innovative expression, ideal for experimenting. Take time to test various techniques, from smooth layers to textured designs, and see what resonates with you.
Acrylic Painting Techniques Explore Various Techniques to Utilize Acrylics
Pouring
Pouring acrylics creates stunning abstract designs. Start by mixing your acrylic paint with a pouring medium. This will help the paint flow. Choose a canvas or board as your surface. Tilt the canvas to spread the paint. Experiment with different colors to see how they interact. For example, pouring two or three colors can yield unique patterns. Remember to work quickly, as acrylics dry fast. Clean your workspace after pouring, as this process can get messy.
Glazing
Glazing enhances depth in your paintings. It involves applying thin layers of transparent paint. First, let your underpainting dry completely. Then, mix a small amount of paint with a glazing medium. Apply this mix with a soft brush. Building up layers allows you to create light and shadow effects. For instance, glazing over a dark underlayer can give a luminous quality to lighter colors. This technique encourages patience; take your time to see how the layers change your artwork.
Layering
Layering allows you to build complexity in your work. Use opaque and transparent paints together. Start with a base layer, then add details gradually. You can use a dry brush technique to add texture. This method works well for landscapes or portraits. For example, creating a grassy field can involve layering different shades of green. With each layer, your painting evolves. Take moments to evaluate your work between layers. This way, you can ensure your vision remains clear.
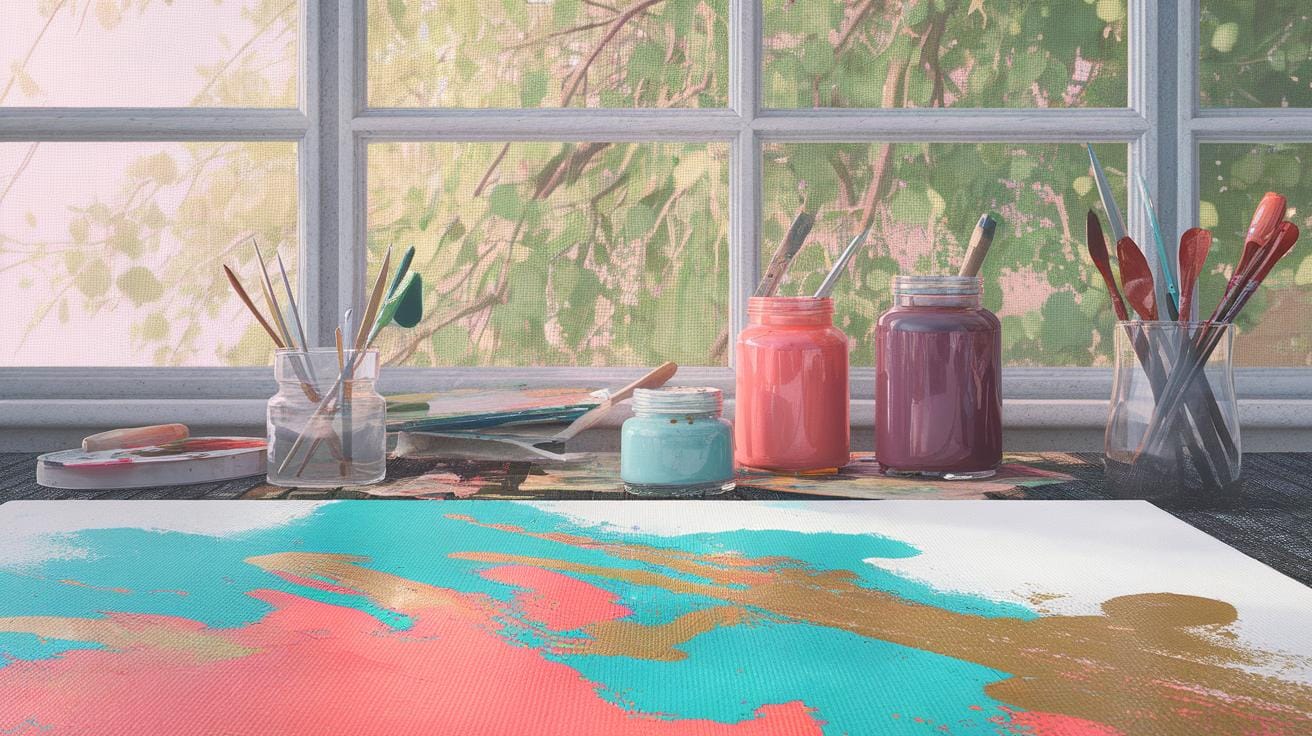
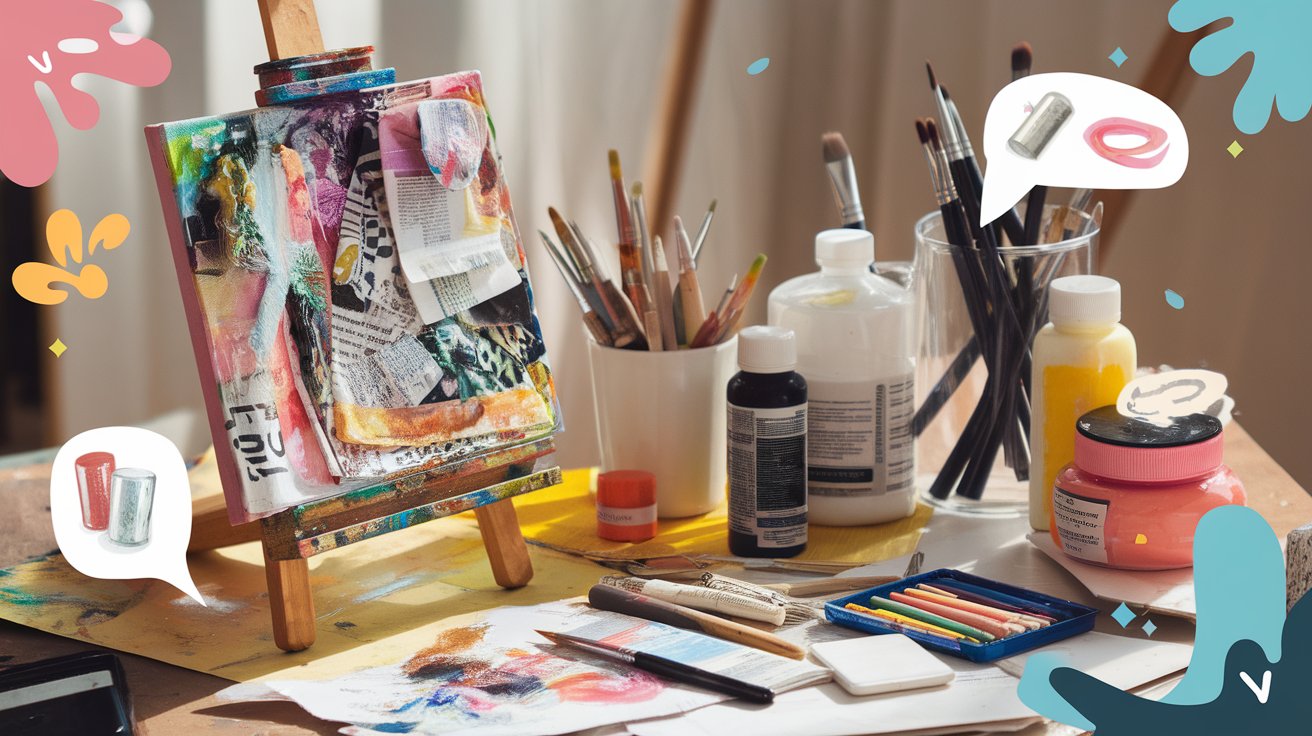
Tools of the Trade Essential Equipment for Acrylic Painting
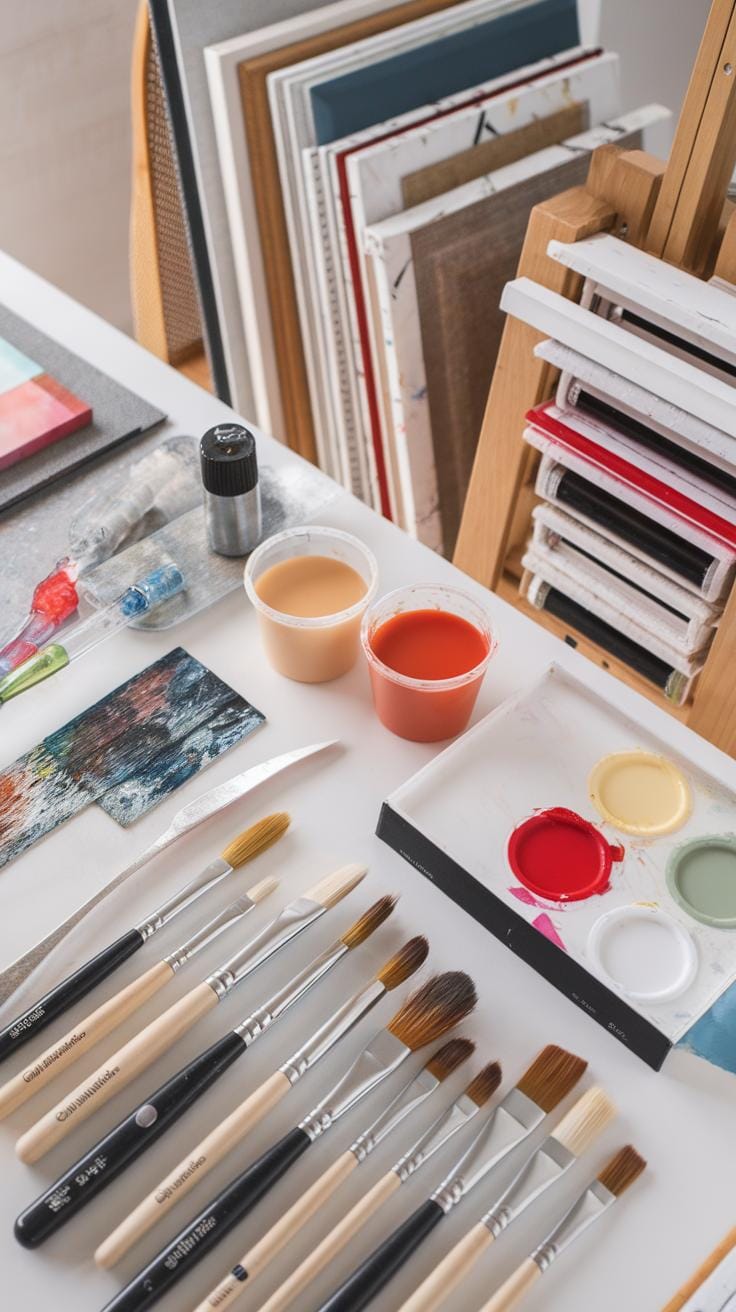
Your choice of tools can significantly influence your painting outcomes. Start with brushes. Different shapes like flat, round, and filbert provide various effects. For instance, a flat brush lays down thick strokes, while a round brush excels in detail work. Consider using a palette knife for mixing colors and creating texture. This tool allows you to apply paint in a bold, impasto style.
You will also need a sturdy palette, preferably made of glass or wood. Such materials make color mixing easier. An adjustable easel helps support your canvas at a comfortable angle. Have your workspace organized to find tools easily. Keeping everything within reach enhances your flow.
How do you currently organize your tools? Evaluate your setup regularly. Try experimenting with different types of brushes and surfaces to discover your unique style.
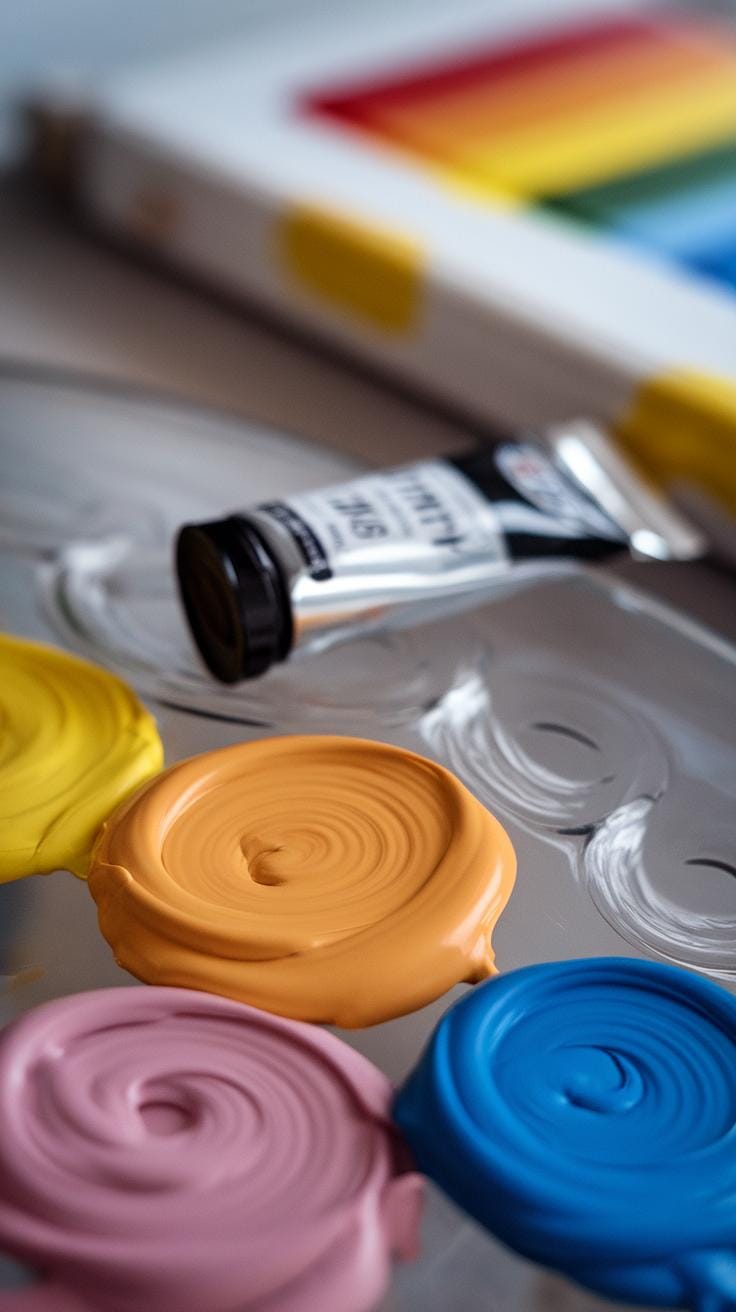
Color Mixing Basics
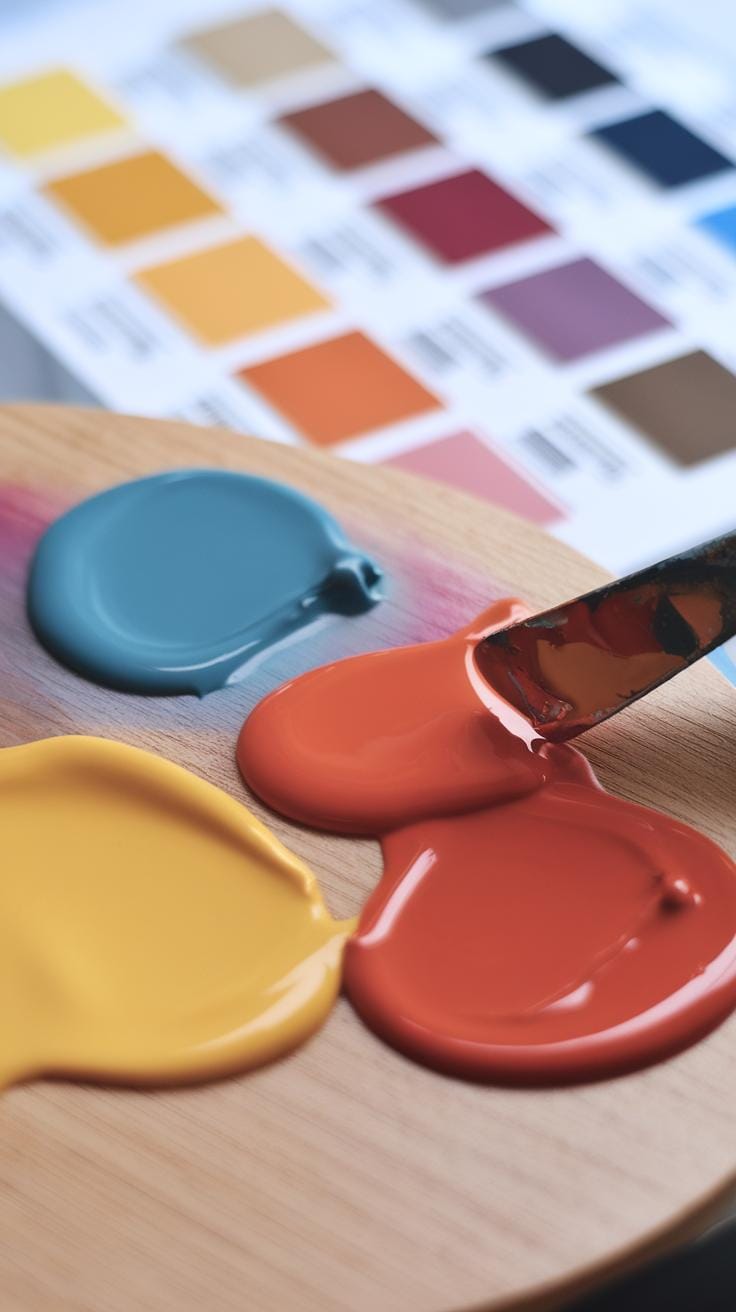
Understanding the Color Wheel
A color wheel serves as a vital tool for mixing colors in acrylic painting. It helps you visualize relationships between hues. The wheel usually contains primary, secondary, and tertiary colors. Primary colors—red, blue, and yellow—cannot be made by mixing other colors. Secondary colors—green, orange, and purple—come from mixing primary colors. Tertiary colors result from combining a primary with a secondary color.
Using the color wheel effectively can enhance your creativity. For instance, mixing blue and yellow yields green. Experiment with different ratios to see how it affects the shade. Have you tried adjusting the proportions to achieve specific tones? Observing these changes can deepen your understanding of color dynamics.
Practice Color Mixing Techniques
Start by experimenting with colors on your palette. Create a grid to test combinations. This way, you’ll see what happens when you mix colors in various ratios. Pay attention to how certain colors complement each other. Use these insights in your artwork to create depth and interest.

Think about the emotions you want to convey through color. Warmer colors like reds and yellows evoke energy, while cooler colors like blues and greens suggest calm. Which palette aligns with your artistic vision? Understanding these basics can guide you as you mix and apply paint to your canvas.
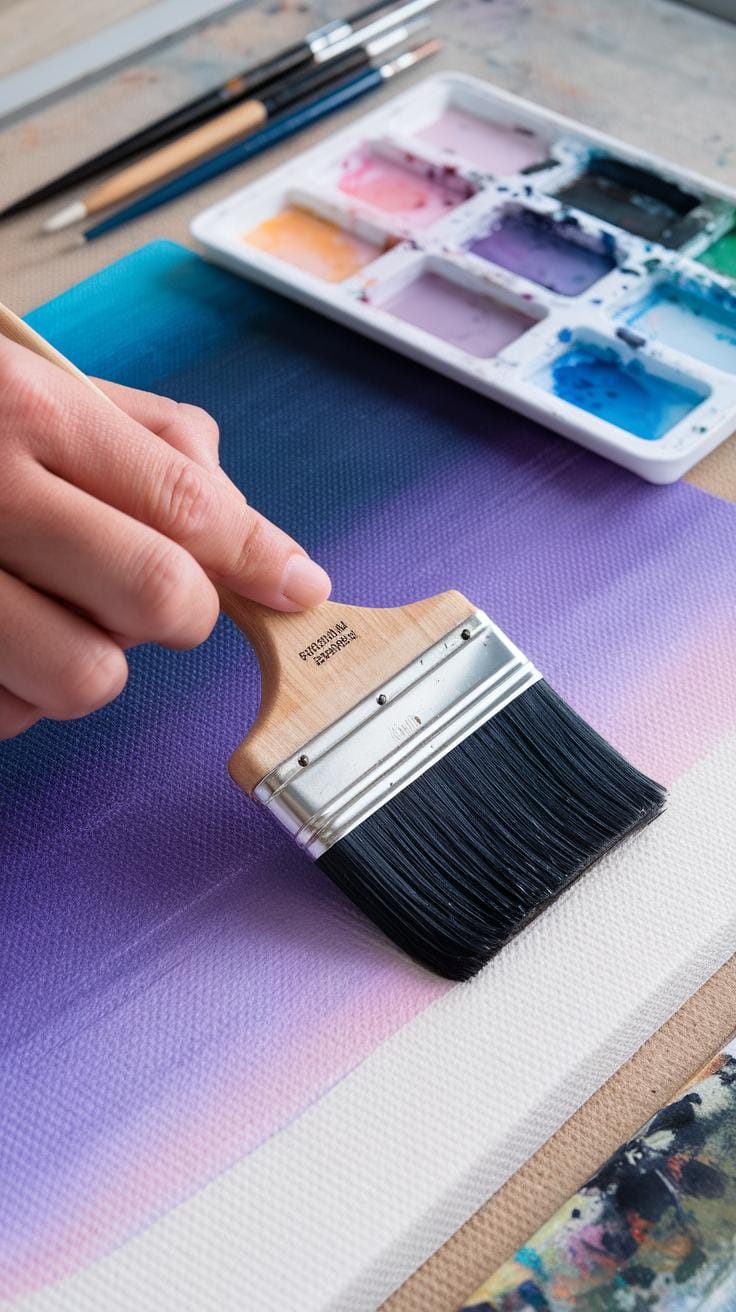
Creating Fluid Paints Achieving the Right Consistency for Techniques
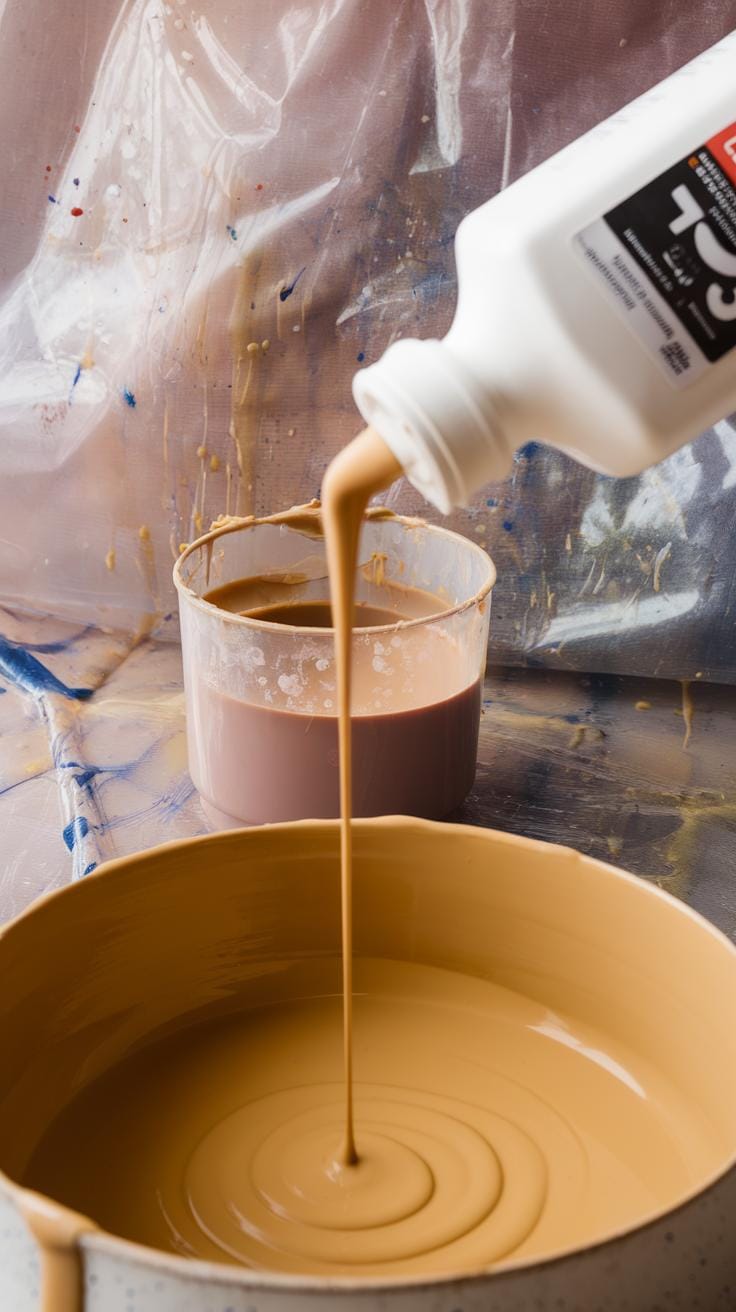
Fluid paint consistency is key for techniques like glazing or pouring. You want the paint to move smoothly across the canvas. Start with a good base by using high-quality acrylic paint. You can achieve the right fluidity by adding water or a pouring medium. Water can thin the paint, but use it sparingly to avoid losing pigment. Aim for a honey-like thickness.
For glazing, mix your acrylic paint with a glazing medium. This enhances transparency. It allows you to layer colors without muddying them. Create a test sample before applying it to your main piece. This step helps you understand how it feels on your brush and the overall effect.
Have you tried pouring techniques? They require specific fluidity. Combine acrylic paint with pouring medium to achieve a creamy, pourable texture. This method creates stunning effects, like cells and swirls. Experiment with different ratios until you find what works for you. Keeping a notebook of different mixes helps track your experiments.
Playing with fluid consistency opens doors to bold creative expressions. By adjusting paint thickness and experimenting with various mediums, you can find your unique style. What techniques call to you? Dive into your creativity and see where these ideas take your work.
Innovative Acrylic Pour Techniques
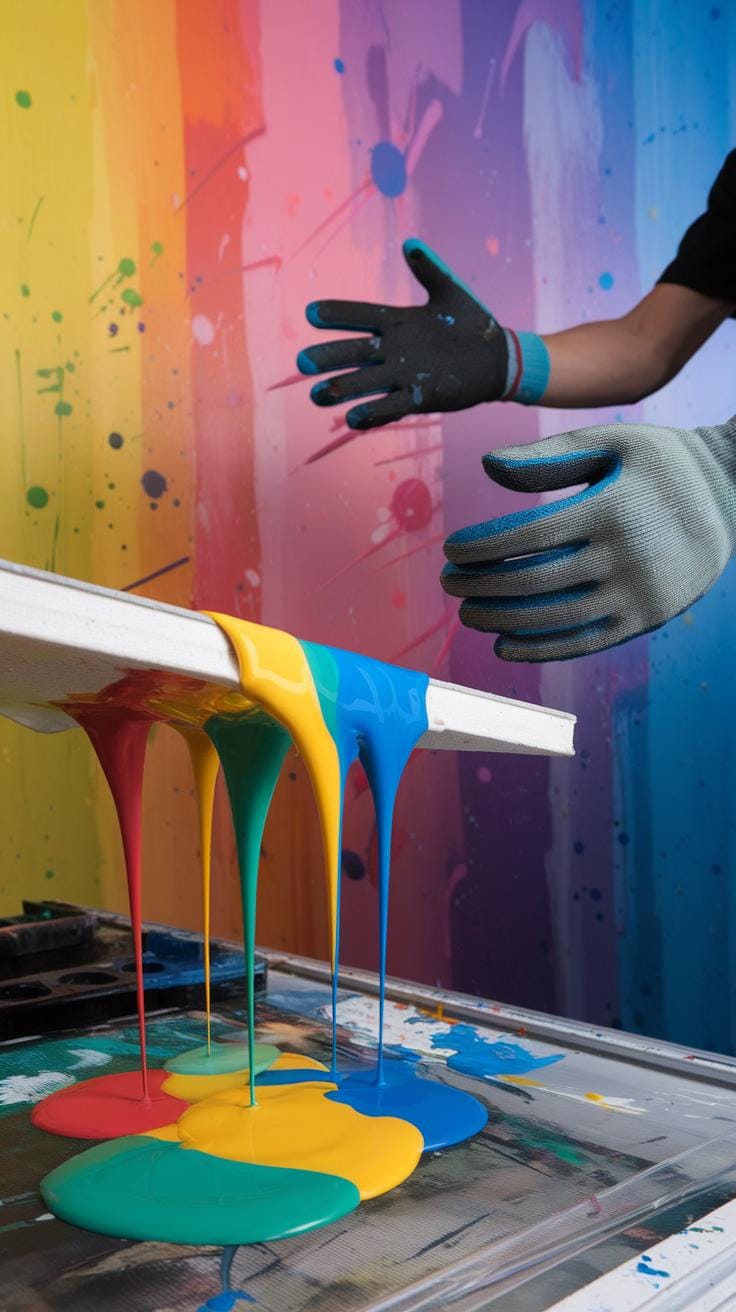
Acrylic Pouring Methods
Acrylic pouring offers exciting, expressive ways to create art. Understanding different techniques can take your artwork to new heights.
The Flip Cup method is one popular technique. You layer different colors of paint in a cup, then flip it over onto your canvas. When you lift the cup, the paint spreads and mixes on the canvas. This method surprises you with unpredictable results. Have you ever thought about how a spontaneous creation could lead to a masterpiece?
The Dutch pour technique uses a hairdryer or straw to blow the paint across the canvas. This creates soft, airy effects. You control how the colors blend through air movement. Experimenting with speed and direction can yield unique designs. What shapes or patterns will emerge when you try this?
Textural Effects in Acrylics
Innovative Techniques for Texture
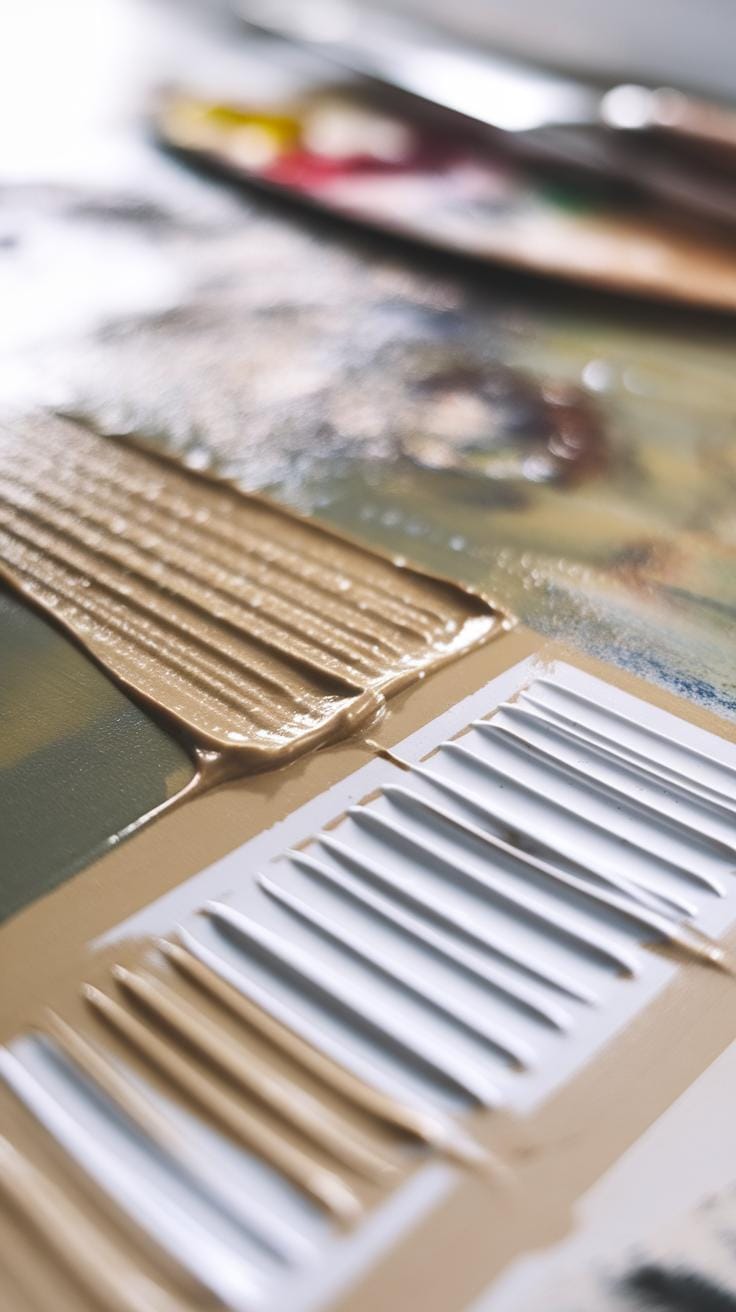
Texture can transform your acrylic paintings from flat images into dynamic visual experiences. One effective way to add texture is by using a palette knife. This tool allows you to create sharp lines, peaks, and ridges. Experiment with different pressure levels to see how depth changes with your strokes.
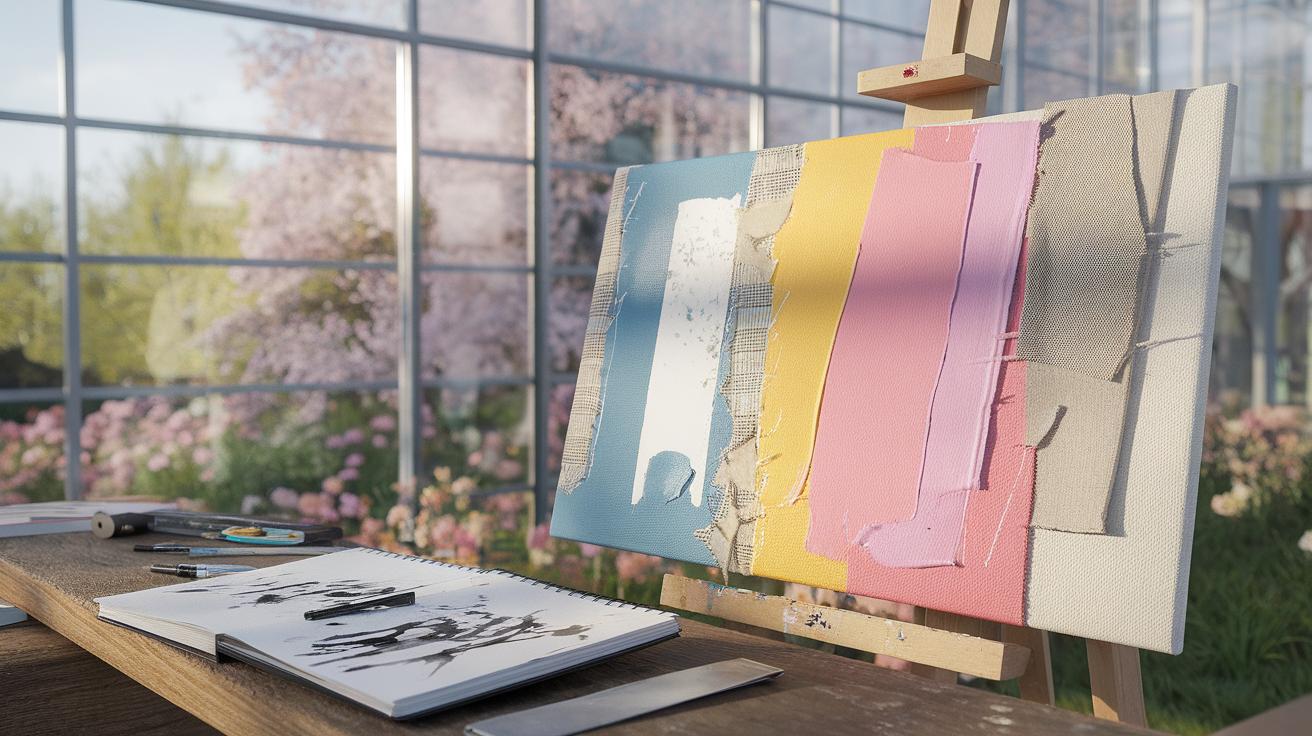
You might also want to incorporate mixed media elements. Using materials like sand, fabric, or paper can add interesting surfaces and dimensions. Imagine gluing down pieces of torn paper before painting over them. The texture becomes a part of your story.
Have you tried using modeling paste? It thickens your paint and creates a raised texture. You can sculpt it, allowing for unique shapes in your artwork. These methods can enhance the boldness of your creative expressions.
Creating Visual Interest
Consider layering techniques. Start with a textured base, then apply transparent washes to build depth. This method creates richness in color and form, attracting viewers’ eyes.
Think about how textures influence emotion. A rough surface might evoke chaos, while smooth areas can feel calm. What feelings do you want to convey? Your decisions in texture can enhance your message.
Do not be afraid to mix tools and techniques. A brush, a sponge, or even your fingers can create varied textures. Get curious and allow your creativity to lead you. Each stroke brings you closer to your unique artistic voice.
Finalizing Your Artwork Steps in Completing an Acrylic Painting
Completing your acrylic painting involves a few important steps that enhance the final look. Once the paint dries, inspect your artwork carefully. Look for areas that might need touch-ups or highlights to improve depth.
Varnishing serves as a protective layer. This layer keeps dust and dirt off your painting while enhancing the colors. Use a brush or spray varnish, depending on your preference. Remember to apply several thin coats for the best results.
Framing adds a finishing touch. Choose a frame that complements your work without distracting from it. A simple, clean frame often works best. Make sure it fits properly and protects the edges of your canvas.
Ask yourself if your painting tells the story you wanted. Does it evoke the feelings you intended? Final touches can make a significant difference in how viewers perceive your work. Your attention to detail will stand out in the end.
Conclusions
Engaging with acrylic painting provides a pathway to creativity and self-expression. As you explore bold ideas and innovative techniques, you enhance not only your skills but also your confidence as an artist. Remember to experiment with various methods, colors, and styles, finding what resonates with you. The beauty of acrylics lies in their ability to transform your creative fantasies into reality.
In closing, let your imagination flourish through acrylic painting. Implement the techniques and ideas shared in this article to develop your unique expression. Each brushstroke narrates a story, and you are the storyteller. Embrace the process, learn from your experiences, and keep creating — your next masterpiece awaits!


