Key Techniques for Acrylic Painting
Acrylic painting is a fascinating medium that offers artists a versatile range of techniques to experiment with. Known for its vibrant colors and quick drying time, acrylic paint allows for spontaneous creativity while providing the ability to achieve detailed work. As acrylics are water-soluble, they can be easily manipulated, making them an ideal choice for both beginners and experienced artists alike. In this comprehensive guide, we will delve into various acrylic painting techniques that can enhance your artistic expression and improve the vibrancy of your creations.
From mastering the basics to more advanced techniques such as glazing and pouring, this article will cover the essential knowledge and skills necessary to harness the full potential of acrylic paints. You will also learn about the tools and materials that can aid your artistic journey, ensuring that you are well-equipped to create beautiful, captivating artworks. Join us as we explore the world of acrylic painting, unlocking the secrets behind stunning visual effects and techniques that everyone can master.
Understanding Acrylic Paint Explore the Properties and Benefits for Vibrant Creations
Acrylic paint has become a favorite medium among artists worldwide due to its unique properties that cater to a variety of artistic expressions. One of the most notable advantages of acrylic paint is its quick drying time. This allows for layering and adjustments to be made without the long waiting periods often associated with oil paints. The rapid evaporation of water leads to a fast-drying finish, making acrylics perfect for artists who enjoy spontaneous creativity or wish to complete their work in shorter timeframes.
An essential quality of acrylics is their versatility. They can be used in multiple applications, from thin washes akin to watercolors to thick, textured layers resembling oil paint. This adaptability makes them suitable for various styles, whether it’s abstract, realism, or mixed media. The ability to mix with other materials, such as gels and mediums, further enhances creativity, allowing artists to experiment with textures and finishes to suit their vision.
Water solubility is another critical aspect of acrylics. They can be easily thinned with water when wet, enabling smooth blends and fluid transitions, while still retaining vibrant colors. Once dried, the paint becomes water-resistant, ensuring the longevity and durability of the artwork. This property allows for clean-up with soap and water during the painting process, creating a convenient and low-maintenance experience for artists.
Choosing the right quality and types of acrylic paints can significantly influence the outcome of a project. Artist-grade acrylics usually offer higher pigment concentration, providing richer colors and superior coverage. In contrast, student-grade paints, while more affordable, may contain fillers that can affect the vibrancy and lightfastness. Artists need to assess their goals—whether they require intense color saturation for a gallery piece or are practicing for personal enjoyment. With options ranging from fluid acrylics for detail work to heavy-body acrylics for impasto techniques, understanding these variations allows for informed selections that align with specific project needs.
Incorporating these insights on acrylic paint properties empowers artists to make informed choices, enhancing their artistic journey and the vibrancy of their creations. Mastering the material becomes a vital step in elevating one’s artistry and achieving desired outcomes.
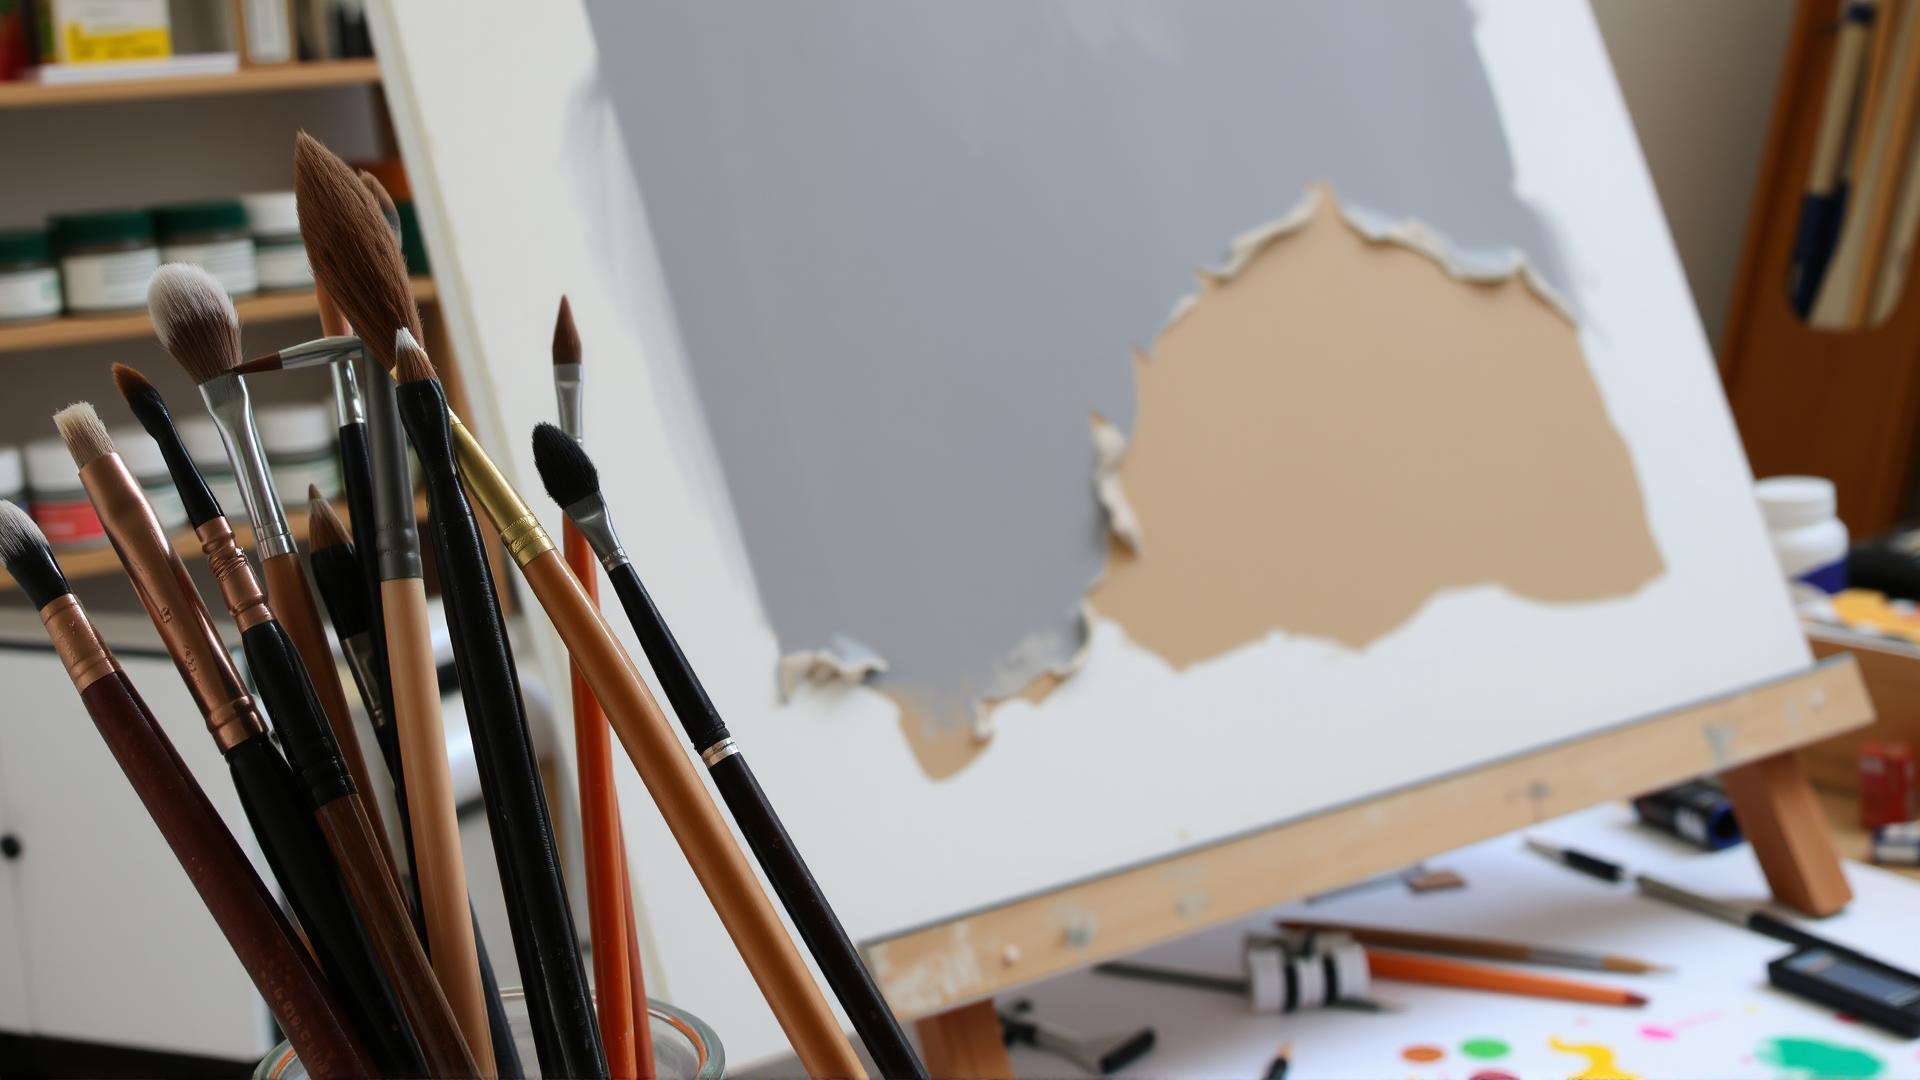
Essential Tools for Acrylic Painting
Key Tools Needed for Vibrant Creations
When embarking on your acrylic painting journey, having the right tools is pivotal for achieving vibrant and precise results. Here’s a detailed look at the essential tools you should gather before you begin your artistic adventure.
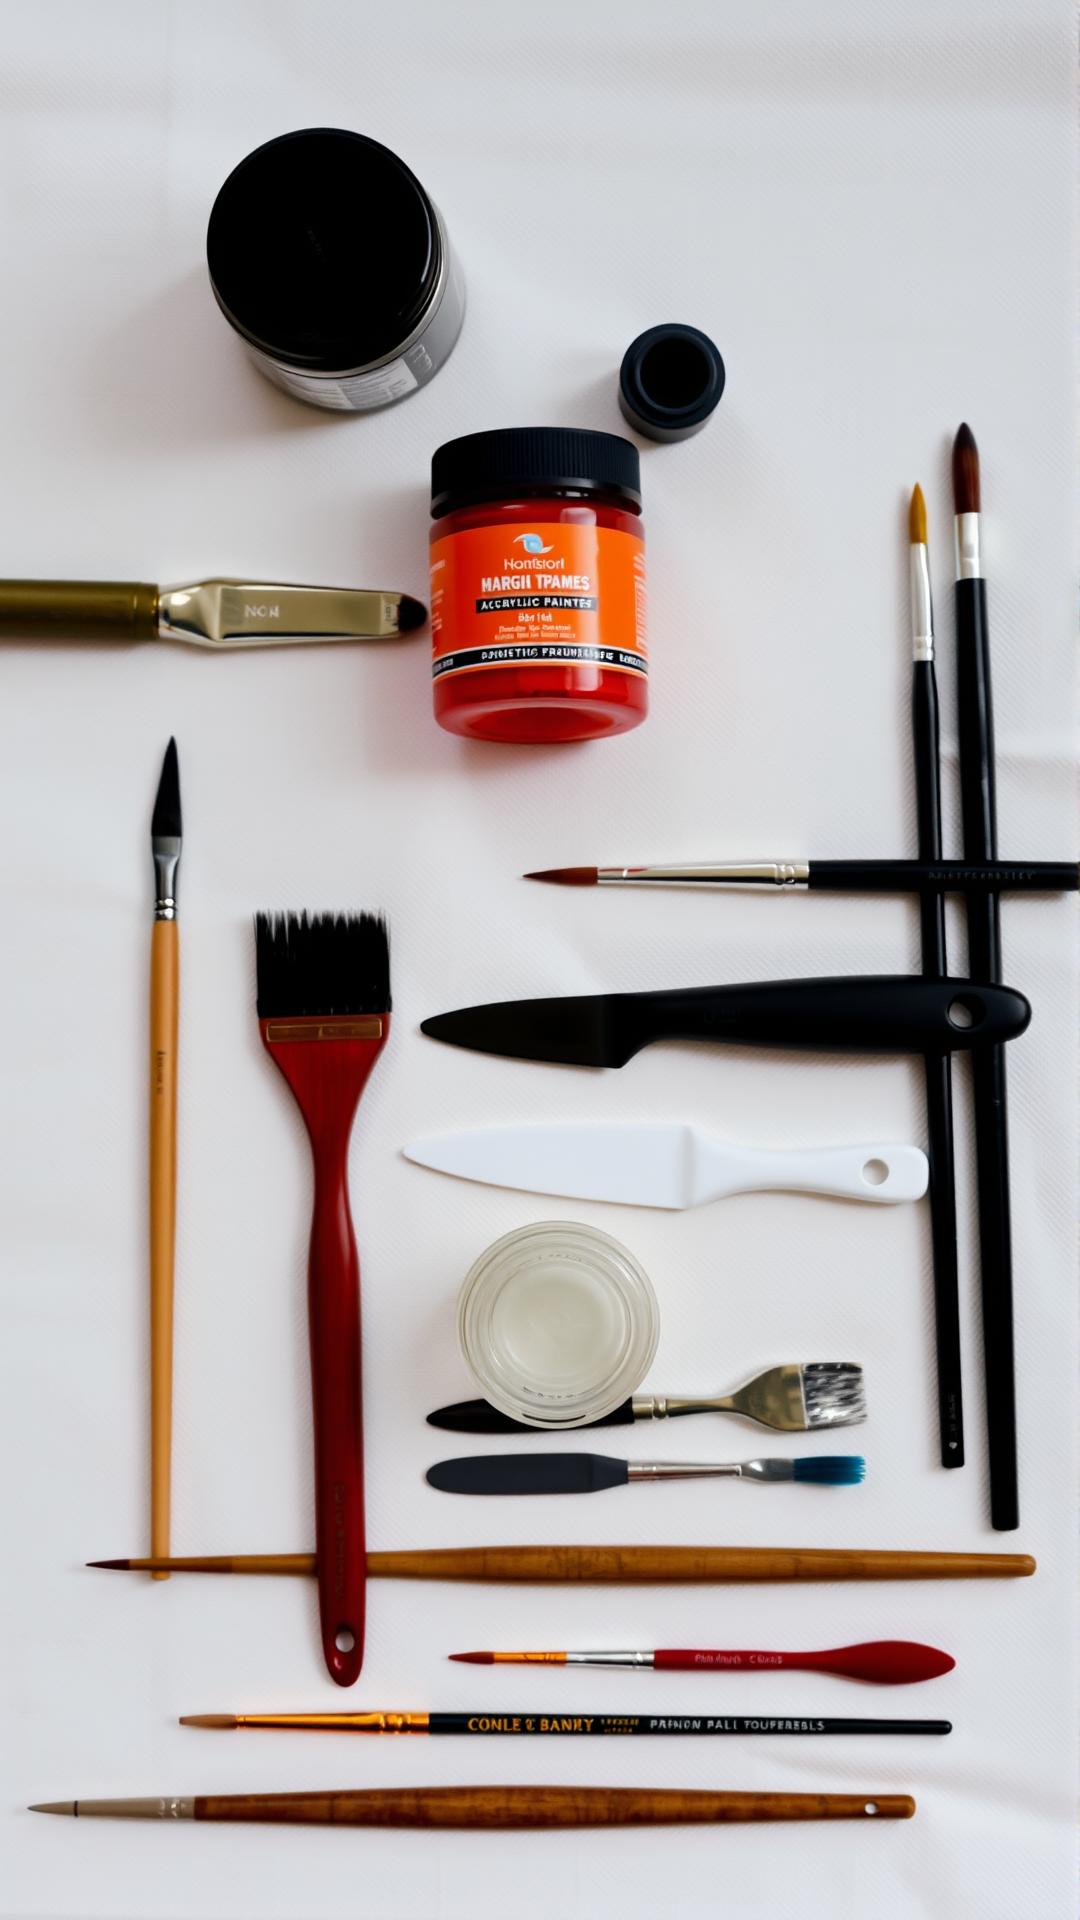
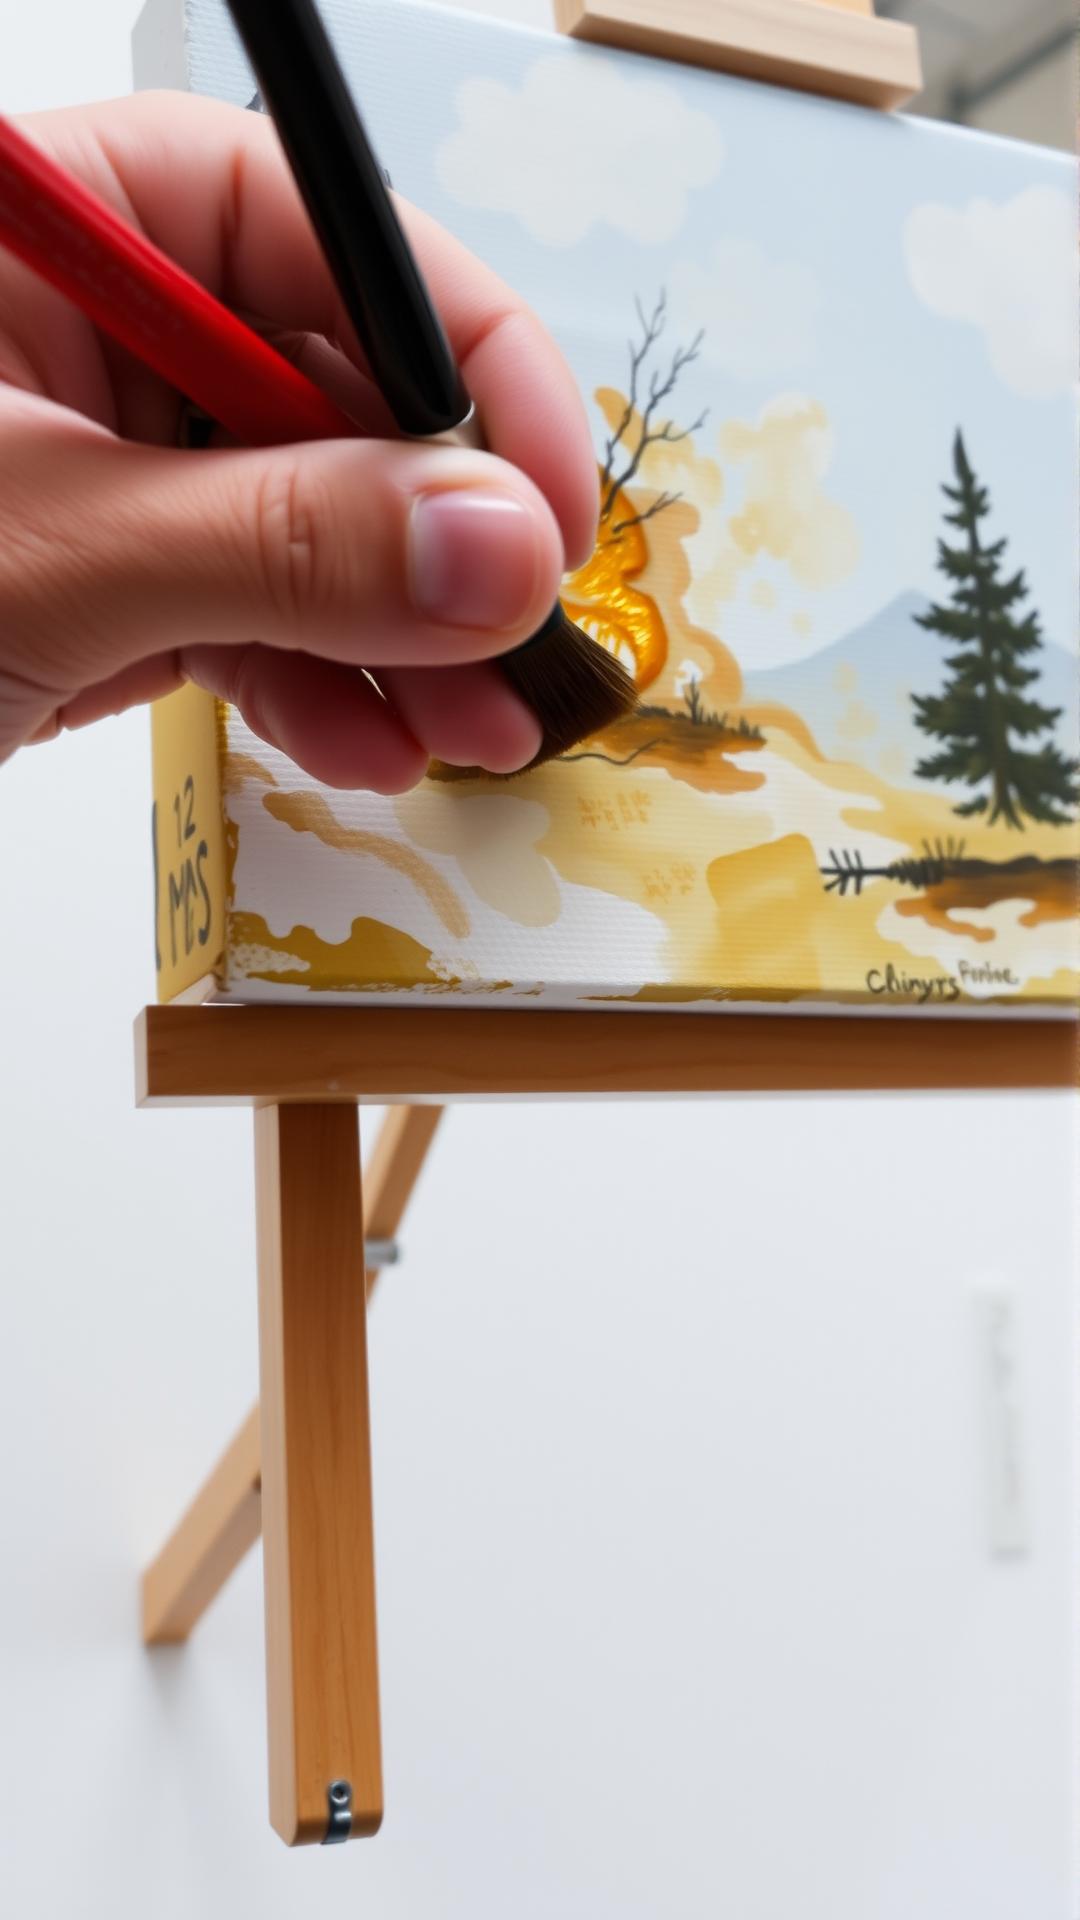
Brushes are perhaps the most vital tools in your acrylic painting arsenal. A variety of brush shapes and sizes allows for different techniques and details. Flat brushes are ideal for broad strokes and filling larger areas, while round brushes are perfect for fine lines and intricate details. Filbert brushes combine the characteristics of both flat and round, providing versatility. Consider using synthetic brushes as they hold up well with acrylics and prevent damage from the paint’s quick drying time.

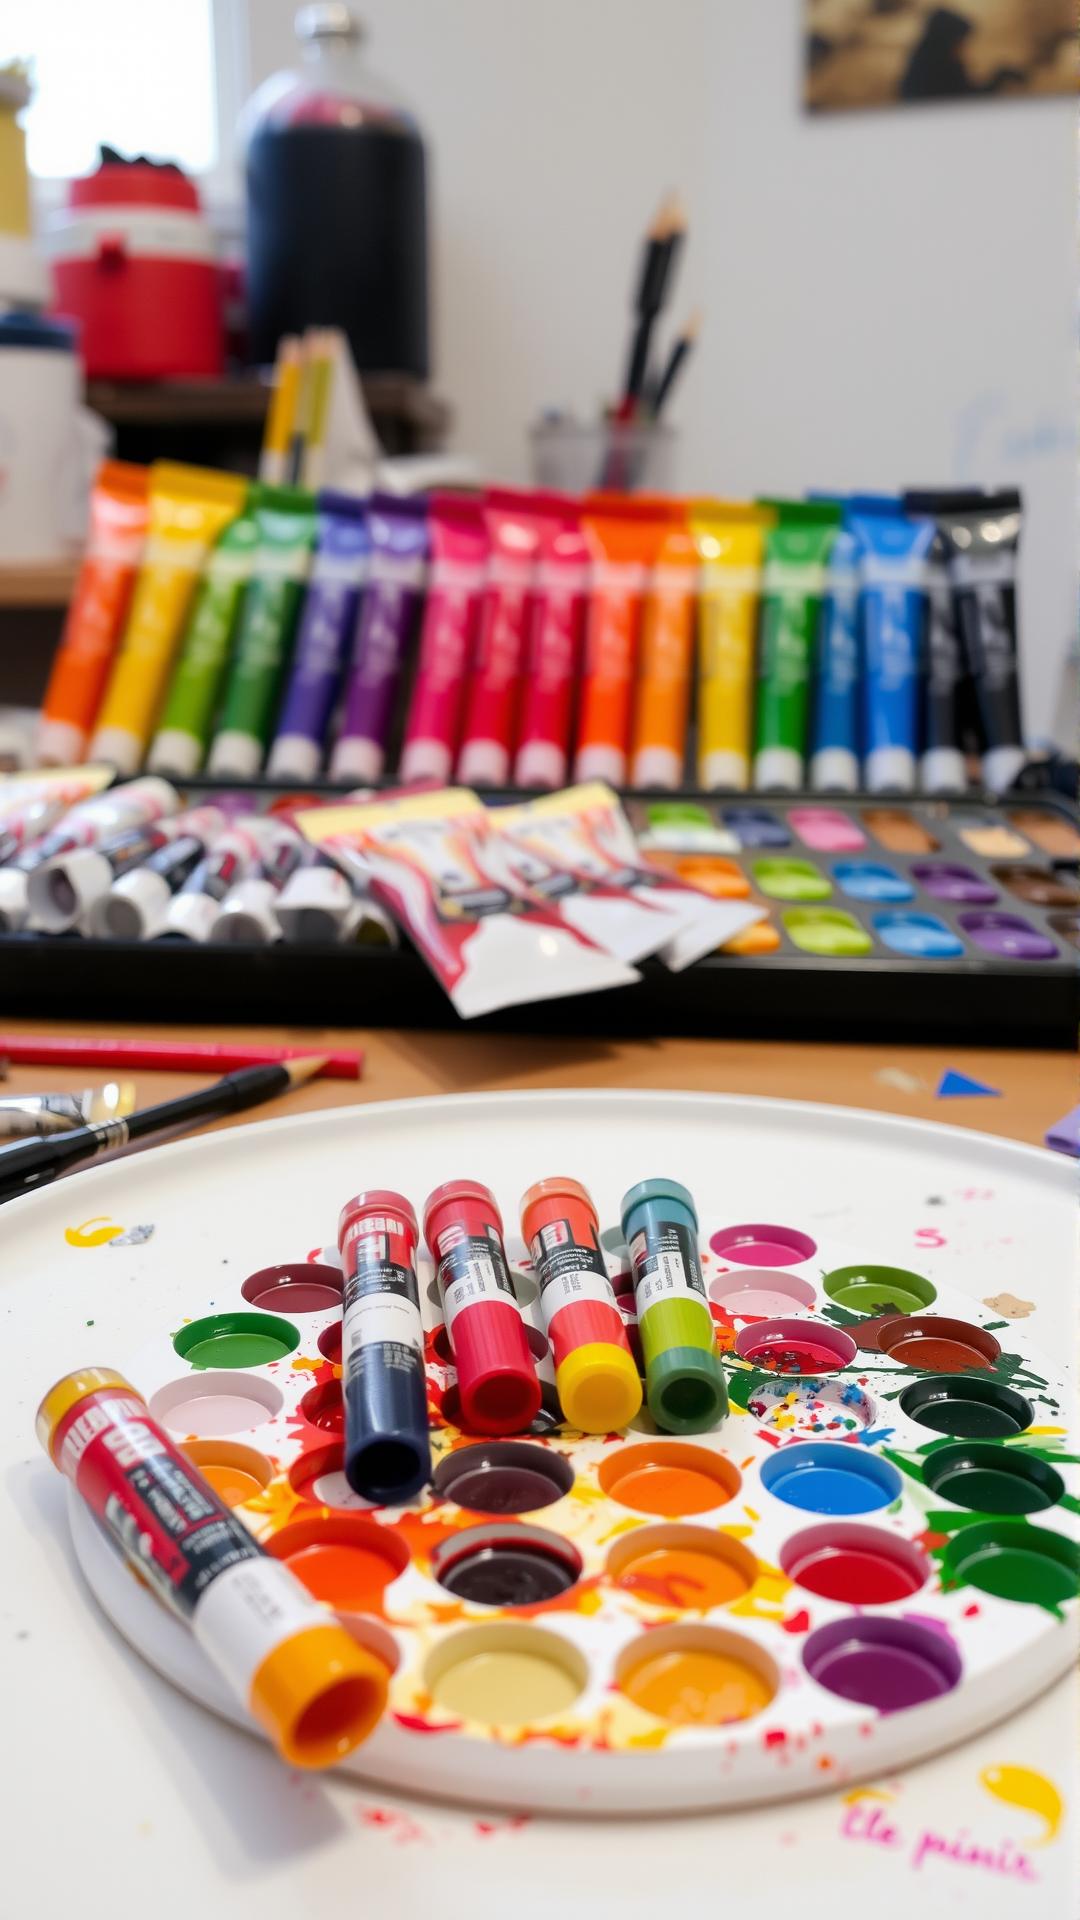
Palettes play a critical role in your painting process. A variety of palettes are available, including wooden, plastic, and disposable options. Each has its own advantages, but a stay-wet palette is particularly beneficial for acrylic painting. It helps keep your paint moist longer, allowing for blending and color mixing without the constant need to reload fresh paint. Consider using a palette knife for mixing colors; it provides a smooth blend and reduces waste.
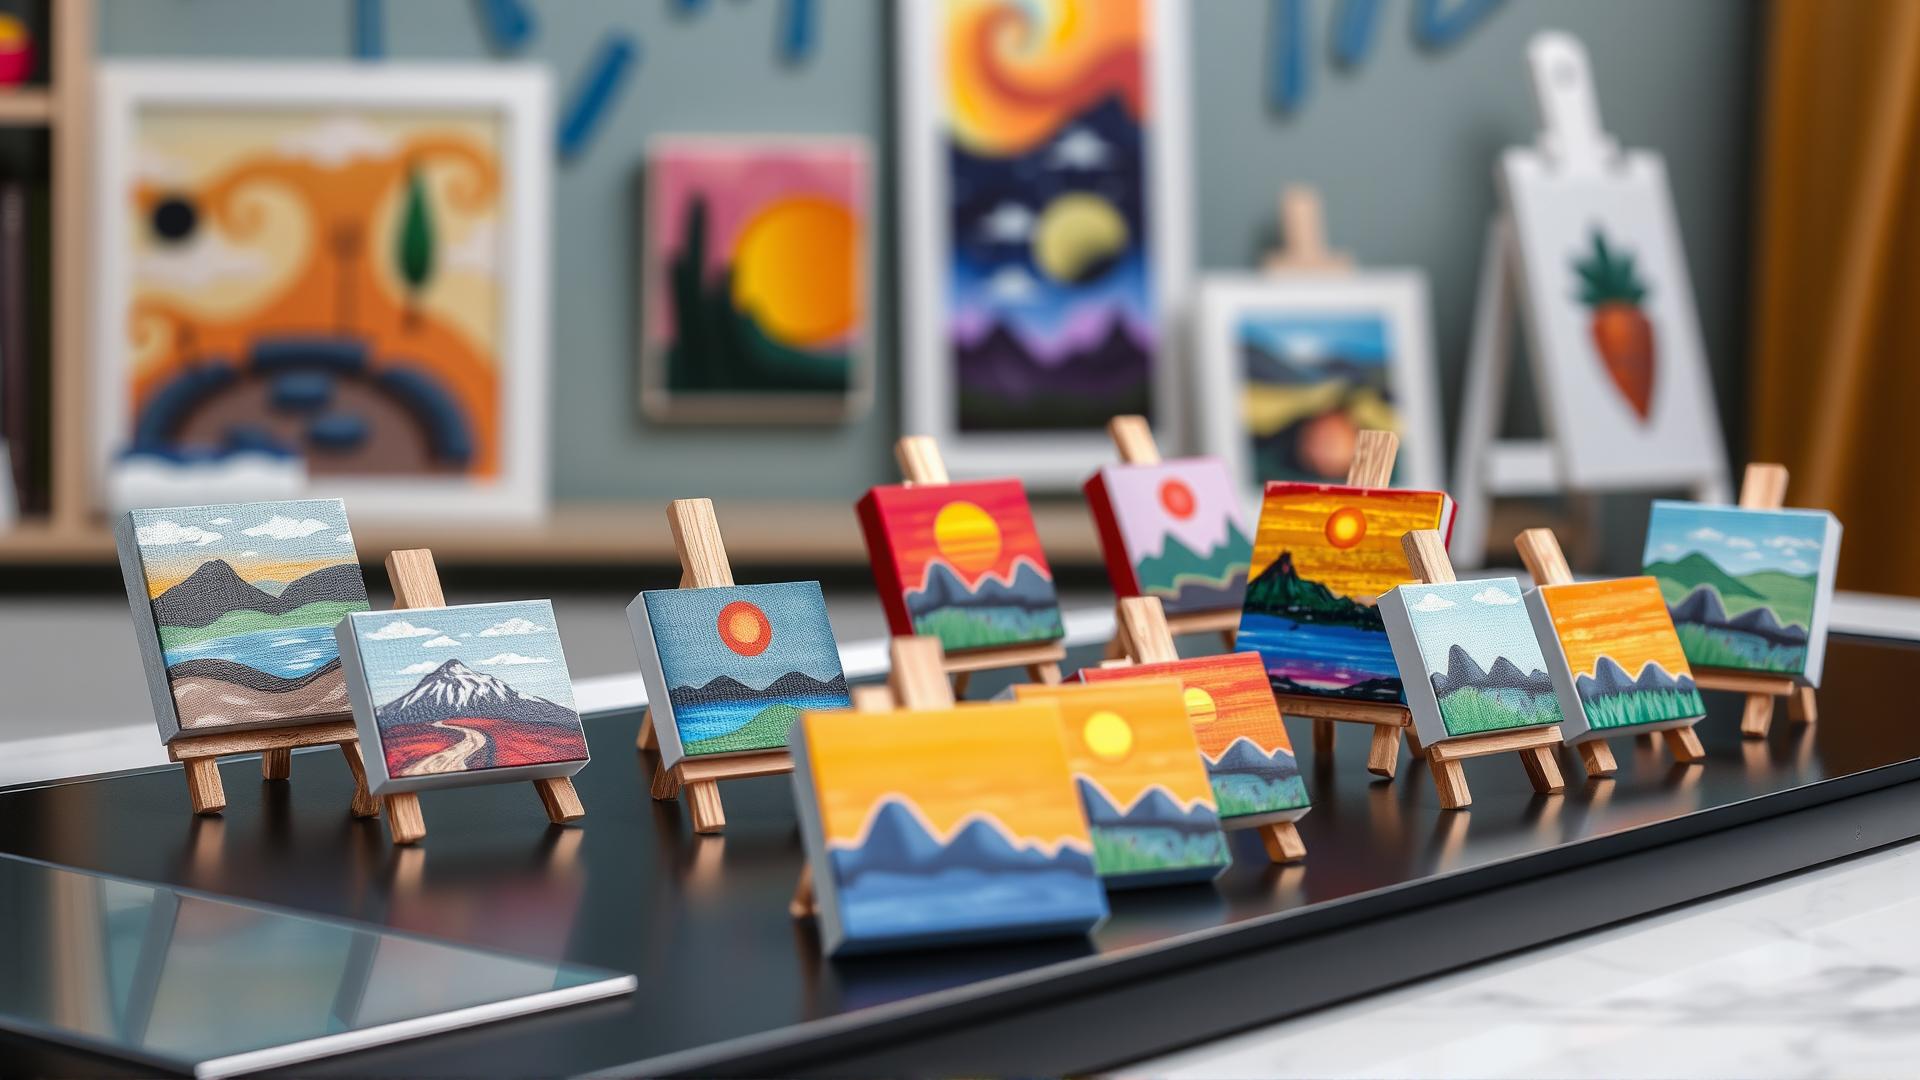
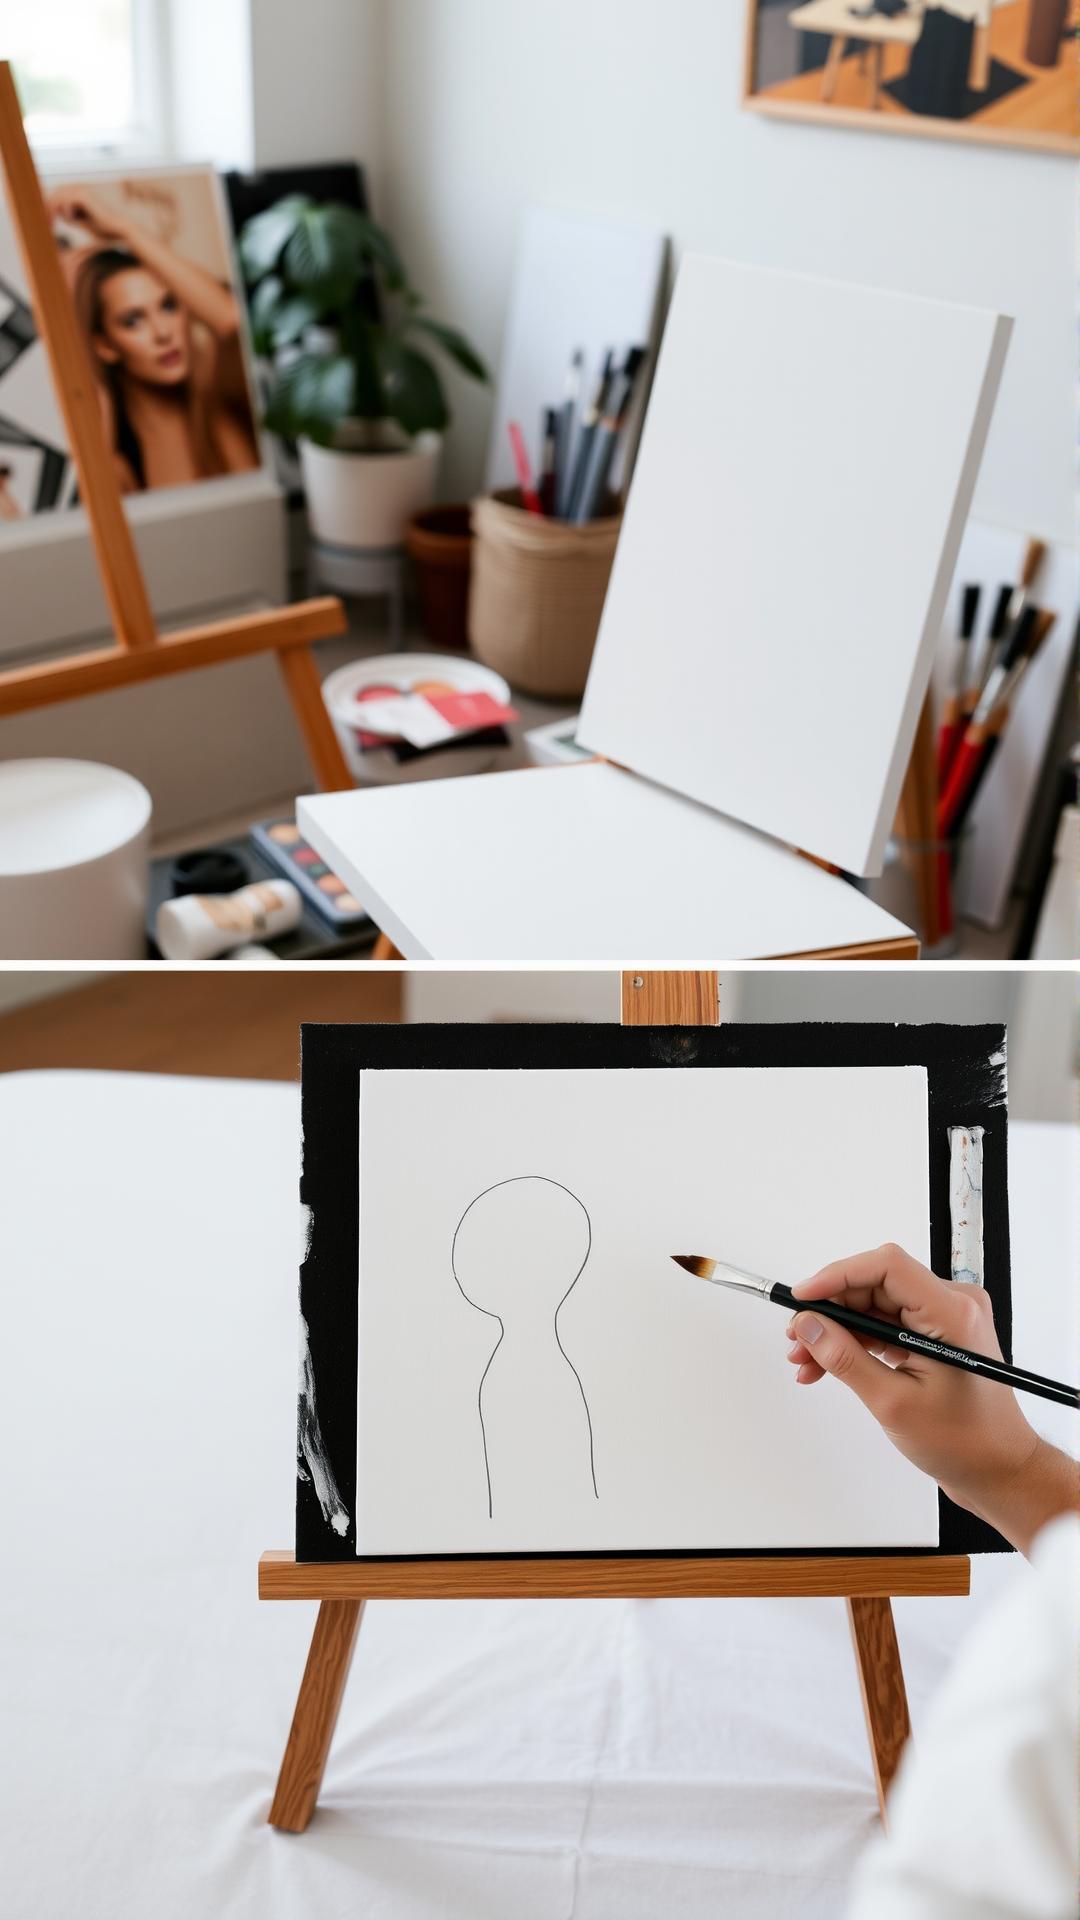
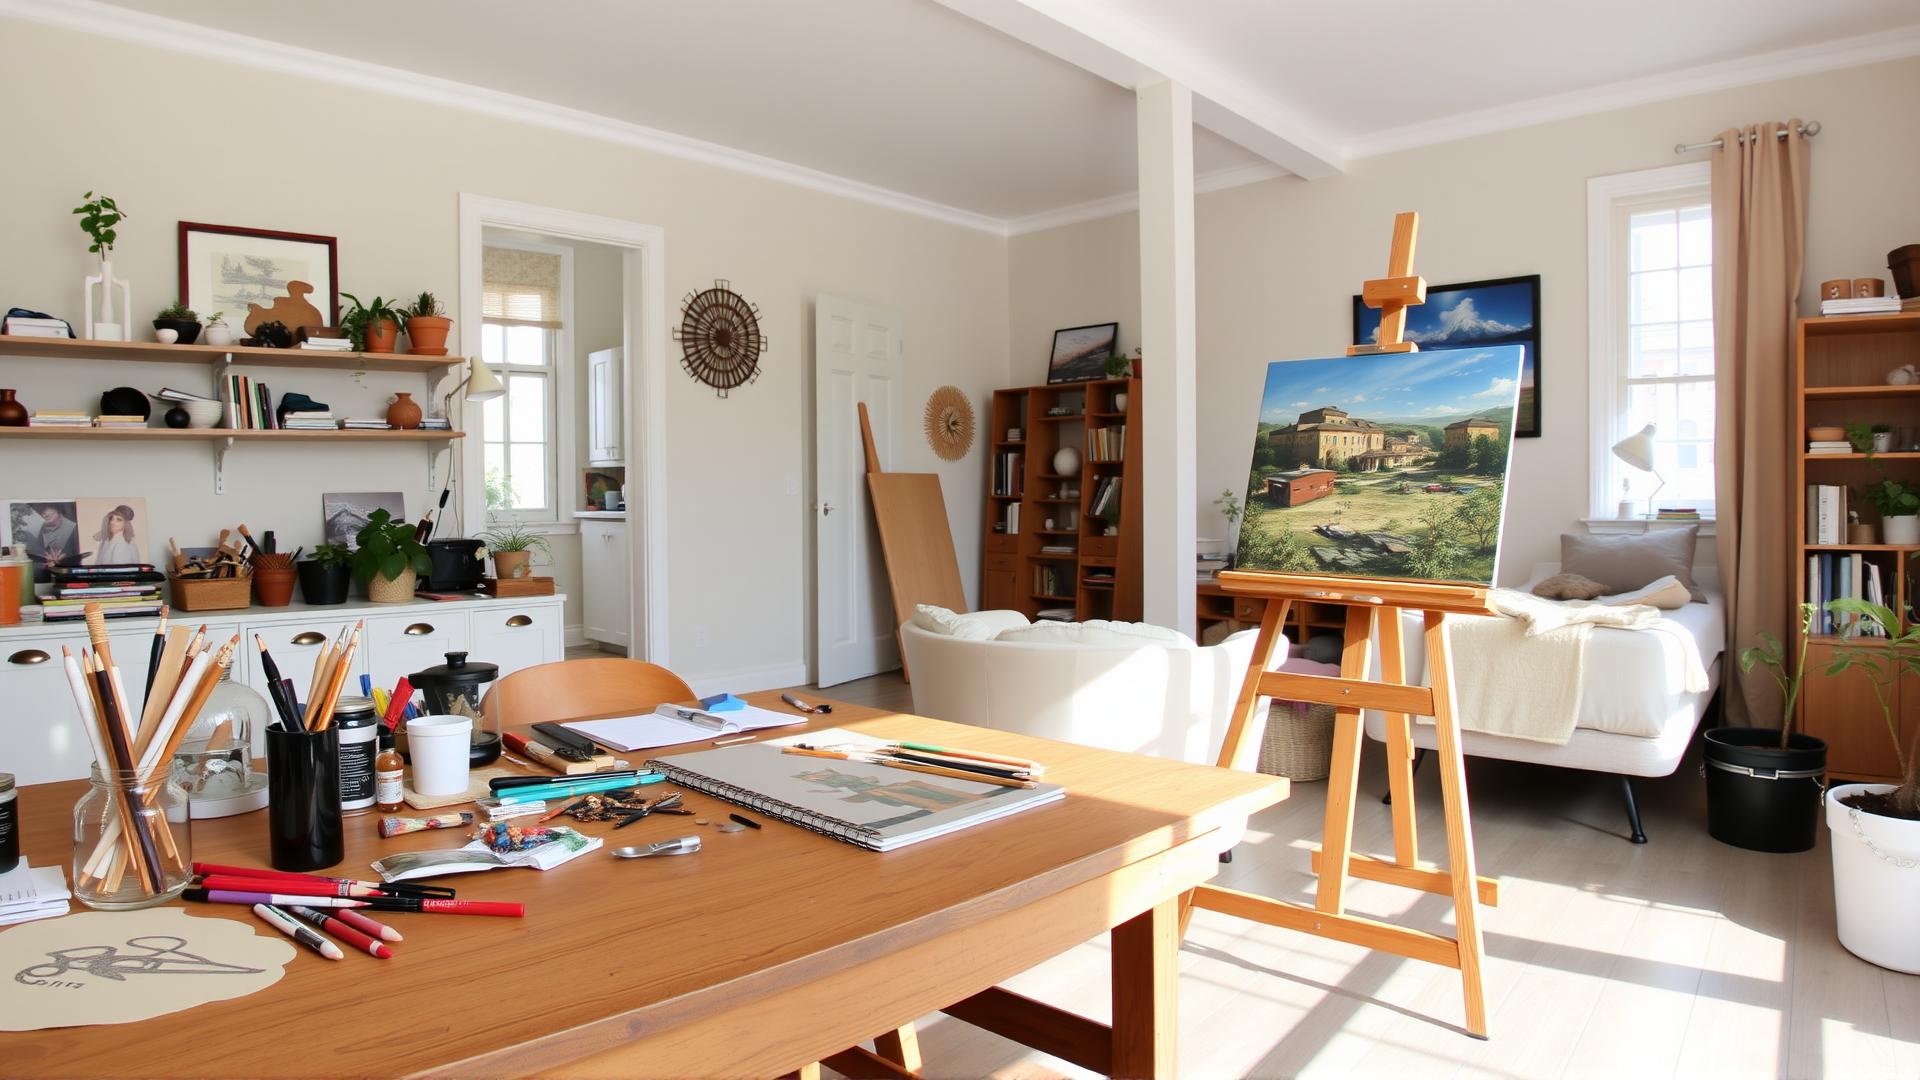
Choosing the right canvas is also important for your acrylic artwork. Stretched canvases, canvas boards, and acrylic papers can all be suitable choices. Ensure your canvas is pre-primed; this helps the paint adhere better and allows for smoother brushwork. Different textures will impact the final look of your artwork; a smoother canvas promotes fine details, while a textured surface can add depth.
Optional Tools for Advanced Techniques
As you advance in your acrylic painting skills, you may want to consider additional tools to enhance your techniques. Mediums, such as gel mediums and flow improvers, can modify the consistency of the paint, allowing for different effects. Gel mediums can add texture and thickness, while flow improvers keep the paint workable for a longer period.
Using a spray bottle for water is also helpful for keeping your brushes moist and controlling the drying process of your paint on the palette. Lastly, a variety of sponges or stamps can introduce texture and unique patterns into your work, adding another layer of depth and complexity to your artistry.
Investing in these tools not only enriches your painting experience but sets the foundation for creating truly vibrant and engaging acrylic masterpieces.
Basic Techniques for Beginners Foundational Acrylic Skills for Vibrant Creations
Layering Technique
Layering is a fundamental technique that adds depth and complexity to your artwork. This method involves applying multiple layers of paint, allowing each layer to dry before adding the next. The process creates a rich, luminous quality that makes colors appear vibrant and dynamic. Start with a base layer of color, which will serve as the foundation for the subsequent layers. Once dry, gradually build up color by mixing hues and applying them thinly with your brush or palette knife.
Step-by-step instructions for layering:
- Begin with a canvas primed for acrylics. Choose a base color that will act as the initial layer.
- Using a brush, apply the base layer in broad strokes, covering the entire area you want to paint.
- Let this layer dry completely before selecting a new color for your next layer.
- Mix a lighter hue or a contrasting color and apply it thinly over the dried layer, blending it slightly for a smoother transition.
- Repeat the process, adding additional layers, allowing each to dry fully. Experiment with transparency by varying the paint mixture.
Wet-on-Wet Technique
The wet-on-wet technique involves applying wet paint onto a wet surface or into wet paint already on the canvas. This technique creates seamless blends and soft transitions, making it ideal for creating skies or abstract forms. To begin, simply apply a base color to the canvas and while it is still wet, introduce a second color and watch them blend organically.
Step-by-step instructions for wet-on-wet:
- Start by applying a generous amount of your first color with a brush.
- Quickly choose a second color and, while the first layer is still wet, apply it directly onto the canvas.
- Use a clean brush to gently swirl the colors together, allowing them to mix on the canvas.
- Continue adding colors until you achieve the desired effect, ensuring to work quickly to maintain the wet surface.
Dry Brushing Technique

The dry brushing technique is useful for adding texture and subtle highlights. This method involves using a brush with a minimal amount of paint and gently dragging it across the canvas, allowing the texture of the surface to show through. It’s perfect for creating effects like fur, foliage, or weathered surfaces.
Step-by-step instructions for dry brushing:
- Select a dry, stiff-bristled brush and dip it lightly into acrylic paint, removing excess paint on a paper towel.
- Lightly drag the brush across dry canvas or over a painted area, allowing the brush to catch on the texture of the surface.
- Reapply paint sparingly and repeat the technique until you achieve the desired visual impact.
Learning these techniques will provide a solid foundation for your acrylic painting journey, allowing your creations to truly shine with detail and vibrancy.
Creating Fluid Paints and Glazes
Developing the Right Consistency
Fluid acrylic paints and glazes serve as vital tools for artists seeking to achieve vibrant, luminous effects. To create these dynamic mixtures, mastering the right consistency is essential. Fluid acrylics are typically more diluted than regular acrylics, allowing for smoother application and greater flow. One common mixing ratio is to combine one part acrylic paint with one to three parts of a suitable medium or water. This variation allows artists to adjust the transparency, opacity, and flow based on their specific needs.
When experimenting, it is beneficial to begin with a small quantity of paint. This approach enables you to test various ratios and observe how the paint behaves on canvas. Keep in mind that too much thinning can compromise pigmentation, so balance is key.
Techniques for Controlled Pouring and Glazing
After achieving the desired fluidity in your paints, the next step is to apply controlled pouring techniques. Controlled pouring involves the strategic placement of paint, allowing for intricate designs and stunning effects. You can use a squeeze bottle or a cup with a spout to direct the flow of paint, ensuring precision in your application. This method is effective in creating abstract patterns, blending colors, or adding a transparent glaze layer over an established base.
The glazing technique involves layering thin washes of color, enhancing depth and dimension in your artwork. To create a glaze, mix your fluid paint with a glazing medium, ensuring transparency while maintaining color vibrancy. Apply a glaze layer by brushing it over dried paint, allowing the underlying colors to influence the final appearance. This layering approach introduces visual complexity without overwhelming the initial composition.
For artists who wish to further refine their glazing techniques, consider varying the number of layers. A single glaze can subtly impact the hues, while multiple layers can produce richer tones. Experimenting with different colors and transparency levels is essential—while cool colors can provide depth, warm colors can evoke light and warmth.
Remember to allow each layer to dry completely before applying the next to prevent muddying colors. By undertaking these innovative techniques in your acrylic painting journey, you will unveil unique artistic expressions that bring your creations to life.
Acrylic Pouring Techniques for Stunning Effects
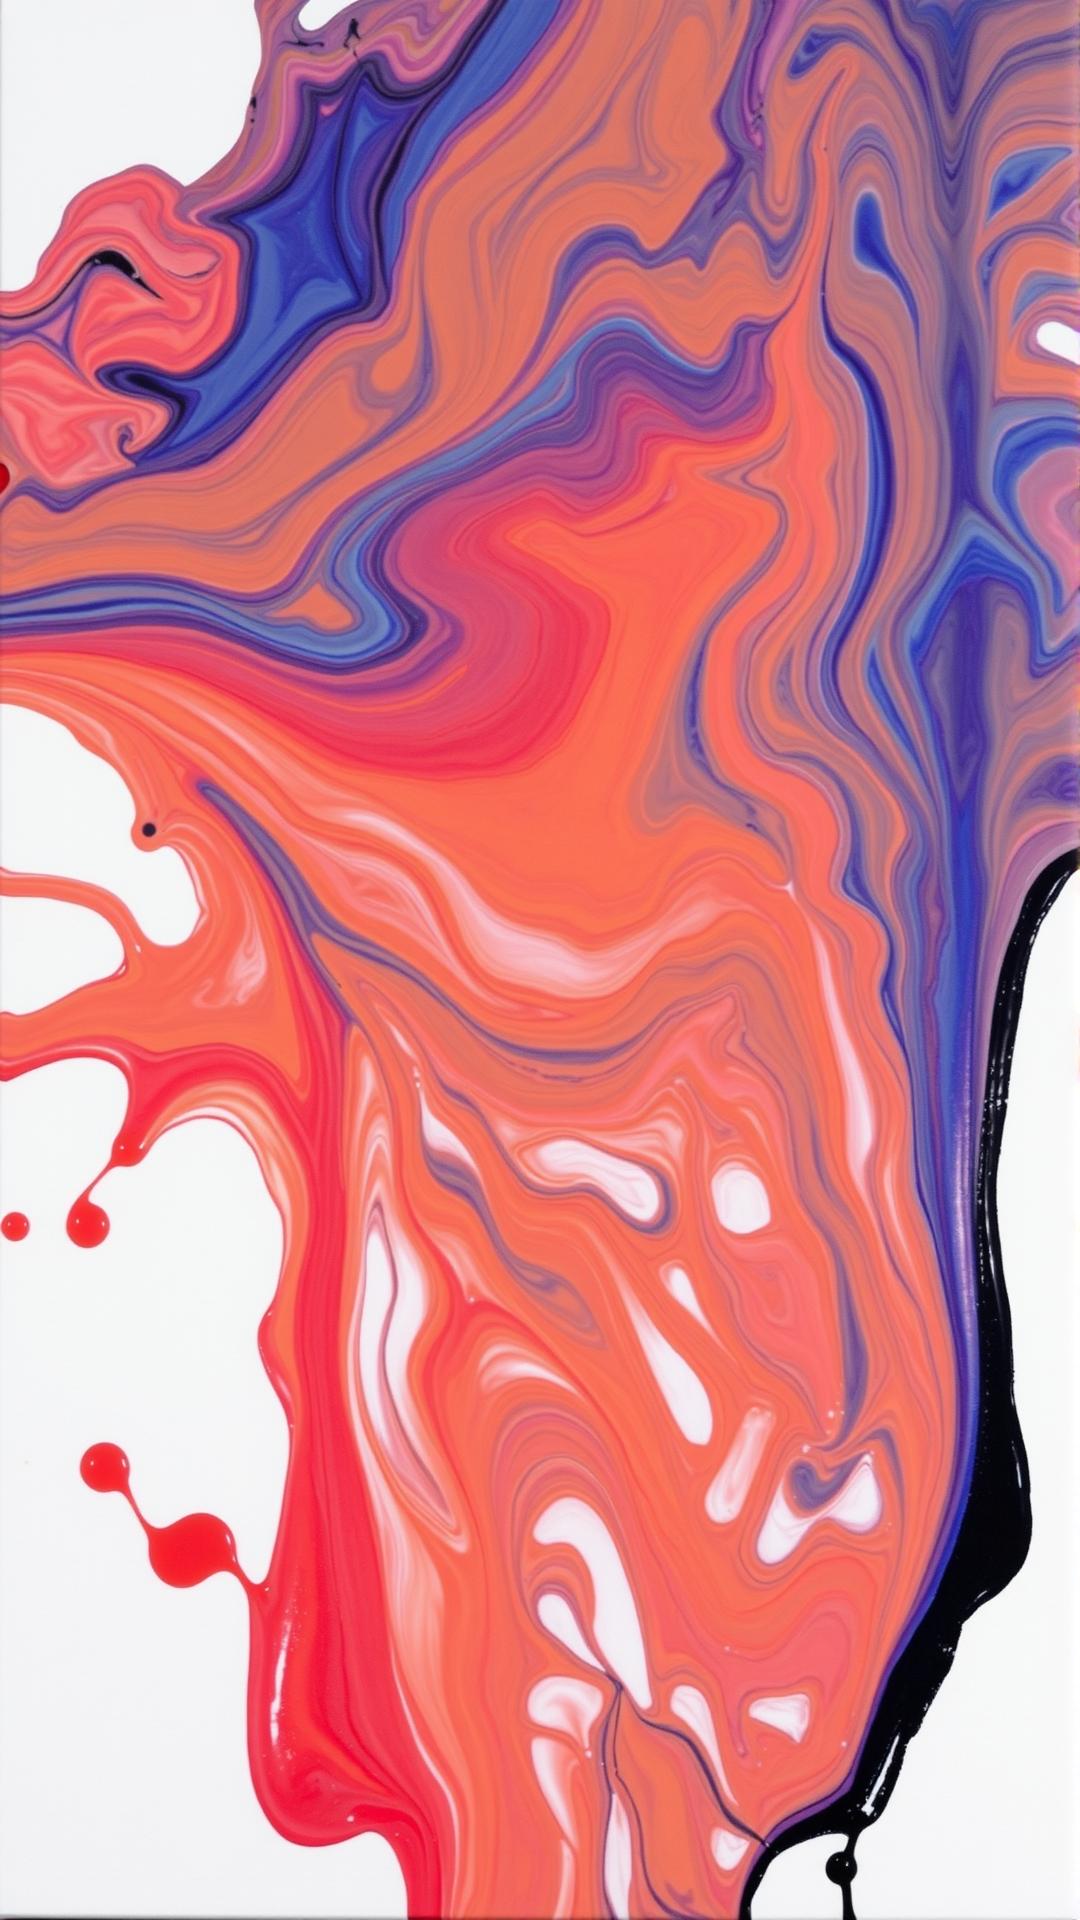
Understanding Pouring Techniques
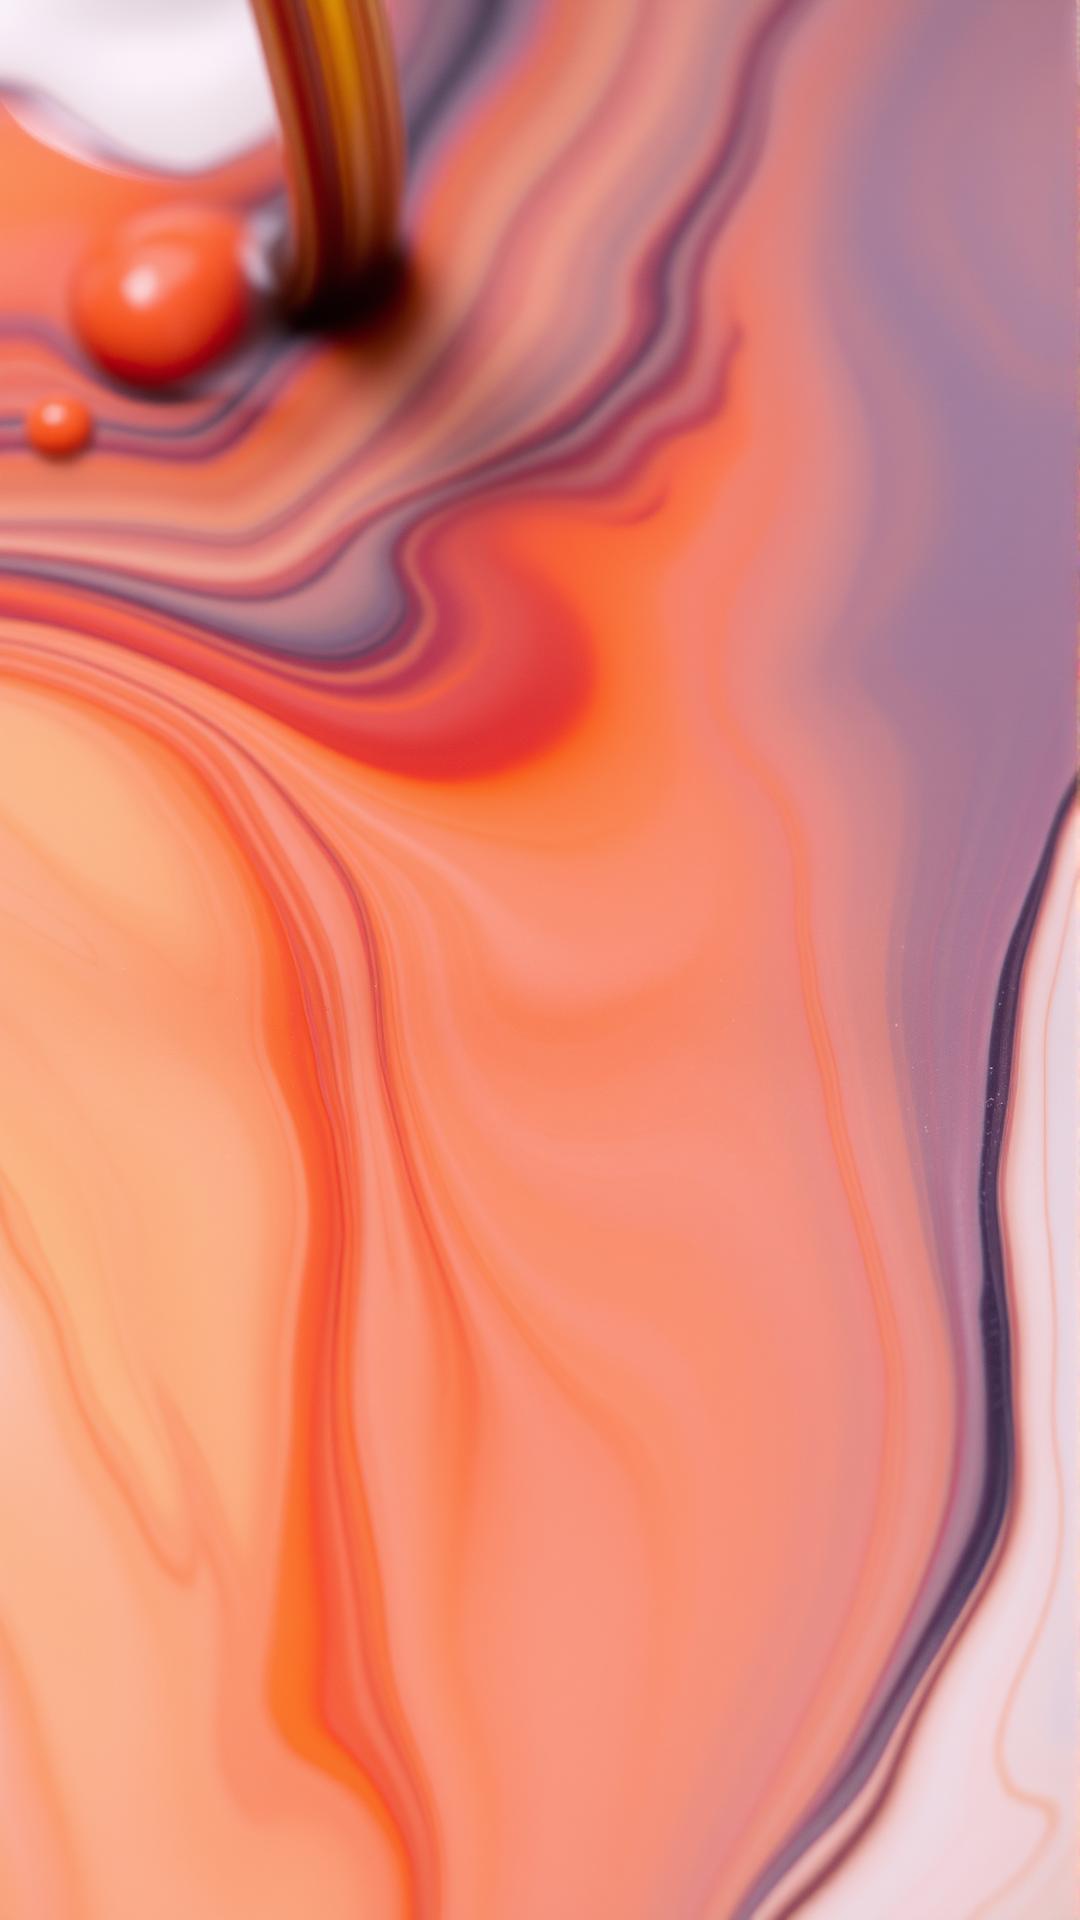
Acrylic pouring is a technique that allows artists to create captivating abstract designs using fluid acrylic paints. This method liberates your creativity by allowing colors to blend organically, resulting in vibrant compositions that can evoke strong emotions. Several key pouring techniques are popular among artists, each yielding distinct results that can enhance your artwork.
Common Pouring Techniques
The flip cup technique is a favorite among many artists. In this method, multiple colors of fluid acrylics are poured into a cup in layers, one on top of the other. Once the cup is filled, it is flipped onto the canvas, allowing the paint to flow out and create unpredictable patterns. To ensure success with the flip cup technique, use a cup with a wide opening and experiment with color combinations to achieve more dynamic effects.
A dirty pour is another exciting approach where different colors are mixed in a single cup without layering. This often leads to beautiful, blended effects when poured onto the canvas. One tip for a successful dirty pour is to keep the colors separated until the final pour; this will allow more contrast and variation in the design. It’s also recommended to tilt the canvas after pouring to enhance the movement of the paint and create more intricate patterns.
The puddle pour is yet another variation that can be incredibly striking. In this technique, individual puddles of color are poured directly onto the canvas, allowing the artist to manipulate the design more directly. The key to success with a puddle pour is to maintain control over your puddles, ensuring they do not bleed excessively into each other unless desired. To troubleshoot any issues, such as colors becoming muddied, consider adjusting the paint consistency or using a silicone agent to maintain separation between colors.
Proper preparation is vital for all pouring techniques. Always use a level surface and consider the pouring medium, as this affects the paint flow and colors’ vibrancy. Remember to practice consistently and document your techniques to refine your skills. Acrylic pouring can be less predictable than traditional painting, but the stunning visual rewards often make it worthwhile.
Finishing Touches and Preservation Mastering Acrylic Painting Techniques for Vibrant Creations
Final Steps in the Acrylic Painting Process
The concluding stages of acrylic painting are crucial for achieving a polished and lasting piece. After pouring and blending vibrant colors on your canvas, it is essential to ensure that your artwork is properly finished and preserved. The first step is allowing your painting to dry completely, which may take anywhere from a few hours to a couple of days depending on the thickness of applied layers and environmental factors. Pay attention to the ambient temperature and humidity levels, as these can influence drying time.
Once your work is dry, consider the application of a suitable varnish. This protective layer serves multiple purposes: it enhances the colors, adds a sheen, and provides an essential barrier against dust, dirt, and UV light, which can fade colors over time. Varnishes are available in different finishes, such as glossy, satin, or matte. Your choice will depend on the desired final appearance; a glossy finish may amplify vibrancy, while a matte finish could offer a subdued, refined look.
Before applying varnish, ensure that the surface of the painting is free of dust and particles. Use a soft brush or a microfiber cloth to gently clean the surface. If employing spray varnish, maintain a consistent distance and apply multiple fine coats rather than one thick layer. This practice prevents drips and ensures an even application. For brush-on varnish, use a clean, wide brush to apply the varnish in even strokes, and work in small sections to prevent smearing.
Proper Care for Longevity
After varnishing, proper care is essential to maintain the beauty of your acrylic painting. Always display your artwork away from direct sunlight to minimize color fading. Temperature fluctuations should be avoided, as extreme heat or cold can cause the canvas to warp or crack over time.
When it comes to cleaning, a gentle touch is warranted. Use a soft, dry cloth to wipe away dust, and avoid any cleaners that contain solvents or chemicals that could damage the surface. You can also frame your artwork under glass for additional protection—just ensure that the mat is acid-free to avoid deterioration.
By attending to these finishing touches and preservation techniques, artists can ensure that their vibrant acrylic creations not only captivate viewers today but stand the test of time in the years to come.
Conclusions
Acrylic painting is a dynamic medium that offers artists an abundance of techniques to create breathtaking works of art. By understanding the properties of acrylics, experimenting with various methods, and using the right tools, anyone can elevate their paintings and bring their artistic visions to life. The journey of mastering acrylic painting is not only fulfilling but also immensely rewarding, allowing for constant growth and exploration.
As you continue to practice and develop your unique style, remember that creativity has no limits. Embrace the flexibility of acrylic paints, challenge yourself with new techniques, and share your vibrant creations with the world. The techniques discussed in this article will serve as a solid foundation for your artistic endeavors, encouraging you to keep learning and evolving as an artist.


