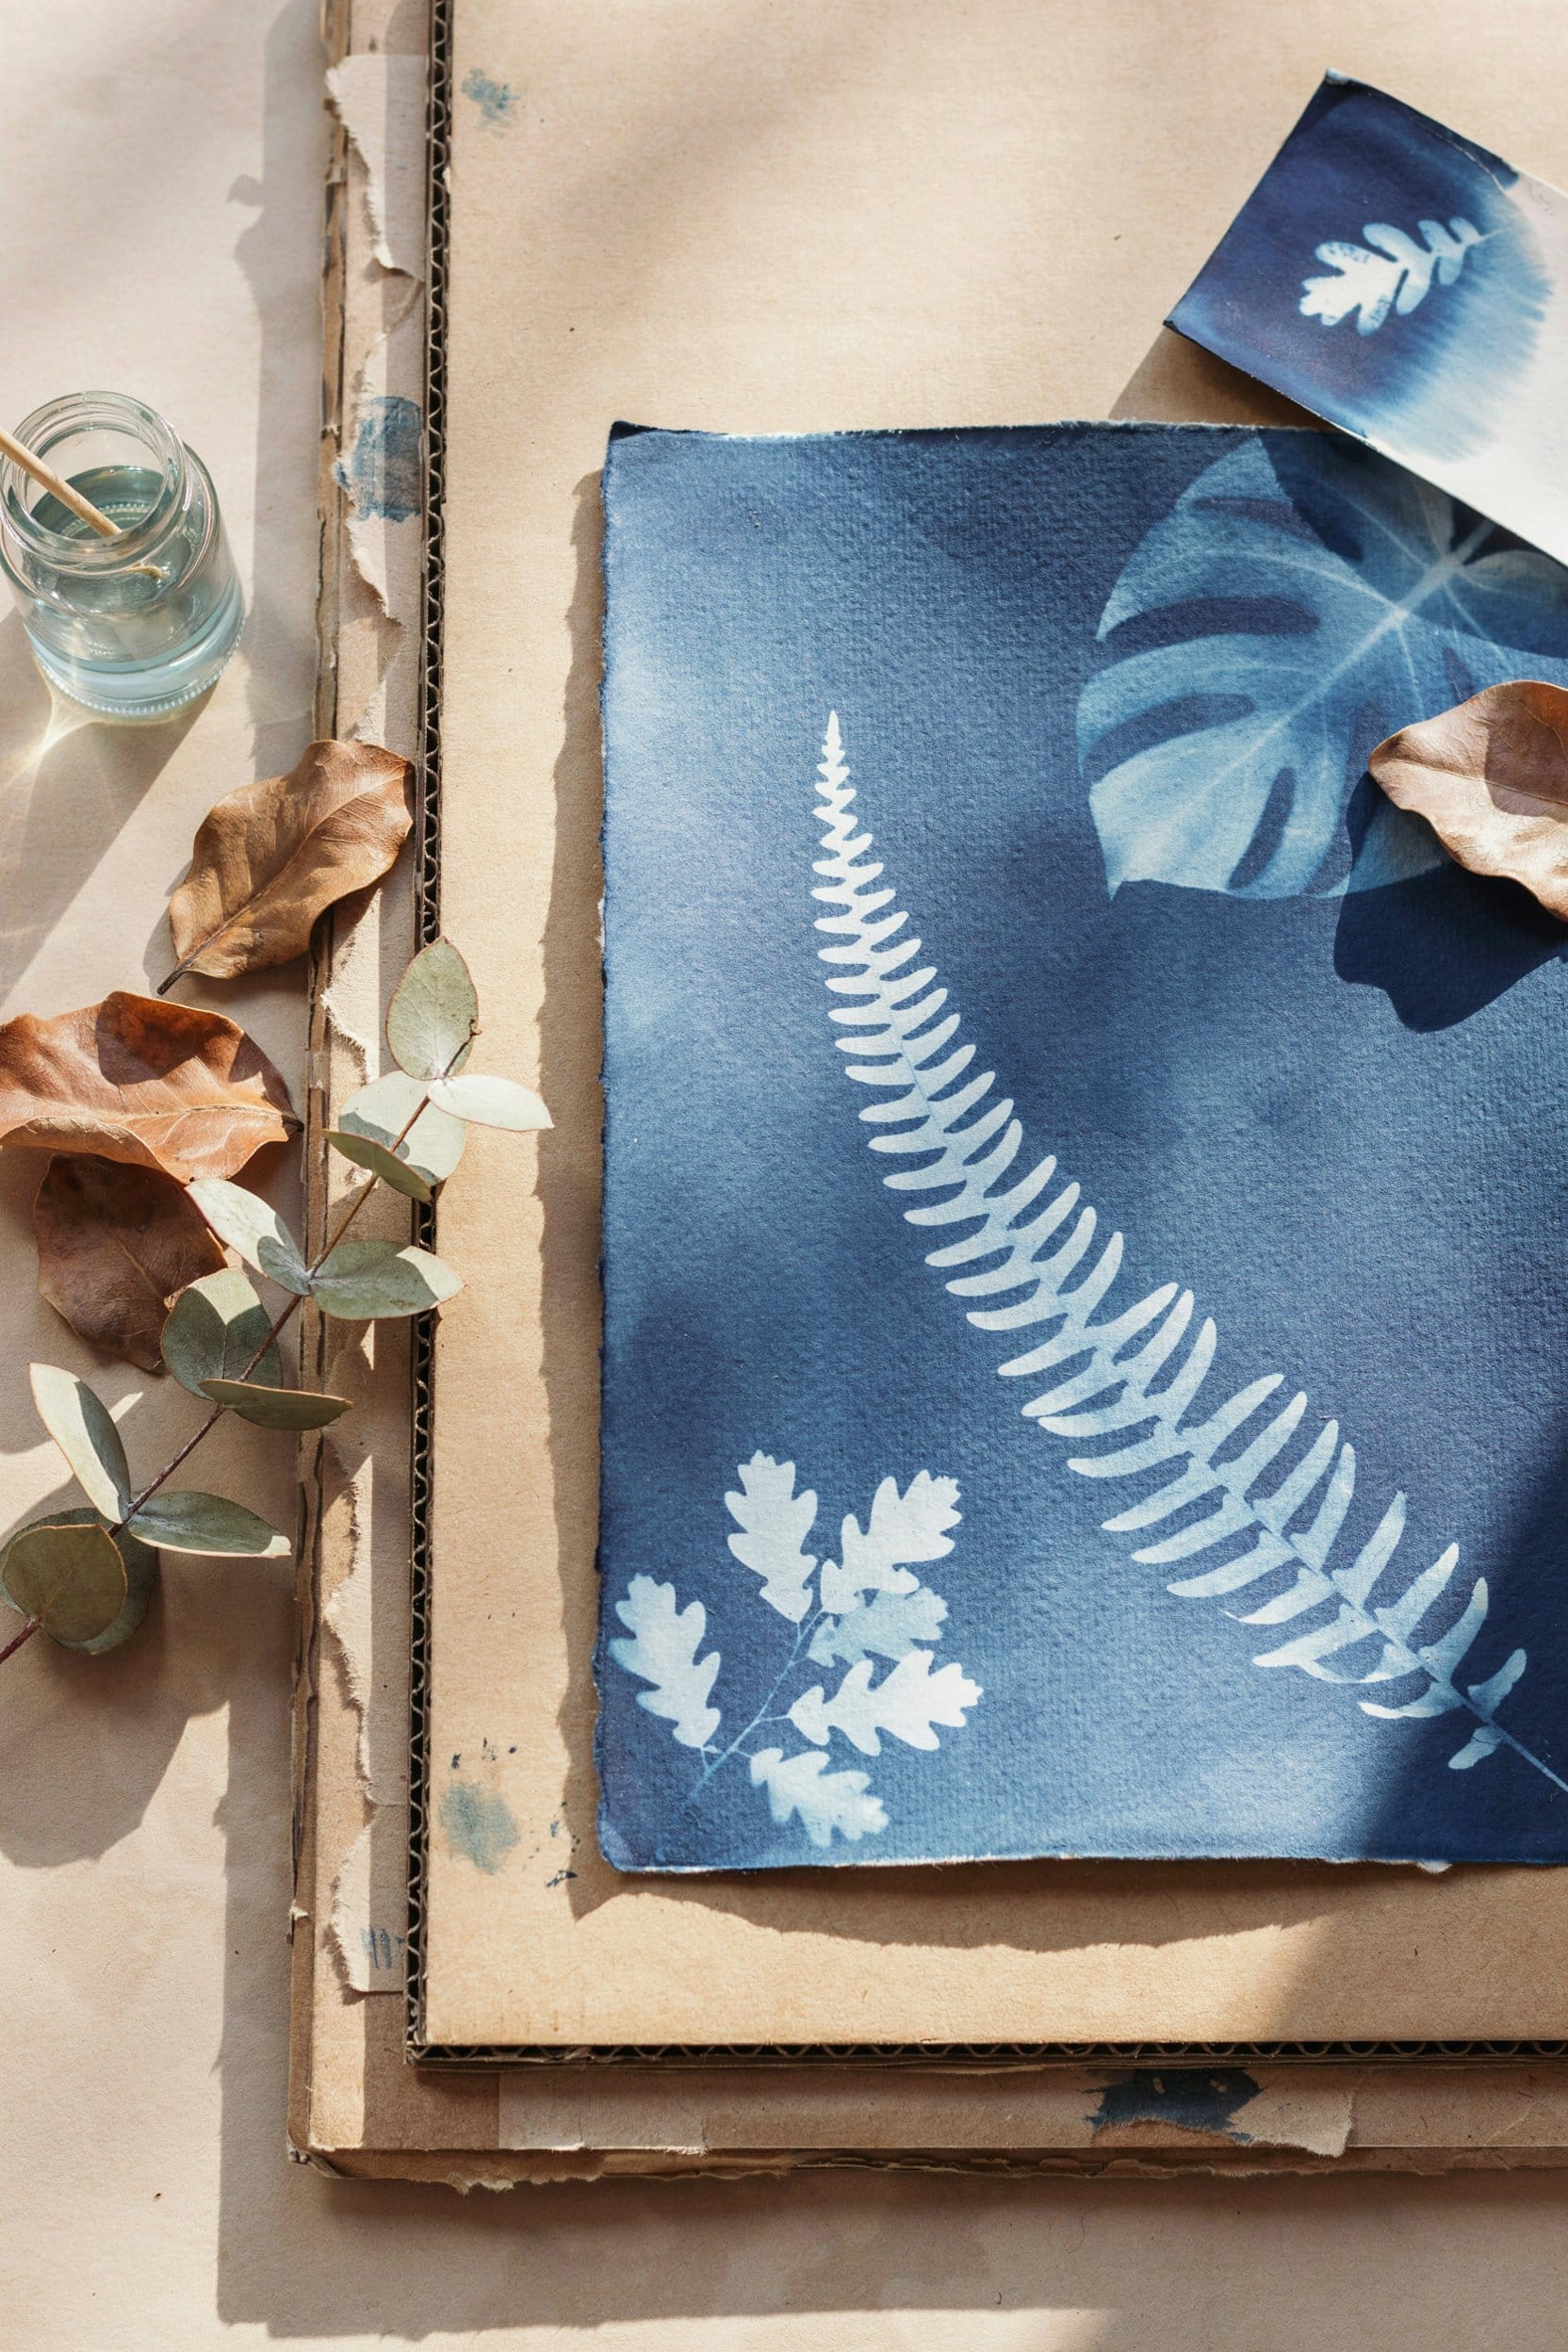
1 sheet watercolor paper or heavy cardstock, 9x12 inches, cold-press texture
1 foam brush, 2-inch width
6 flat botanical items, pressed ferns, leaves, or flowers
1 sheet of glass or clear acrylic, for pressing objects flat during exposure
3 flattened corrugated cardboard sheets, clean, from recycled boxes
1 craft knife
1 bottle white or hot glue
Instructions
Expose the Cyanotype
Coat the paper:
Working in a dimly lit room away from direct sunlight or UV, brush the cyanotype solution evenly across the paper. Let it dry fully in the dark.
Arrange objects:
Place botanical items on the dried, coated paper. Cover with the glass or acrylic sheet to press everything flat against the paper.
Expose to sunlight:
Move the covered paper into direct sunlight. Exposure typically takes 5 to 15 minutes; the coating shifts from yellow-green to a grayish bronze when ready.
Rinse and develop:
Remove the objects and rinse the print in cool running water for about 5 minutes, until the water runs clear. This stops the exposure and develops the final Prussian blue color.
Dry flat:
Lay the print flat or hang it away from direct sun to dry completely before handling further.
Build the Cardboard Relief
Cut layered shapes:
Cut the corrugated cardboard into 3 to 5 nested shapes of decreasing size, following a concentric or freeform outline that matches the composition of your cyanotype print.
Glue in layers:
Stack and glue the cardboard shapes from largest to smallest to build a raised relief base with visible depth.
Mount the print:
Once the cyanotype print is fully dry, trim it to size and glue it onto or around the cardboard relief structure.
Notes
Potassium ferricyanide and ferric ammonium citrate are mild irritants — avoid skin and eye contact and work in a ventilated space. Keep coated paper away from light until you are ready to expose it.
Recipe: How to Make Solarized Paper Crafts: Cyanotype Sun Prints on Cardboard Relief — from Rabbit And Mustard