Easy Watercolor Ideas for Beginners
Watercolor painting is a creative way to express your ideas using colors and water. It is a unique method where pigments mix with water to produce transparent and vibrant artwork. Many people find watercolor appealing because it offers a soft, natural look that is different from other painting techniques. Beginners often look for easy ways to start with watercolor to enjoy the process without feeling overwhelmed. This article introduces easy watercolor ideas designed specifically for beginners who want to create beautiful art without complex steps.
Starting with watercolor painting may seem intimidating, but it does not have to be. You only need a few basic supplies and simple techniques to start making your own paintings. This guide shares practical insights and straightforward tips that you can follow right away. If you wonder how to begin or what simple subjects to paint, the upcoming chapters will answer those questions. This approach helps you develop basic skills and builds your confidence to explore more advanced watercolor projects later.
Understanding Basic Watercolor Materials
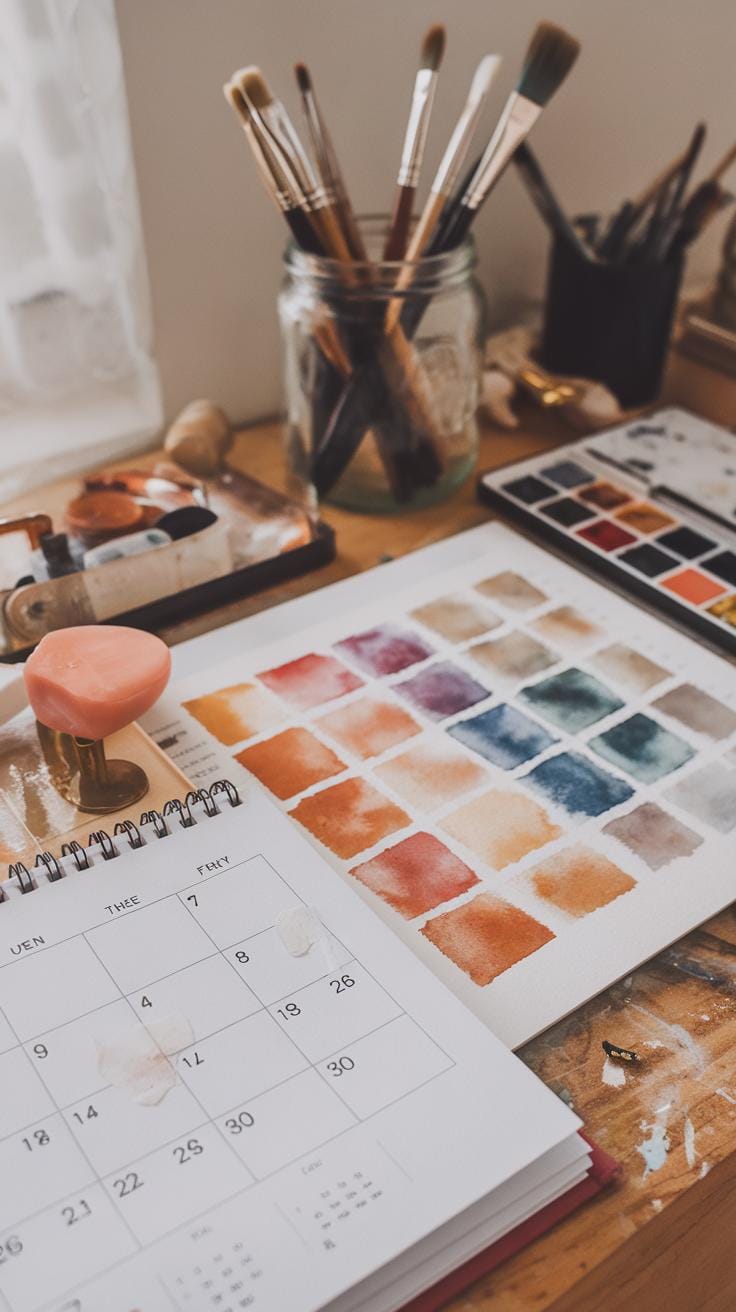
Choosing the right materials helps you enjoy watercolor painting from the start. Begin with watercolor paper, brushes, and paints designed for beginners.
Watercolor paper comes in different types. Each type changes how your paint looks and behaves. Starting with good paper can make your colors blend better and your paintings last longer.

Brushes vary in shape and size. A few versatile brushes can cover most beginner needs without overcrowding your workspace. Learning how each brush moves will improve your painting quickly.
Paint quality affects your results too. Student-grade paints cost less and offer solid color to begin with. Professional paints have stronger pigments but cost more. It is better to start with a few colors you like and add more as you grow.
Which materials excite you most to try? When you pick tools suited for your style, painting becomes easier and more fun.
Choosing the Right Watercolor Paper
Watercolor paper comes mainly in two types: cold-pressed and hot-pressed. Cold-pressed paper has a textured surface. This texture helps absorb paint and creates interesting effects. Many beginners prefer it because it is forgiving and lets colors flow naturally.
Hot-pressed paper feels smooth and flat. It suits detailed work and crisp lines but requires more control. Beginners might find it harder because paint dries quickly on it.

Also note the paper weight, measured in pounds or grams. Heavier paper holds more water without warping. A 140 lb (300 gsm) paper is a common start because it balances cost and durability.
How do you want your paint to move? Understanding these surfaces helps you choose paper that fits your style and improves your results.
Selecting Brushes and Paints
Brushes come in many shapes. Round brushes work well for most techniques and detail work. Flat brushes cover large areas quickly and create sharp edges. A medium round and a small detail brush serve most beginners well.
Look for brushes labeled as synthetic or nylon for beginners. They hold their shape and cost less than natural hair brushes but perform nearly as well.
Paints come in tubes or pans. Tubes offer intense colors and easy mixing. Pan sets are compact and tidy, great for learning basic colors.

Student-grade watercolor paints keep costs low while offering decent pigment. Brands like Winsor & Newton Cotman and Sakura Koi are good choices. Try a small set first and add colors you enjoy using.
Are you ready to pick your first brush and paint? Starting simple helps you focus on practice, not materials.
Setting Up Your Workspace for Painting
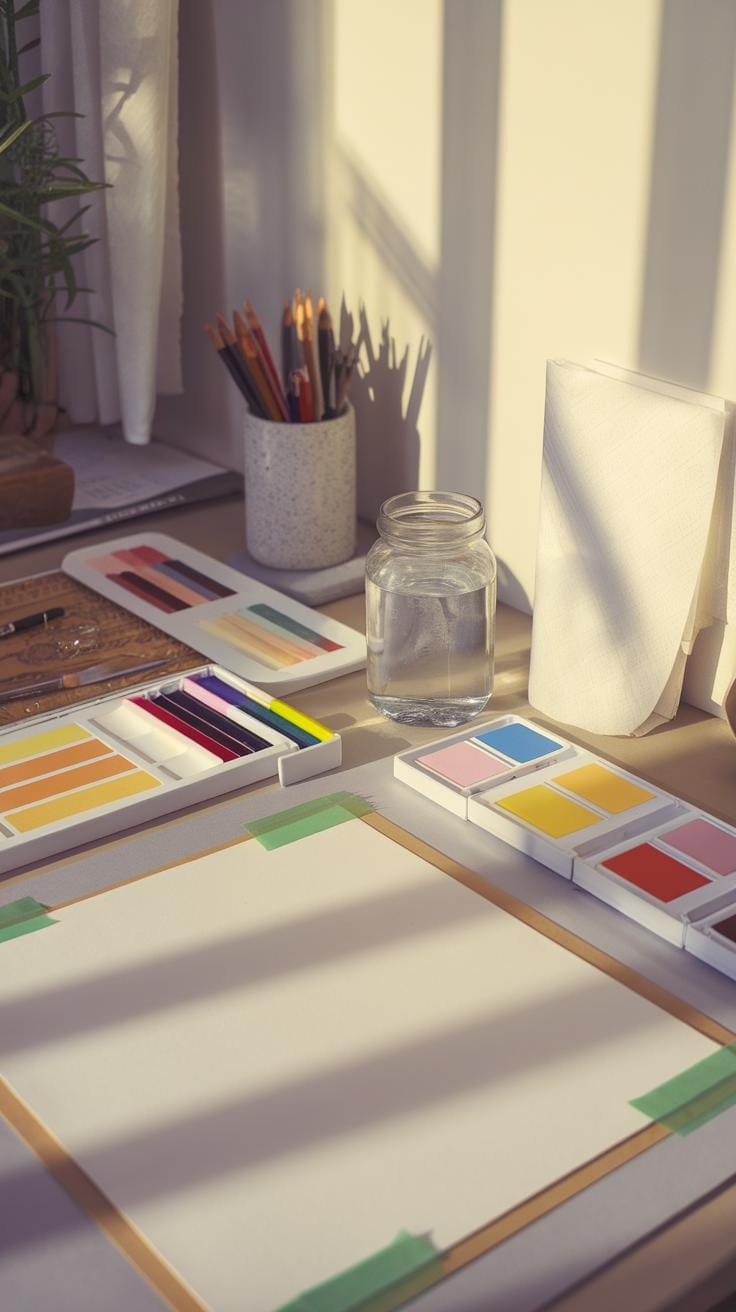
Creating a dedicated area for watercolor painting can make your experience more enjoyable and productive. Find a spot where you feel comfortable and free from distractions. If space is limited, use a small table or a portable lap desk to keep your materials close.
Arrange your painting tools so that everything is within easy reach. Keep your paints, brushes, water containers, and paper towels nearby, but in a way that avoids spills and clutter. Using containers or small trays helps keep your supplies organized and reduces mess.

Consider setting up a clean surface with a mat or protective sheet beneath your paper. This prevents damage to furniture and lets you focus on painting without worrying about cleaning afterward. Before you start, ask yourself: Can I easily grab what I need without breaking my flow?
Lighting and Environment
Good lighting directly affects how you see colors and shapes while painting. Natural light is the best choice when possible, especially from a north-facing window that provides consistent, soft light. If natural light isn’t an option, use a daylight-balanced lamp that mimics natural daylight. Position the light so it shines evenly across your work without causing shadows or glare.
Think about your painting space’s environment. Is it quiet enough to focus? Does the temperature feel comfortable? These small factors influence how well you concentrate and paint. Have you noticed how harsh or dim lighting changes the way your colors appear?
Organizing Your Supplies
Keep your brushes in a holder or jar that lets them dry upright after cleaning. Separate brushes by size or type so you can quickly select the right one for each step. Arrange your paints in a palette or tray with colors grouped logically, such as warm colors on one side and cool colors on the other.
Use two water containers: one for rinsing brushes and the other for clean water to dilute paints. This keeps your colors pure and prevents muddy mixes. Place paper towels or a cloth nearby to blot brushes. By setting up your supplies this way, you save time and reduce frustration during painting sessions.
Mastering Basic Watercolor Techniques

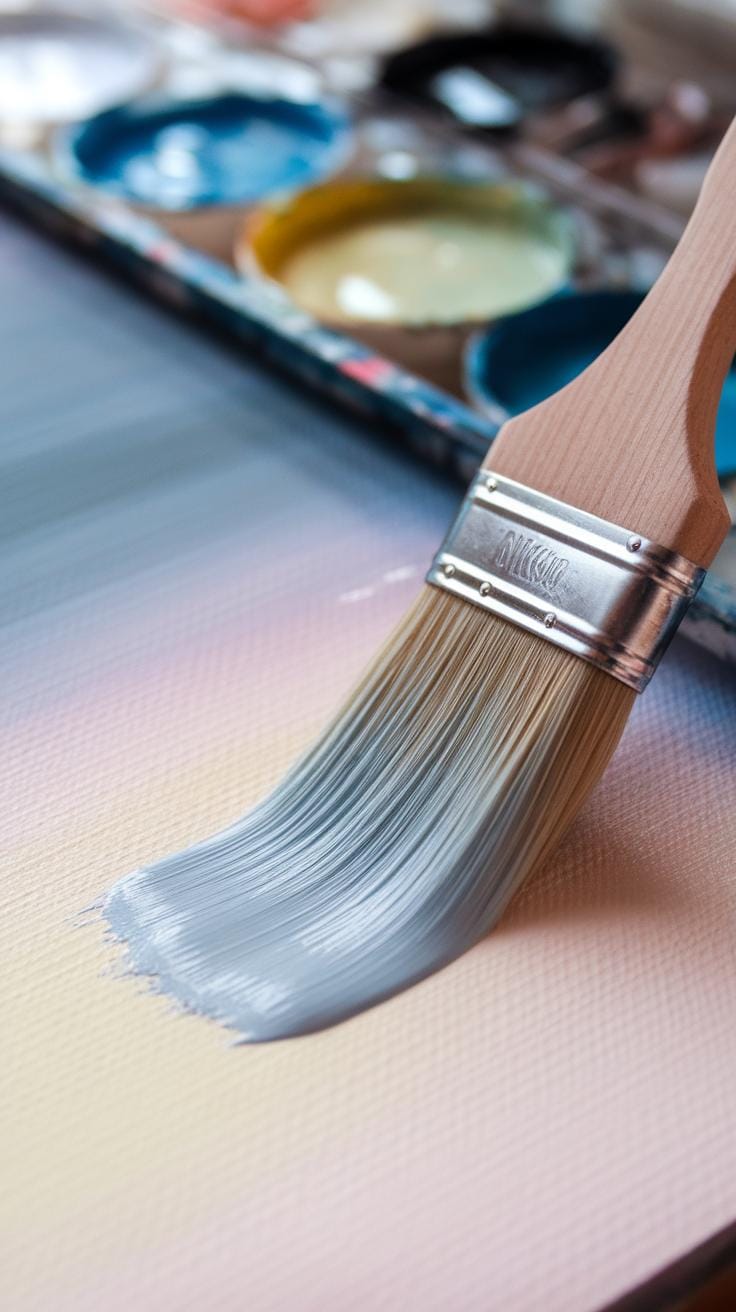
Learning a few basic watercolor techniques can change how you paint and improve your results quickly. Washes lay the foundation in many paintings by covering large areas with color. Wet-on-wet helps blend colors gently to create smooth transitions and soft edges. Dry brush gives you control to add texture and fine details.
A flat wash spreads one color evenly. It works well for simple backgrounds like a clear sky. A graded wash changes from dark to light, making hills or water feel more natural. Wet-on-wet involves adding paint to wet paper or another wet color, producing soft shapes like clouds or petals. Dry brush uses a brush with little water, dragging pigment to create rough marks perfect for grass or tree bark.
Understanding when to use each technique shapes your painting. Would you prefer a blurry forest or sharp leaves? Try wet-on-wet for softness, dry brush for texture. You can combine them to add depth and interest without overcomplicating your work. Practicing these methods opens doors to new ideas in simple watercolor projects.
Applying Washes Effectively
Flat wash means applying paint evenly across the paper. Load your brush, then move it steadily to avoid streaks. Flat washes suit painting skies, walls, or smooth surfaces. They create a calm, even background. If you want a sky that shifts in shade, try a graded wash instead.

A graded wash starts dark and fades lighter. Paint the darkest color at the top or edge, then pull the brush downward or sideways while rinsing it gradually. This technique adds depth or sunlight effects to your work. For example, a sunset sky often uses graded wash to show fading light.
Both washes need practice. How steady can your brush moves be? Watch how water spreads and how you control the flow. You can fix small mistakes by gently lifting color with a clean, damp brush. Mastering washes gives you reliable ways to fill space and set a mood in your artwork.
Using Wet-on-Wet and Dry Brush
Wet-on-wet lets colors mix naturally while wet on wet paper. Start by wetting your paper where you want soft blends. Drop one color, then add another nearby. Watch them merge to create smooth shapes for flowers, skies, or water reflections. The key is keeping the paper damp, not soaked.
Dry brush suits adding texture with a brush that holds little water. Pick up paint with a nearly dry brush and gently drag it across textured paper surface. This works great for leaves, rough bark, or delicate lines. It gives a realistic feel with little effort.
Try a simple leaf painting using wet-on-wet for blended colors inside the leaf, then add veins using dry brush strokes. This mix builds layers without confusion. Can you see how each technique plays a role? Both methods help you shape your painting with ease and interesting details.
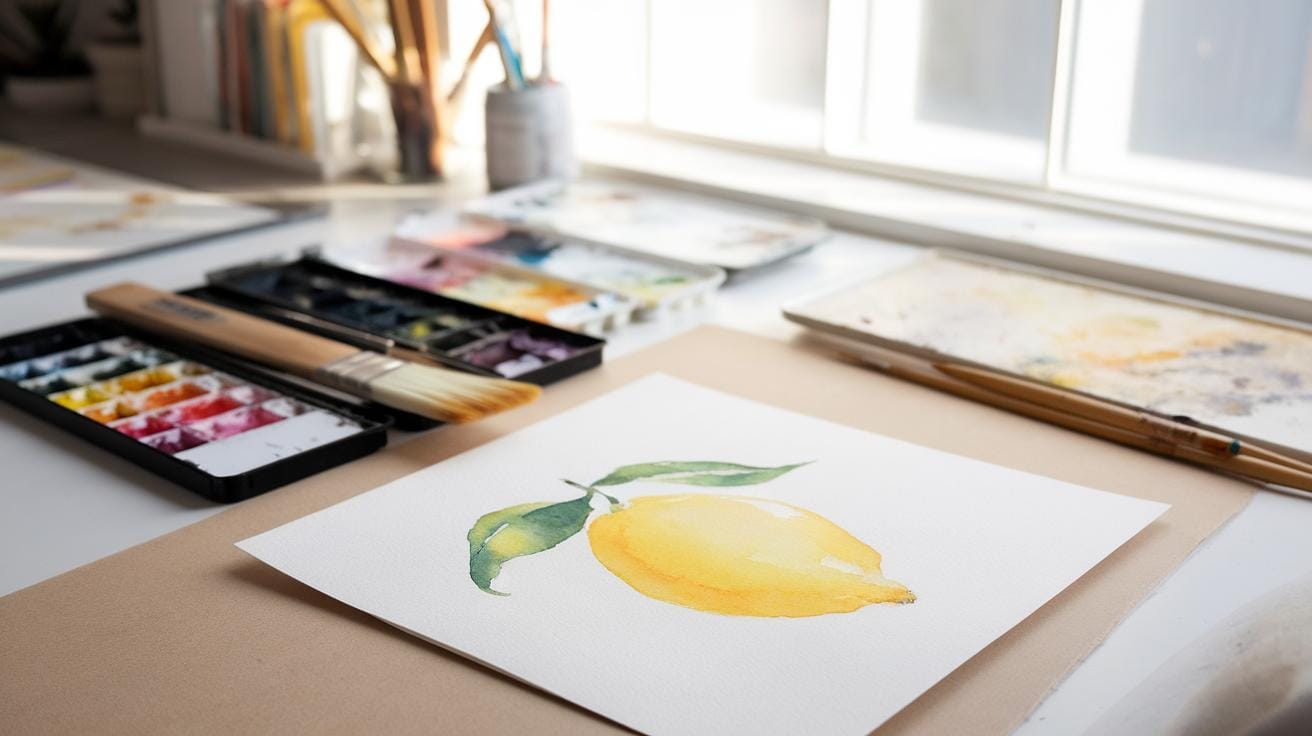
Easy Subjects to Paint for Beginners

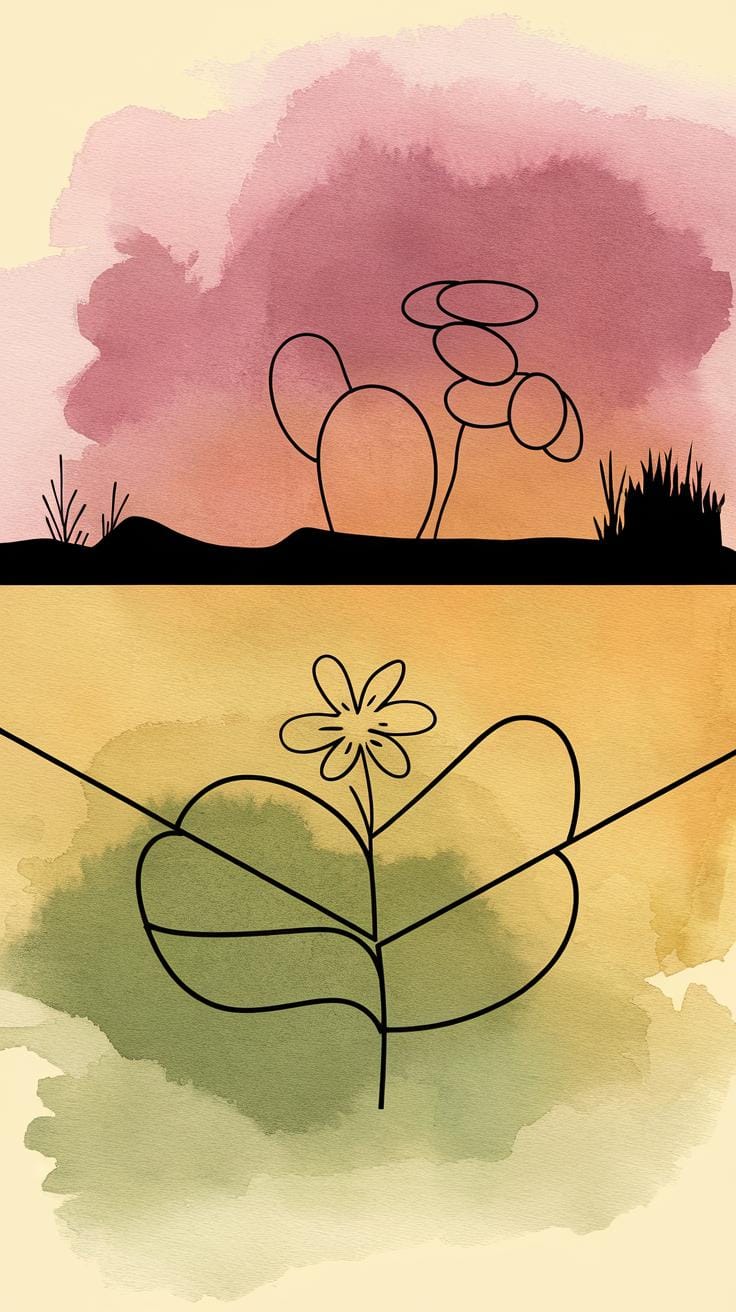
Picking simple subjects helps you focus on practicing your watercolor skills without feeling overwhelmed. Painting fruits like apples or bananas offers a great start. These shapes are easy to sketch and use limited color blends. Flowers also work well. Their forms often consist of soft, curved shapes that you can capture using simple washes.
Skies provide an excellent way to practice smooth gradients and blending. Painting clouds, sunsets, or blue skies lets you work with wet-on-wet techniques to create soft edges without complex details. These subjects encourage you to focus on color and shape rather than fine lines.
By working on these easy subjects, you build confidence in controlling your brush and color flow. Do you notice how simple shapes let you experiment freely without the pressure to add many details? This way, you enhance your skills and prepare for more intricate projects later.
Simple Natural Objects
Apples, leaves, and clouds are perfect for beginners because you can break them down into basic shapes. For example, an apple often looks like a round or slightly oval shape. Leaves can be drawn as elongated ovals, while clouds often take soft, round forms.

The idea is to start with simple outlines and then fill them using broad washes of color. These natural objects allow you to practice blending two or three colors smoothly. Try using a single wash for the apple, then add shadows with a darker shade to add dimension.
Painting simple shapes also helps you learn about light and shadow in a clear way. Encouraging yourself to observe how colors change across these objects builds your eye for watercolor mixing and application. What small natural item could you paint today using just basic shapes?
Basic Landscapes and Patterns
Creating a quick landscape involves using simple color washes to suggest the sky, land, and water. Start by laying down a light wash for the sky, then add a horizontal line to mark the horizon. Use basic shapes like rectangles or triangles to represent hills or trees.
Patterns made from repeated shapes or colors offer another way to practice. Try painting rows of dots, stripes, or simple shapes such as squares or circles. These exercises teach you brush control and color placement.
Using simple, flat washes for landscapes lets you focus on smooth application without worrying about intricate details. You build an understanding of composition by keeping elements clear and easy to replicate. What simple landscape scene can you create with just two or three colors and basic shapes?
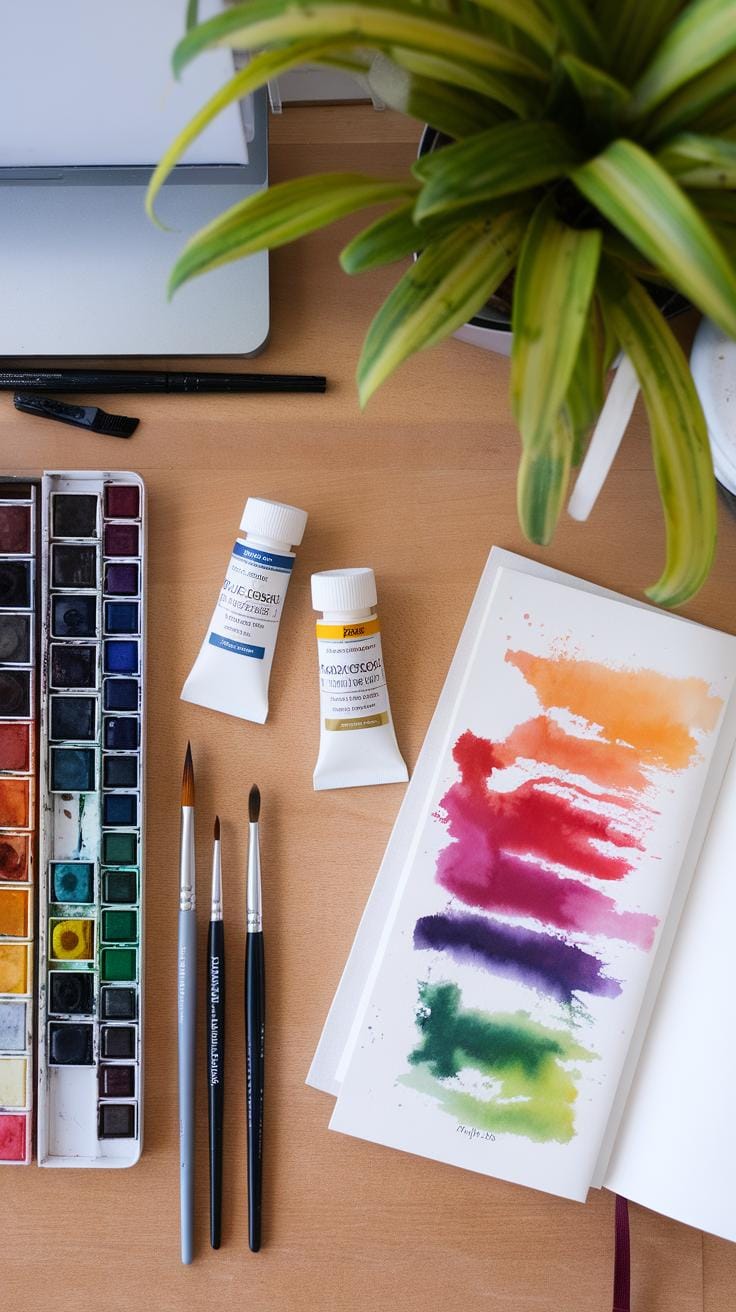
Mixing and Using Colors with Confidence
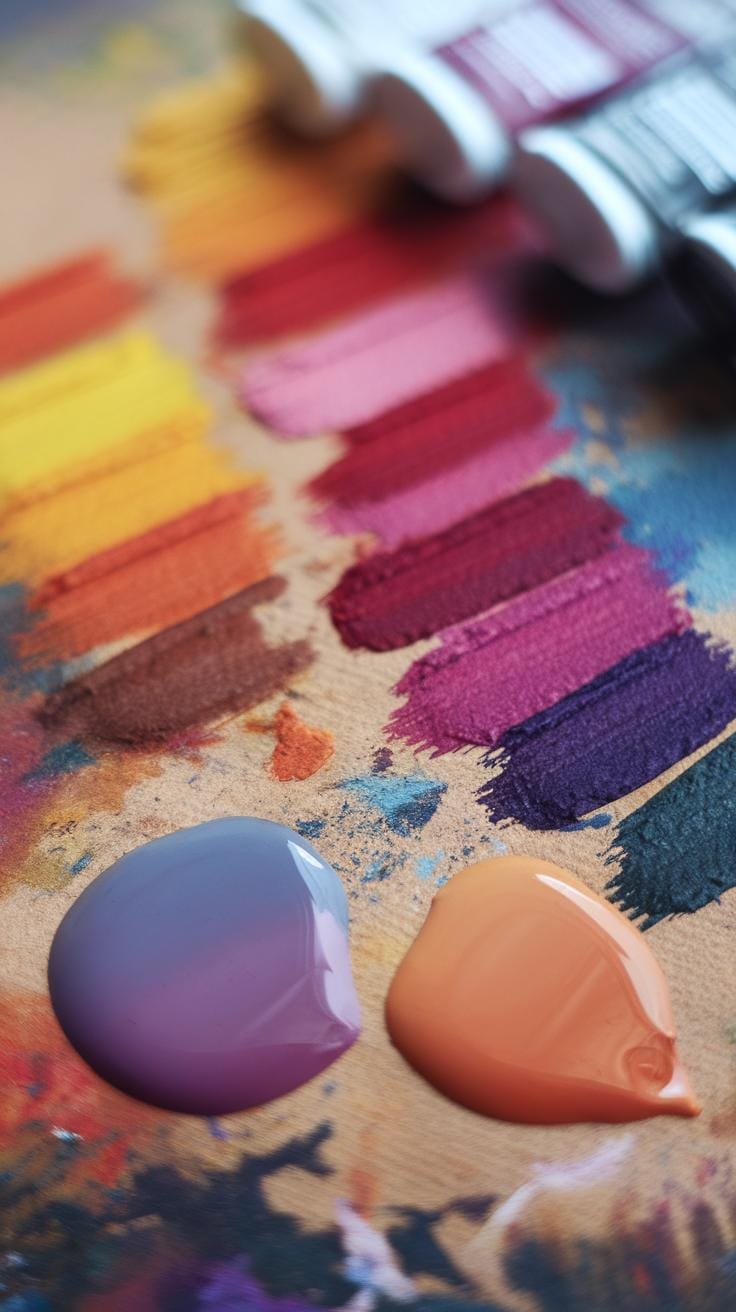
You can create many new shades by mixing just a few basic colors. Start with the three primary colors: red, blue, and yellow. These are your building blocks. When you mix two primaries, you get secondary colors like green, orange, and purple. Mixing a primary with a nearby secondary color gives you tertiary colors, which add more variety to your palette.
Think about the color wheel as a simple guide to understand how colors relate. If you mix colors that sit opposite each other, like red and green, the result tends to look muddy. This happens because these mixes contain all three primaries, which cancels out brightness.
To keep colors clear, avoid mixing too many different pigments at once. Try making new shades step-by-step rather than blending many colors together all at once. Keep your mixes simple to preserve vibrancy and clarity.
Color Mixing Fundamentals
Begin with primary colors: red, blue, and yellow. Learn to mix these to create secondary colors. For example, red plus blue makes purple. Blue plus yellow creates green. Yellow plus red makes orange. Once comfortable, mix primary with secondary colors to make tertiary colors such as red-orange or blue-green.
Practice by mixing small amounts on your palette before applying paint to paper. This helps you see how colors combine and what new shades appear. You may notice some colors are stronger than others. Adjust the amount of each pigment to control the result.
Ask yourself: Which combinations do I like best? Experiment often to understand how each mix changes your painting’s mood and depth.
Maintaining Color Vibrancy
The amount of water you add affects how bright or dull your colors look. Too much water dilutes pigment and makes colors pale. Too little water means paint may be too thick and hard to spread evenly. Find a balance by mixing enough water to flow easily but still keep pigment strong.
Concentration of pigment also matters. For example, dragging a dry brush dipped in thick paint creates bold strokes. Using a wet brush with diluted pigment creates soft, light washes. Knowing when to use each helps maintain vibrancy and prevent muddy results.
Try layering light washes on top of dry paint to build depth without losing brightness. This simple method keeps your colors fresh throughout the painting process.
Troubleshooting Common Watercolor Problems
Watercolor painting often brings up challenges like muddy colors, paper warping, and unwanted blooms. These issues can frustrate beginners but knowing how to handle them helps you keep your work clean and vibrant.
Managing Paper and Water
Paper warping happens when the sheet gets too wet. To reduce buckling, tape your paper onto a flat board before painting. Use a gentle amount of water, especially on thinner papers. Check your brush frequently by touching it to a paper towel to see if it holds excess water. Apply paint in layers, allowing each layer to dry before adding more water or color. This controls moisture and keeps the paper flat. You might find that heavier watercolor paper (140 lb or above) holds up better. Trying these methods improves your control over paper behavior without needing extra tools.
Fixing Color Issues
Muddy colors appear when different paints mix too much on the paper. Avoid this by letting one color dry before applying the next. If you spot muddy spots, use a clean, damp brush to lift some pigment gently while the paint is still wet. For dried paint, lightly wet the area and blot with a paper towel to remove unwanted color. Repairing mistakes does not mean ruining your work; try layering a new glaze once the area dries. Have you tried testing your colors on scrap paper first? It helps avoid surprises and keeps your painting clear and bright.
Adding Details and Finishing Touches
After your base layers have dried completely, it’s time to focus on the details. These finer touches bring life and personality to your painting. You can add features like veins on leaves, lines on petals, or subtle shading on objects to make them stand out.
Layering is a useful technique here. Paint thin washes of color on top of dried layers to deepen shadows or highlight specific areas. Be careful not to rush this step. Waiting for each layer to dry ensures your colors stay crisp and don’t blend unpredictably.
Patience is key. Practice layering and adding details regularly, and you’ll notice your control and precision improve. Don’t be discouraged if your first attempts seem tricky. Each brushstroke teaches you something about how watercolors work.
What small detail would you like to add next to your painting? Try focusing on that with care and watch your work grow.
Layering Colors for Depth
Adding layers after a paint layer dries creates depth without disturbing your earlier work. Start with a light wash and let it dry completely before applying the next. This lets you paint shadows or enhance textures gradually.
Try working with transparent colors to build up richness. For example, use a soft blue wash, then add a darker blue on top to form shadows. This method helps you control light and shadow while keeping colors clear.
Layering also lets you correct or improve parts of your painting without starting over. You can reinforce areas that need more focus or soften parts to draw attention elsewhere.
Have you tried layering to make your painting look more three-dimensional? It’s a simple way to add impact.
Using Small Brushes for Details
Use small round brushes with fine points for precise work. Sizes 0, 1, or 2 are ideal for painting thin lines, tiny leaves, or delicate facial features. These brushes let you control the flow and direction of your paint.
Hold your brush closer to the tip for more accuracy. Light pressure creates thinner lines, while slightly more pressure makes thicker strokes. Practice on scrap paper to get comfortable with how your brush responds.
For tiny dots or highlights, you might use a fine liner brush or even a small detail brush made for watercolor. These help you add small but important marks that bring your painting to life.
What small brush will you pick to add the next detail? Trying different brushes helps you discover your favorite tools.
Building a Watercolor Practice Routine
Creating a steady watercolor routine helps you improve step by step. Begin by setting clear, small goals, like painting for 10 minutes each day or completing one small piece a week. Tracking your progress with a simple journal or folder lets you see how much you grow over time.
Try new subjects or techniques regularly. For example, paint a leaf one day and try a loose wash the next. This keeps your practice fresh and helps you learn faster. Ask yourself which parts of painting feel easiest and which challenge you. Focus more on tricky areas to build skill.
Keeping a regular routine avoids feeling overwhelmed. Schedule your painting sessions like an appointment. This makes it easier to stay committed and enjoy your creative journey.
Creating Consistent Practice
Short, regular sessions work best. You don’t need hours at the start. Just 10 to 15 minutes daily or three short sessions a week can build your skill steadily. This trains your hand and eye without pressure.
Set a specific time that fits your day. Morning, lunch break, or before bed all work well. Keep your supplies ready to avoid delays. Can you spare time each day to follow this simple routine?
Painting regularly helps your brain remember techniques. As you make small improvements, you’ll gain confidence and look forward to each session.
Exploring and Growing Your Skills
Try different subjects like flowers, skies, or simple objects around you. This variety teaches you how watercolors behave with shapes and colors. Experiment with techniques such as wet-on-wet, lifting color, or dry brushing to find what you enjoy.
Which subjects feel easiest? Which styles do you prefer? This exploration shapes your personal style. Challenge yourself to try one new idea each week, whether it’s a color mix or brush stroke.
Keeping curiosity in your routine helps you avoid boredom and notice new possibilities. How will you push your skills today?
Conclusions
Watercolor painting can be rewarding and fun once you master easy techniques and choose beginner-friendly ideas. Following the simple methods shared in this article helps you avoid common mistakes and achieve satisfying results. Your creativity will grow as you practice mixing colors, controlling water, and experimenting with different brush strokes. Remember that every artist starts with basic steps, and you can improve at your own pace by enjoying the process.
Choosing straightforward themes and using accessible materials make watercolor painting a pleasant activity for anyone new to this art form. The skills you develop here will also apply to more complex projects in the future. Keep your curiosity alive by trying new patterns and subjects while building your confidence. This approach guarantees steady progress. Now is the perfect time to pick up your brush and explore the world of easy watercolor painting.


